
Happy December Pink & Main friends… Annette Allen from myclevercreations.com here with you on this wonderful Saturday and I am sharing a bit of winter fun. I mean who loves the winter and how about those warm cozy jackets. I do not live where it snows but I have a few fun jackets for when it gets cold. So today I am dreaming of snow but only on my cards.
Today I have created two cards using Pink & Main:
Big Flakes Adhesives Transfer Stickies
Let it Snow Foilable Kit
River Walk Colored Cardstock
Mini MINC Foiling Machine
Layered Scallops Circle Dies
Exclusive Sparkling Berry
Shaker Tag Dies
Foil Cardstock
Summer Glitter Paper
Foam Sheets, Foam Tape and Tear Tape
Ombre’ Pink Teal, Sparkle Pink, Ruby Red Cheerfoil
Pandamonium Enamel Dots
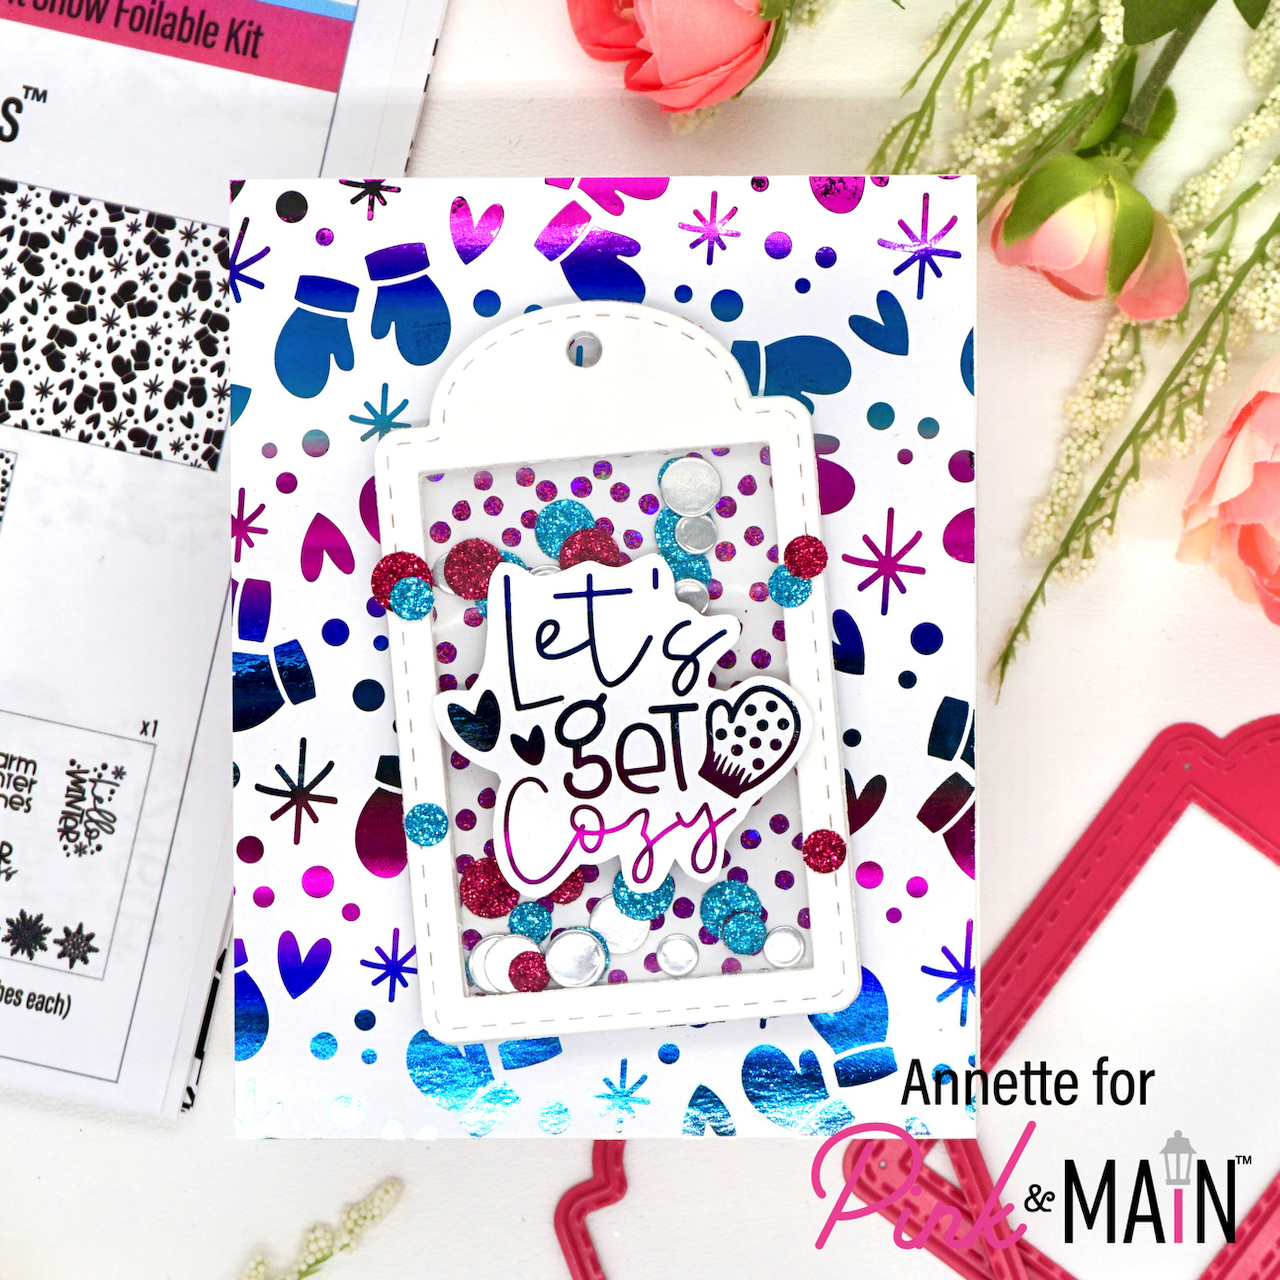
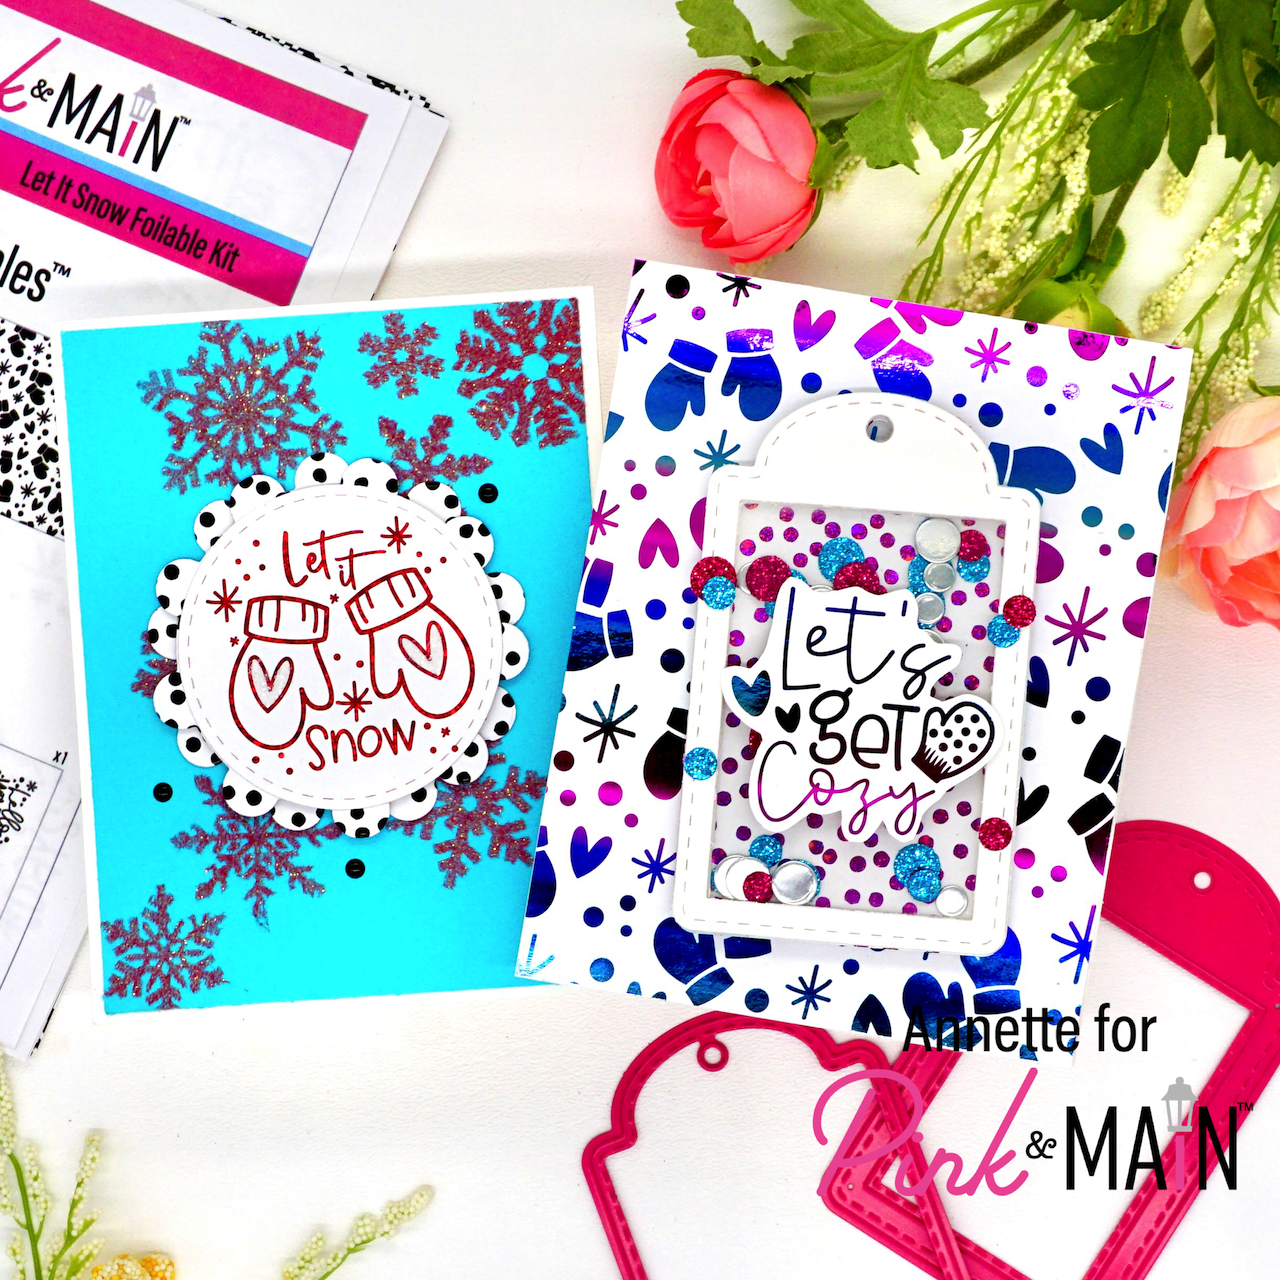
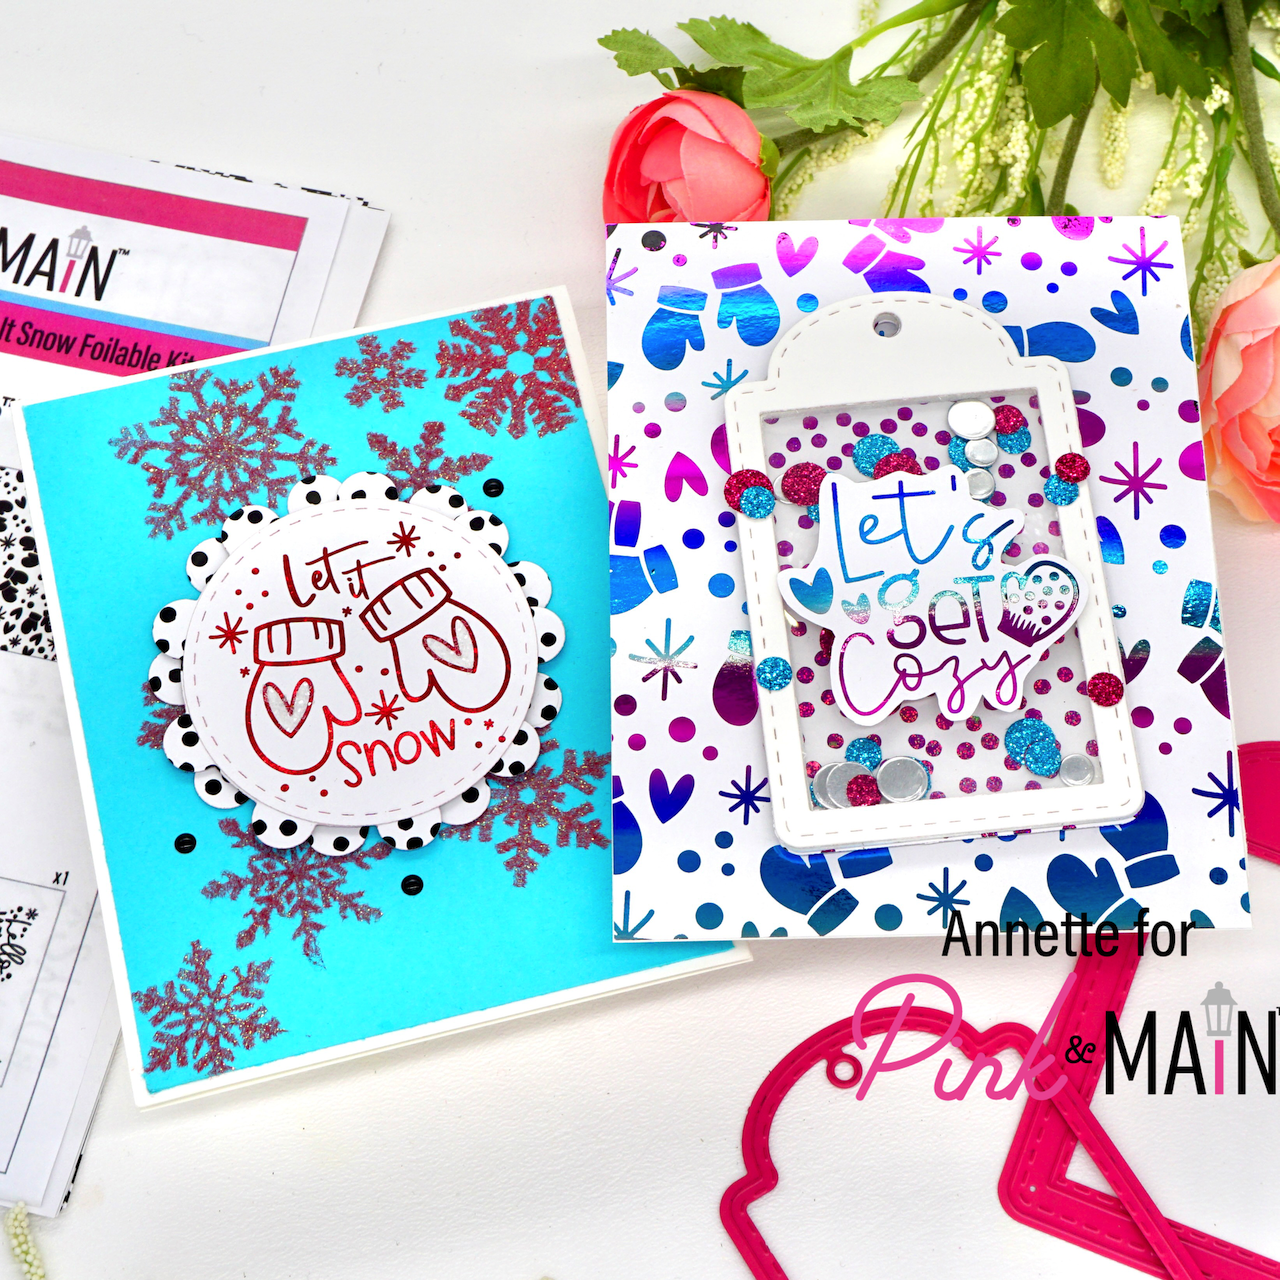
Let’s start with the shaker card…
Create card from white cardstock A2 size.
Cut a panel A2 size of the Let it Snow Foilables. I picked the mittens and then using Ombre’ Pink Teal Cheerfoil and your P&M Mini MINC Foiling Machine. Place it into the folder with pattern facing up and also the pretty foil facing up on top of the foilable. I heat set my machine to 3 and wait until it is ready and run it through. Make sure to let cool completely before peeling for the reveal. Adhere the panel to your card base using tear tape.
Die cut the Shaker Tag Dies. Die cut the open face tag on white cardstock and also on a piece of P&M foam sheets. Die cut the solid tag on a piece of the Let it Snow Foilable Kit patterns and a piece of acetate. I choose the polka dot/snow design and ran it through my Mini MINC Foiling Machine with the Sparkle Pink Cheerfoil. Make sure to let cool completely before peeling for the reveal. Die cut the circles confetti from the Shaker Tag Dies on Foil Cardstock and Summer Glitter Paper, cut enough to fill your tag for the shaker bits.
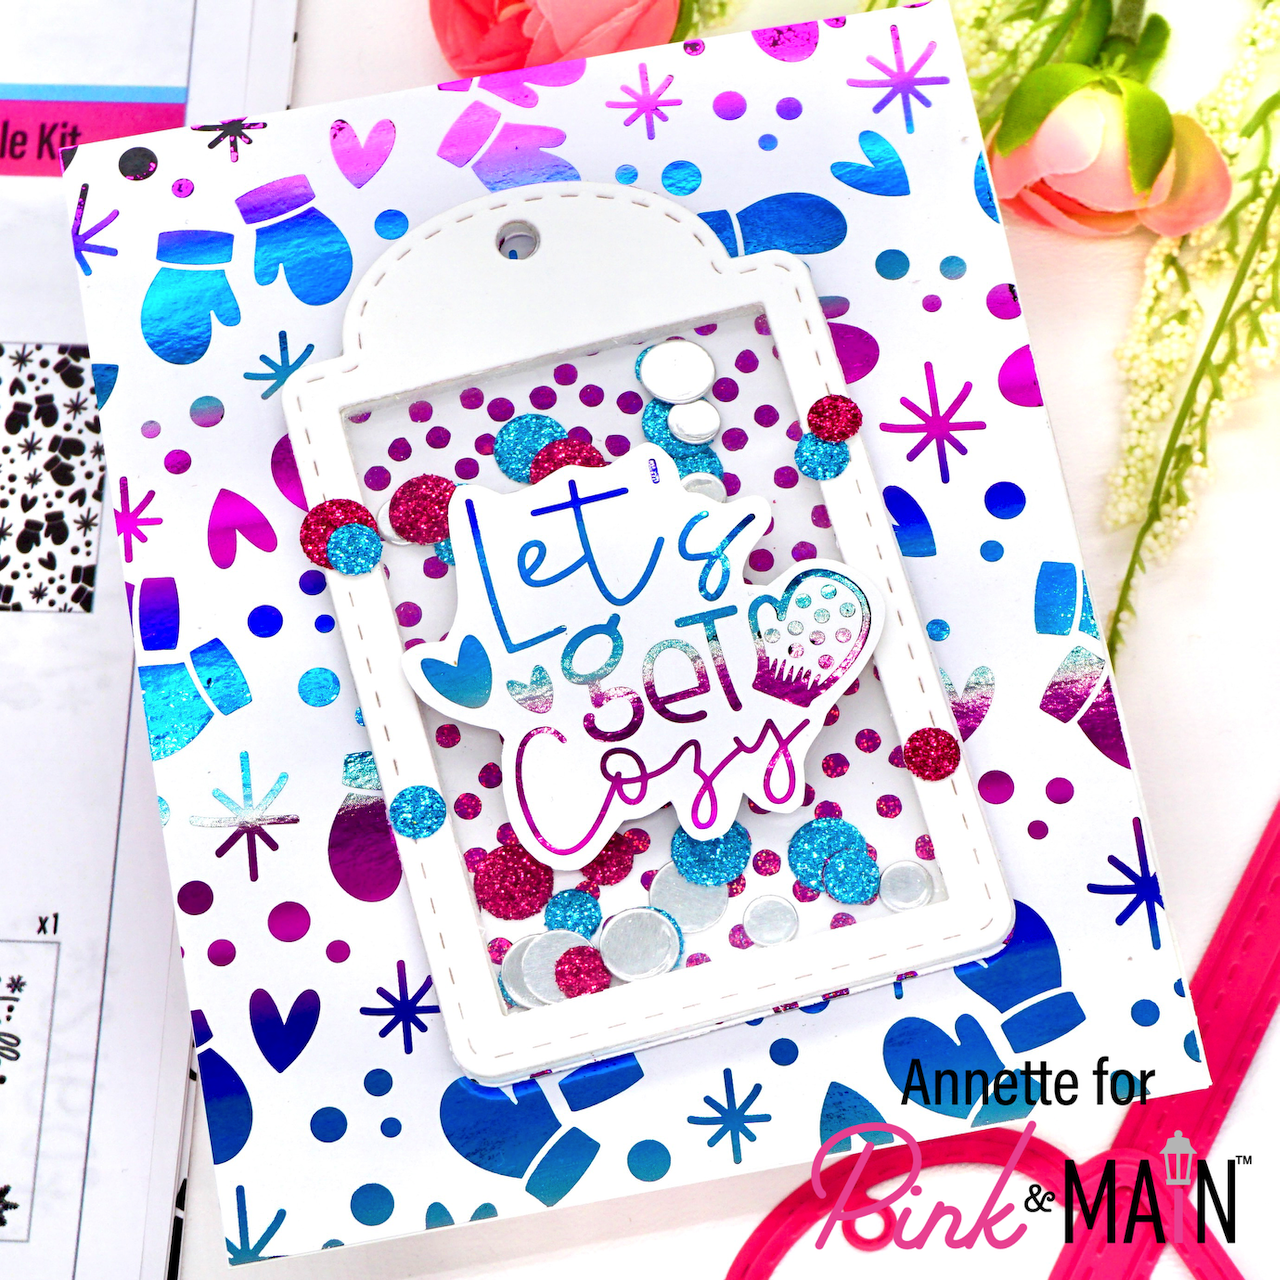
Let’s put that tag shaker together now that we have all the parts. Adhere the acetate solid tag to the back of the open faced white cardstock tag. I used tear tape to adhere the acetate to avoid liquid glue getting on the window of the acetate. Peel one side of the Foam Tape open faced tag that you die cut and adhere it to the acetate. Now add all your shaker bits that we die cut. Make sure that the shinny side is faced down so when you look through the window it is shinny with color. Peel the rest of the foam sheet and adhere the solid Cheerfoiled tag background. TADA we have a shaker tag.
Add some foam tape to the back of the tag and adhere it to your card at an angle.
Cut out one of the sentiments from the Let it Snow Foilable Kit and fun it through your Mini MINC Foiling Machine with the Ombre’ Pink Teal Cheerfoil. Trim around the sentiment, add some foam tape to the back and adhere it to your tag.
Add some of those fun shaker bits we die cut on the tag, this is just for a little more shine.
YAY! for Cheerfoil… it is so fun.
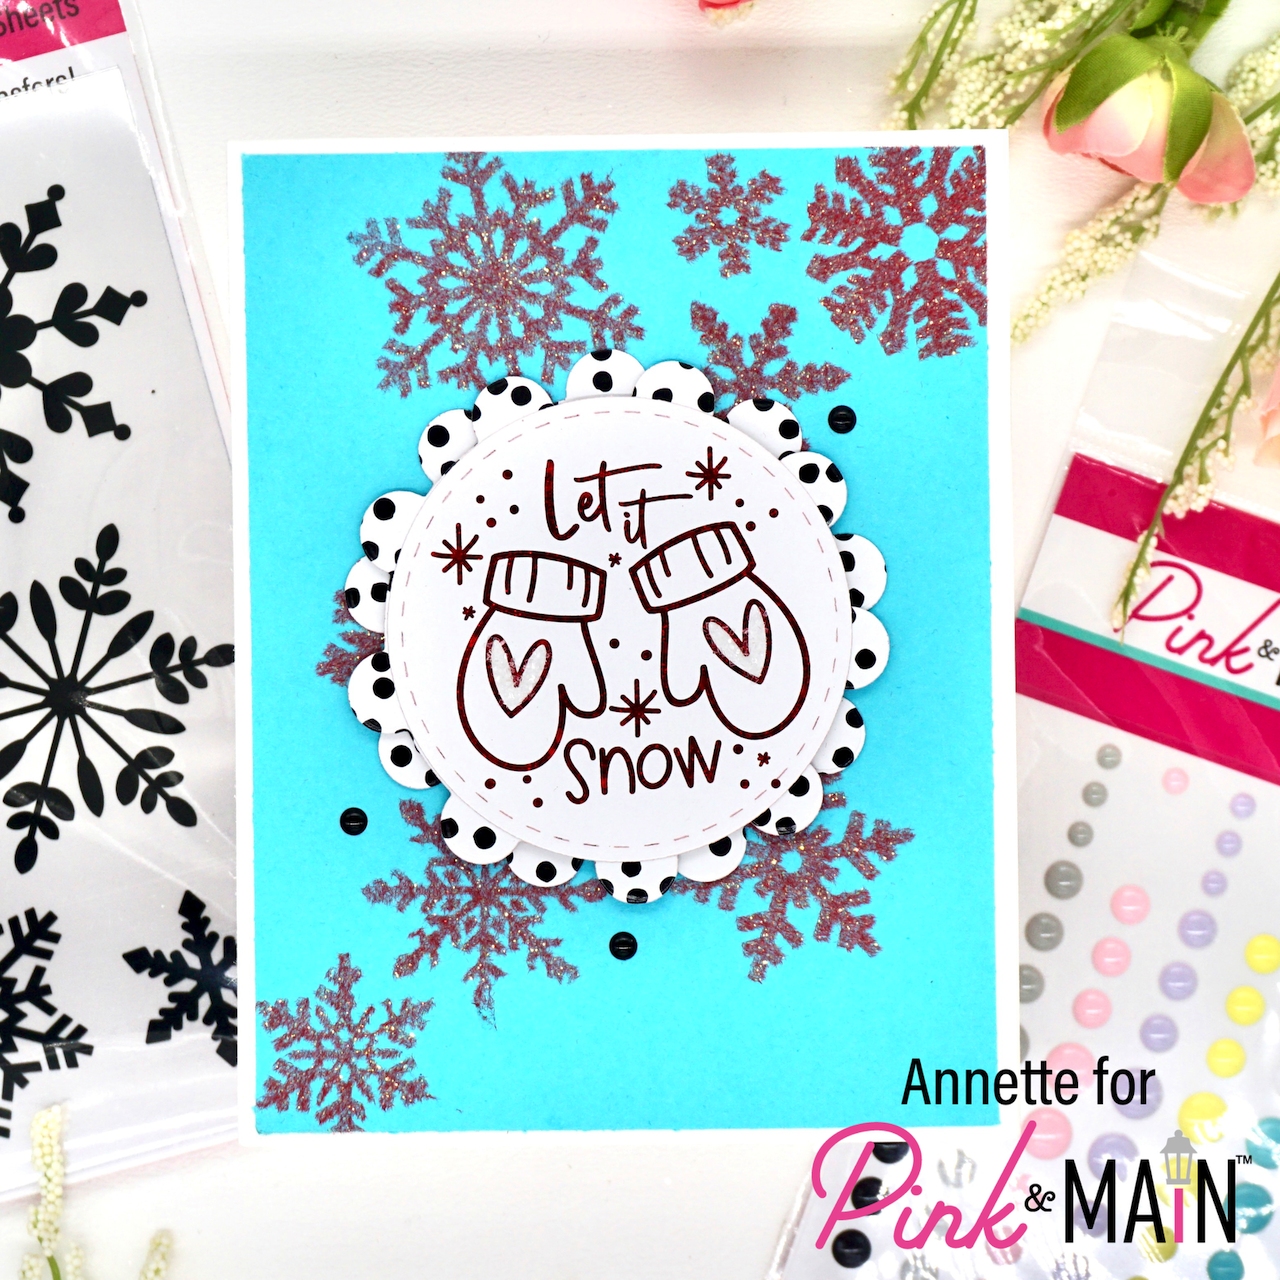
Created card from white cardstock A2 size.
Cut a panel measuring 4 x 5 1/4 out of P&M River Walk colored cardstock.
Cut a few of those fun Big Flakes Adhesives Transfers Stickies and rub them onto your panel. Do a couple at a time and add the Exclusive Sparkling Berry and brush off access. Rub on a few more of those Big Flakes Adhesives Transfers Stickies and repeat process until you are happy with your background. Now adhere the background to your card base.
Die cut the snow background from the Let it Snow Foilable Kit twice using the small Layered Scallops Circle dies. Adhere the two scalloped circles together. Die cut a sentiment from the Let it Snow Foilable Kit with the circle from the Layered Scallops Circle dies. Foil it using Ruby Red Cheerfoil. Adhere the circle to the scallops circles. Now add some foam tape to the back of your sentiment design and add it to your card base.
Finishing with a few of those Pandamonium Enamel Dots.
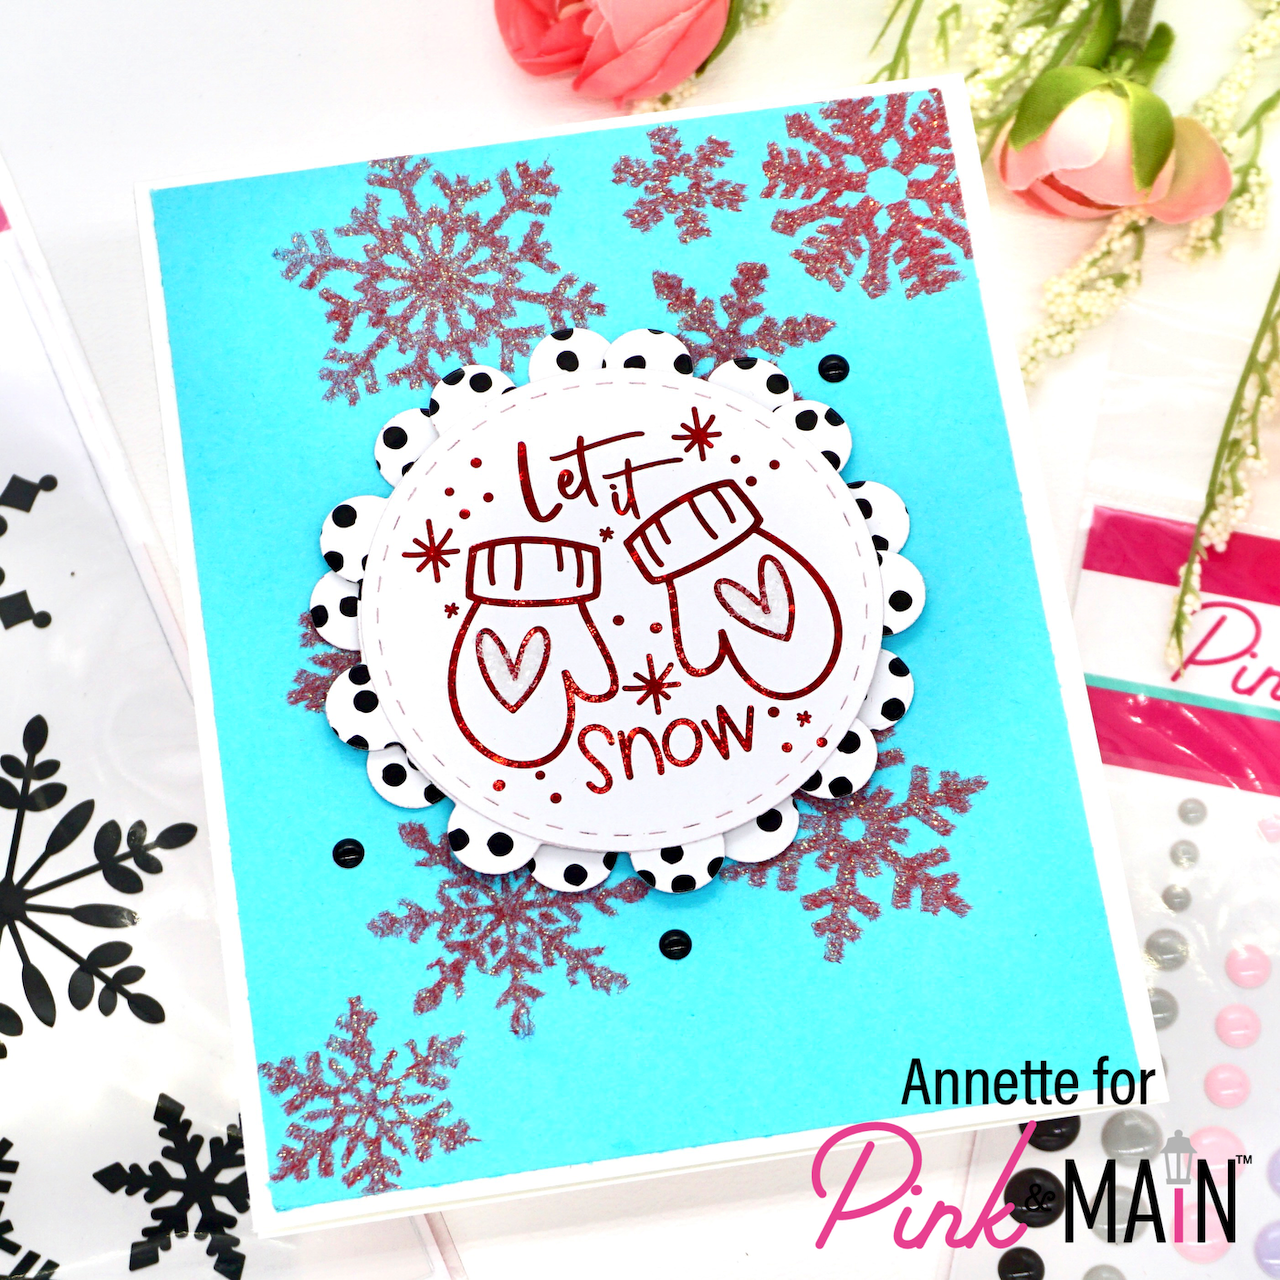
Sparkle snowflakes… yes, please!
Lots of winter fun with the new release.
Thank you for stopping by.
Have a wonderful day!