
Hello Pink and Main friends. It’s Donna here from donnaisplayingpaper, and I have a card for you today that uses exactly the same stamp set that I used last time, but for a VERY different look. You can see last week’s card here.
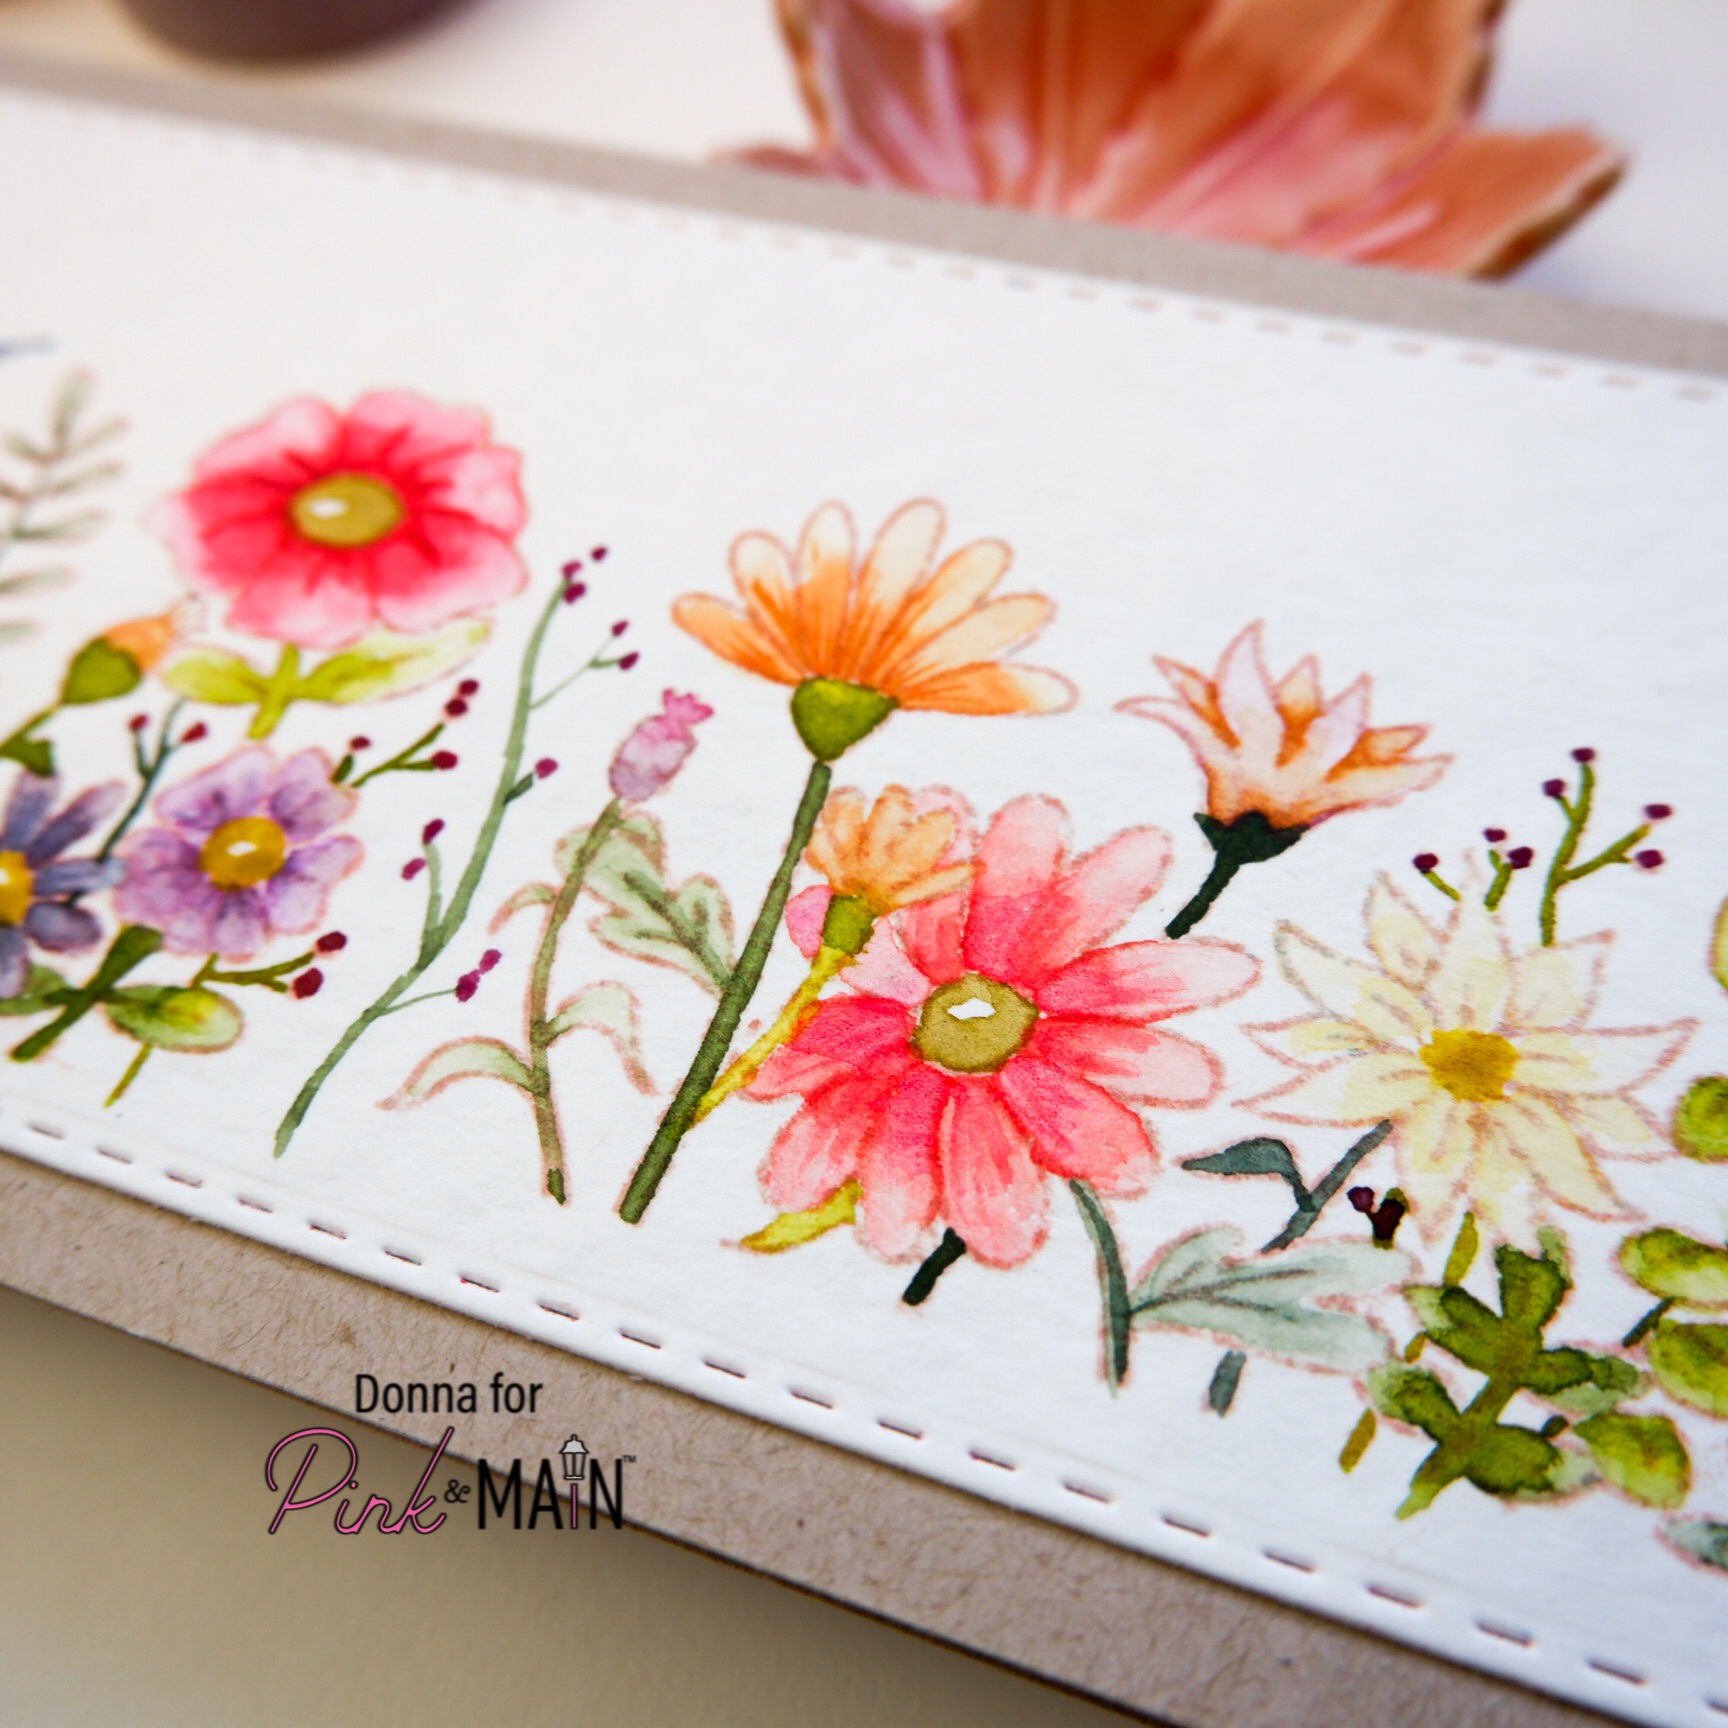
If you find no line colouring intimidating, this might be a technique that interests you. No line colouring involves stamping in a super light coloured ink that will disappear once you colour over it. It gives more realistic results than having a black line but it’s tricky! For today’s cards, I stamped in a mid coloured ink, so that there is no black line but the line is still visible. You can see a video of the making process here on my YouTube channel. https://youtu.be/6FsY9FA25Yo
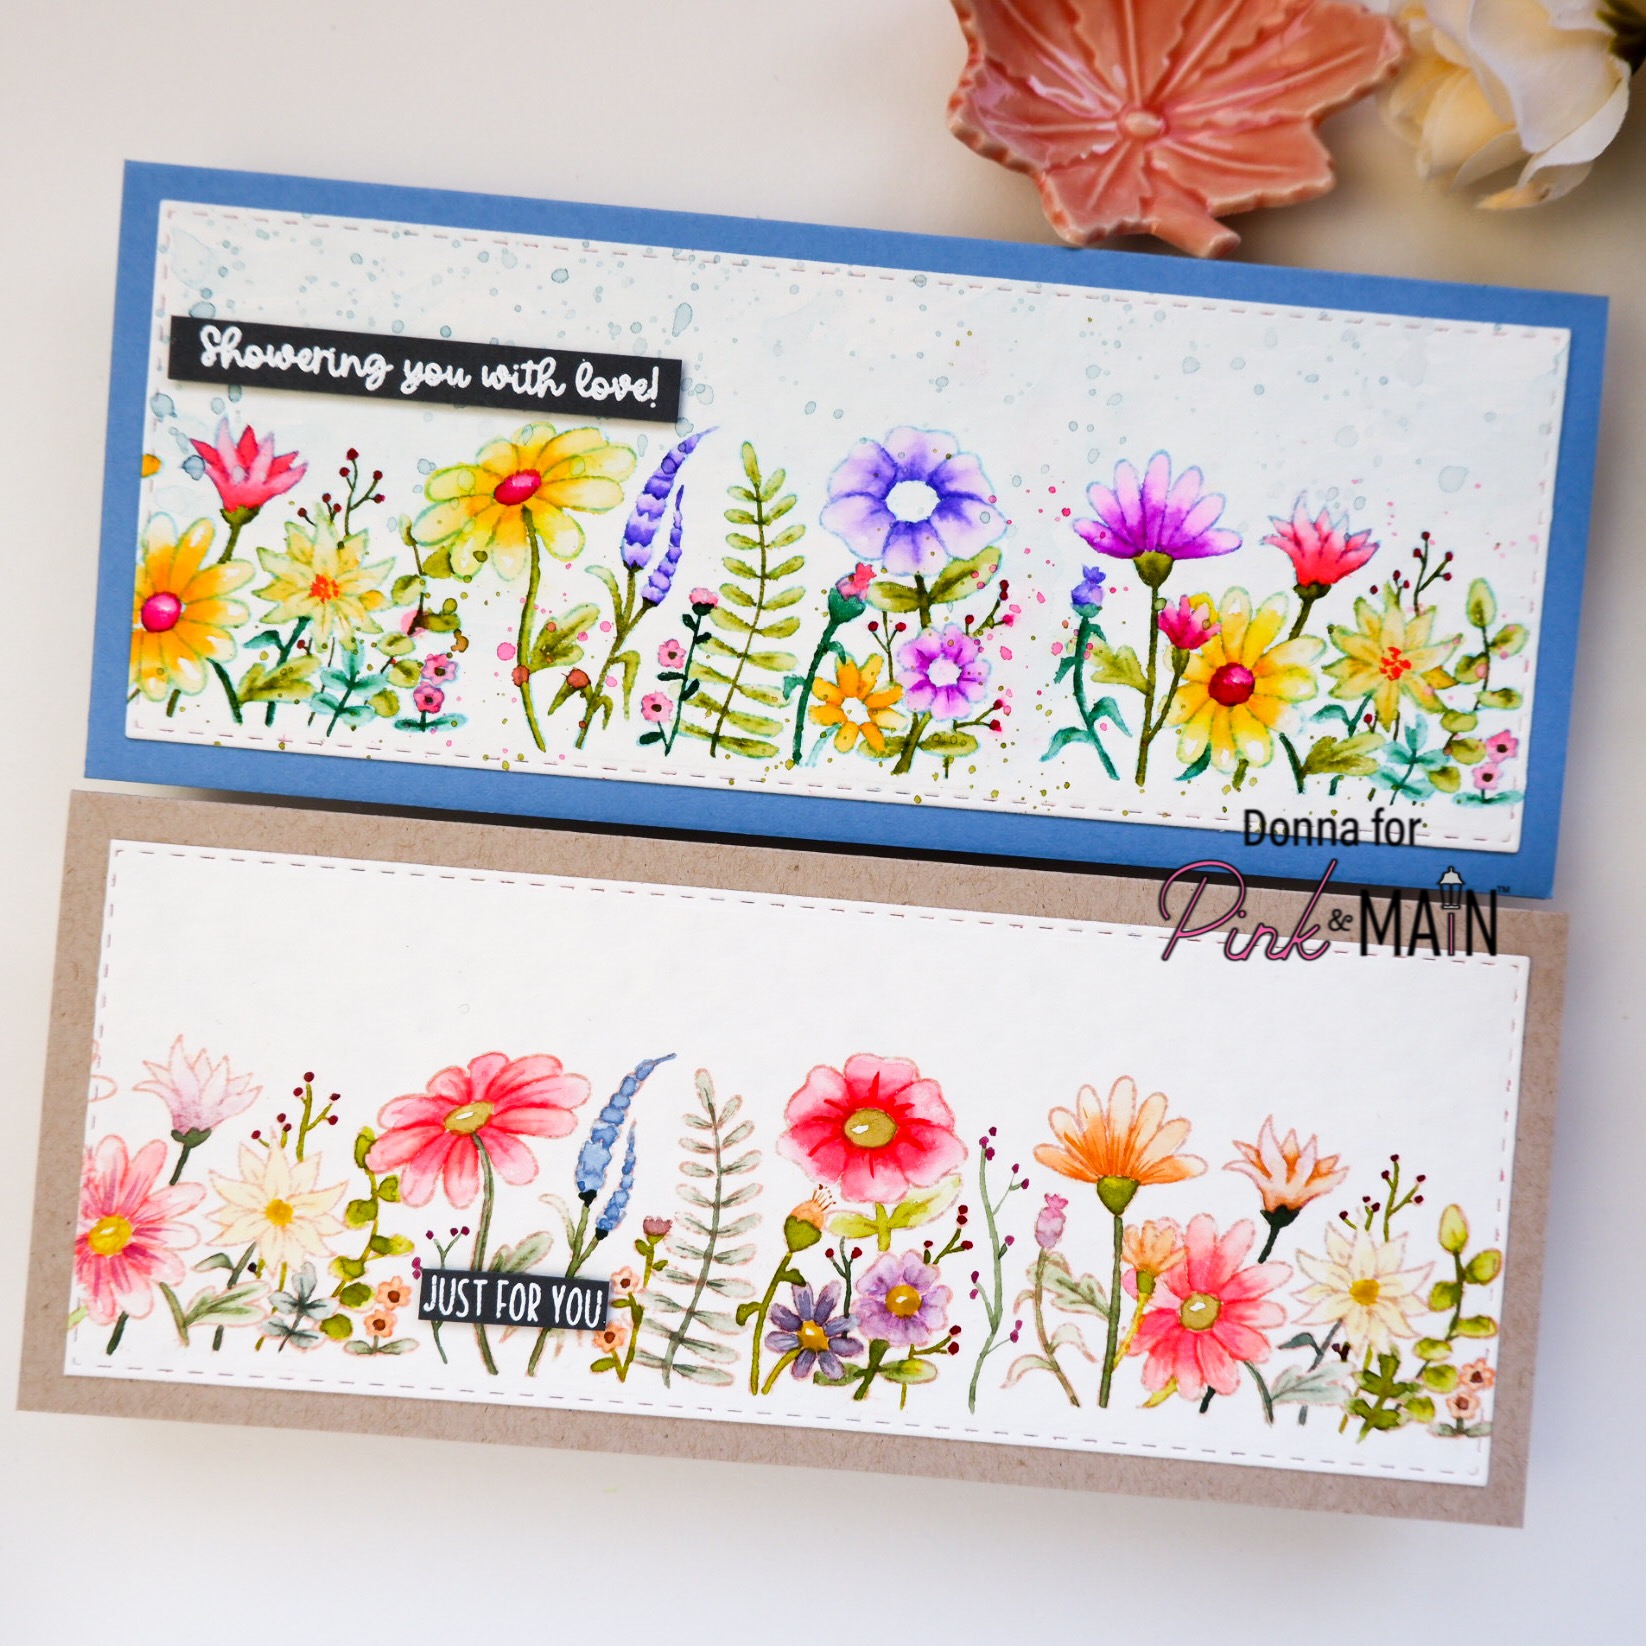
The hero stamp for today’s card is Ladybug Garden. As well as the 6 ladybug images, there a two lovely garden scenes, and I’ve used both for these cards, stamping them side by side. I used watercolour paper for both cards, and stamped one with Tumbled glass, and one with Tattered Rose Distress inks. I then watercoloured them both, using watercolour brush markers for one card, and tube paints for the other. Because the images were so detailed, I think the brush markers were easier for the smaller sections.
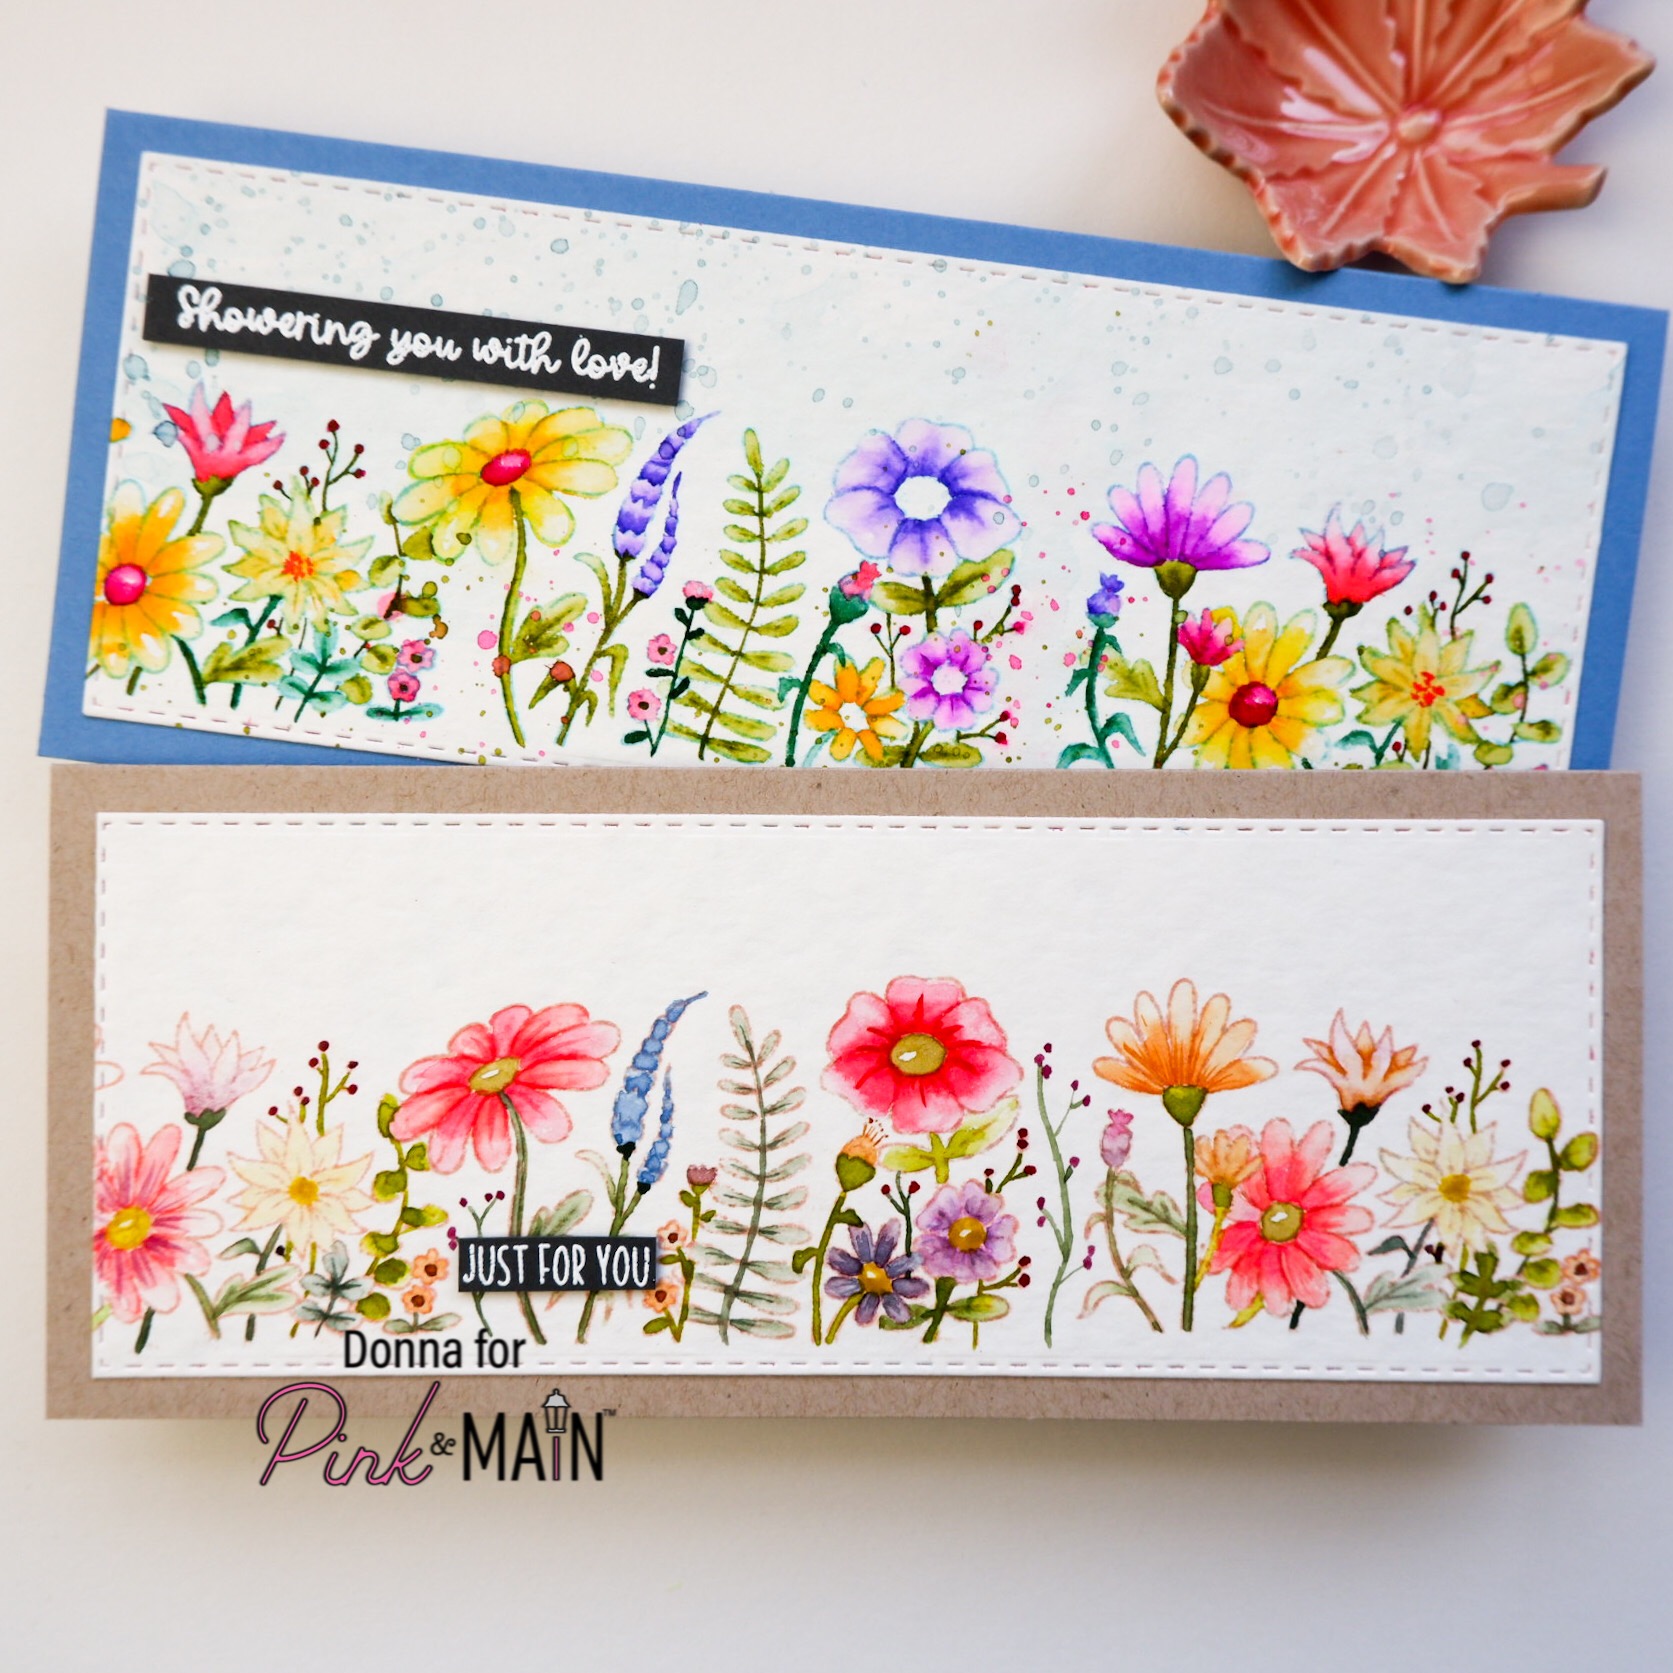
I spattered one of the cards with green, blue and a little pink ink. That wasn’t my original plan, but I accidentally smudged some of the flower buds, and needed to hide the smudges. To make the changes fit in with the card, I chose a sentiment from a stamp set called Hey Chickie, which says” Showering you with love”. I thought this was a good match with the raindrop effect that was created. The other card uses a sentiment from the Spring Snow Globe Scenes, which simply says “Just for you”. I like sentiments like this as they make the card very multi purpose. I stamped in Versamark clear ink onto grey paper and heat embossed the sentiments in white.

I cut each of the panels using the second largest Stitched Slimline die. This gave me a quarter inch border for a 3 1/2 by 8 inch card. I made my own card bases by scoring a sheet of card at 3 1/2 inches, folding and pressing it own, then cutting the excess to be level with the edge.
The cards took a bit longer that usual to colour, because the you need to wait for each layer of paint to dry. I sped this up by jumping around the card and painting something else while I waited. I’m very pleased with the final results though, and look forward to sharing these with friends.
Until next time, may you have flowers in your life, and enough margin to watch some paint dry!!!
Blessings,