
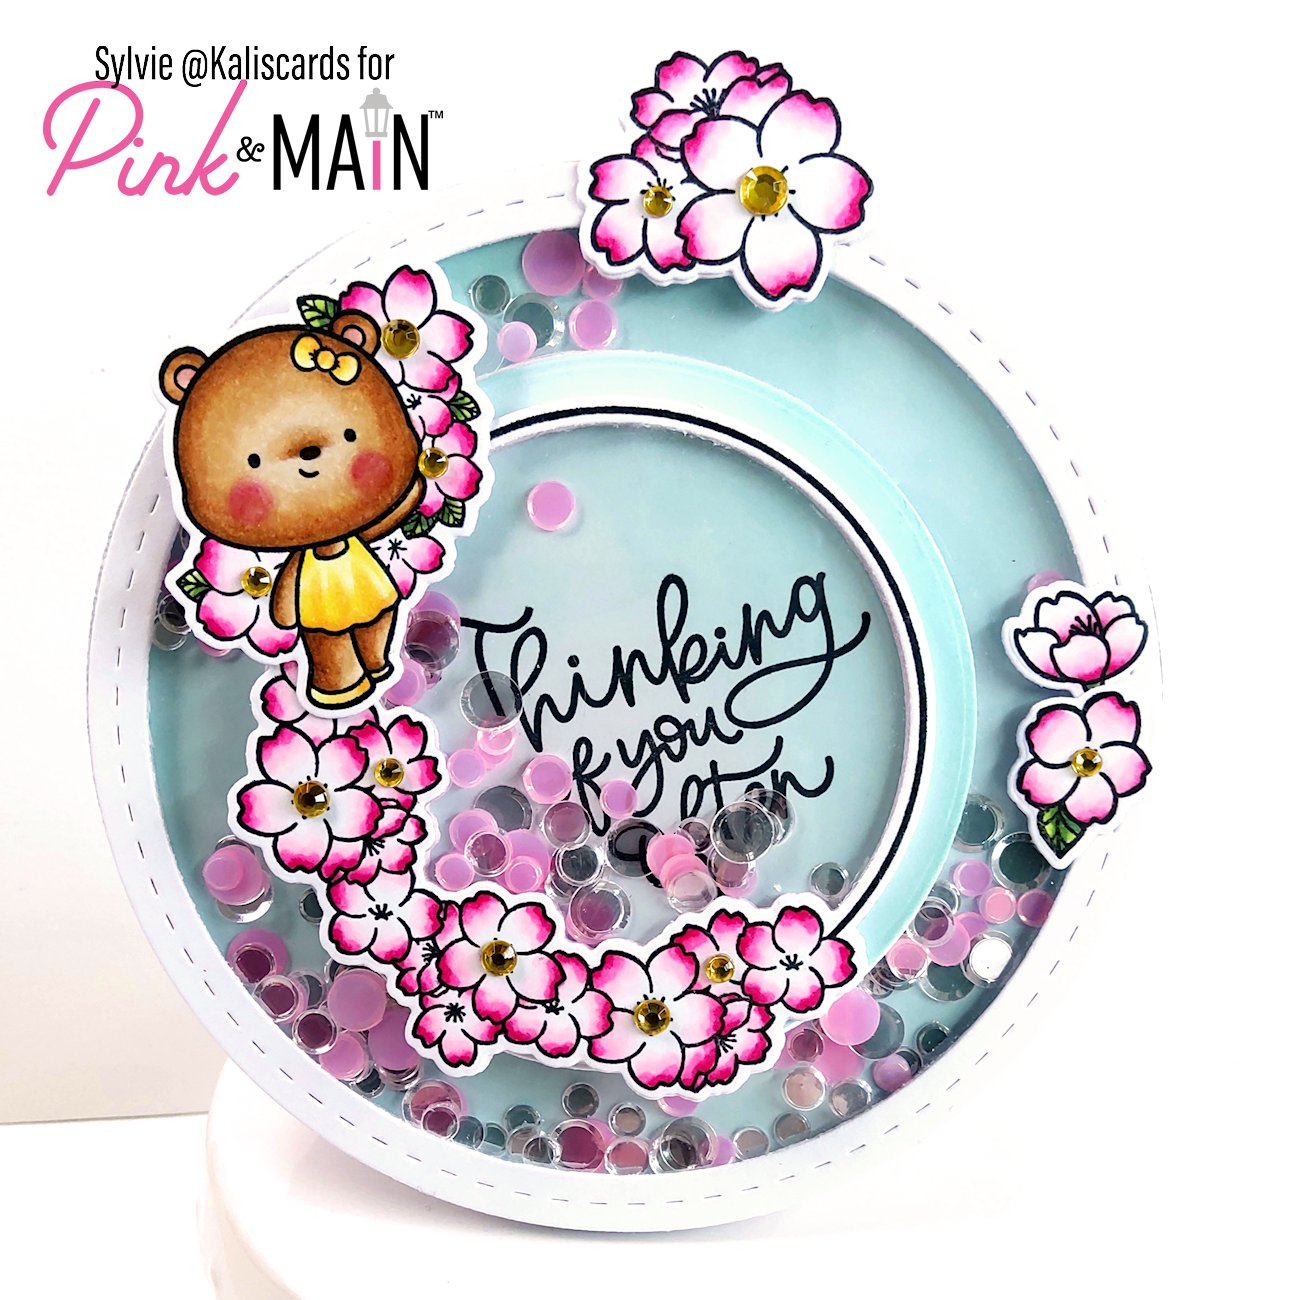
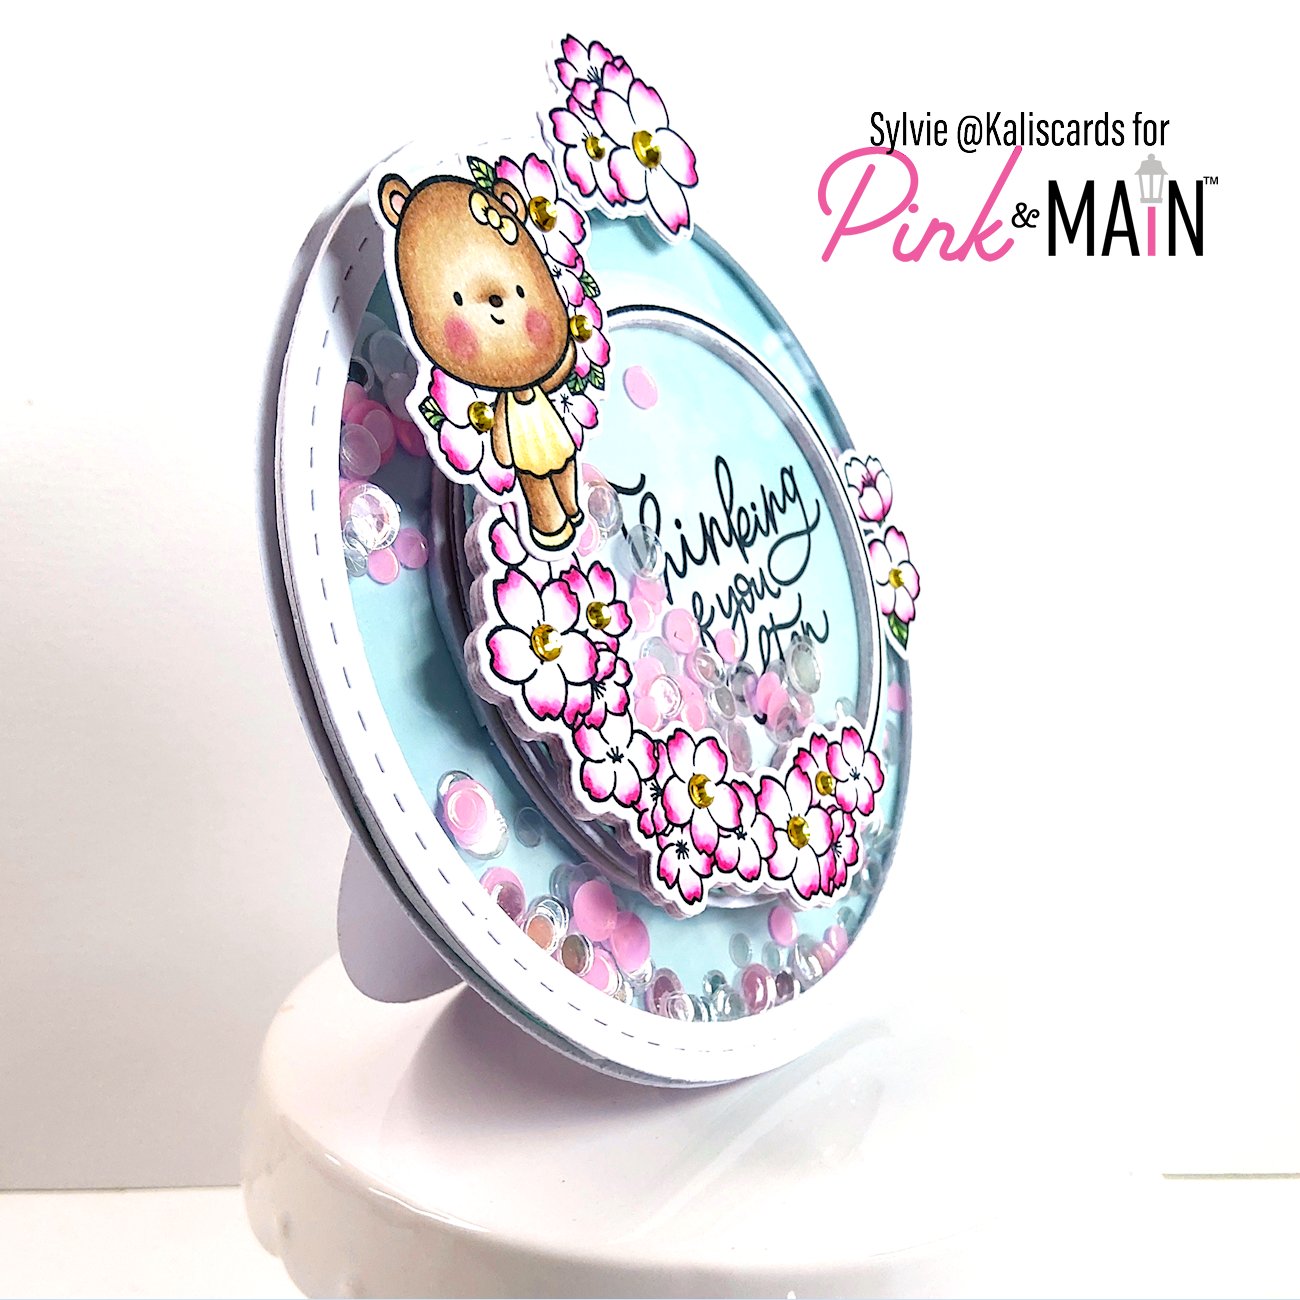
Sylvie @kaliscards here with a fun interactive card to share, a rocking double shaker easel!
To create the base elements, I started by die cutting 2 circle frames with the Stitched circle frames die from white cardstock. I kept the 2nd greater circle as well as the 5th greater circle and also reserved the central plain cercle piece.
I then die cut several circles from white cardstock, using the Layered circle die set: three 4.5 inches and
three 3 inches circles.
Onto a big circle and a small circle, I blended Distress oxides Speckled egg and Salvaged patina. These will be the bottoms of the shakers.
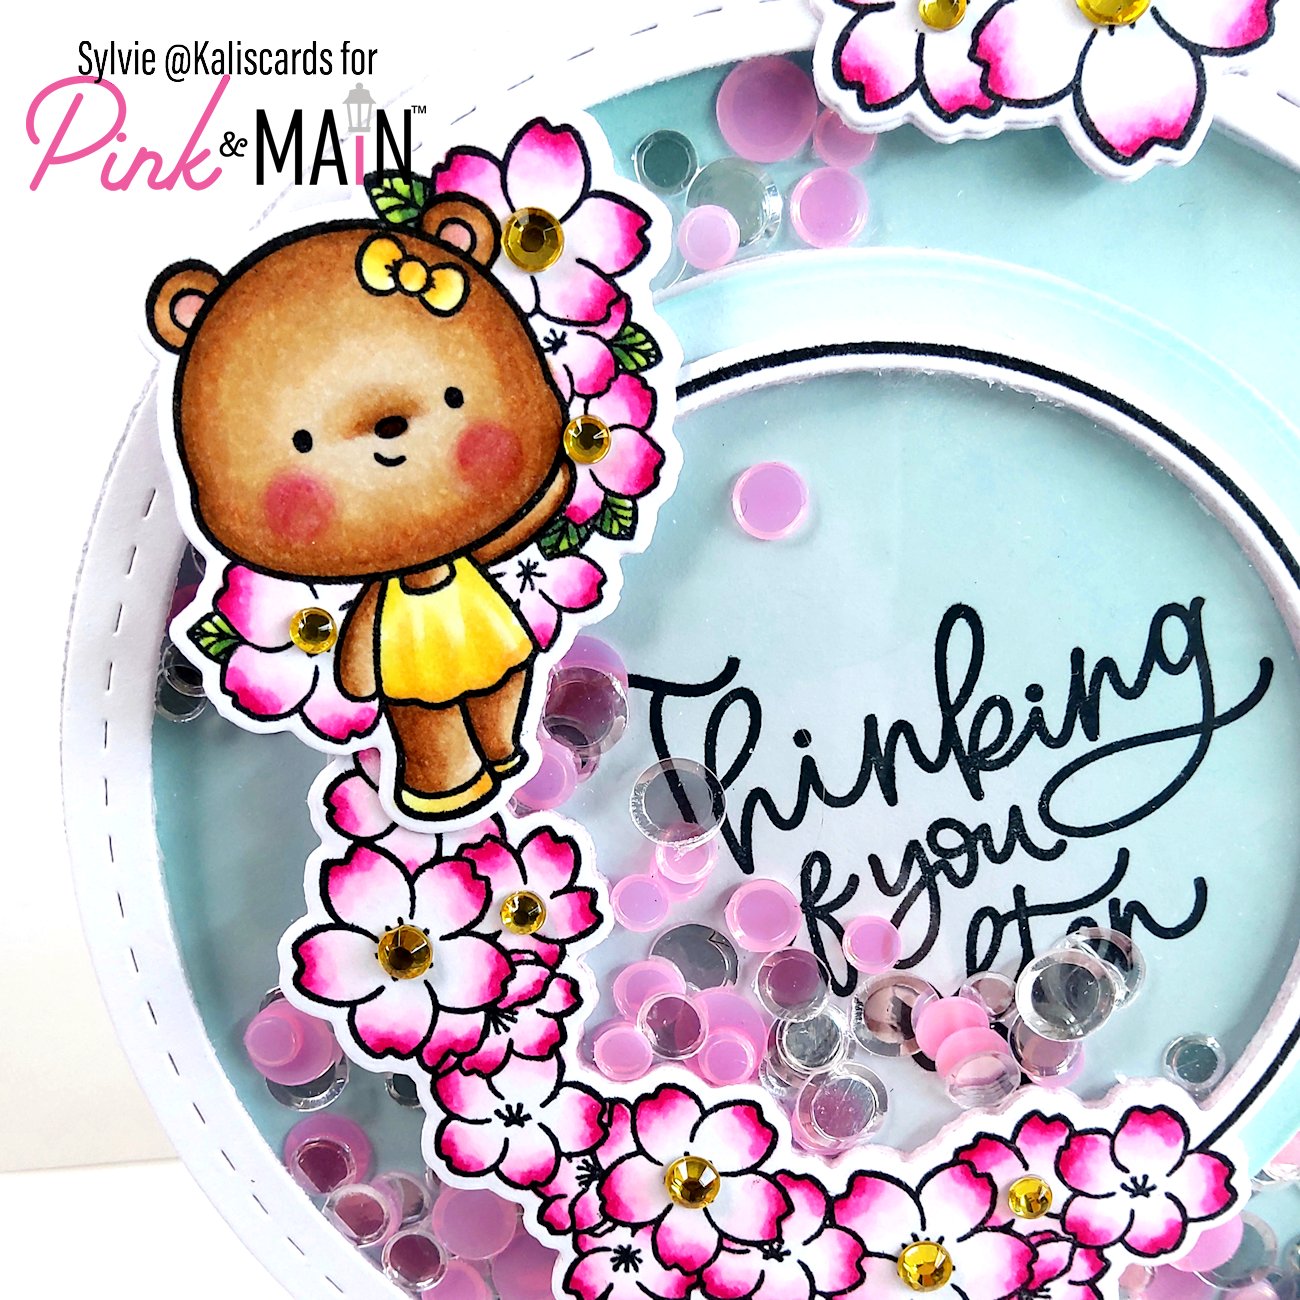
I then stamped the images from the Sakura blooms stamp set, colored them with Copic markers and used the coordinating dies. I also die cut 7 additional pieces of the floral wreath to form the inner shaker.
To assemble the big circle shaker, I started by adhering thick 3D foam at the back of the smaller circle frame. I then positionned the larger circle frame on top of the large blended circle background and used it as a guide to adhere the smaller circle frame in the center. I then added double-sided tape on top of the small circle frame. Next, I die cut another big circle from acetate and adhered it at the back of the larger frame, with double-sided tape. I then adhered thick 3D foam at the back of the acetate. I poured a mix of Poppin pink and Diamond confettis, from the new sequins collection, around the small circle. I removed the backing of the double sided tape on the small circle and the backing of the 3D foam at the back of the large circle frame and adhered it to the background. I then glued another big circle at the back for a nicer finish.
Next, I stamped the sentiment on the small circle blended background with black ink, using the floral wreath on top to position the sentiment in the center.
To assemble the small circle shaker, I die cut another 3 inches circle from acetate and adhered it at the back of the floral wreath with double-sided tape where possible and liquid glue elsewhere.
I then glued all 7 additional wreath die cuts together. This is to raise the frame and create the shaker, where 3D foam would have been impossible to adhere on the thin wreath edge. I then adhered it to the back of the acetate, again with double-sided tape where possible and liquid glue elsewhere.
To attach the small shaker onto the cardbase, while keeping it mobile, I’m using the 2 remaining small circles which I will assemble together with a brad, keeping them unattached to each other. The idea is then to adhere one circle to the larger circle and the top one behind the smaller shaker.
In order to that, I poked a hole in the center of the 2 circles, as well as the small circle die cut that I had reserved (from the center part of the frame die). I thread the brad through the first circle, then through the small circle die cut and finally through the 2nd circle. The purpose of the small circle in the middle is to reduce friction between the 2 bigger circles. I then flattened the brad at the back, using thick folded cardstock to keep it loose.
I then adhered a coin at the bottom of the front (i.e., the brad head facing up), added double-sided tape on the coin and at the top of the brad, and added 3D foam on the rest of the circle to fill around the coin and brad. The coin will add some weight to the small shaker and allow it to move more freely when rocking the card. I removed the backing of the double sided tape and 3D foam and adhered the small shaker on top, keeping the coin at the bottom. I then added double-sided tape at the back of the second circle and adhered it to the large circle shaker.
Time to adhere the images. I die cut additional images from white cardstock to adhere at the back of those images sticking out of the large circle and adhered them with liquid adhesive.
Next, I adhered all the images with double-sided tape and/or liquid adhesive onto the shaker.
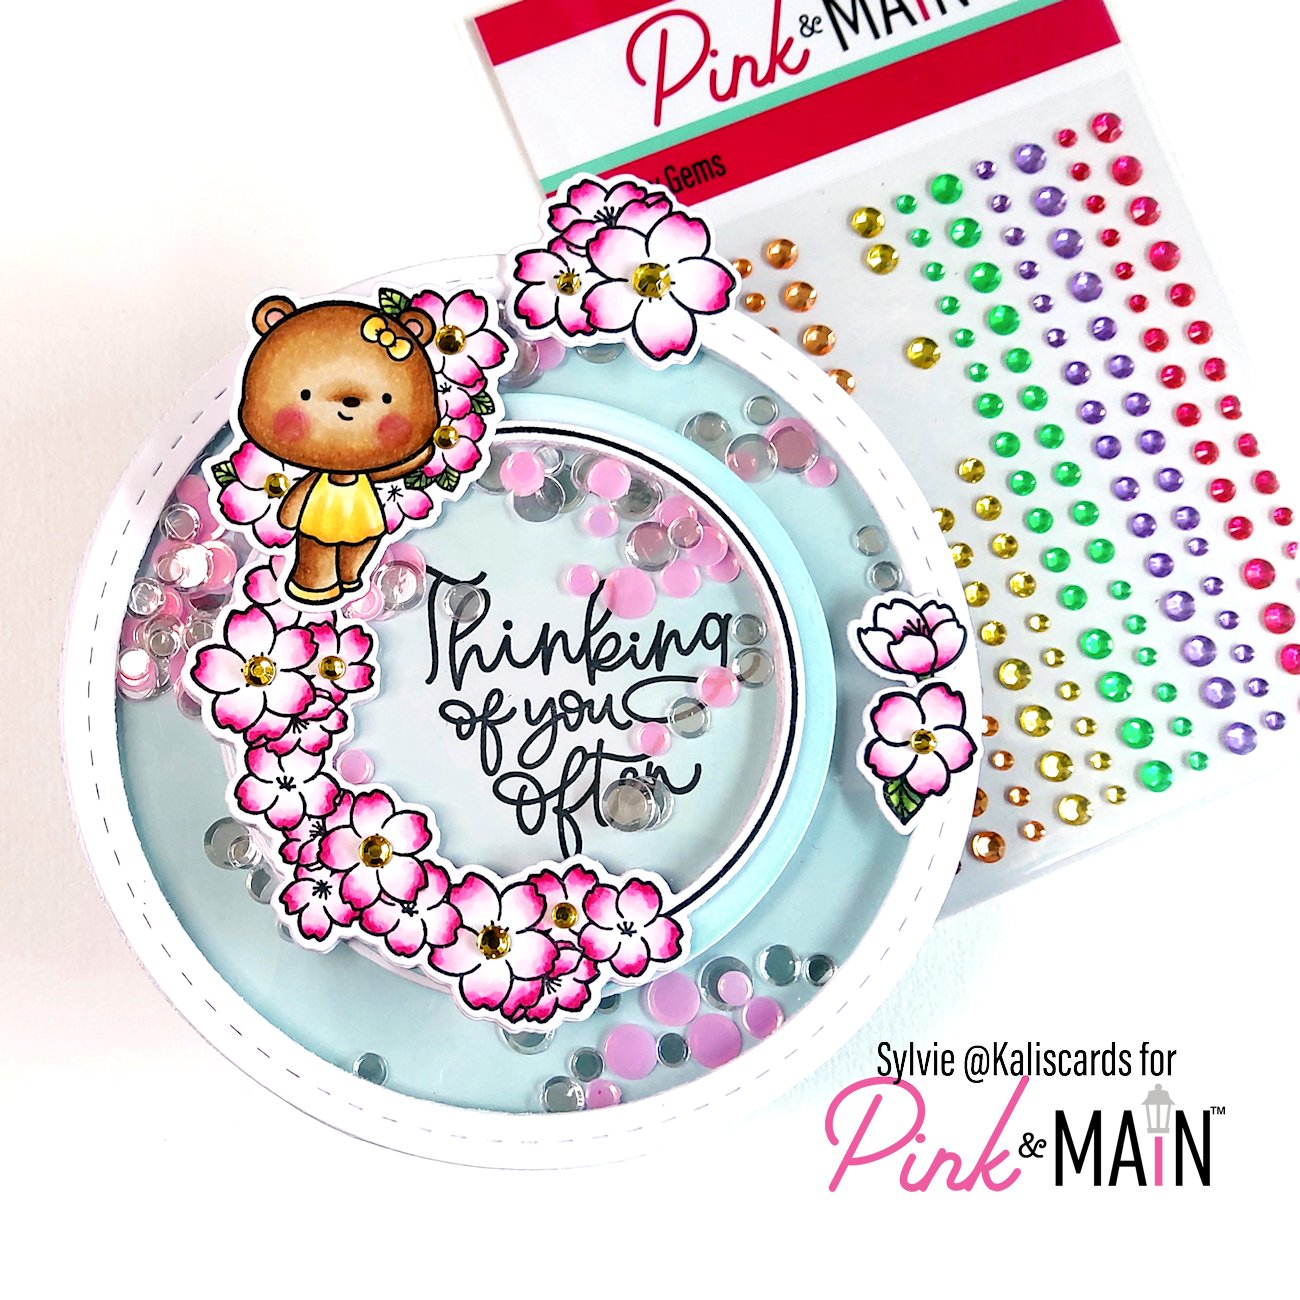
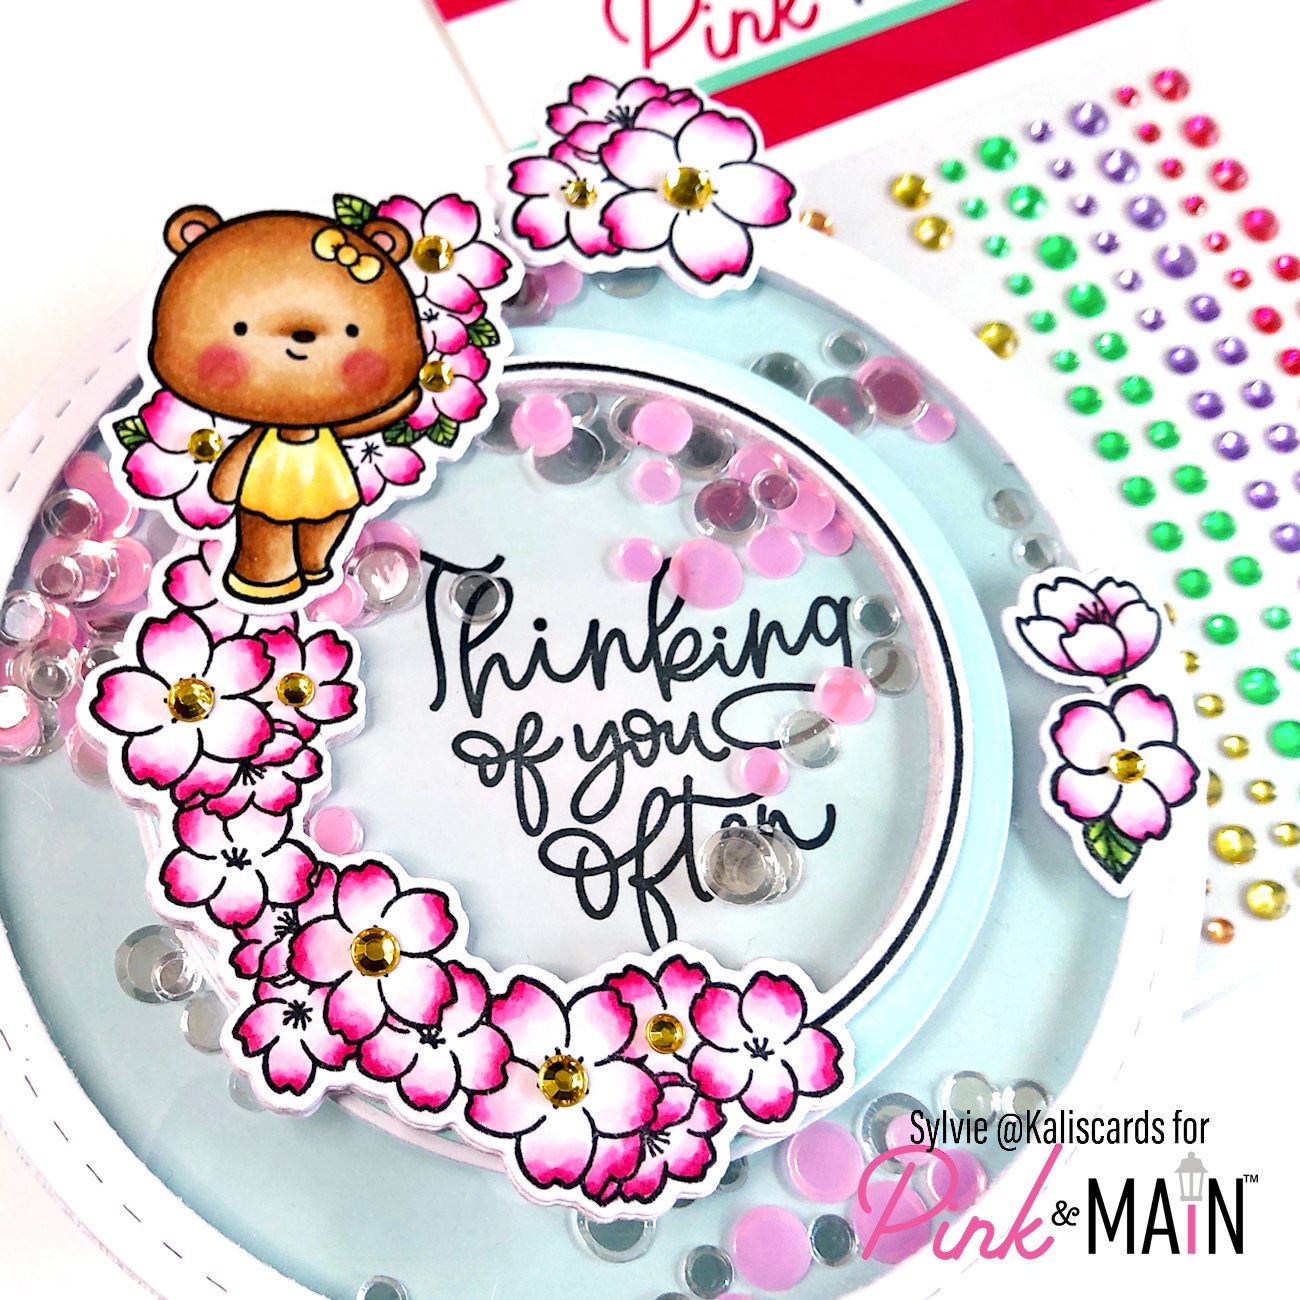
To finish the card, I adhered a few sticky gems from the Special day sheet, in the center of selected flowers.
Finally, I took the last big circle die cut, scored it in the middle and folded it. I then glued the bottom half behind the large circle shaker. Time to test how well your card rock. If the folded circle at the back opens wide because of weight, you can create a small base to keep it slightly open, as I did. For that, cut a piece of cardstock 3 by 1 inches and score it at 0.75, 1.5 and 2.25 inches. Fold inwards in the central scored line and outwards on the two other score lines. Adhere it inside the folded circle, towards the bottom, presenting the piece in an M shape and gluing the 2 outer flaps on each side of the circle.
Hope you like this interactive rocking double shaker easel. It may look a little intimidating but if you follow the steps, it should come out nicely. You can also watch my reel on Instagram @kaliscards.
Thank you for stopping by and have a wonderful crafty time!
Sylvie
this is a gorgeous and fabulous card