
Hello Pink and Main friends. It’s Donna here, and I’m so excited to bring you a set of cards and a video today! I’ve been playing with the Poinsettia Stencil, and showing how to use this single stencil with three layers included in its design.
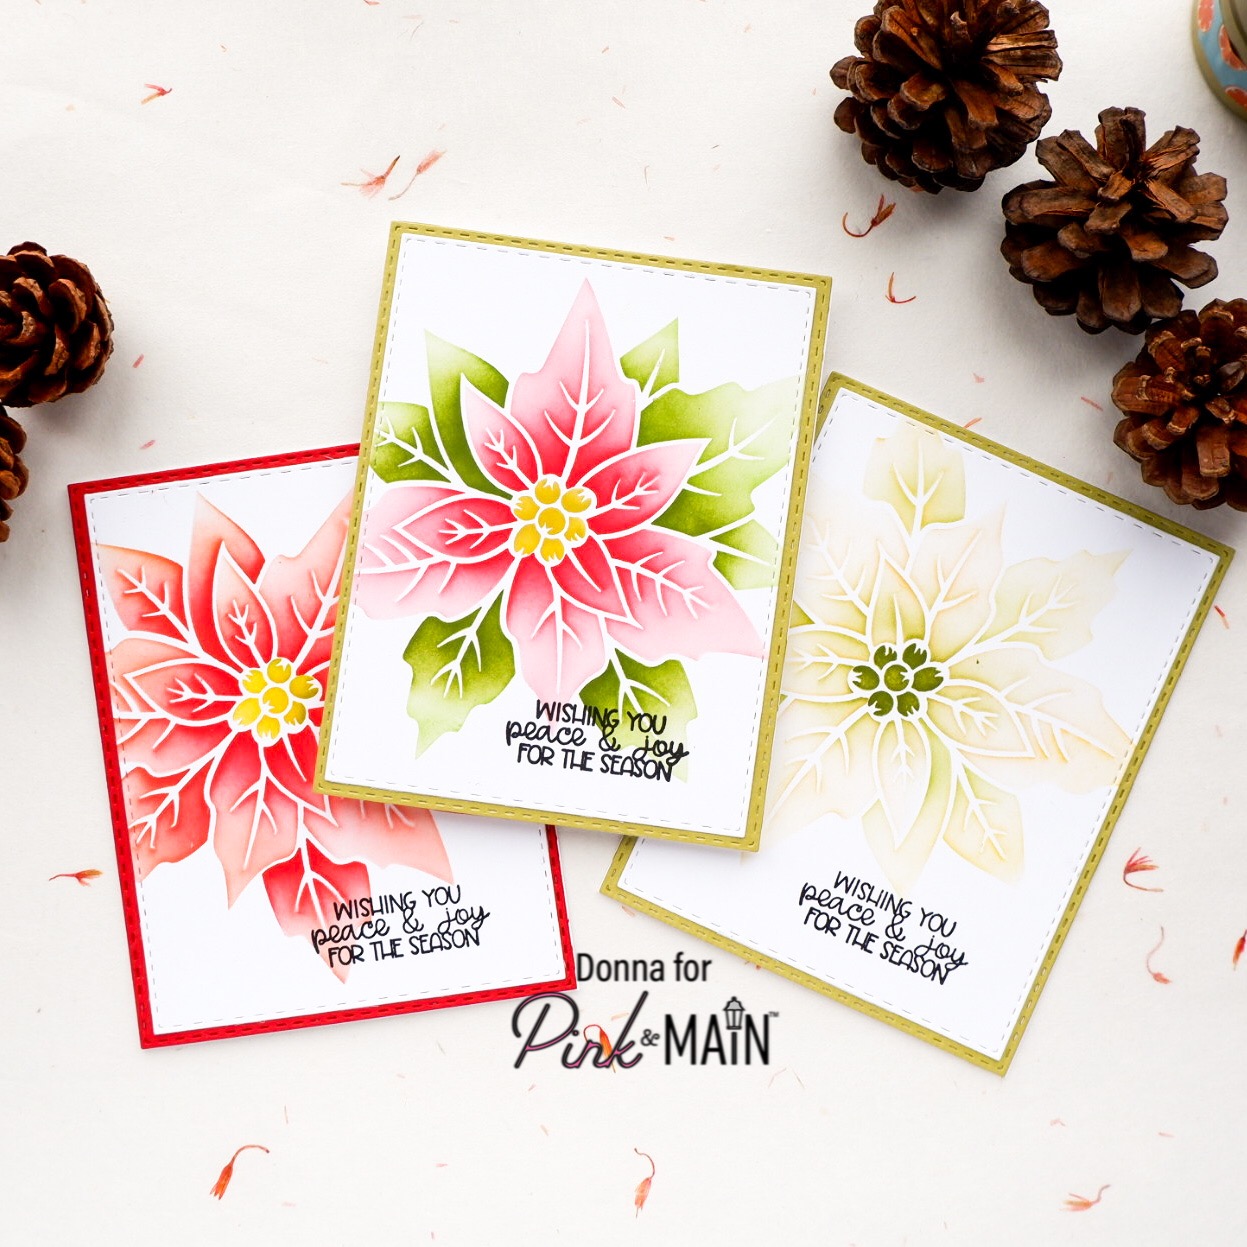
I first prepared the stencil with some Tombow Mono Multi Glue. I used my finger to put a little on the back of the delicate parts of the stencil and left it to dry. When it dries, this glue becomes removable, and it’s a great trick to use it on the back of stencils. For the first card, I chose to use different colours for the different elements of the Poinsettia flower, choosing greens for the background and vibrant pinky reds for the front petals/leaves. I used two colours of ink for each of the areas, blending the lighter colour over the whole leaves before coming back in with the deeper colour in just the centres.

The great thing about this stencil is that you don’t have to fuss over how to line it up, because all the elements of the flower are facing the same direction on the stencil. It’s one of those little details that I didn’t even notice until I started using the stencil.
You can see the video of this card, and how the stencil works HERE. There are also a few other tricks and tips along the way about layering papers, and other crafty topics! https://youtu.be/-FdqybVcNmw
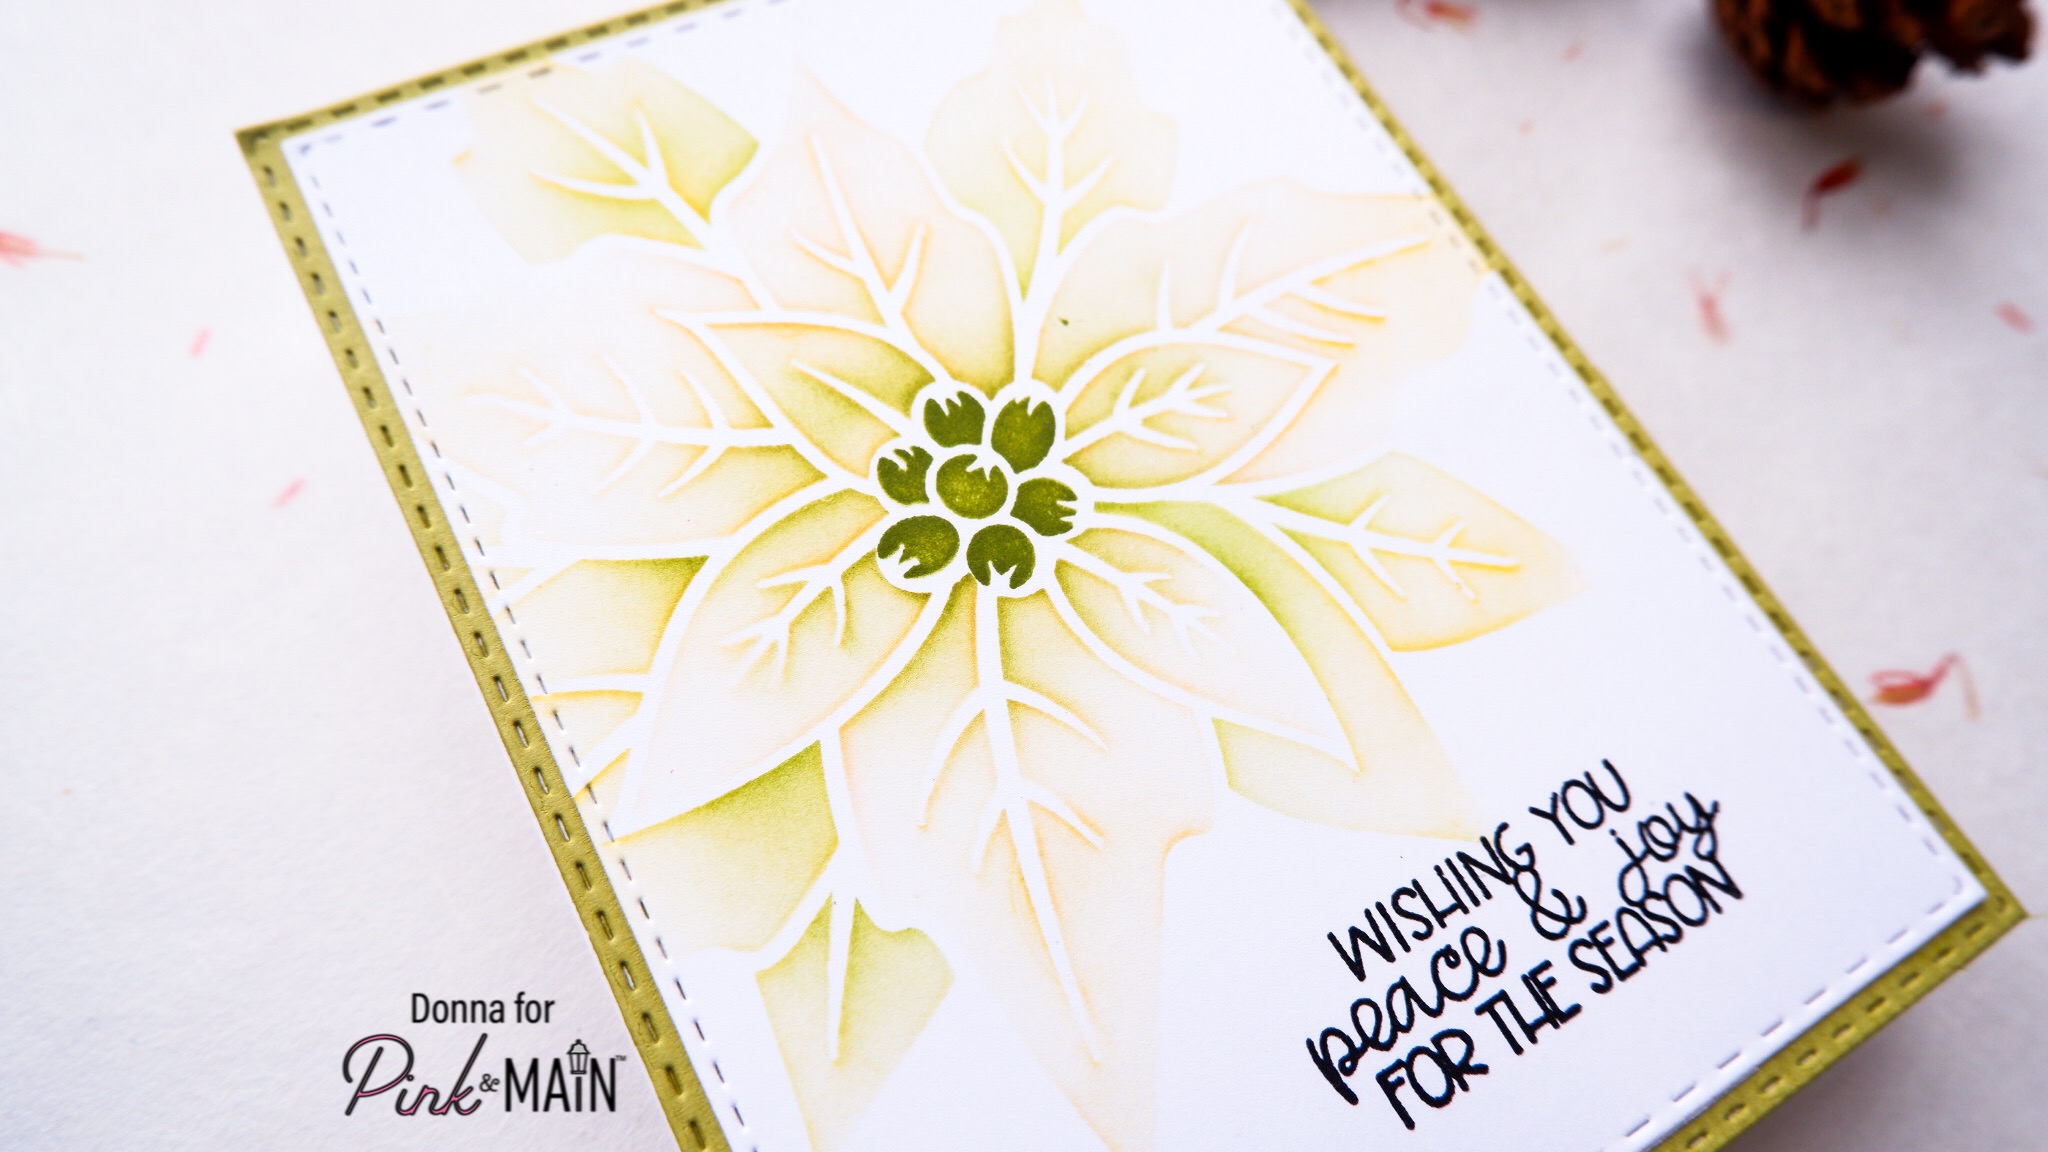
For the second card, I made a very pale colour scheme, based on some pictures of whitish green poinsettias that I found on the internet.
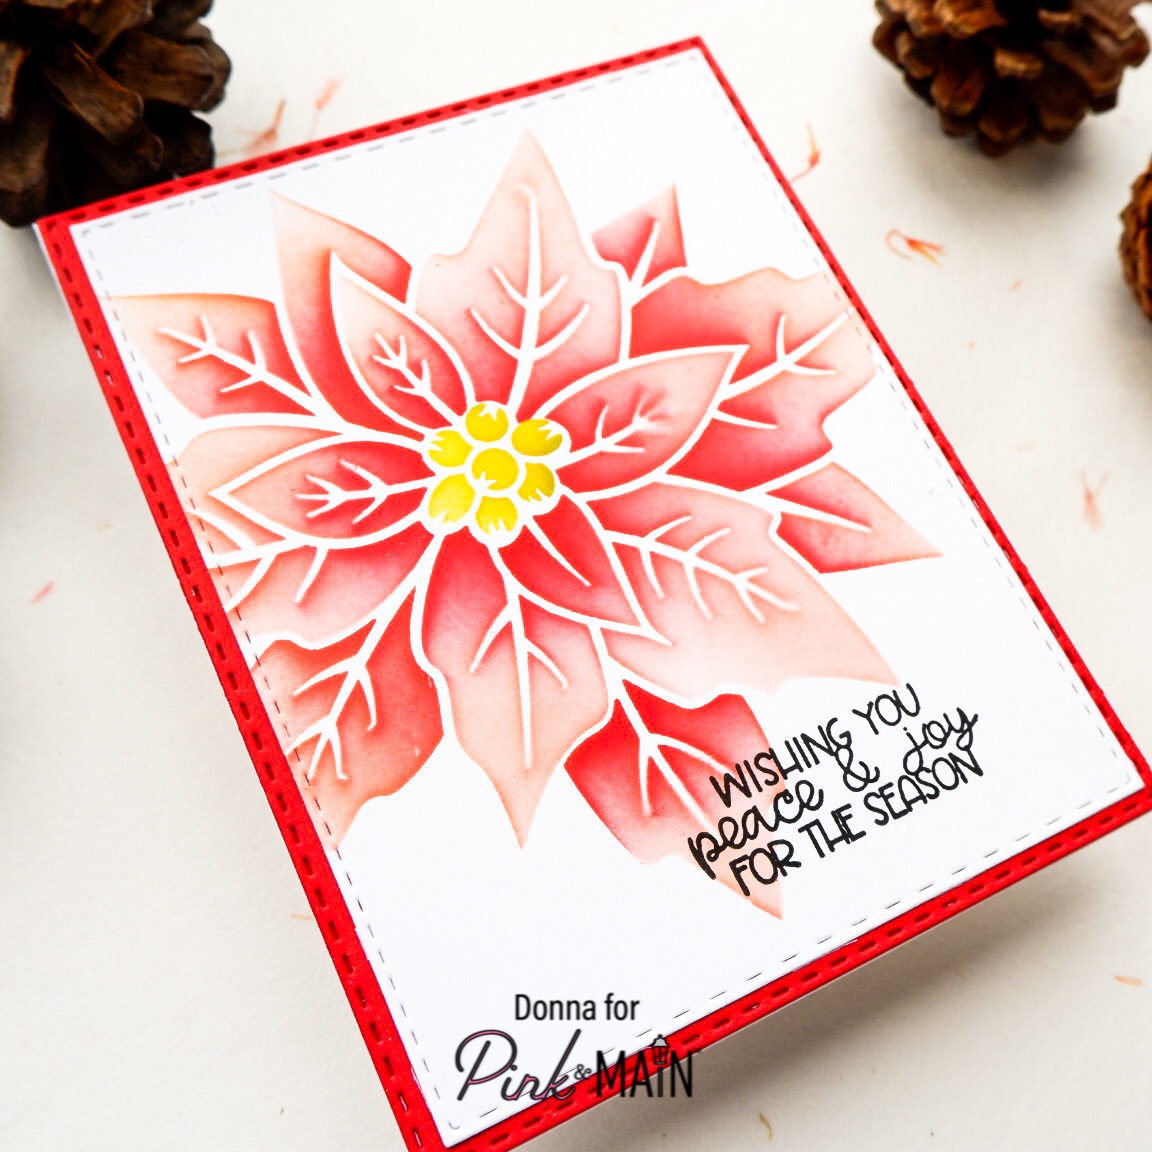
Finally I went for a vibrant warm red, made by blending an apricot ink under the reds that I used for the first card.
The sentiment for all three cards comes from the adorable Winter Cardinals Stamp set. I love this set, and both the cute chubby birds and the mixed font sentiments are getting a lot of use from me! I stamped the sentiments in Versafine Onyx Black ink, because it’s rich and dark and can stand up to being stamped over the image. These cards could easily be made as one layer cards, but what would I do without my Stitched Rectangle dies. I used both Set 1 and Set 2, because I love the way the sizes fit together to make a fine border.
I hope you’ve enjoyed seeing these cards, and that you found the video helpful. Until next time, may your days be full of peace and joy, just like the wish on the cards.
Blessings,