
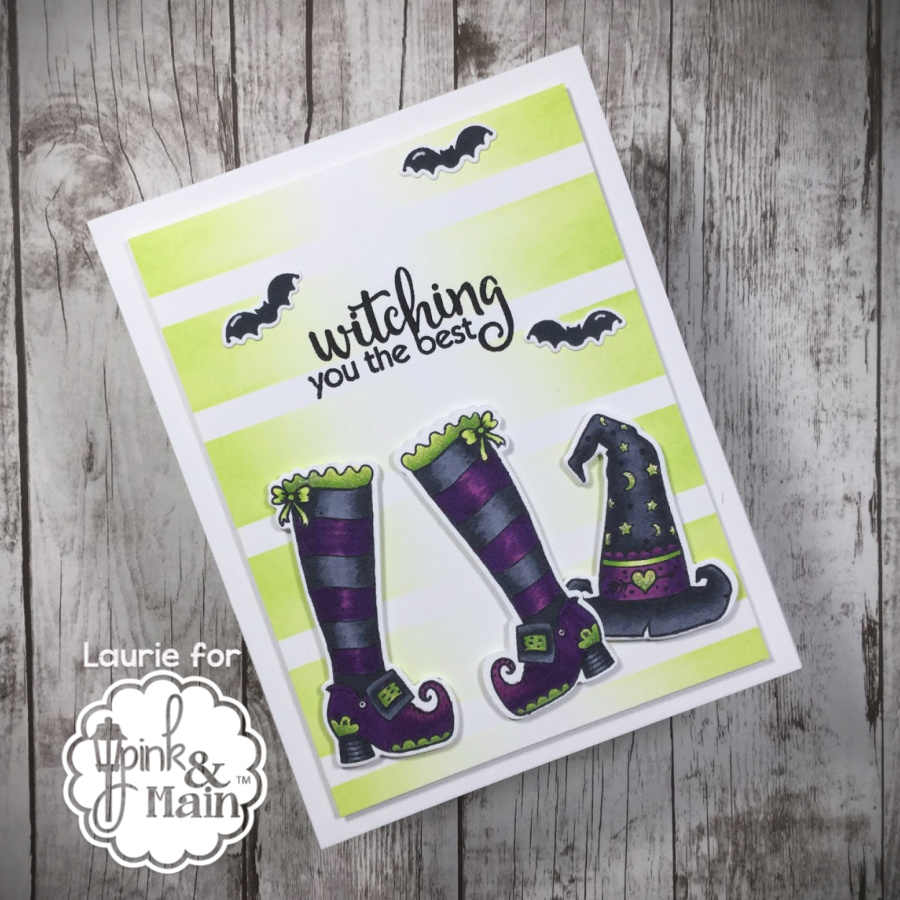
Hello crafty friends and welcome back! Laurie here with you to share a rather lengthy post. I wanted to do a bit of a tutorial on the mirror stamping technique as well as mirror die cutting. These two techniques really allow you to get more out of your stamps and dies! Here’s the card we’ll be creating.
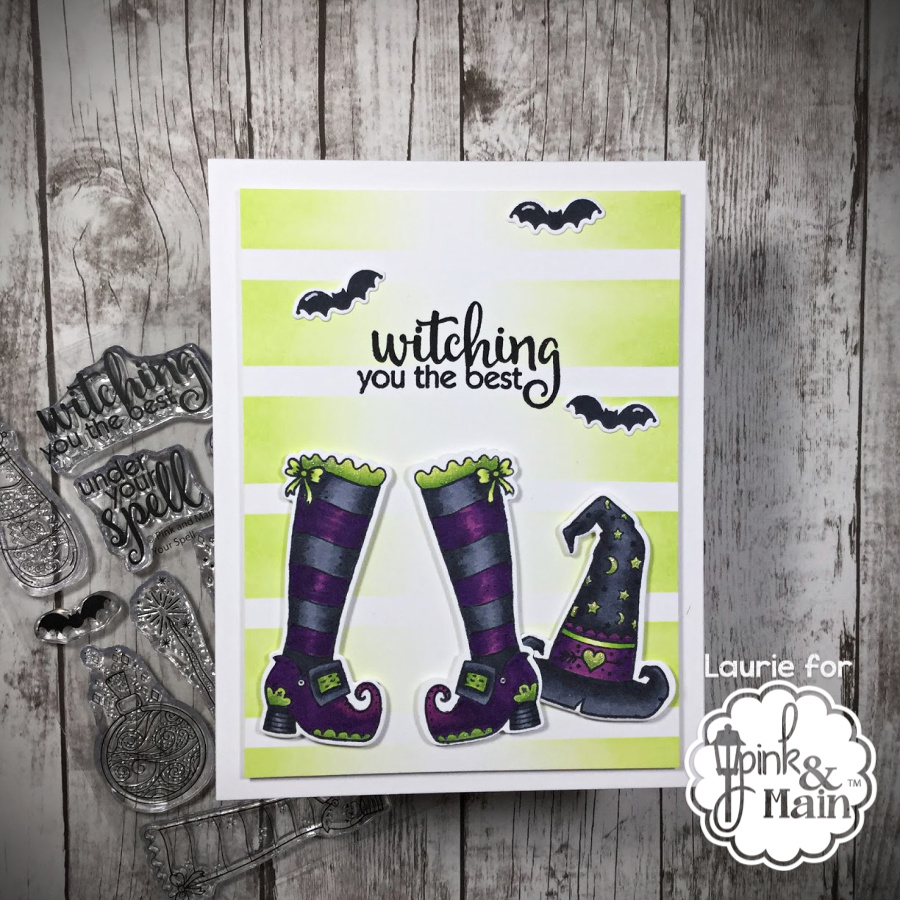
Let’s get started! I used the new Your Spell Stamp Set along with its coordinating dies. This set has the cutest witches boot but I wanted to have two boots that faced each other. I’m going this technique using the Misti Stamping Tool but it isn’t required. It just makes life a little easier.
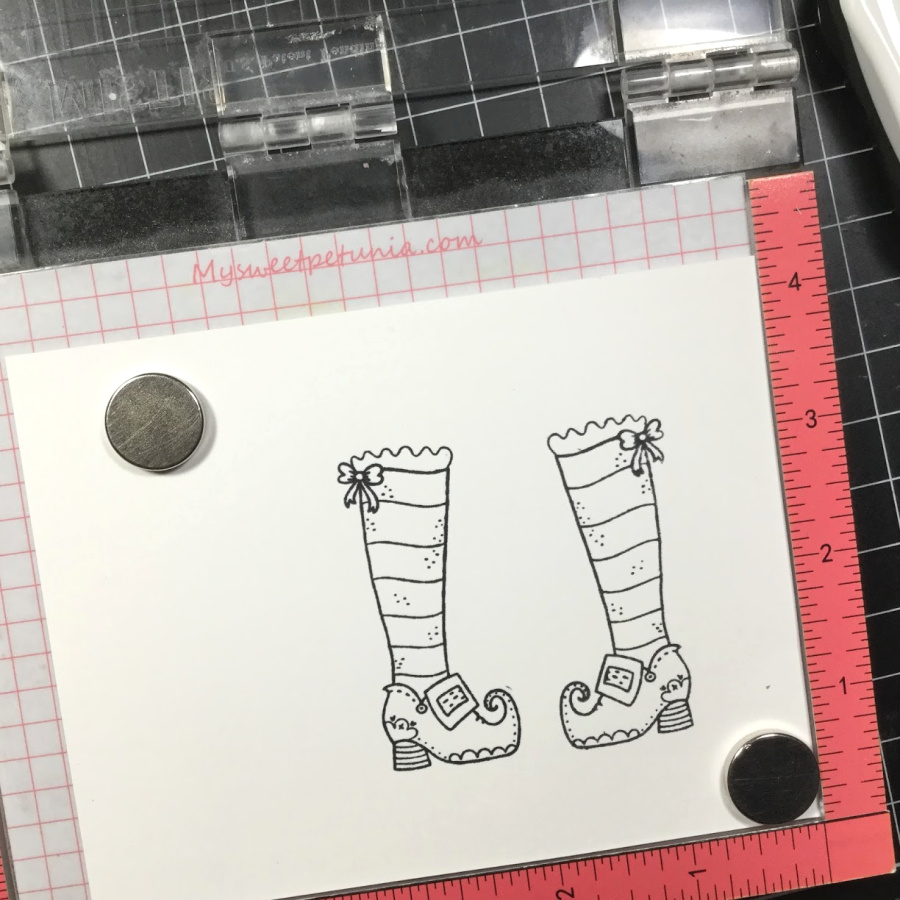
First, you will need some sort of solid stamp that is just a bit larger than the image you want to use. Think large rectangle or even the back of a background stamp (you will use the back of the stamp!) There are special made stamps to do this technique, which I happen to have.
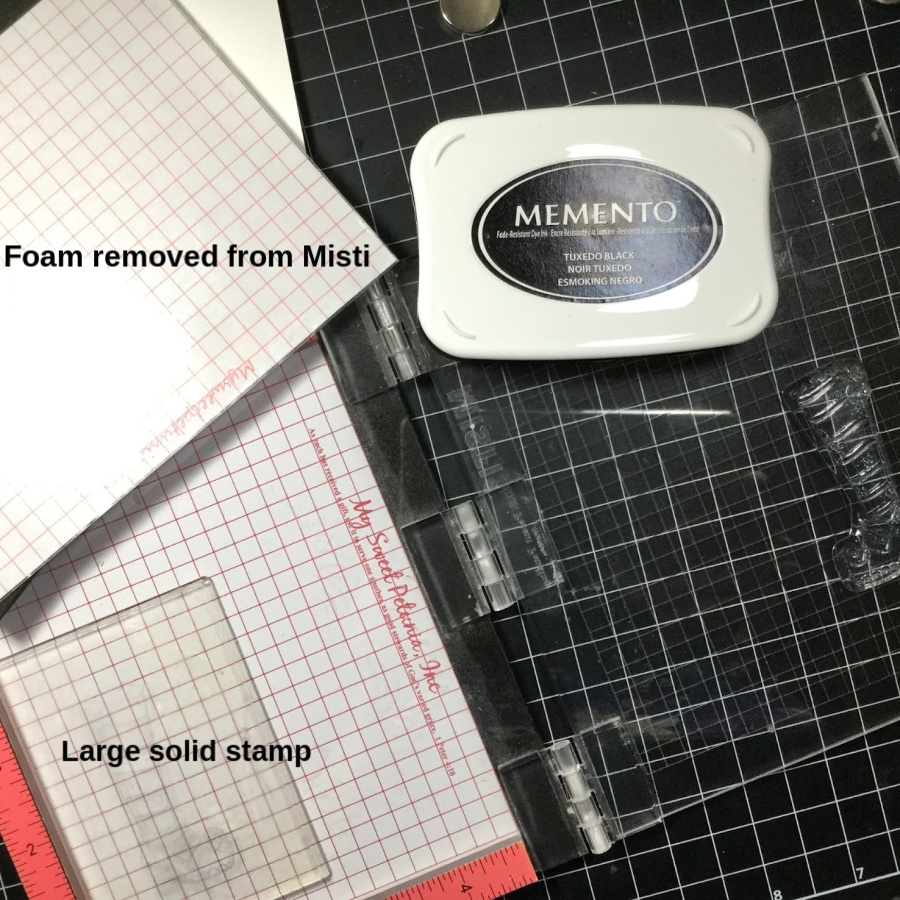
Remove the grid paper as well as the foam insert. Place your large solid stamp into the corner, place your image on top and pick up with the door of the Misti. Ink up the stamp and press down onto the large solid stamp. This will leave the impression.
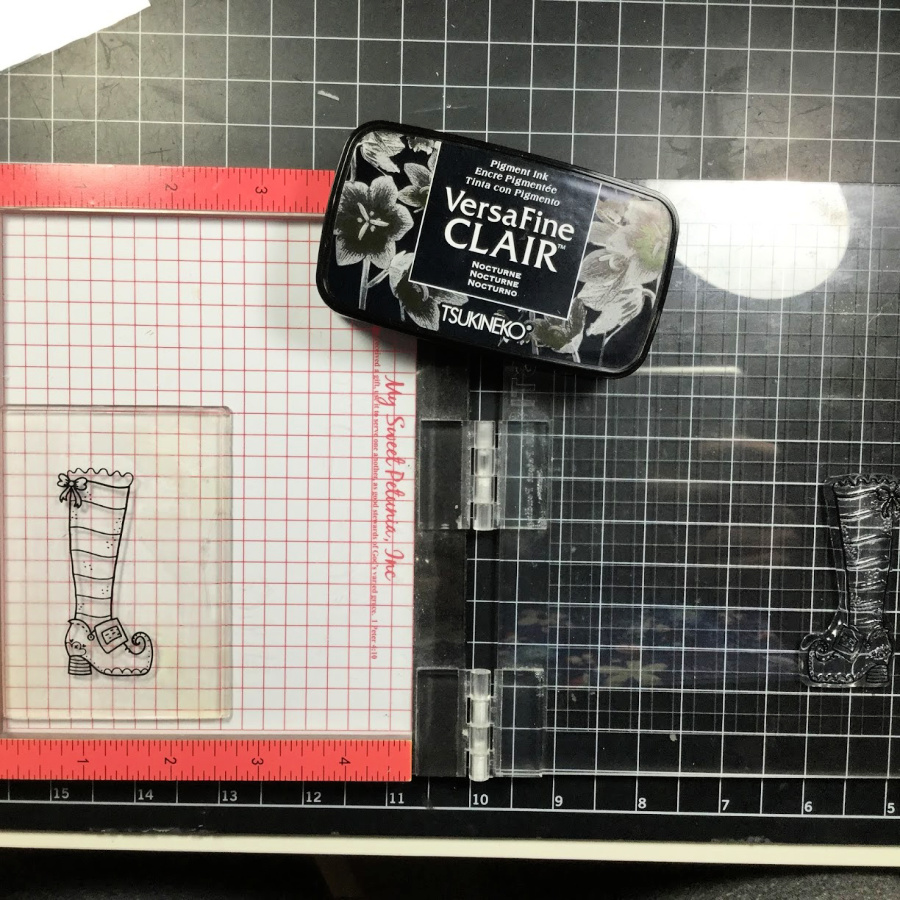
Please ignore the Versafine Ink. This was a test run!! I did use the Memento but had to stamp twice for a darker impression!!
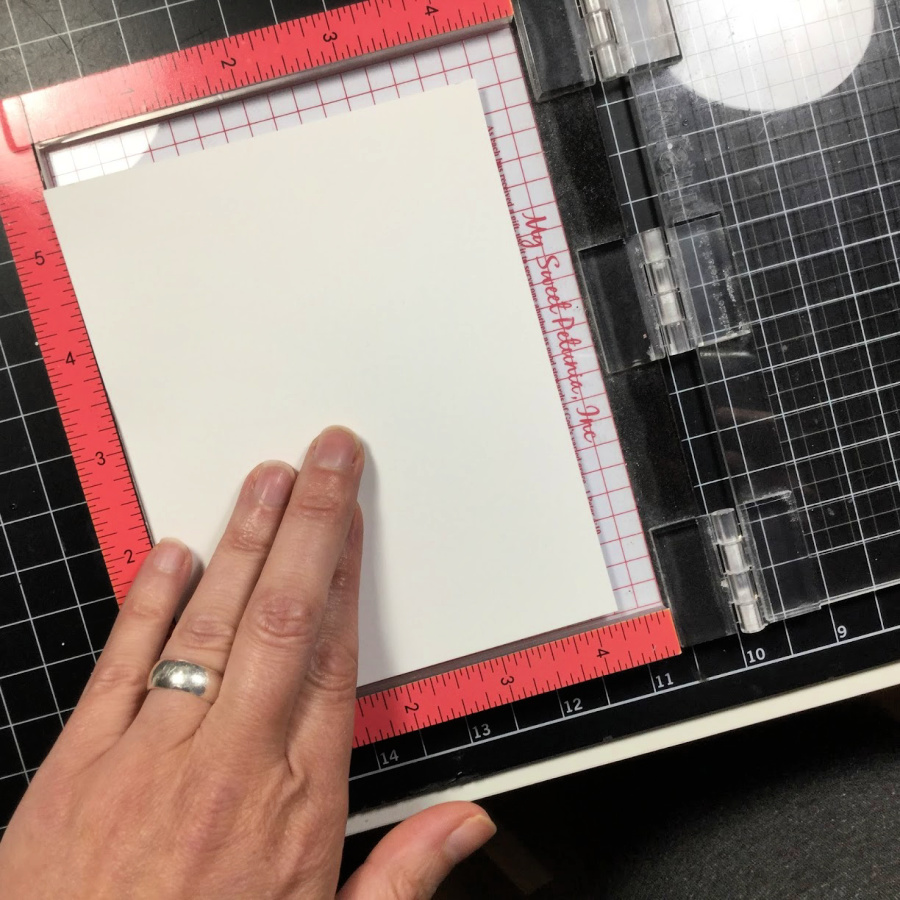
Now, take your cardstock and lay it straight down onto the stamped impression. Try not to slide the paper around. Run your hand over the top and voila, you’ve got the reverse image!!
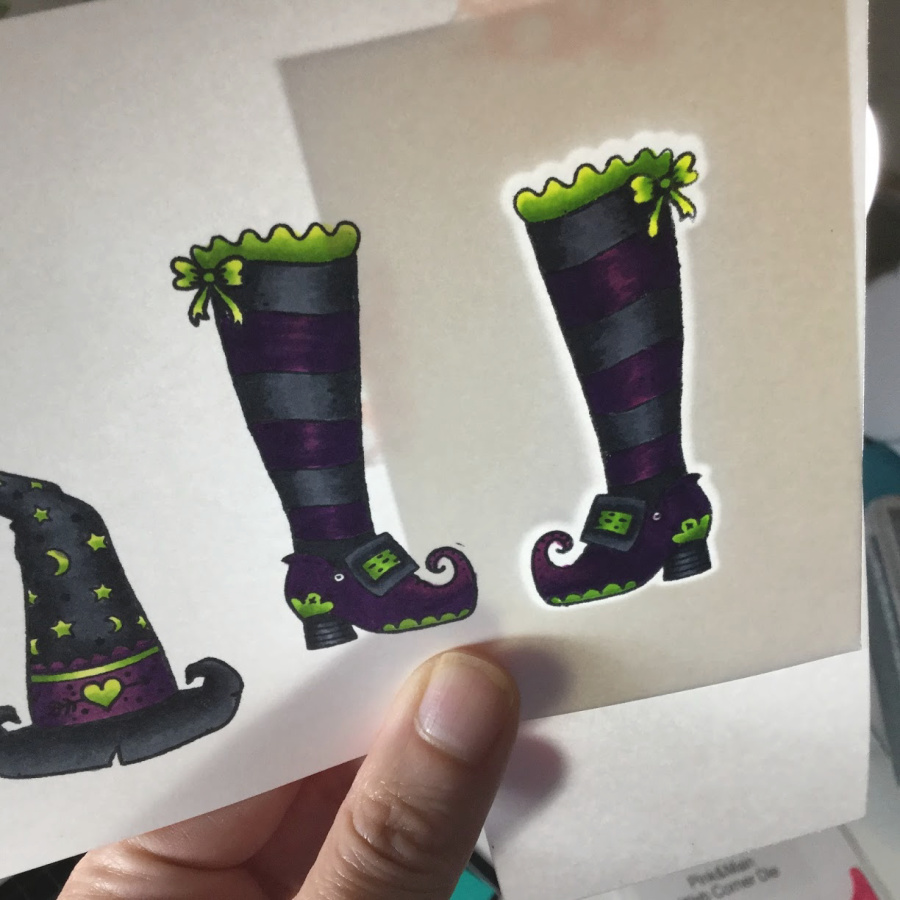
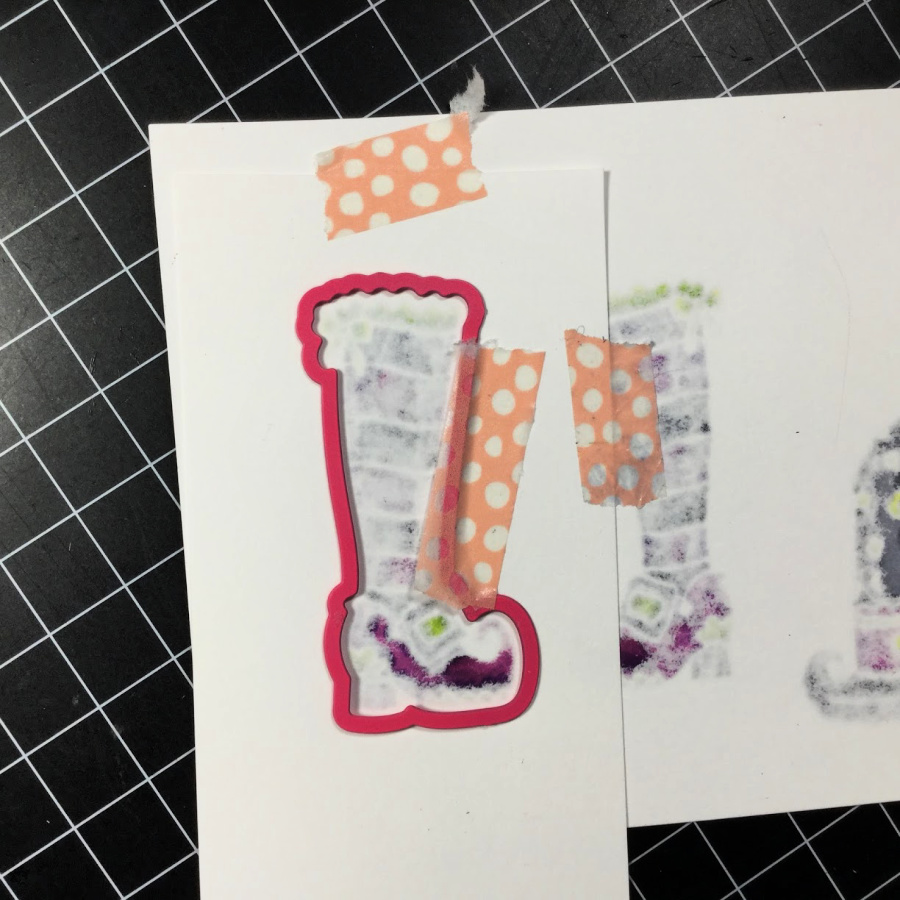
I used alcohol markers to colour these cute boots up. Now the die cutting. To cut the mirror image, take the coordinating die and cut from a scrap piece of paper/cardstock. This will create a jig. Line the jig up on the back of the stamped image and tape down. Hold the cardstock up to a light to make this easier!
Align the die into the jig on the back side of the cardstock and run through your machine as normal.
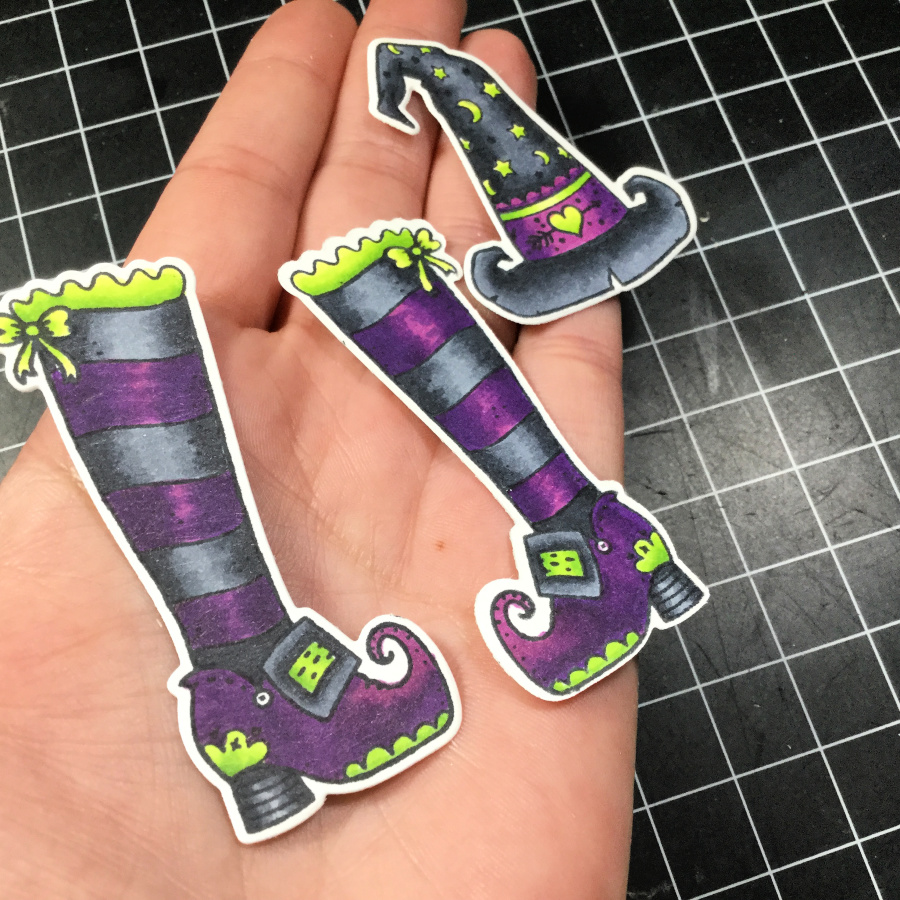
You now have a perfectly cut mirror image! Note: these images would also be very easy to fussy cut!
To create the background on this card, I used 1/4″ painters tape to create stripes. I used my grid mat to help line things up.
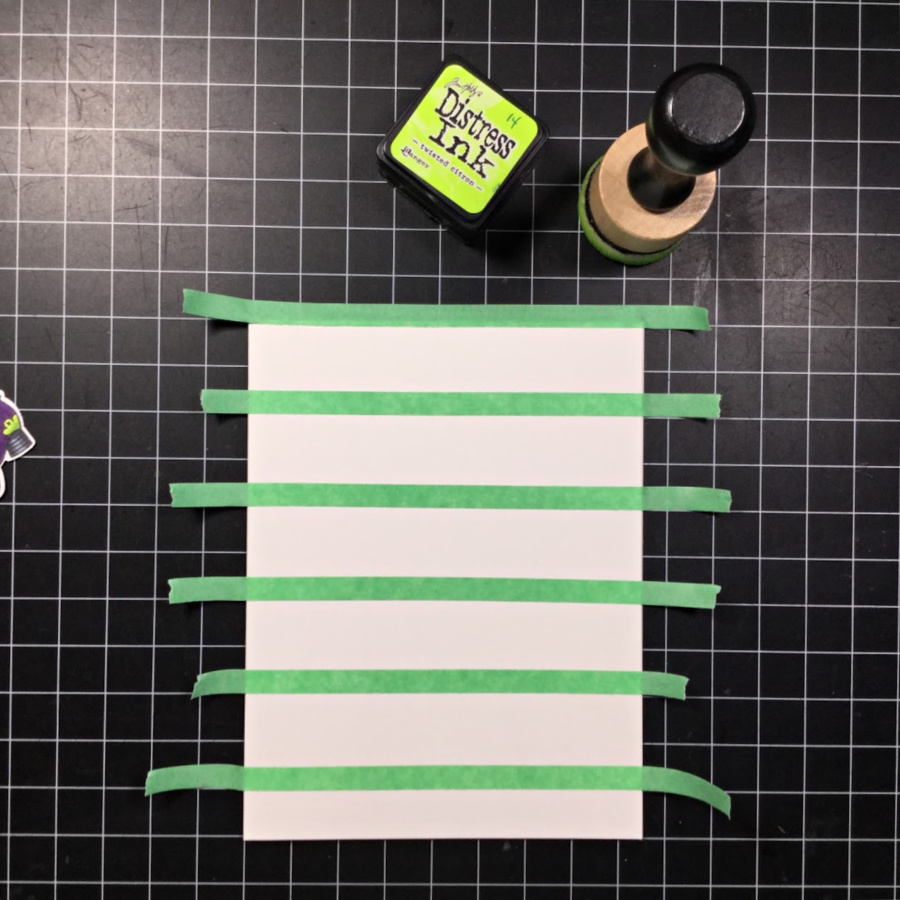
I thought Twisted Citron Distress Ink would be the perfect green! I started heavier on each side and let it fade out towards the centre. I trimmed this panel down to 3.75 X 5 inches.
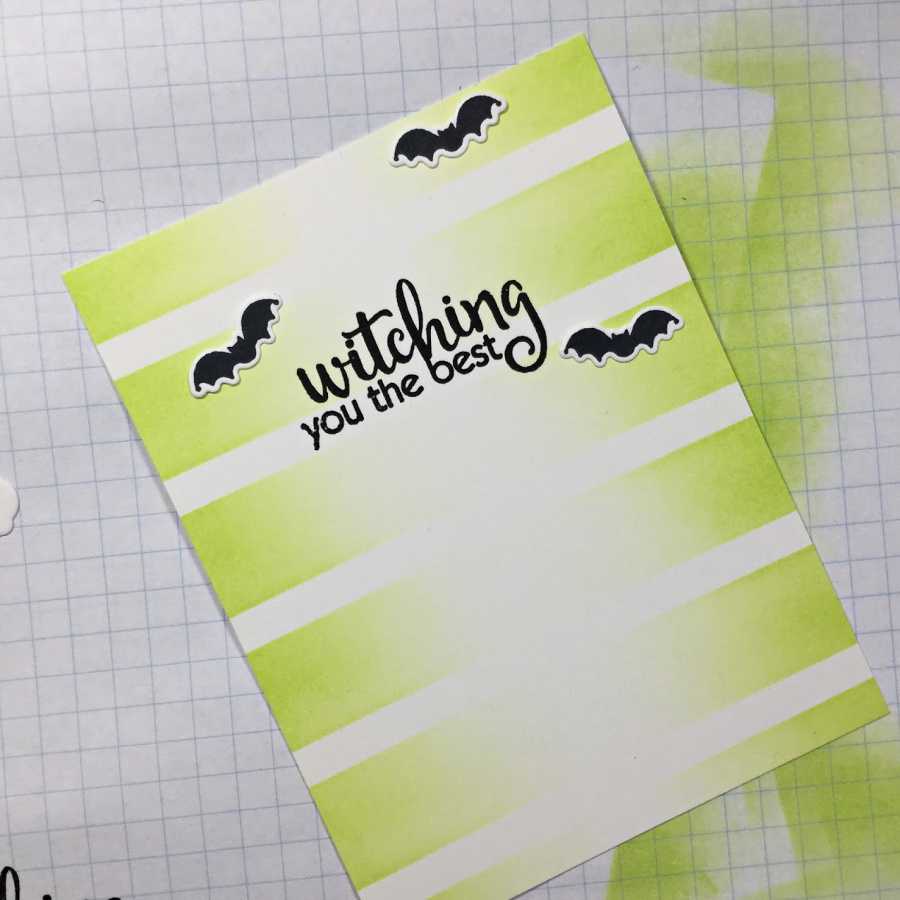
I added a few of the cut bats as well as the sentiment then added this to a white, top fold card base.
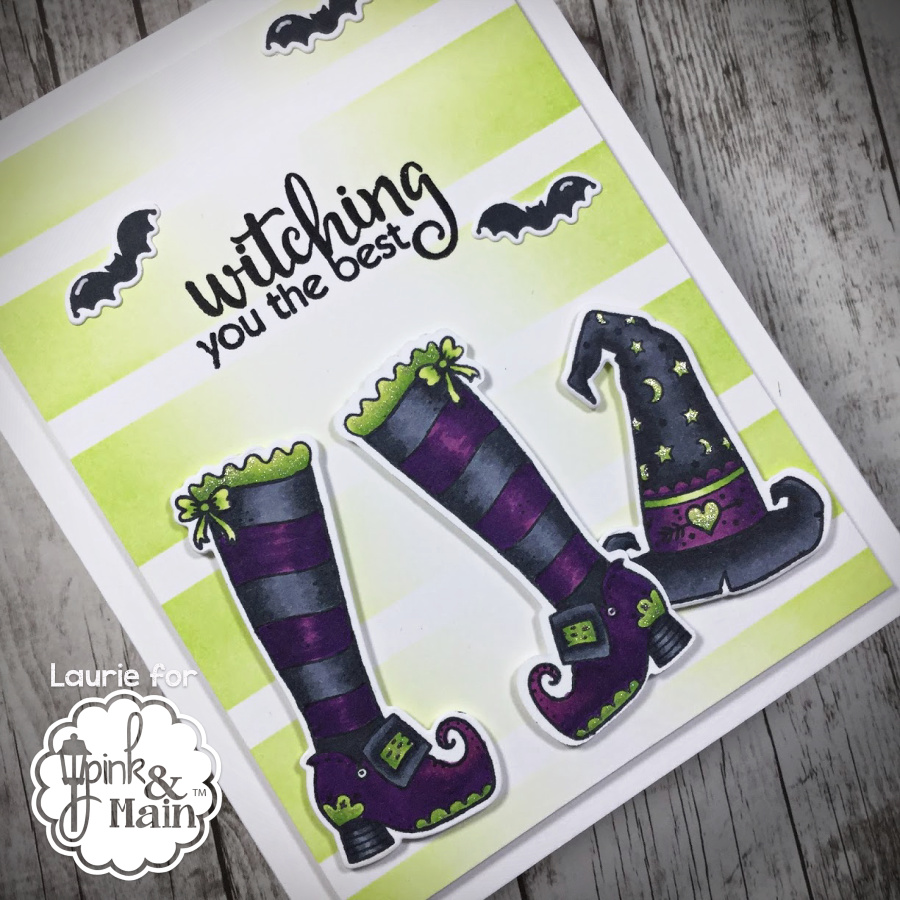
I used foam adhesive on the hat and boots, added a bit of shimmer to the green areas and called this card done!!
I have to credit Jennifer McGuire for this amazing technique!!
Thanks for hanging in with me this morning! Have a great day!
Laurie
Cute!
Have a great day!
Marilyn ❤️
I’m new and really enjoy learning the techniques.