
Hi everyone!
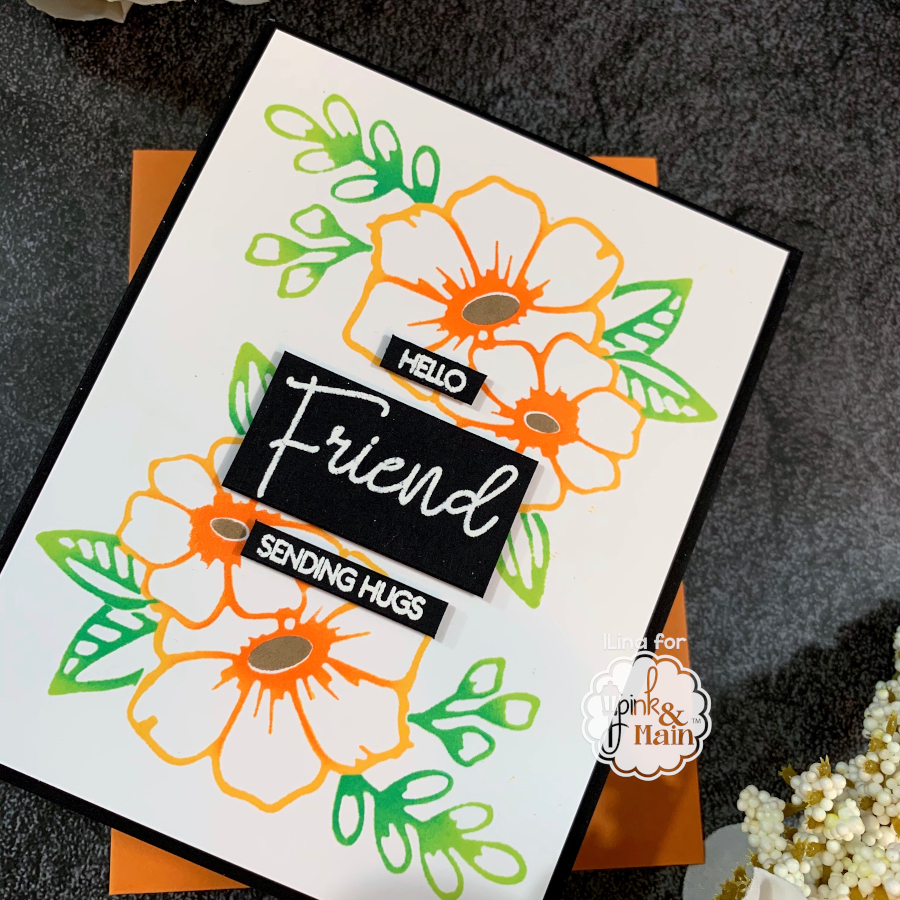
Ilina here. Today’s card features stamping with die cuts.
To make the card you will need the Floral Corners die, Fun Foam and double sided adhesive sheet (optional). Apply the double sided adhesive sheet on one side of the fun foam and die cut it. This creates your die stamp.
If you want multicolored image like I did on my card, cut off the leaves carefully and set them aside.
To stamp the image I used my MISTI. Remove the backing of the adhesive and use your anti static powder tool to remove some of the stickiness (or use your clothes or soft cloth) position it in the MISTI and close the door to pick it up. Ink and stamp. Repeat few times as needed, also you can apply darker color using ink blending tool to get ombre colored image. Turn the panel 180 degrees and repeat.
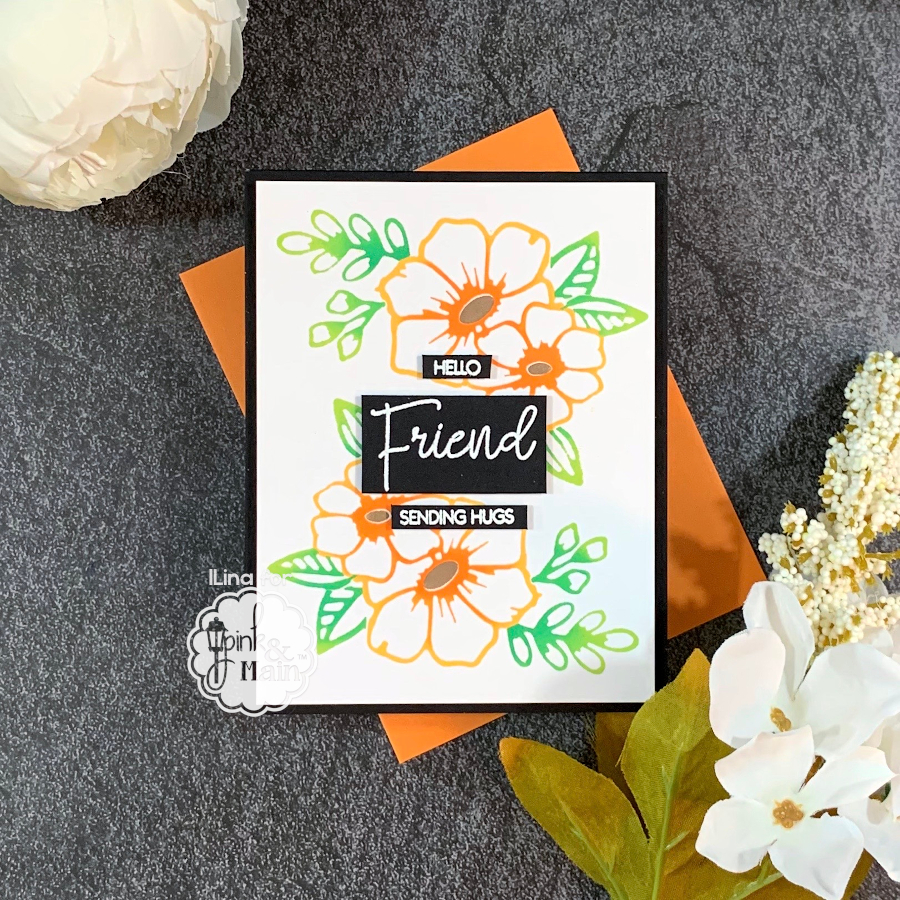
Once you are done with the flower image. position the center and the leaves. Pick them up with the door of the MISTI, then remove the flower die cut “Stamps” that have already been stamped. Ink the leaves and stamp. Turn the panel 180 degrees and repeat. Once done with the leaves, remove them and stamp the center of the flowers. Once done set the panel aside.
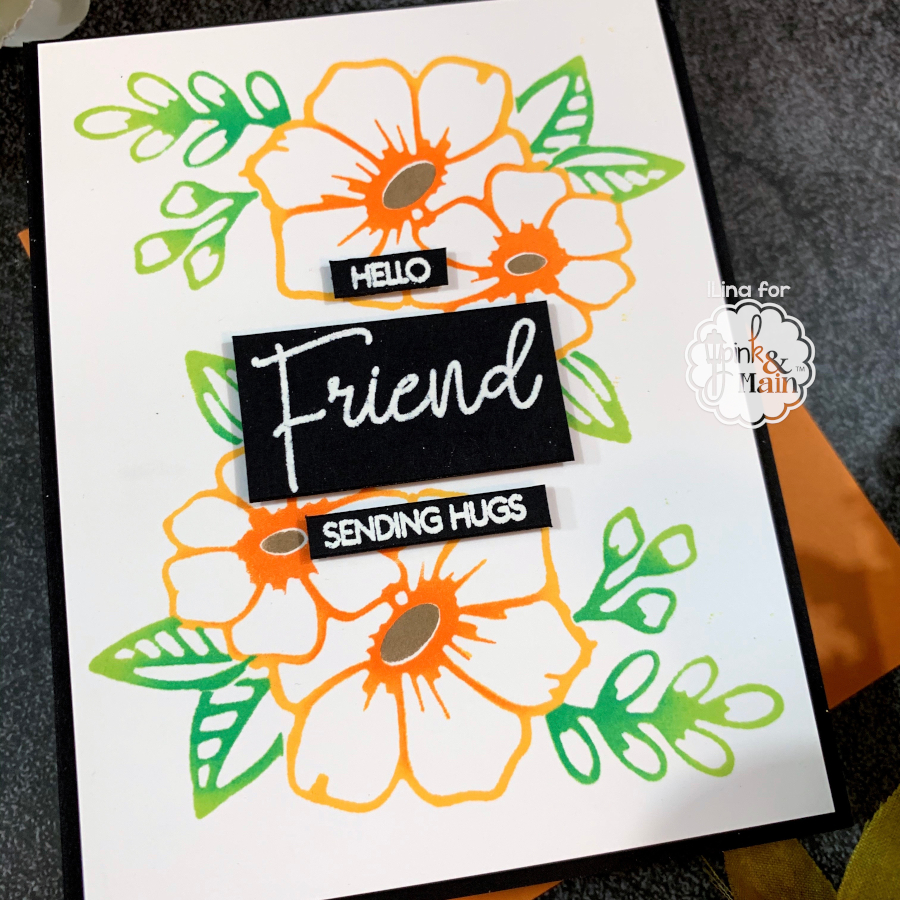
Stamp the sentiments from the Forever in My Heart and Spring Sentiments on black card stock and emboss in white. Trim to size. Trim the stamped panel to 4″ x 5 1/4″, adhere the sentiments and adhere to a black note card to finish it off.

This is beautiful. I absolutely love the colors.
You made a pretty card! You make me want to work with my Floral Corner Die. I’m off to it!