
This post uses affiliate links at no additional cost to you! By clicking the links in this post, I earn a small commission should you make a purchase. Thank you in advance!
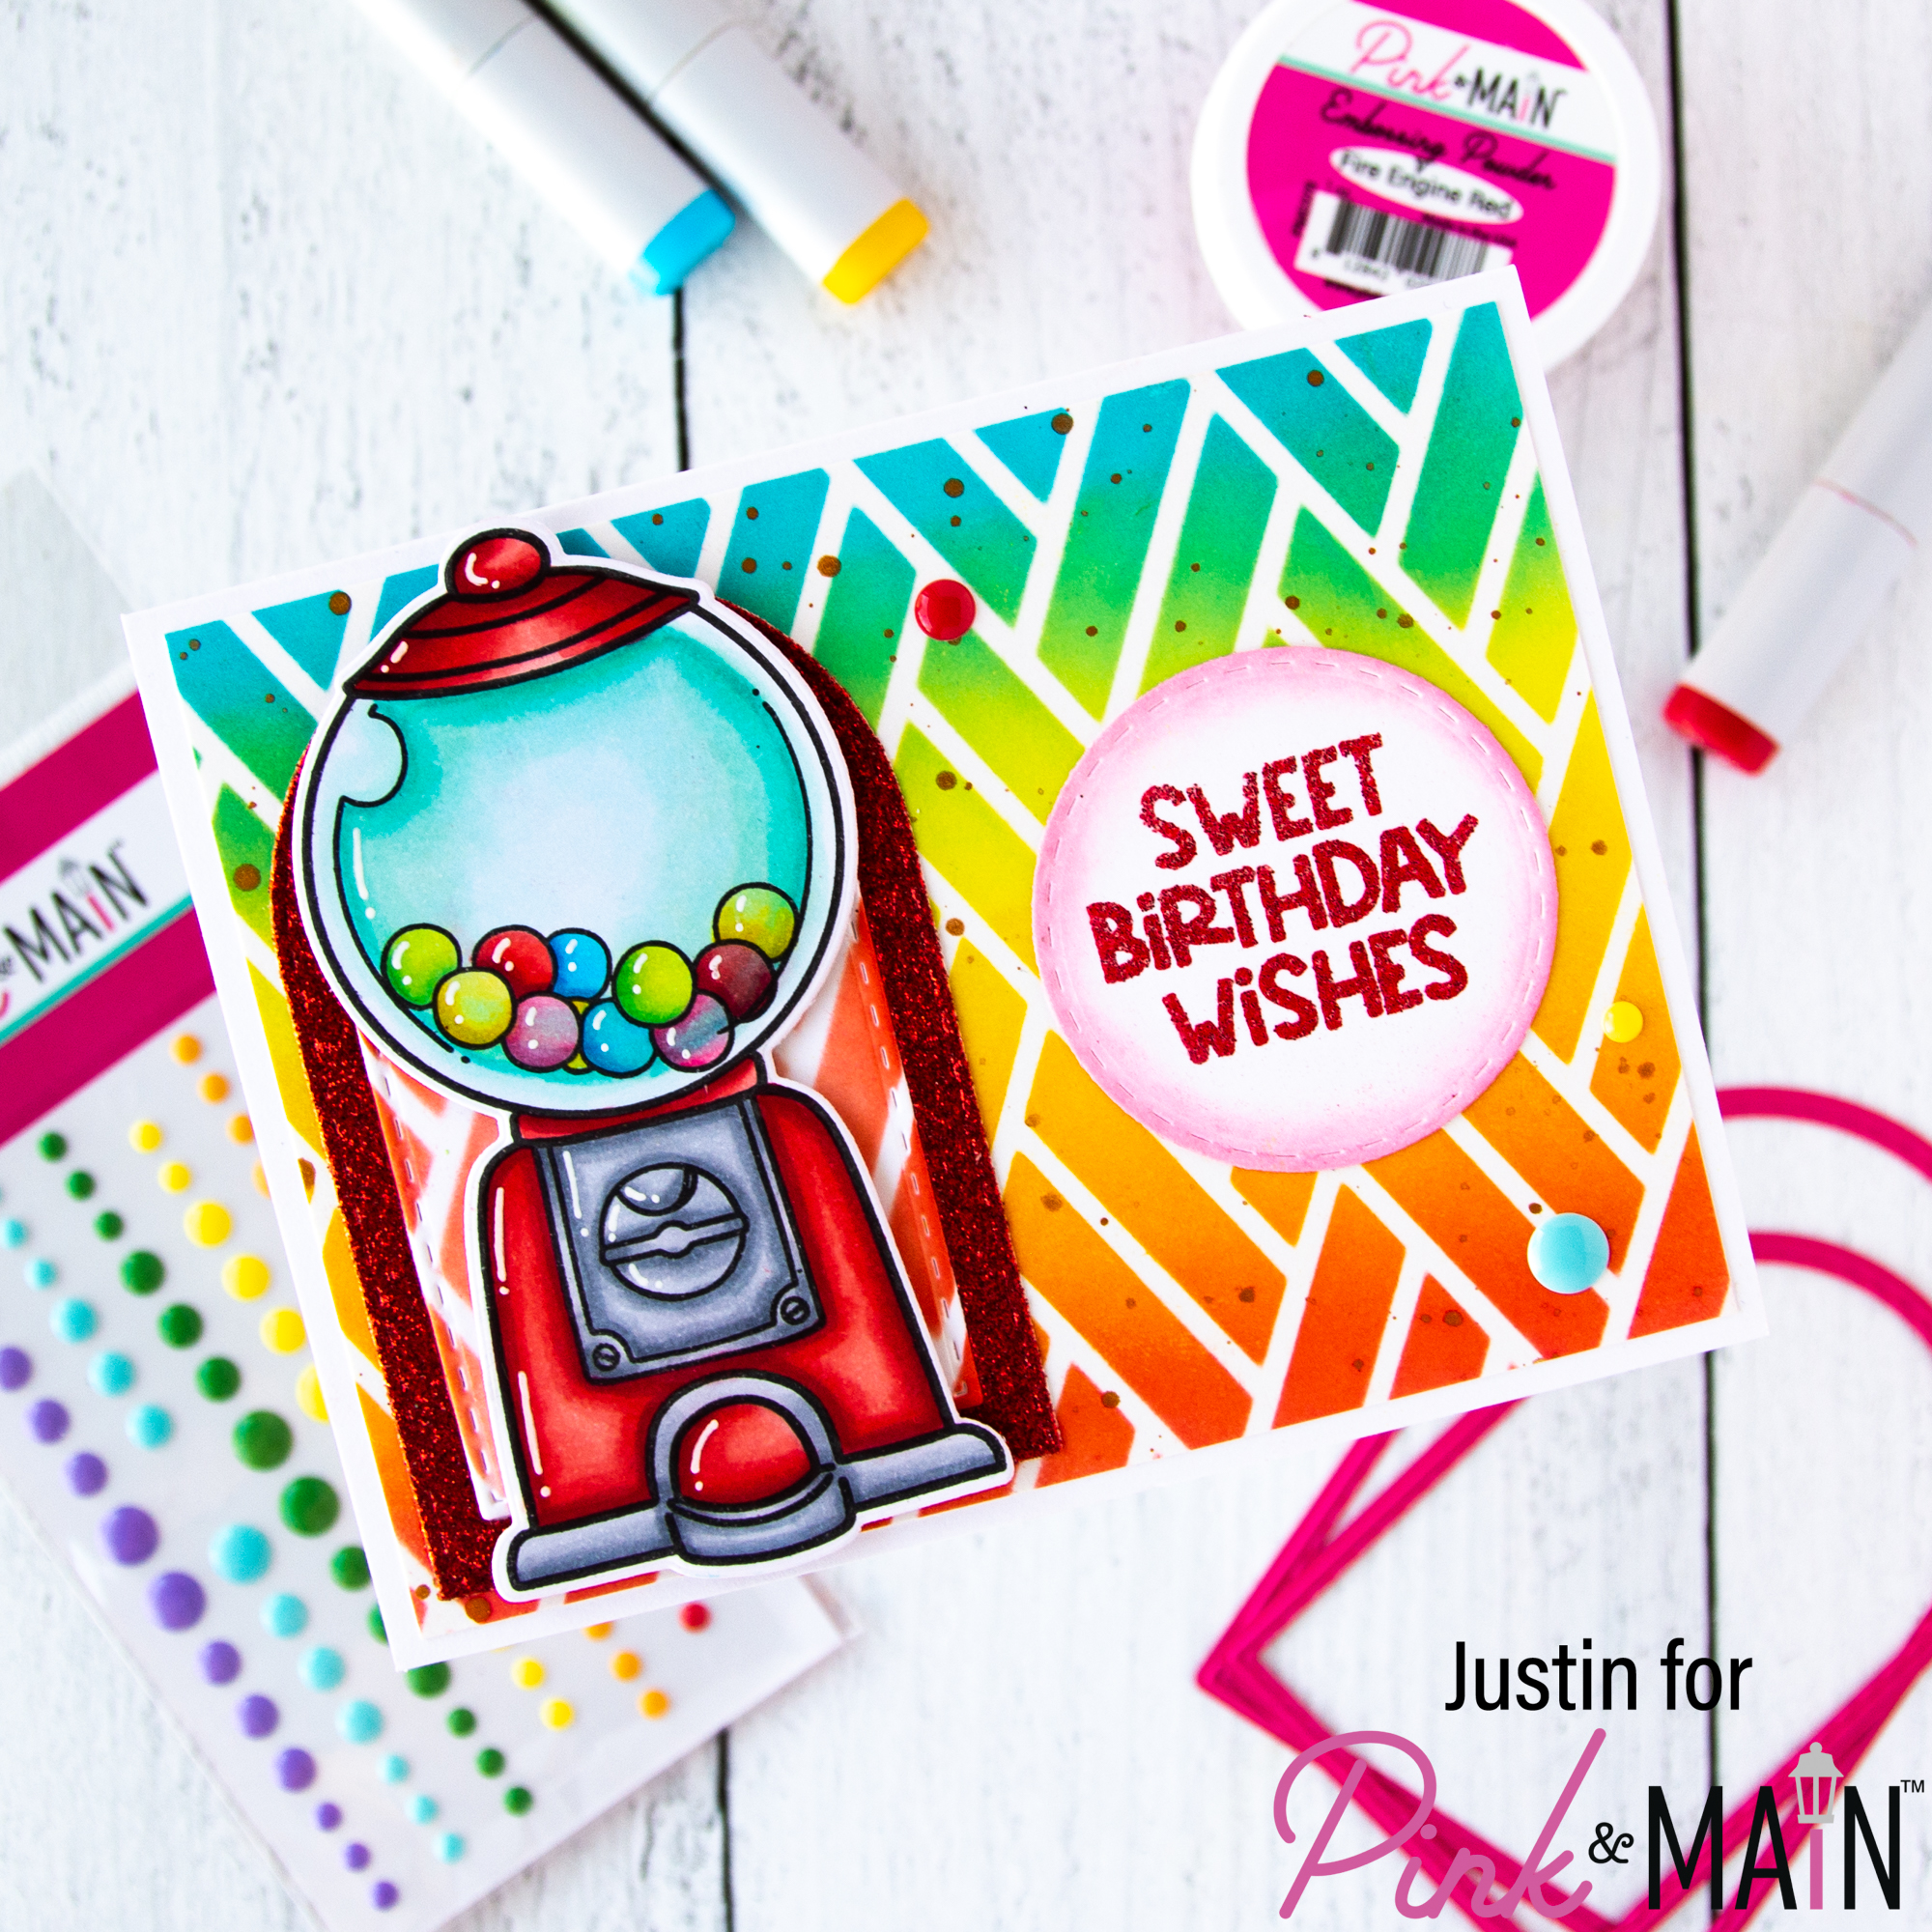
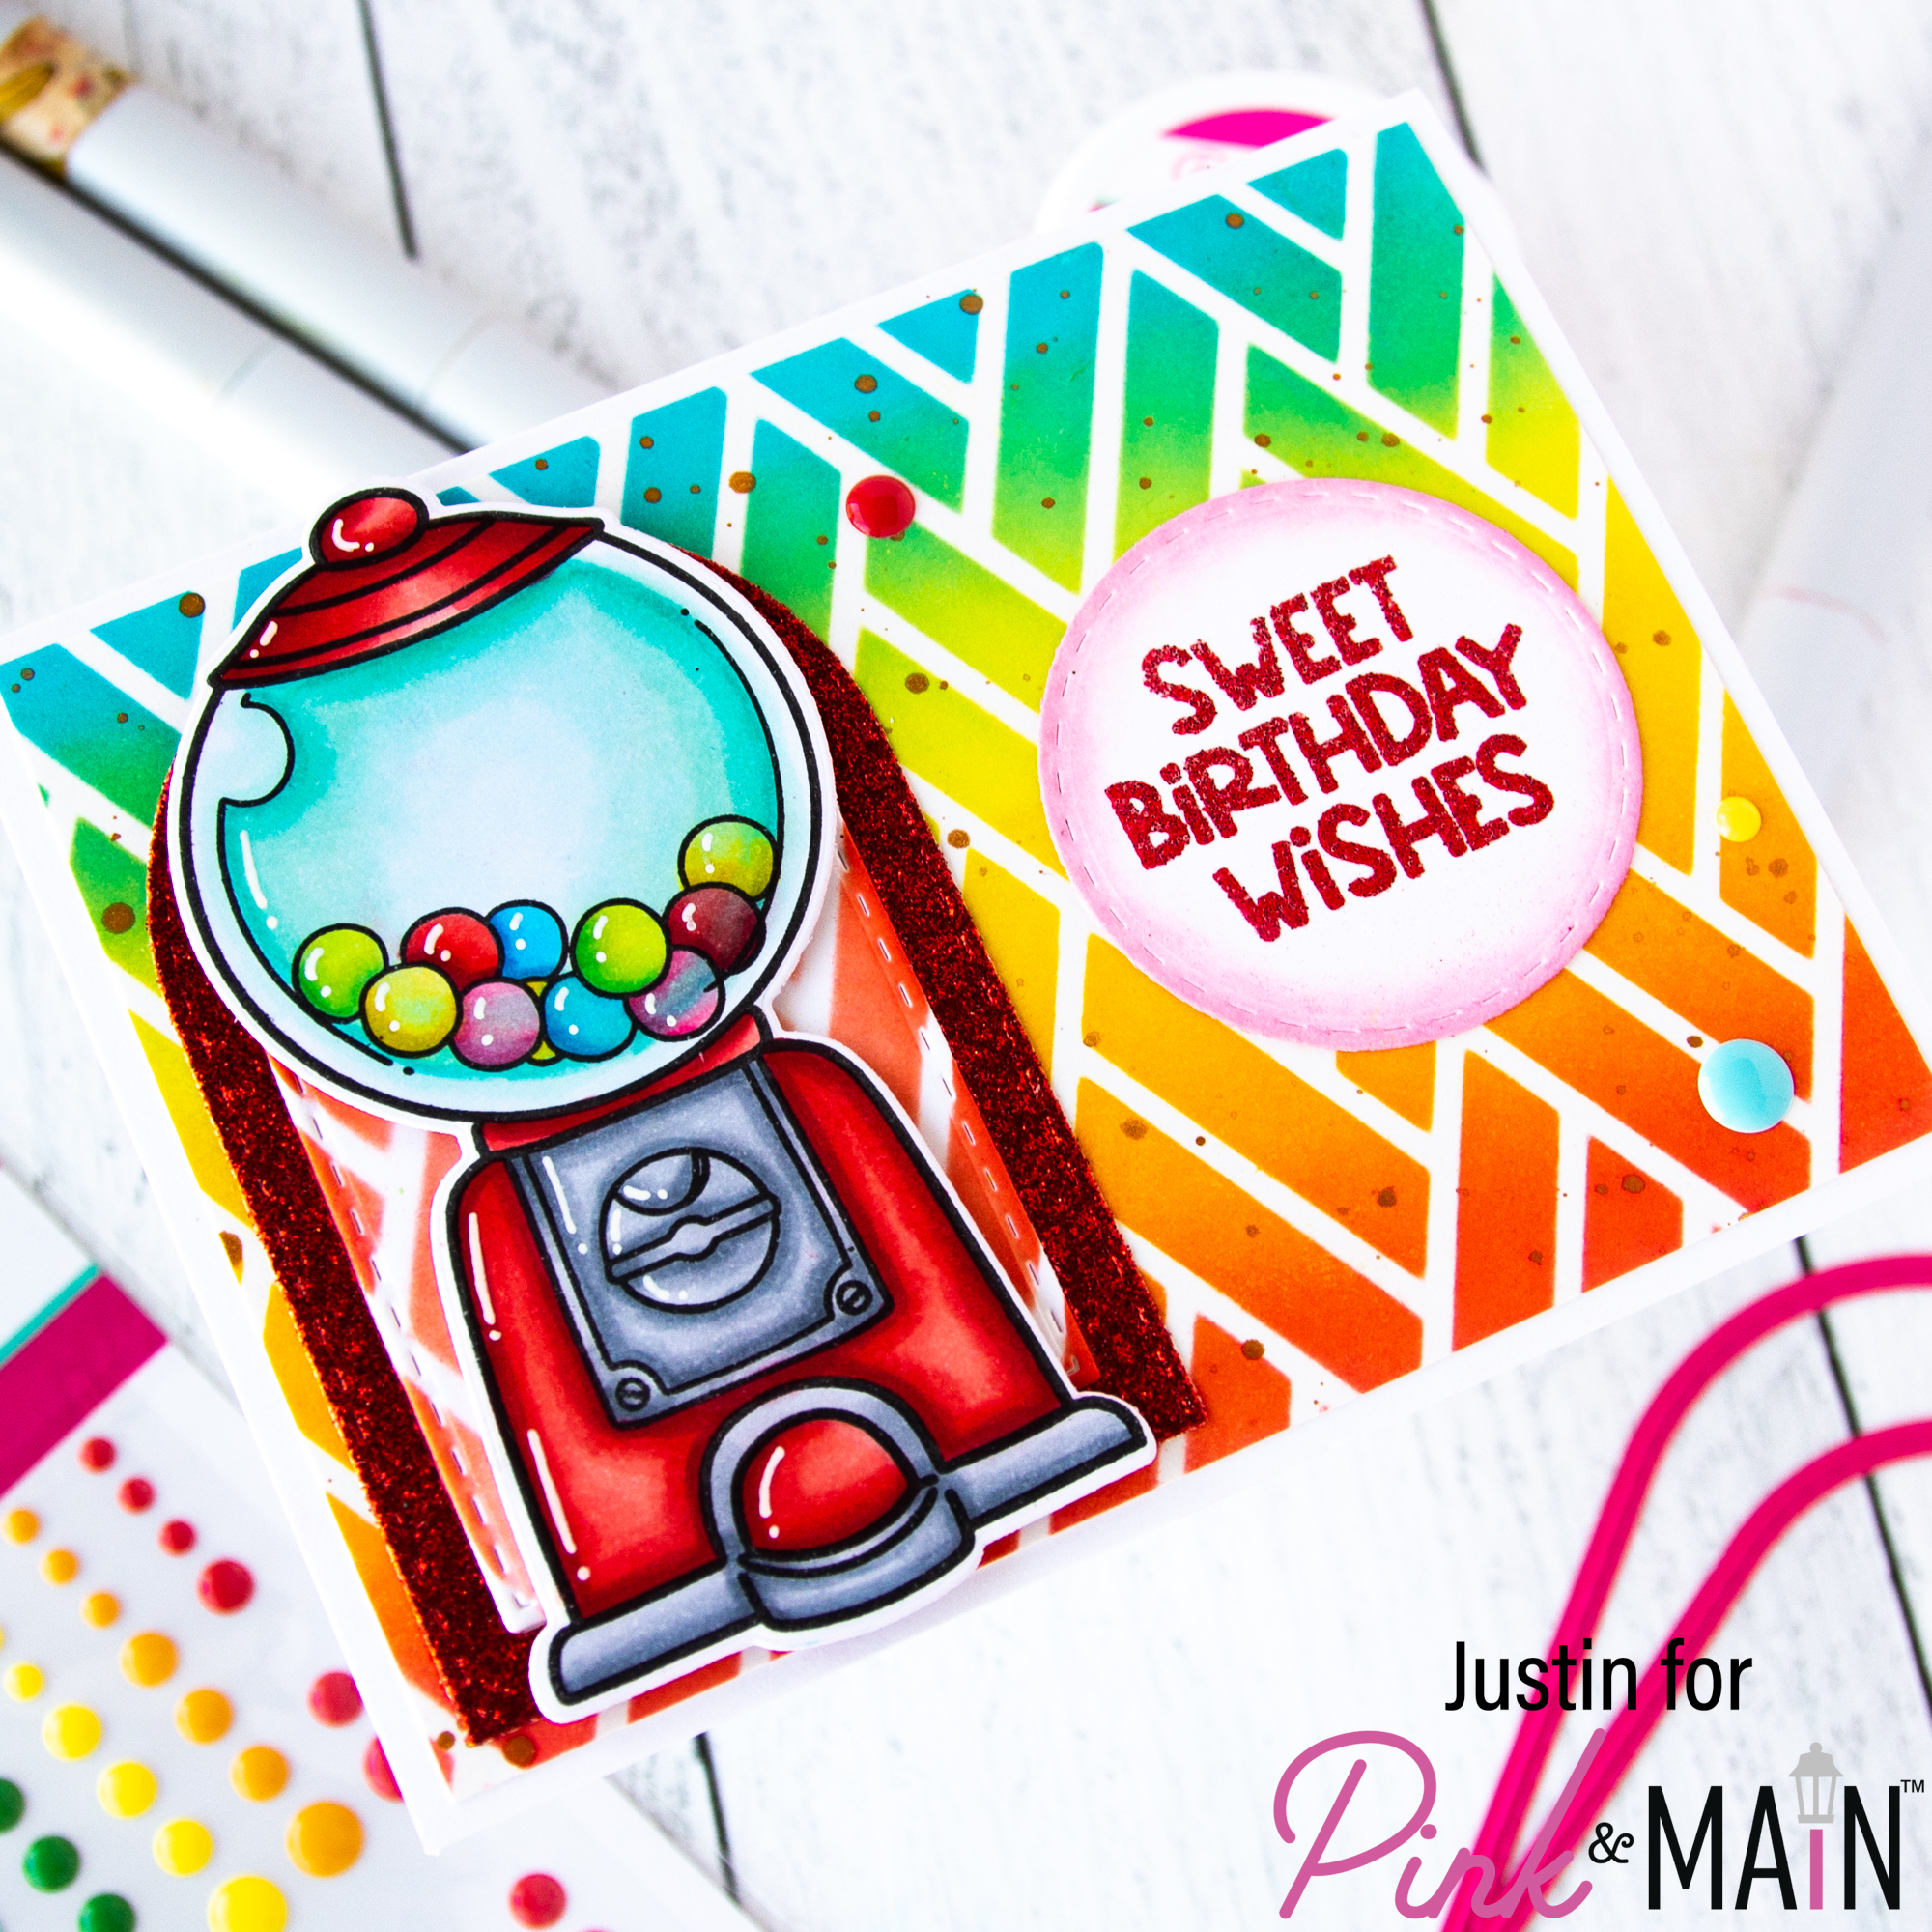
Hello friends! Justin here, and I can’t believe it’s finally time for the 1st Pink & Main Release of the new year! I am sharing a sneak peek of the new 4″ x 6″ set Gumballs, along with the new Weave Stencil! This stamp set is just so much fun, and I LOVE how big the gumball machine image is!
Below is a list of products that I used to create this card:
Pink & Main Products Used:
Gumballs Stamp Set
Gumballs Coordinating Dies
Weave Stencil
Stitched Arches Dies
Stitched Circle Dies
Winter Glitter Paper Pack
Musical Enamel Dots
Fire Engine Embossing Powder
Embossing Watermark Ink Pad
Magic Anti-Static Brush
Other Key Products Used:
Copic Markers
Distress Oxide Inks: Kitsch Flamingo, Candied Apple, Mustard Seed, Twisted Citron & Mermaid Lagoon
Metallic Watercolor Accents
Now let’s get to how I put this card together!

As always, I started by coloring up my Gumballs image with Copic Markers. I used the coordinating dies to cut the image out and set it aside.
Next, taking a piece of white blending cardstock, I sprayed the back of my Weave Stencil and applied it on top of the blending cardstock. I used Candied Apple, Mustard Seed, Twisted Citron & Mermaid Lagoon Distress Oxide Inks to blend up my background. I splattered the panel with gold metallic watercolor, let it dry, and trimmed the panel down to 4″ x 5.25″. I adhered this panel to an A2-sized card base.
Next, I die cut a Stitched Arch Frame from the Winter Glitter Paper Pack (using the red paper), and then die cut out a center piece from blending cardstock. I placed the Weave Stencil over top and blended the panel lightly with Candied Apple Distress Oxide Ink. I adhered both items to my card base with liquid adhesive. And then adhered my colored image on top of the die cuts using foam tape.
For my sentiment, I used the Stitched Circle Dies to die cut from blending cardstock. I then heat embossed the sentiment “Sweet Birthday Wishes” in Fire Engine Embossing Powder. I distressed the circle with Kitsch Flamingo Distress Oxide Ink, and adhered it to my panel using liquid adhesive.
I finished off my card by placing a few enamel dots from the Musical Notes Enamel Dots and my card was completed!
Thank you all so much for stopping by the Pink & Main Blog today! The January Release is dropping this Friday, January 20th, 2023 and there are SO many fun products heading to the Pink & Main store!
For more crafty inspiration, please follow me on Instagram and check out my personal blog as well!
Thank you again for stopping by! Happy Crafting!
Justin