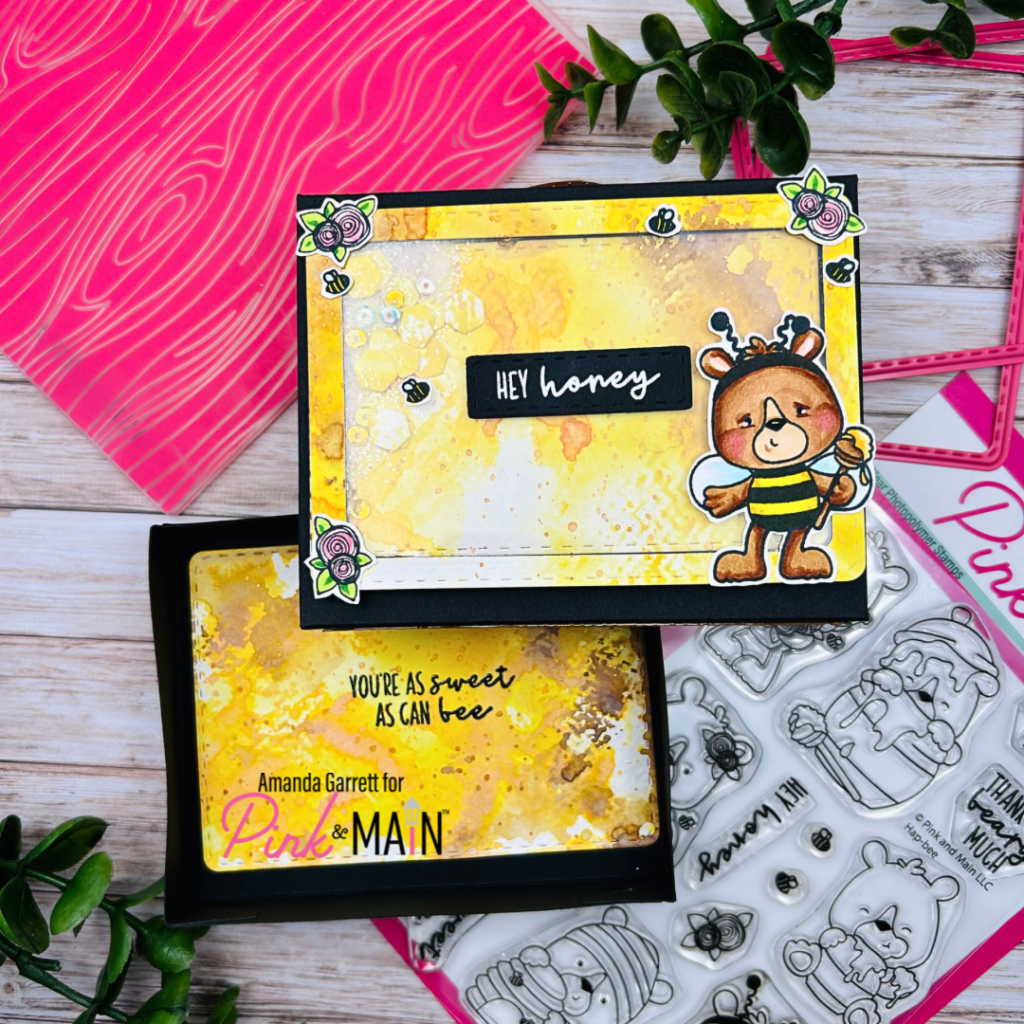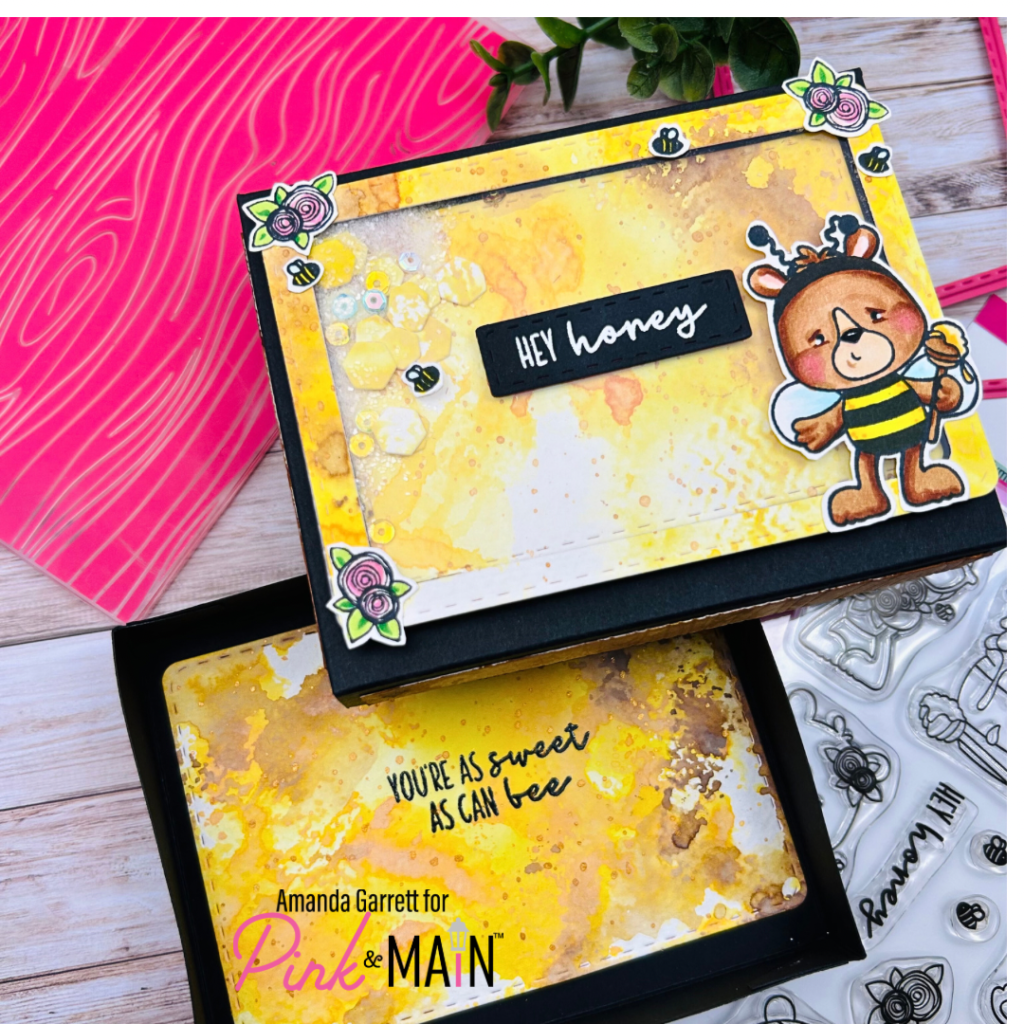
Hello, Crafty Friends Amanda, here with you today sharing this fun treat box.
It’s not a card, but it could still be made with the same ideas. Oh and yes its a shaker treat box.
To make the box, you must cut 2 black card stock papers to be 5×6.
You will score on the 6″ side at 3/4 and then at 5 1/4 turn your paper so that the 5″ side is at the top and then score 3/4 and 4 1/4 and you will do this to both pieces.
Like this in the picture below.

You will then cut slits to the intersection of the score lines like in the picture below.

These are your tabs and we will cut them at an angle so they are mitered. Like in the picture below.

Now we can cold on all the score lines. Now you will glue on the tabs to start forming the box.

Now you can take that front flap and glue down hold it there for a few seconds to get a good seal on it before you move to the next side. You will do this for both card stocks but keep in mind, the bottom needs to be just a little smaller so that you can put the top on. To do this you just need to adjust slightly how far in you put your tabs to your folded edge just adjust it with the glue moving it inwards just a little and it will fit, and you are only doing this to the bottom one.

For the inking I used waterclolr paper and dabbed it in Distress Oxide ink Wild Honey and Vintage Photo Letting it dry before moving to the next color. After it drys I cut out using the Stitched Rounded Rectangle Dies using the third latest and then taking the next one smaller and creating a window.
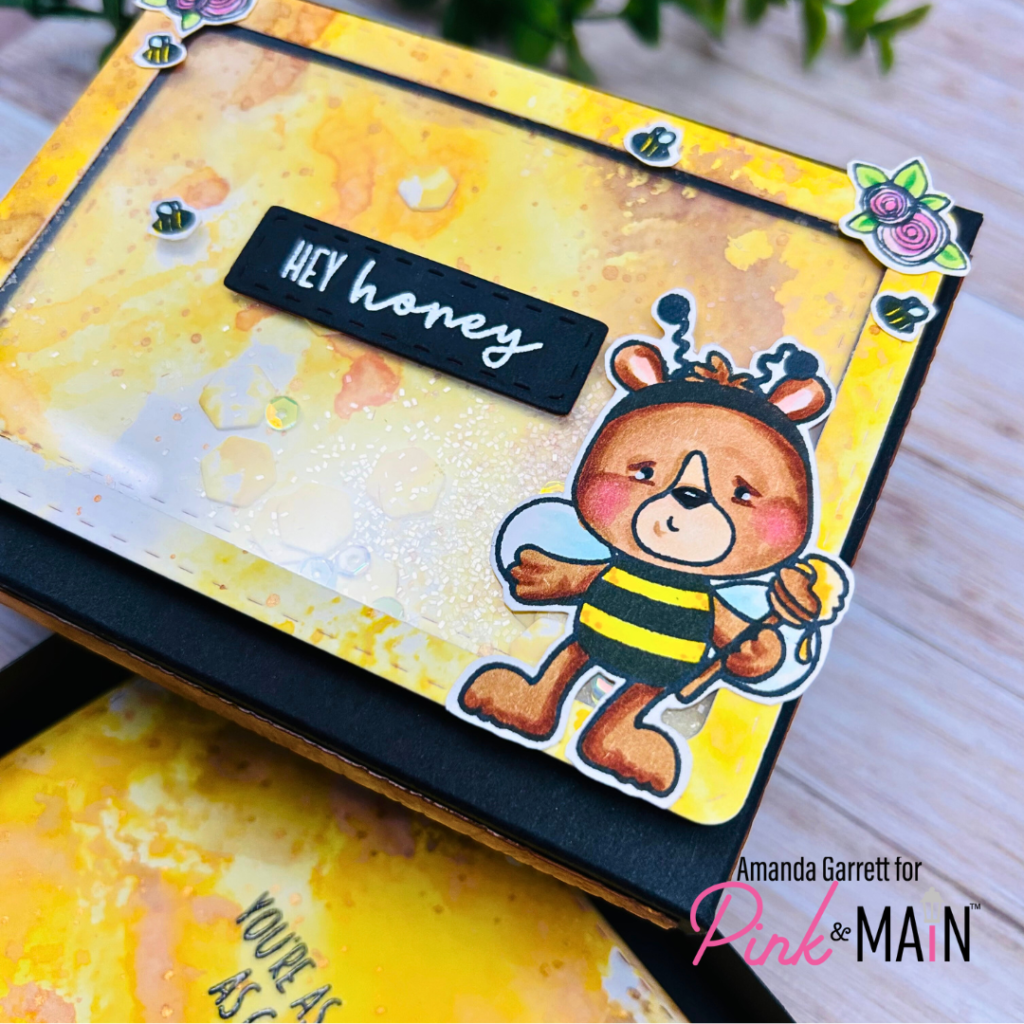
I then took acetate and cut it using the third largest die to make the shaker window. I used thin double-stick tape and taped the frame and the acetate together behind that I used 3D foam adhesive and added my filler Snow Drift Chunky Glitter and die-cuts from the leftover watercolor paper using the Hexes from the die Shaker Tag Dies. I cut an additional black cardstock using the third largest die from the Stitched Rounded Rectangles Die set to make a backing for my shaker and then adhered to the middle portion of my watercolor Wild Honey Distress Oxide that we cut out earlier. This makes it a lot easier to make the window shaker you just line up the black back of the cardstock to the 3D foam and then bam your shaker card is complete. You can now glue this to the top of your box.

I stamped on the inside of the box as well doing the same ink smooching and used the third largest die from that same set and glued it on the inside.
For the outside of the box, I used the adorable Bear Bee from the Hap-Bee Stamp set and the flowers and bees all around it.
For the Sides of the box I used watercolor paper again and for the embossing folder Woodgrain after embossing I dipped it in Vintage Photo let it dry and then cut them down to make 2 at 4 1/4 x1/2 and 2 at 3 1/4 x 1/2 and glue them to the top sides of your box.
For the front sentiment I used the smallest die from the Stitched Rounded Rectangles Die set and Heat embossed it using white embossing. That’s all you need to make this sweet treats box. I sure hope you enjoyed todays craft and if you happen to make this pleaase be sure to tag me on IG so I can go love on your project. Have a great Crafty Day Friends.
Here is a list of the Pink & Main Prdoucts used for this project along with the links.

Pingback: 12+ DIY Valentine’s Day Treat Holder Ideas – Stamping