
Hey everyone, it’s Michelle here! Okay, so I know that I showed you last week how I created an ombre inked heart as a background for the Buttercup stamp … but I loved it so much that I just had to create something similar for another card. This time, I used the Rose stamp.
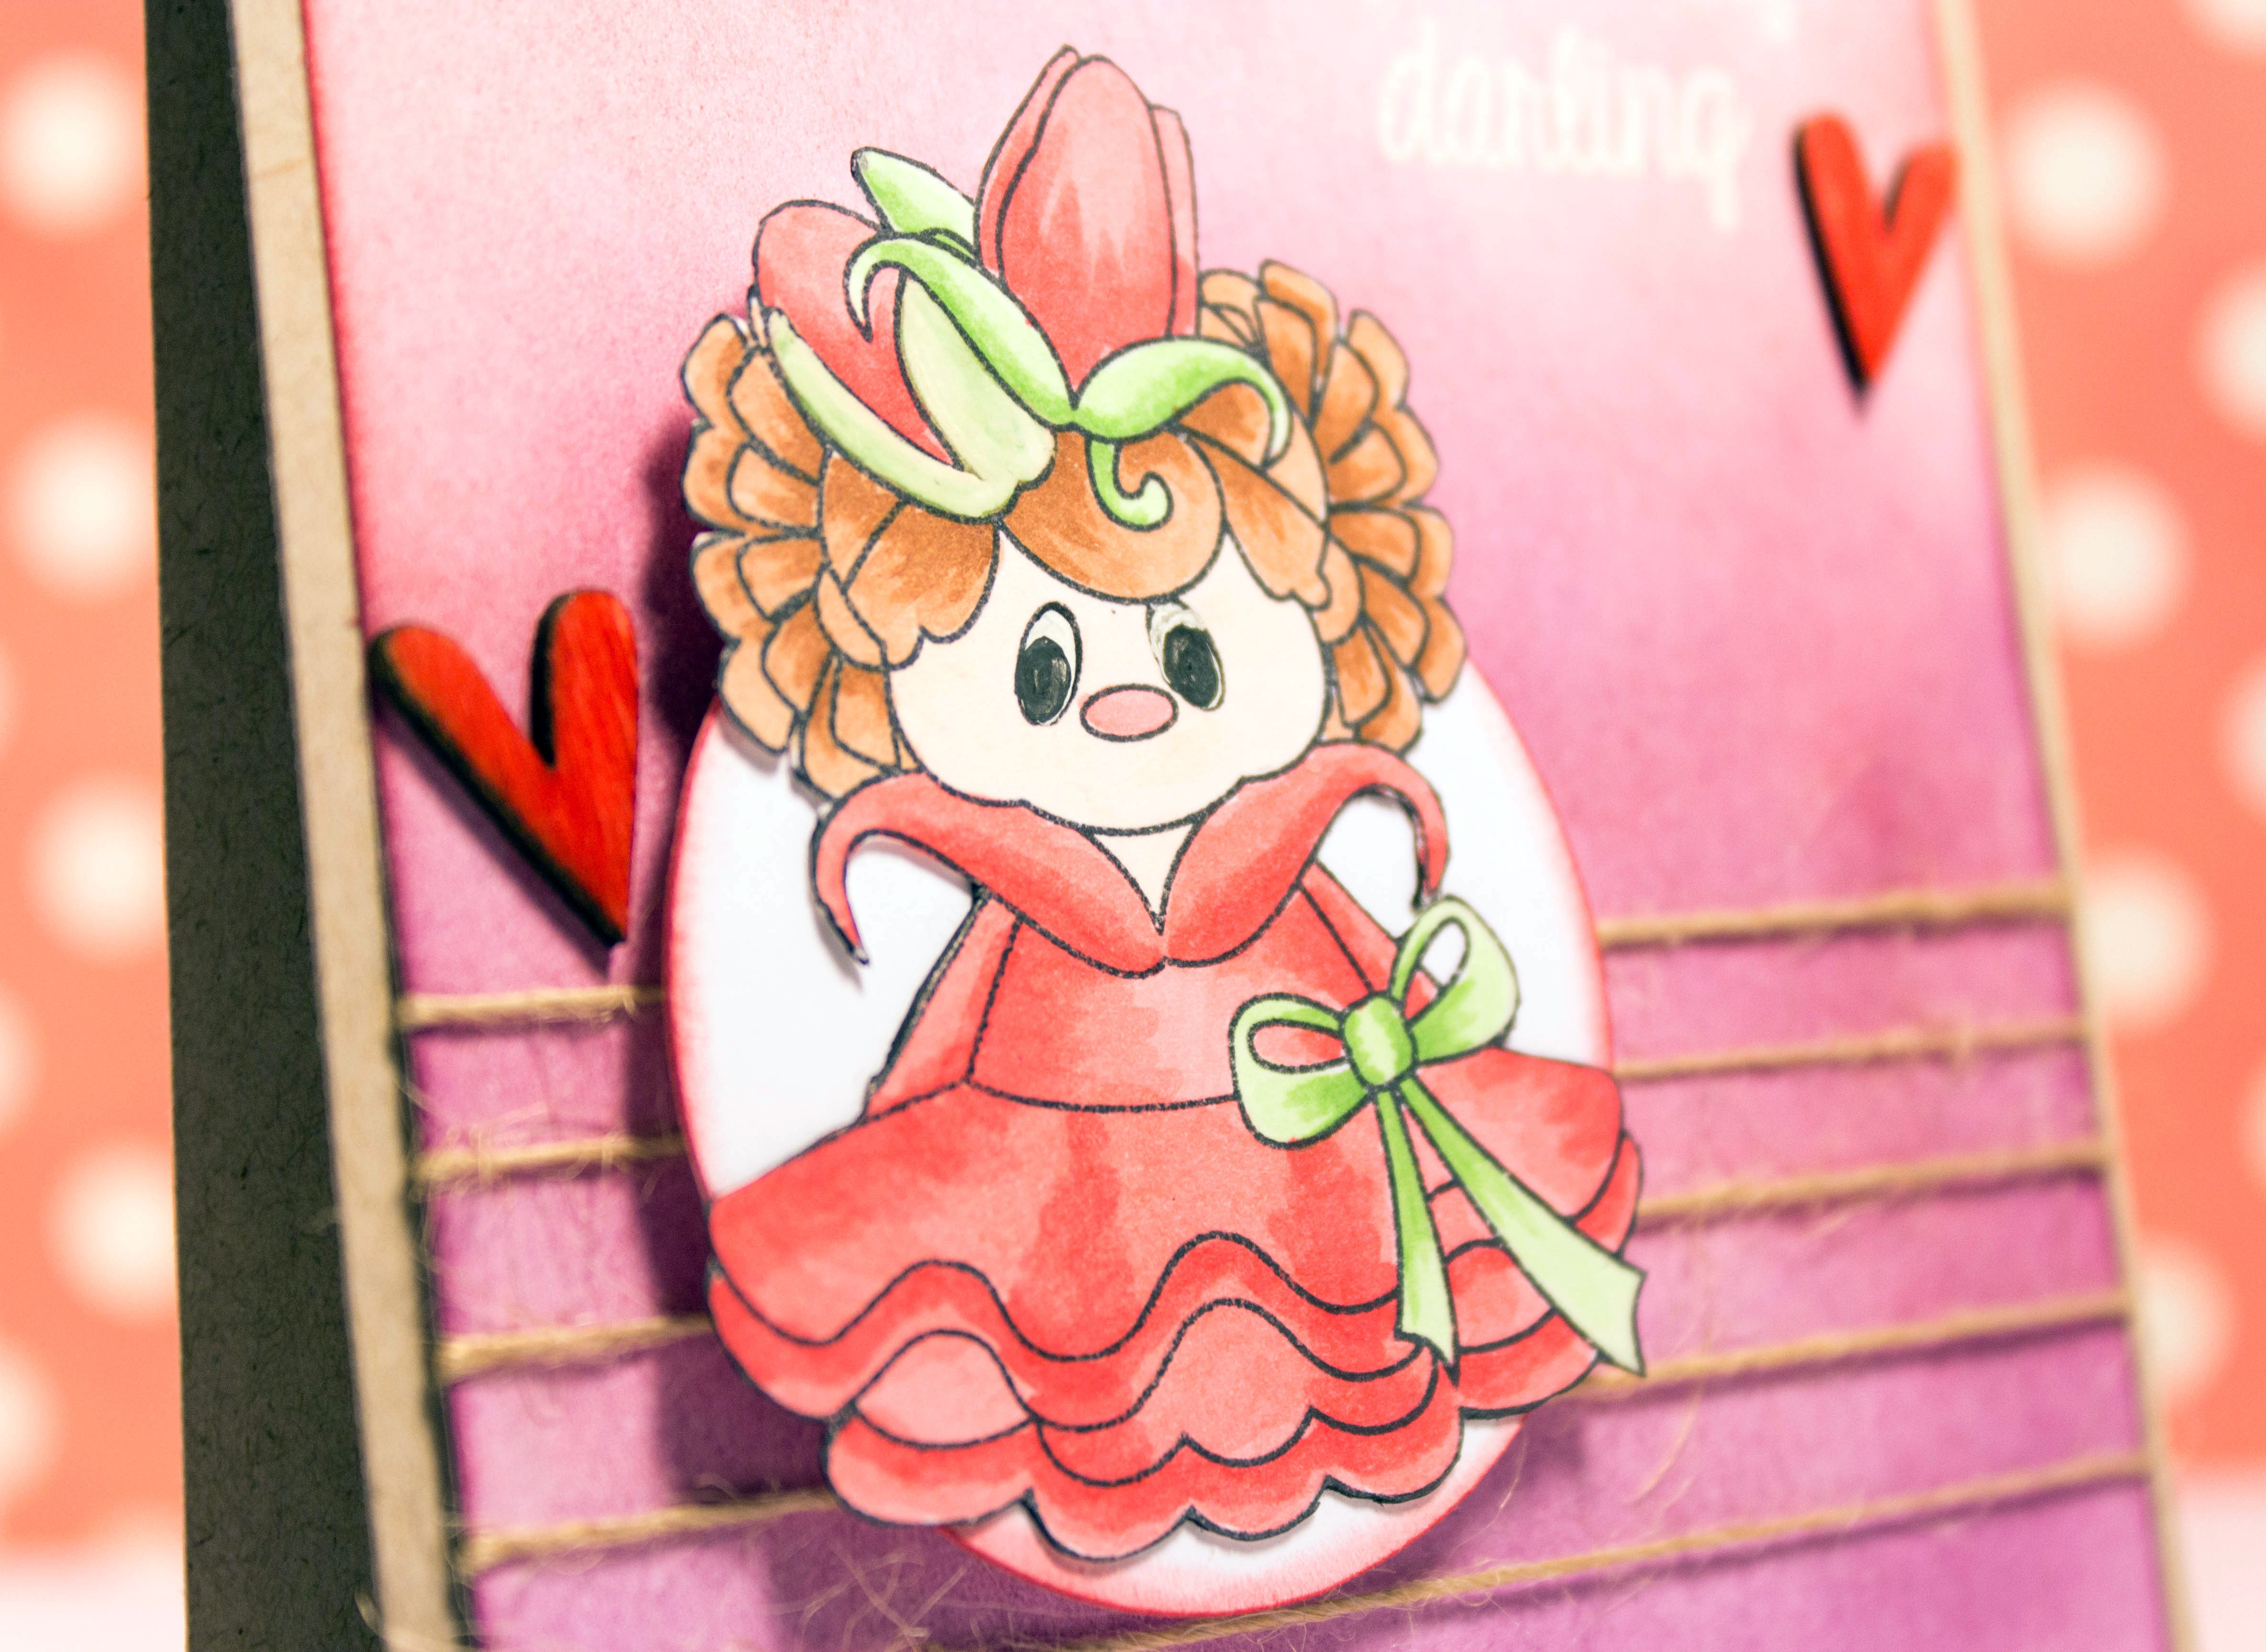
This time, I colored it in with Copic markers and I love the bright colors I was able to achieve (versus Distress Markers), which really goes well with these flower images.
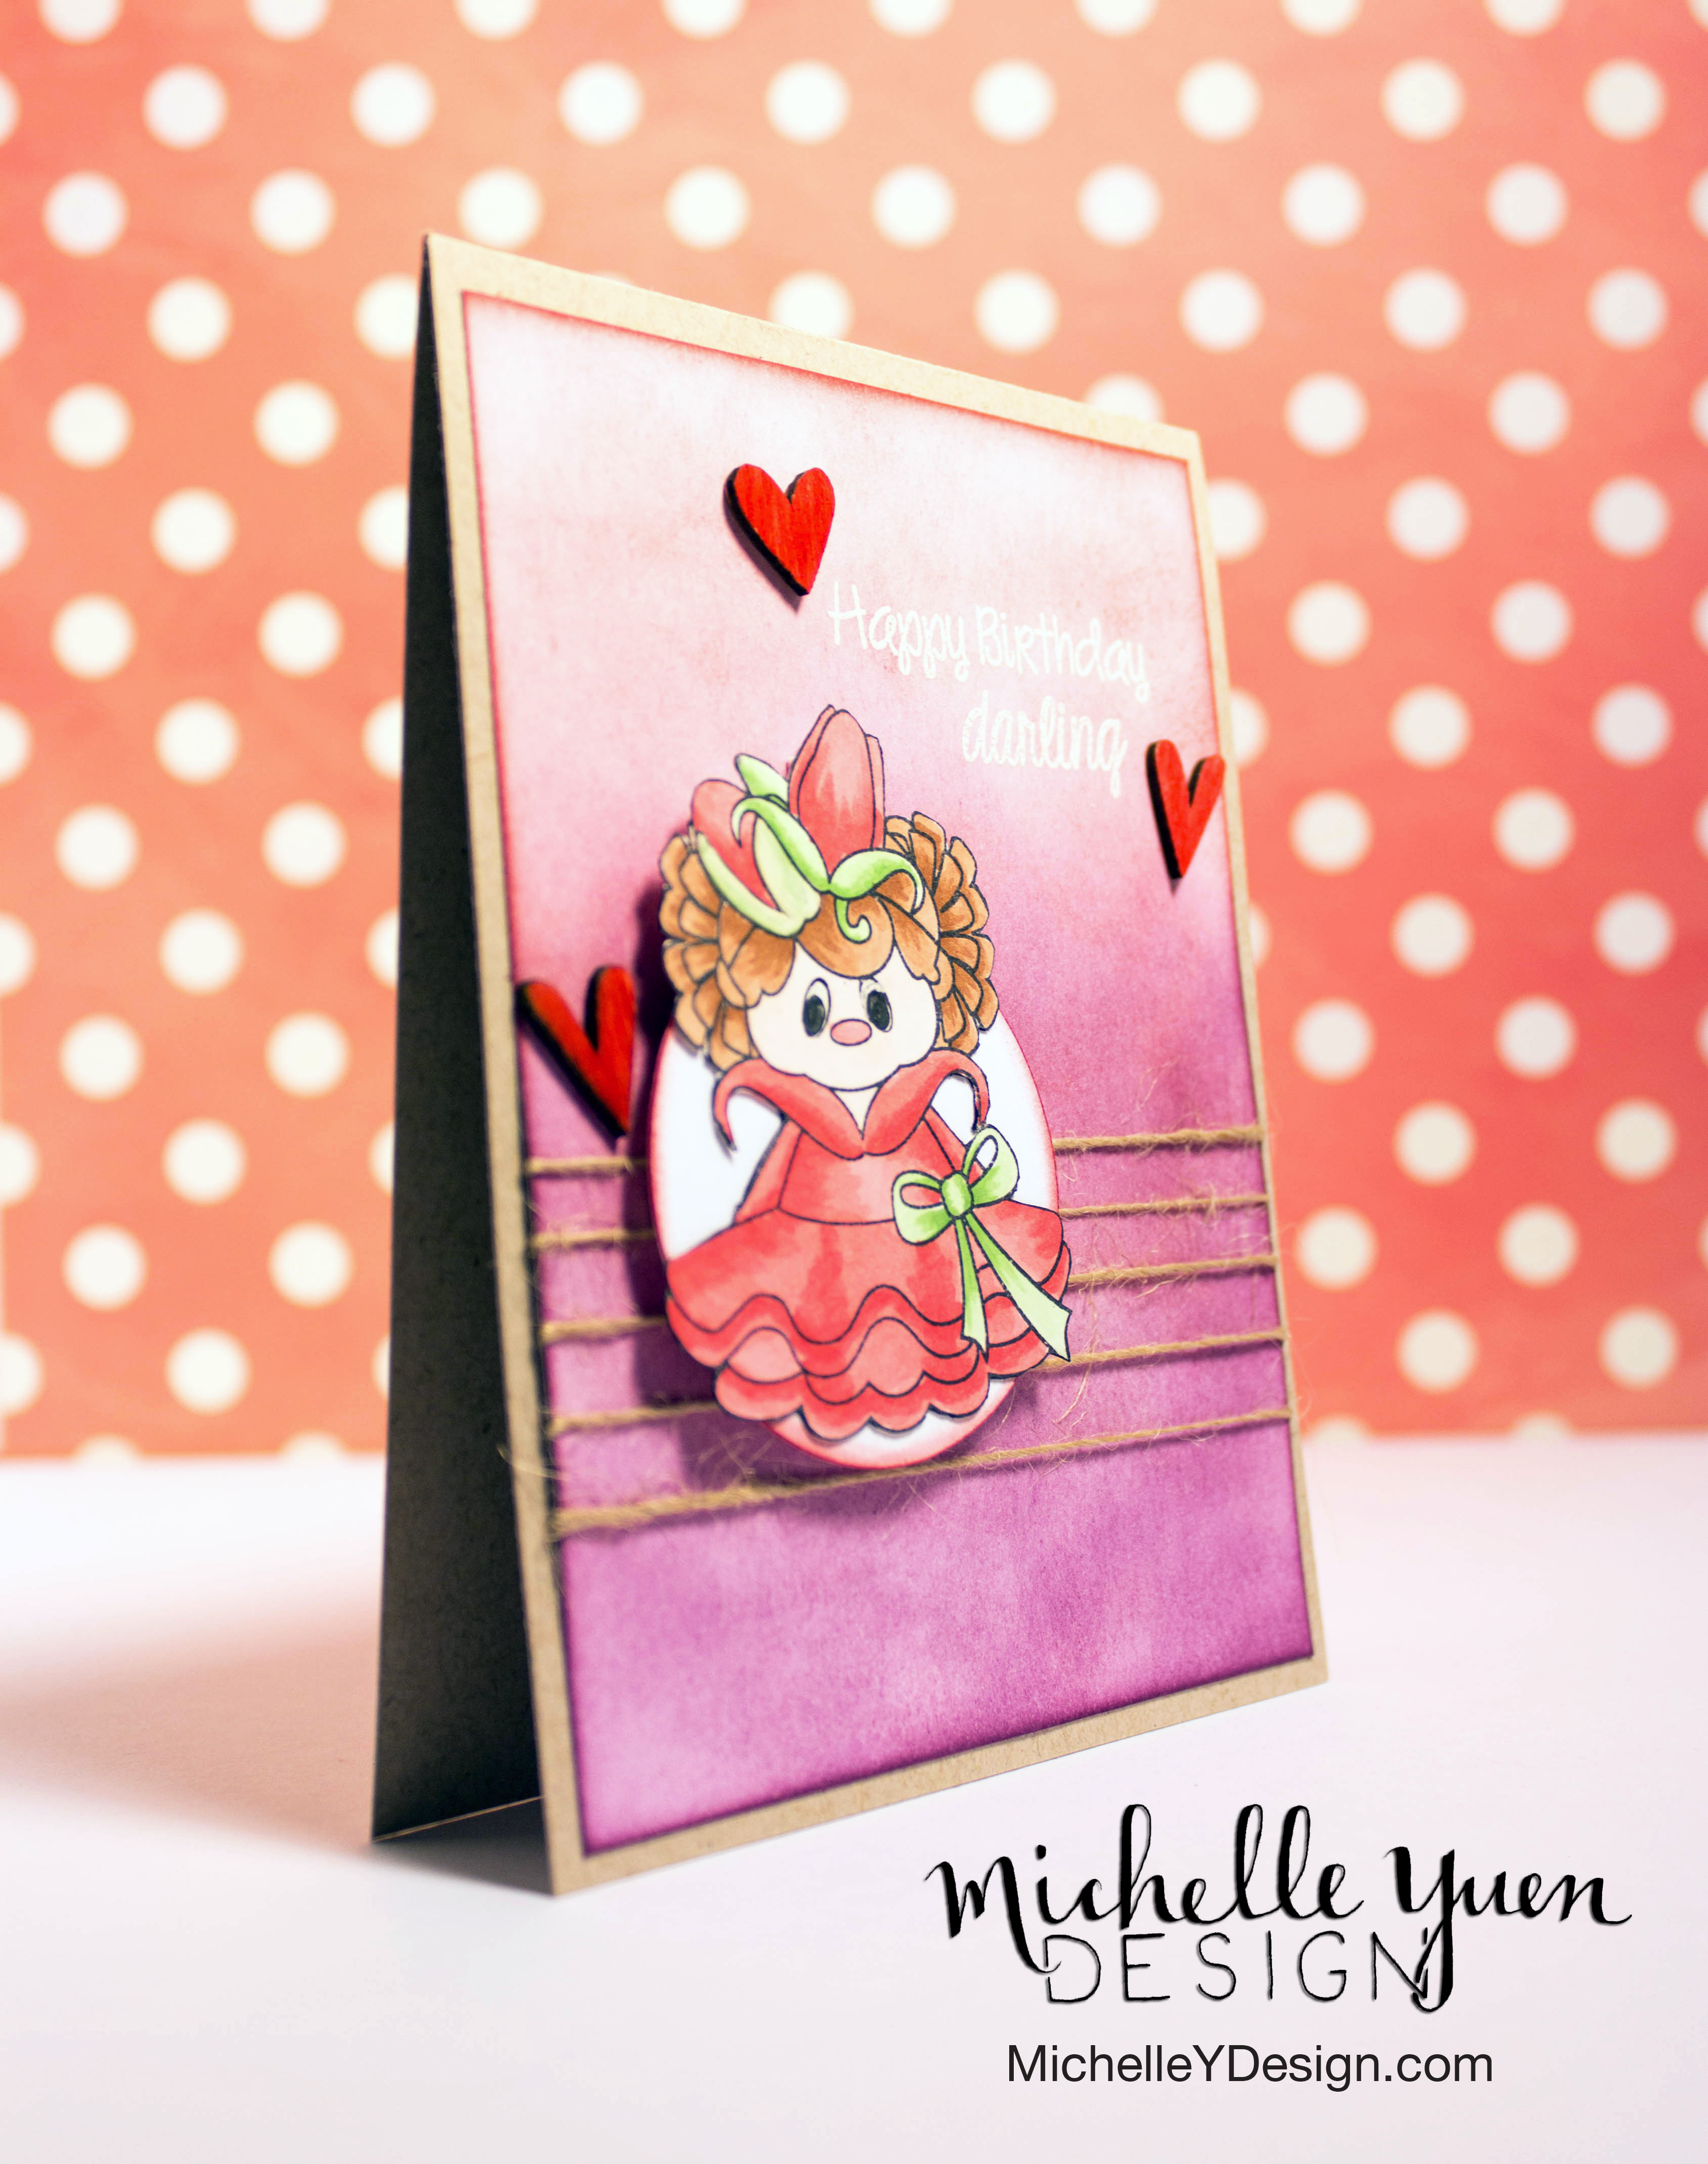
I created my background by inking various colors of Distress Ink (Spun Sugar, Fired Brick, and Seedless Preserves) to create a colorful background for my image.
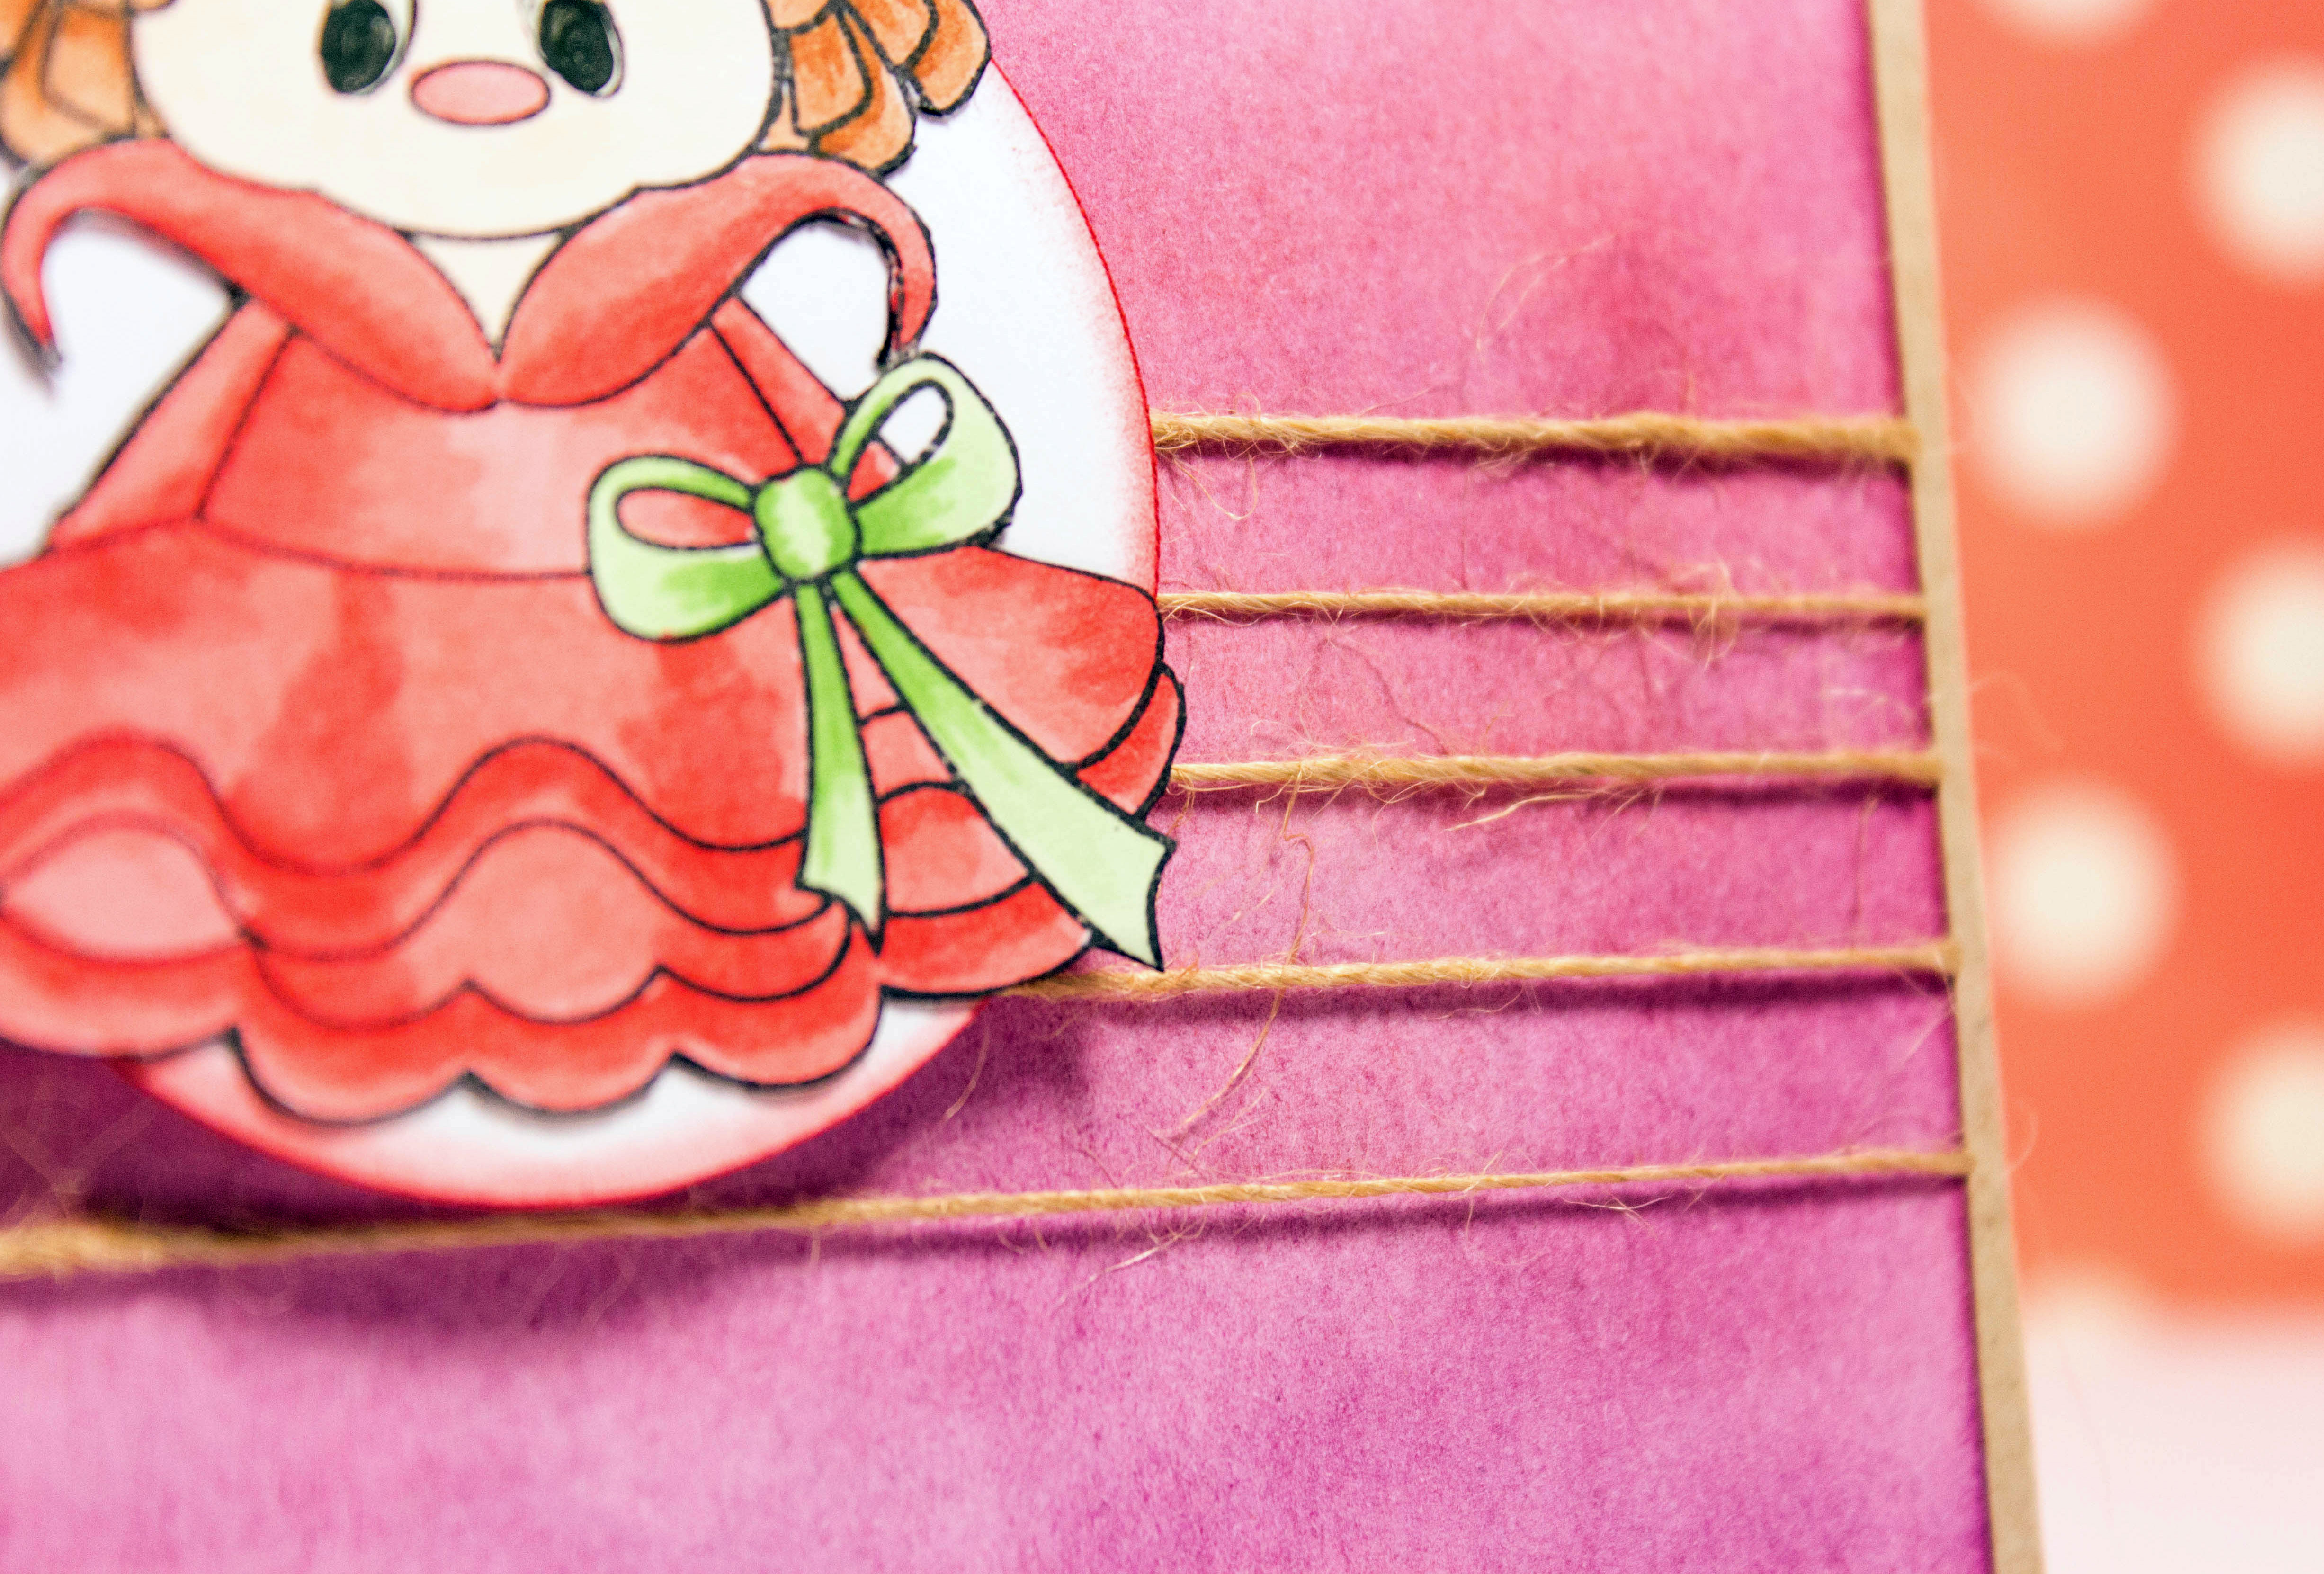
I also created some texture by wrapping some May Arts twine around the inked panel before adhering my image. I’m loving this twine lately – it’s so versatile and is awesome when paired with kraft cardstock!
The sentiment is pieced together using stamps from Pretty Princess and Misses.
For finishing touches, I colored in some wood veneer hearts using the same red Copic Markers so that they would match with Rose.

If you love these garden images, make sure to check out the full release over at Pink & Main’s shop!
Pingback: Video Tutorial: Glitter Embossing with Inspire and Buggy Words | Pink and Main Blog