
Hi friends, this is Caitlin and today I am sharing a fun card featuring the new Snowflake Emboss and Cut Folder. The snowflakes that come out of this folder and so detailed and amazing, I knew that I was going to love them as soon as I saw it. I started by cutting all four out with white card stock and adding a light layer of Night Sky Ink with a blending brush. I love how adding a little bit of ink really brings out the texture of these embossed die cuts.
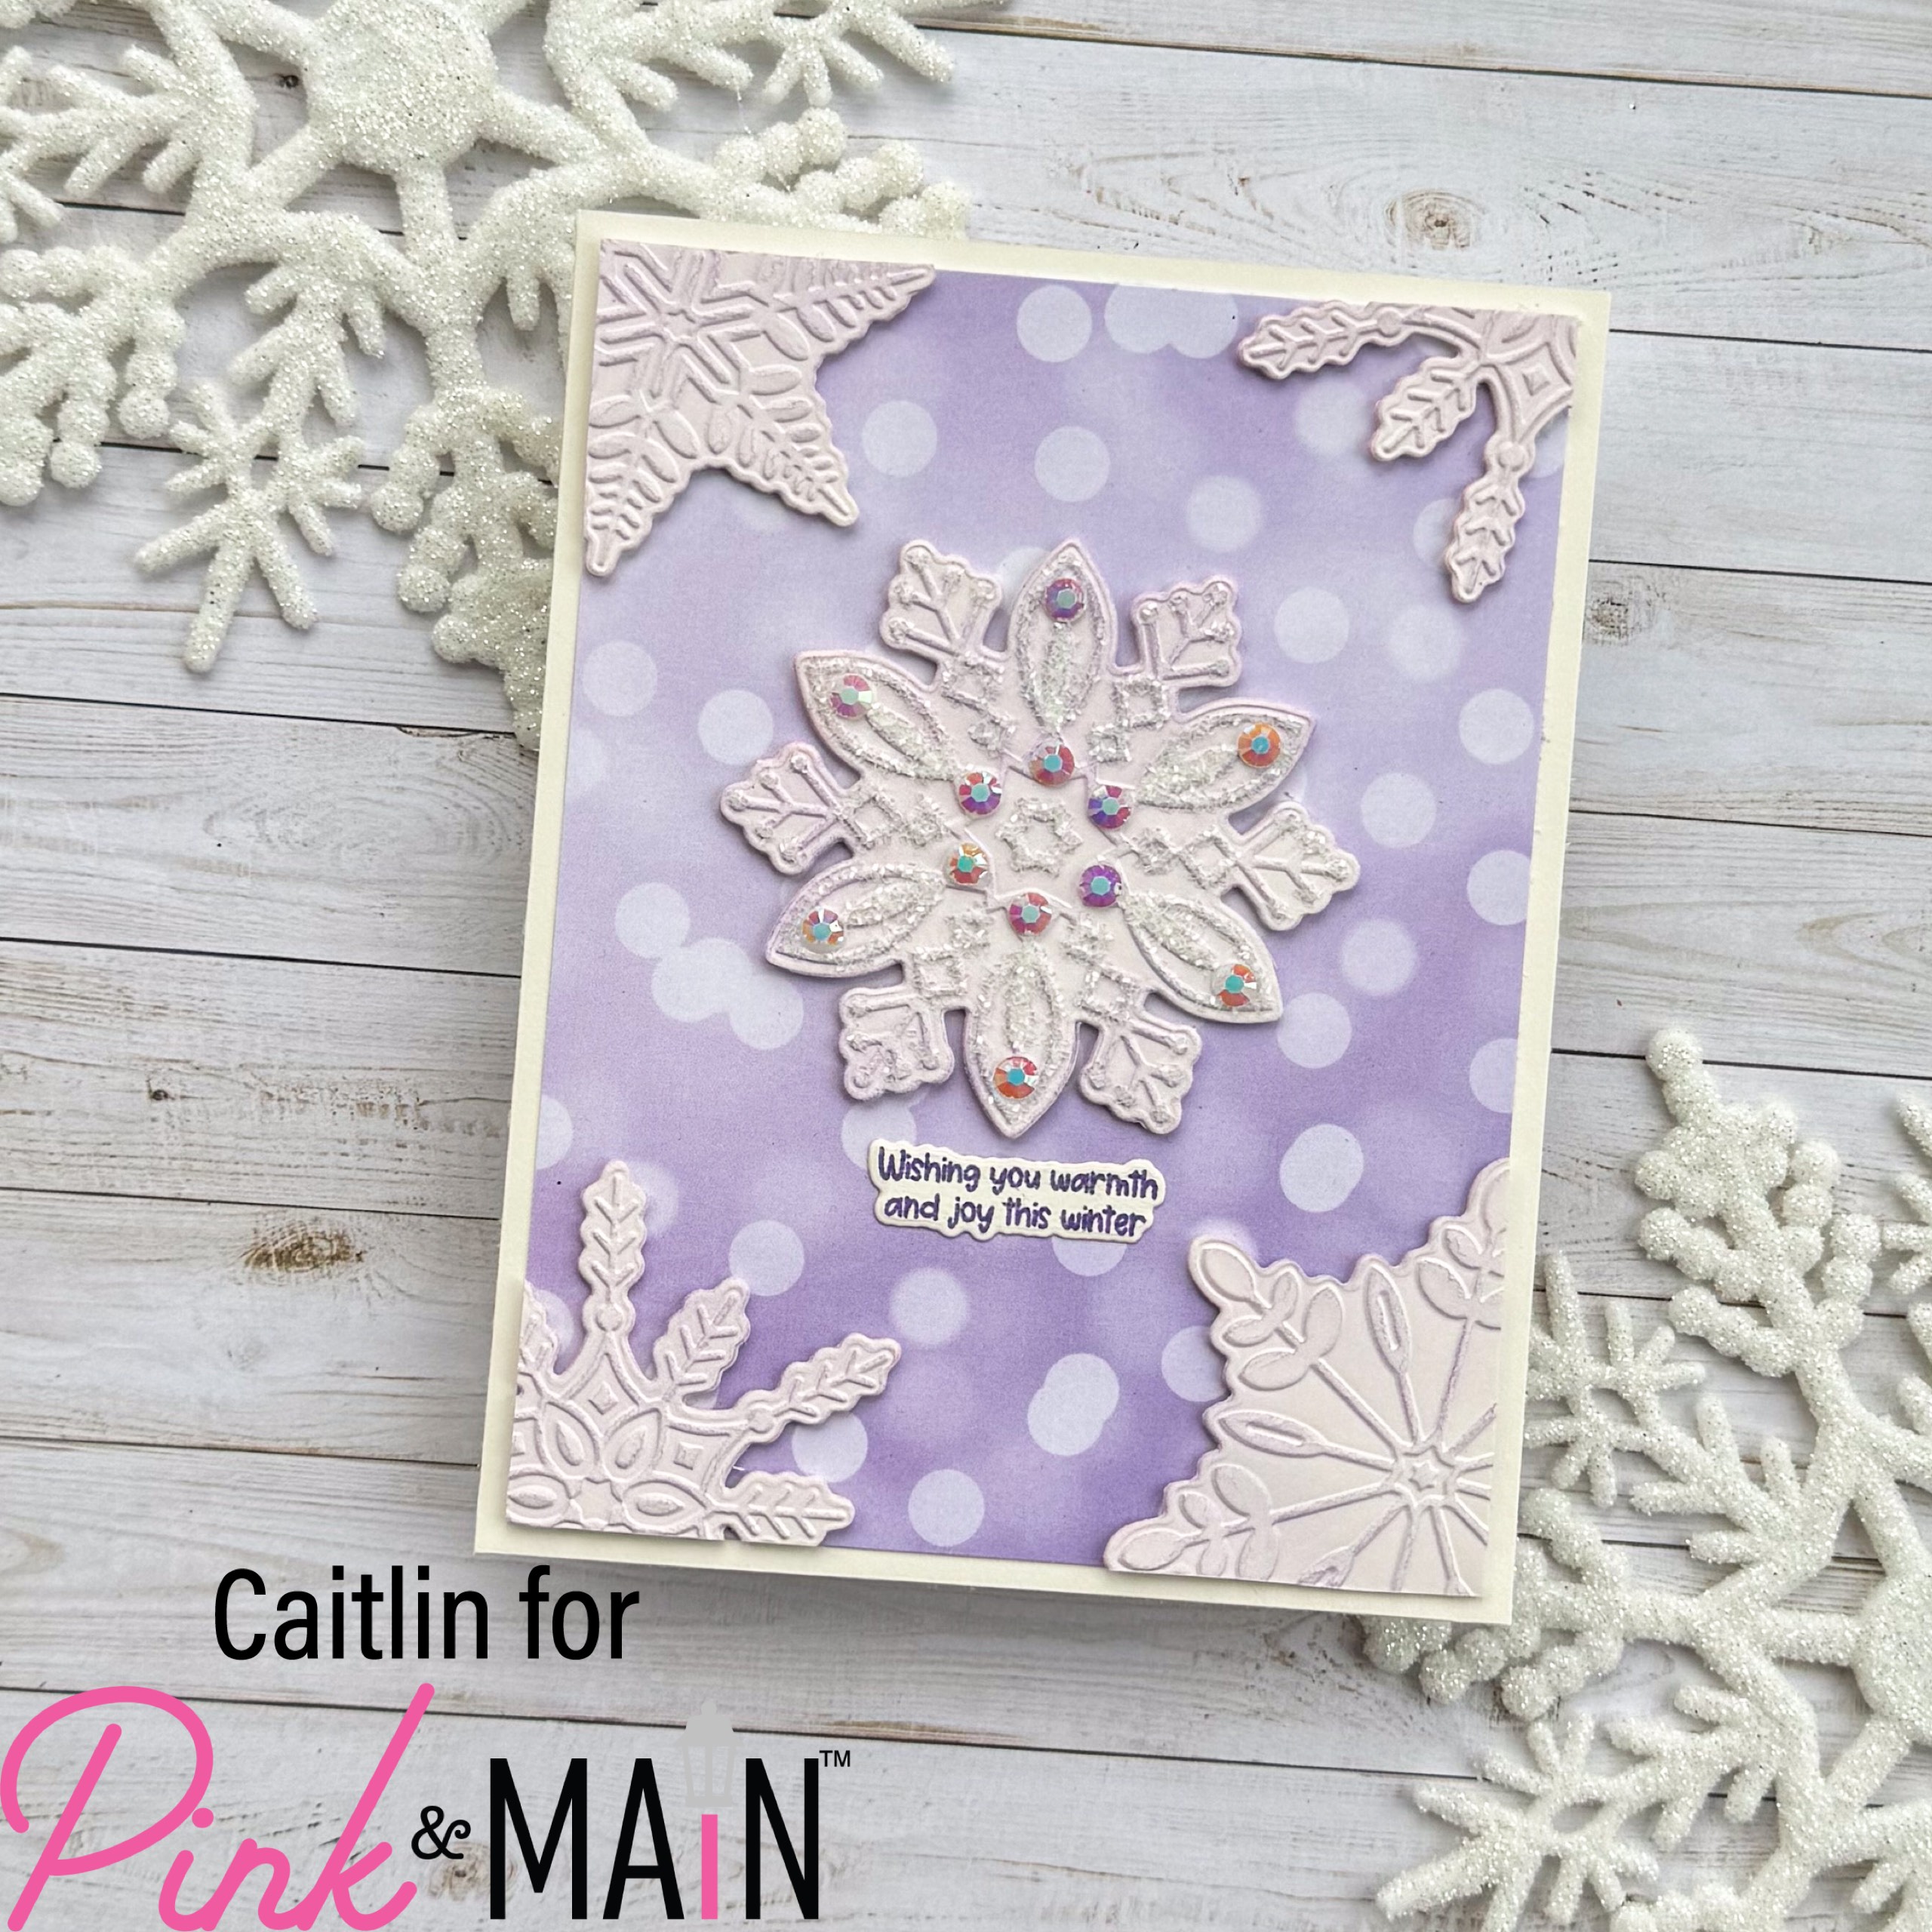
I picked my favorite snowflake and used the Quickie Glue Pen to add thin lines of adhesive along the embossed details. Then I sprinkled on the Snow Drift Chunky Glitter and tapped off the excess. I repeated this process all the way around and then set it aside to dry while picked out a pattern paper for the background. I decided on this really beautiful purple bokeh from the Butterfly Kisses Paper Pack as it matched the ink perfectly and trimmed that down to 4 in x 5.25 in.
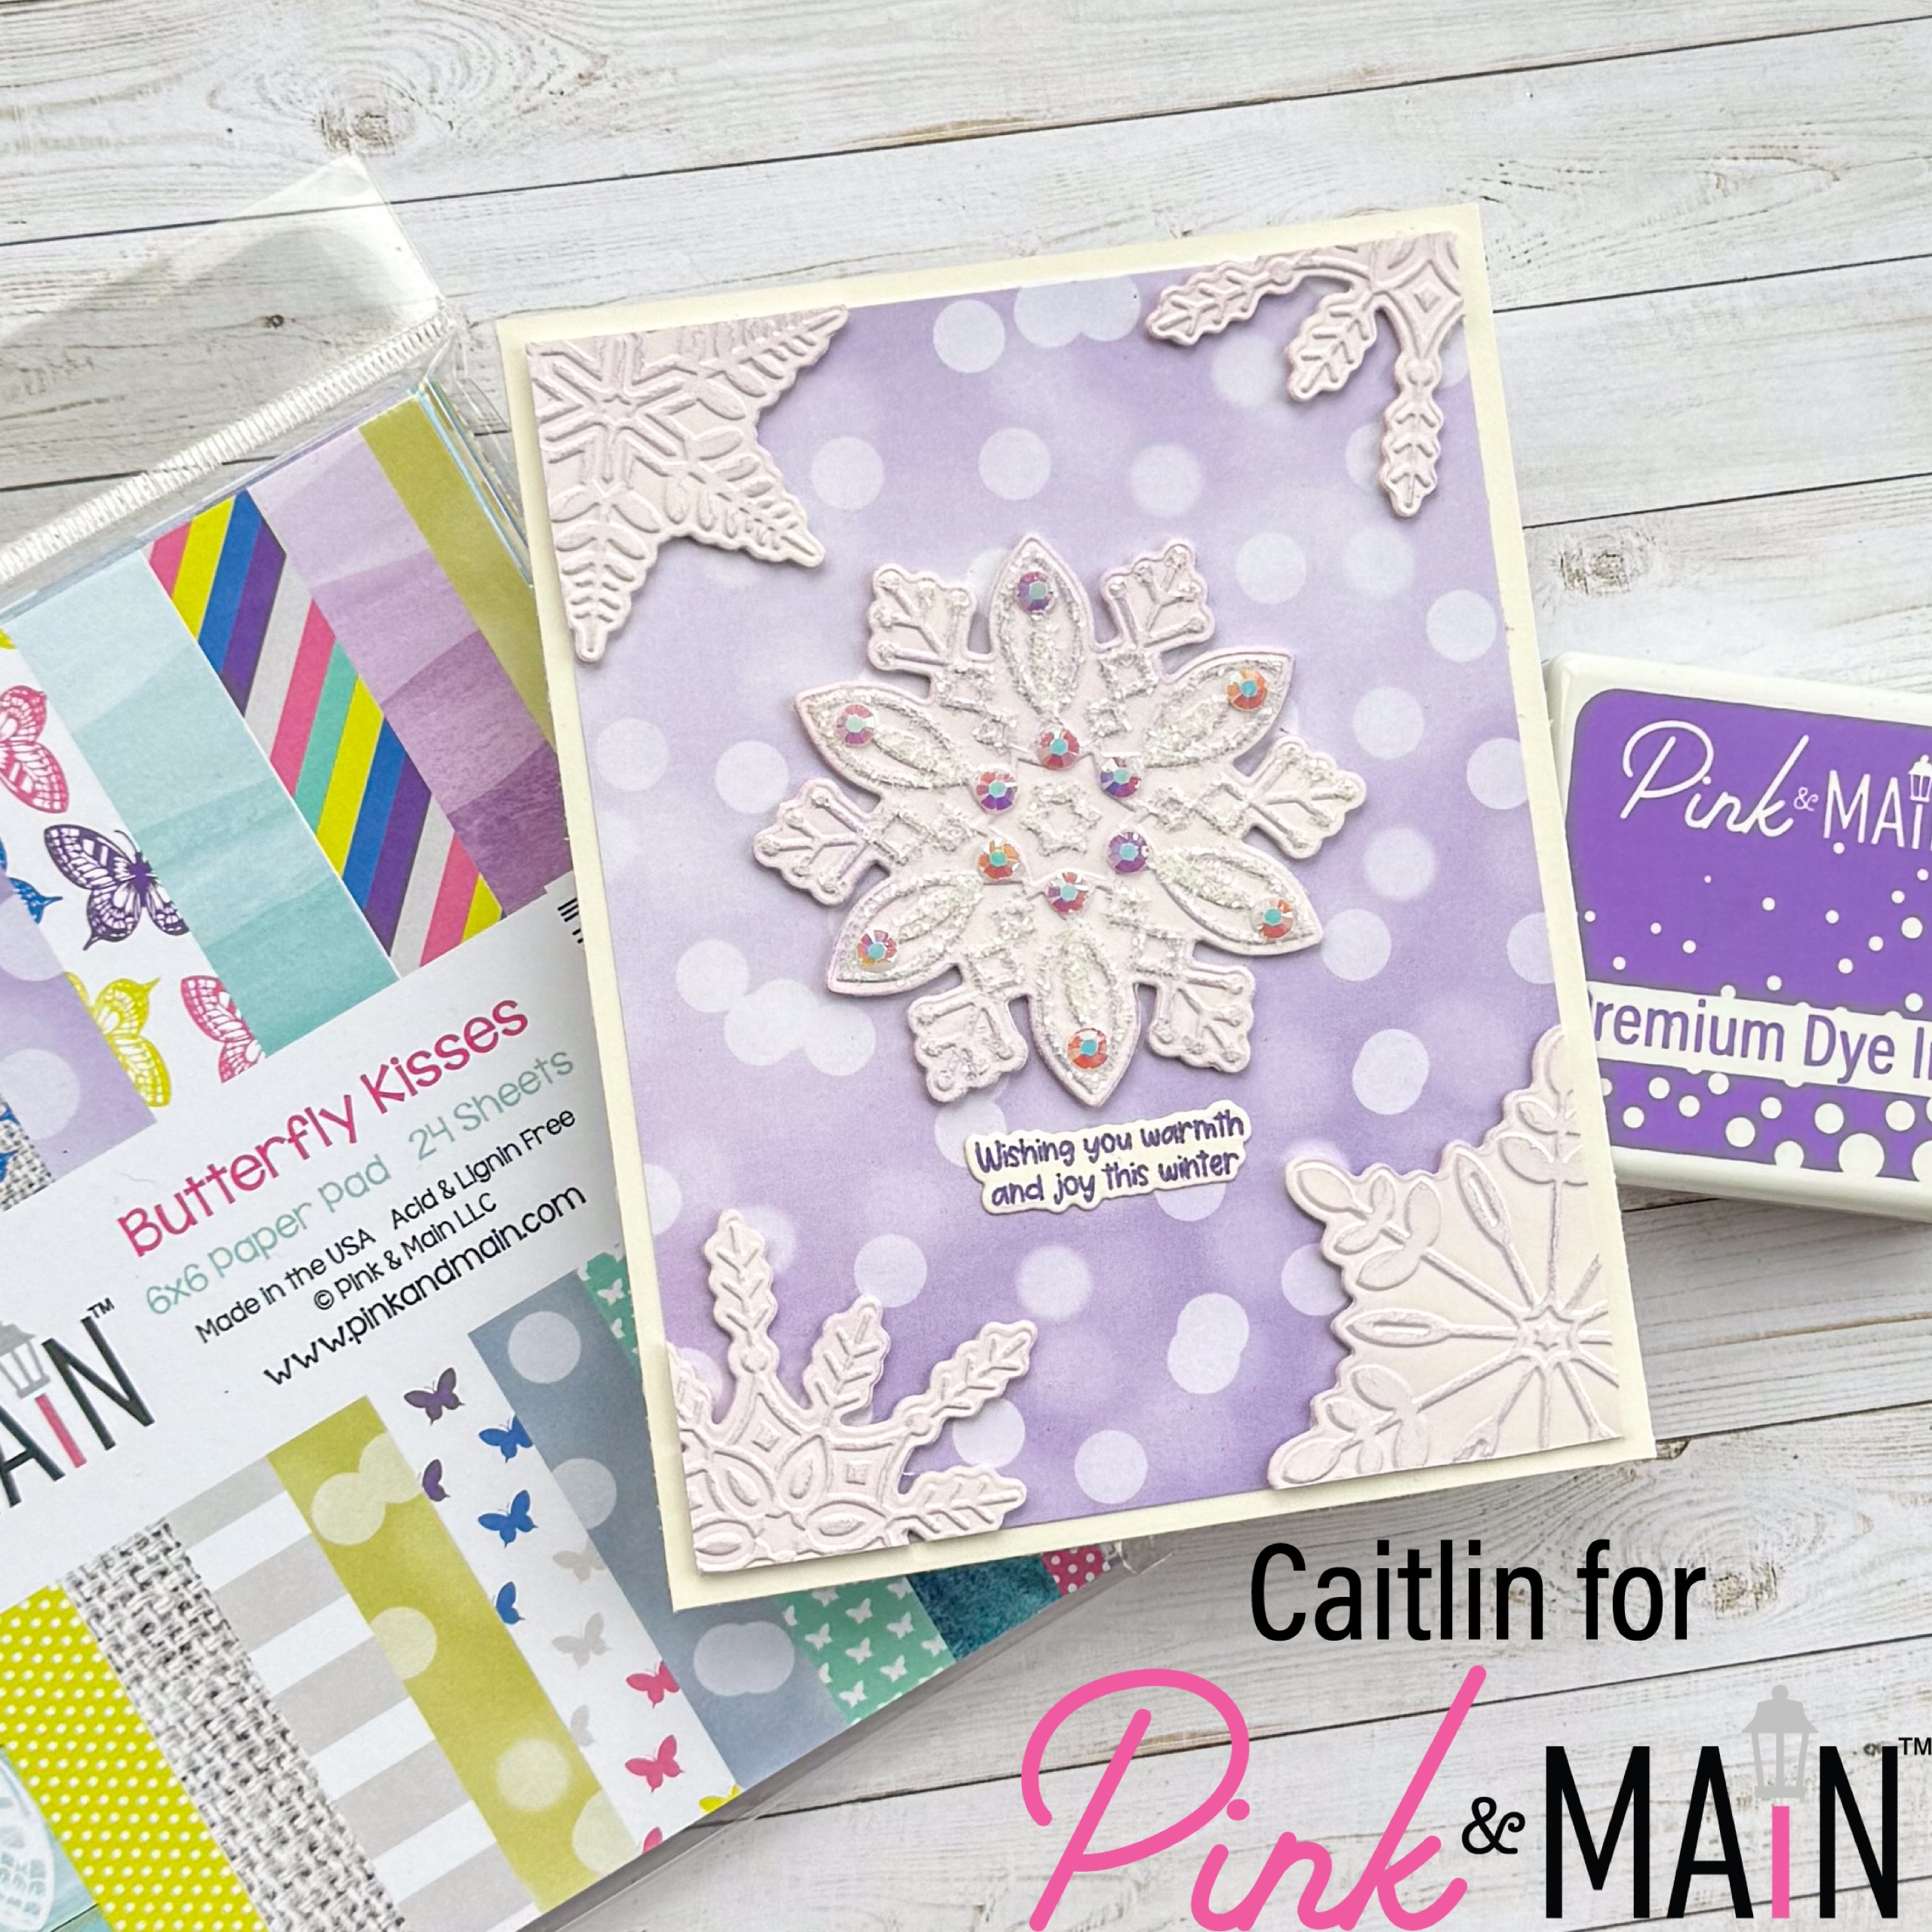
Before I added my pattern paper to my card base, I popped my center snowflake up in the center and added my extra snow flakes to the corners all with foam tape. I trimmed down the corner snowflakes with sharp scissors and used the left overs from the bottom left corner to also decorate the top right corner. I used small dots of the EZ Squeeze Glue to add the white/iridescent gems from the Cool Jelly Gems Wheel to the center snowflake.
I really wanted to keep the focus of the card on the snowflakes so I chose a very small and minimal sentiment from the Winter Joy Stamp Set. I stamped it out with the Night Sky Ink and cut it with the coordinating die cut for a delicate look. This card makes me so happy and is definitely something you could give December – February!
