
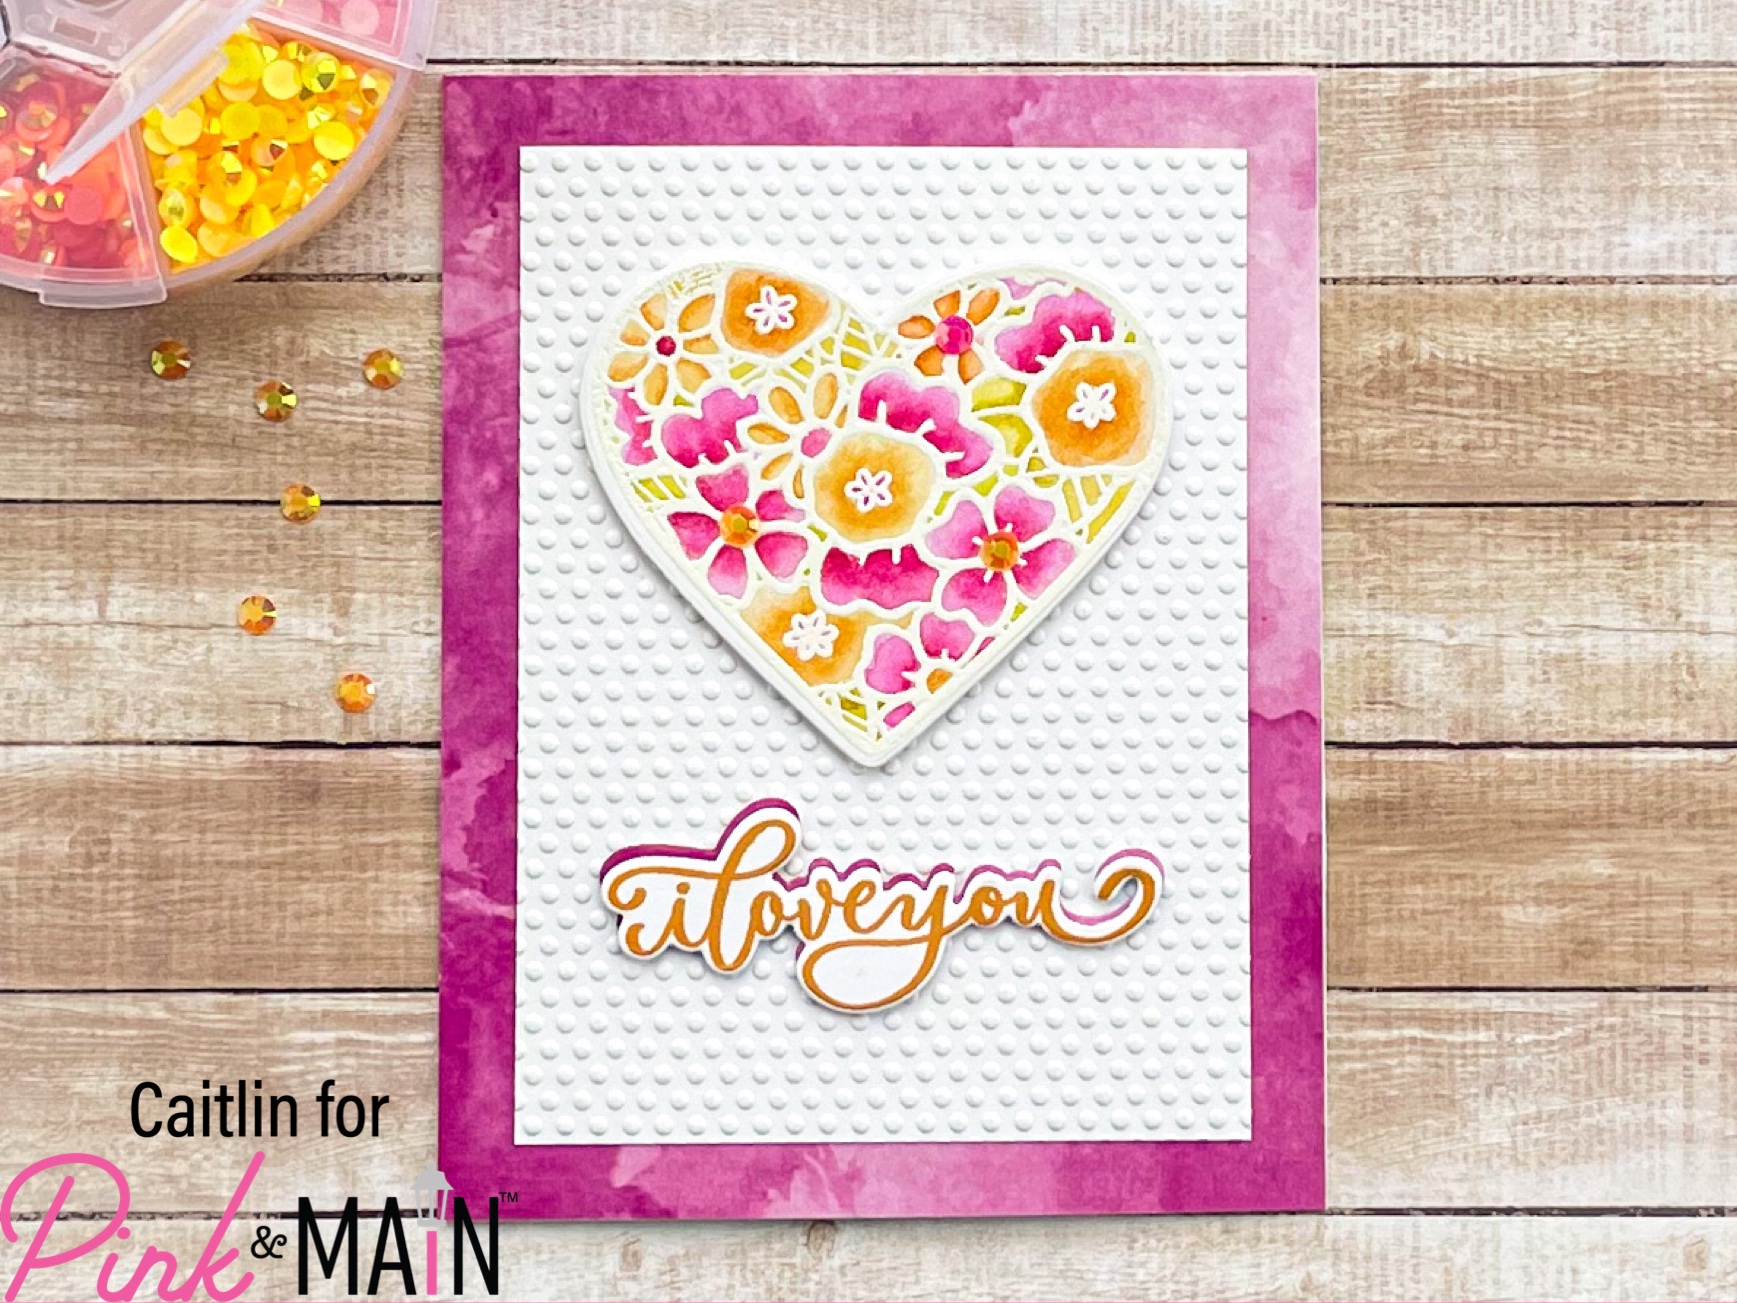
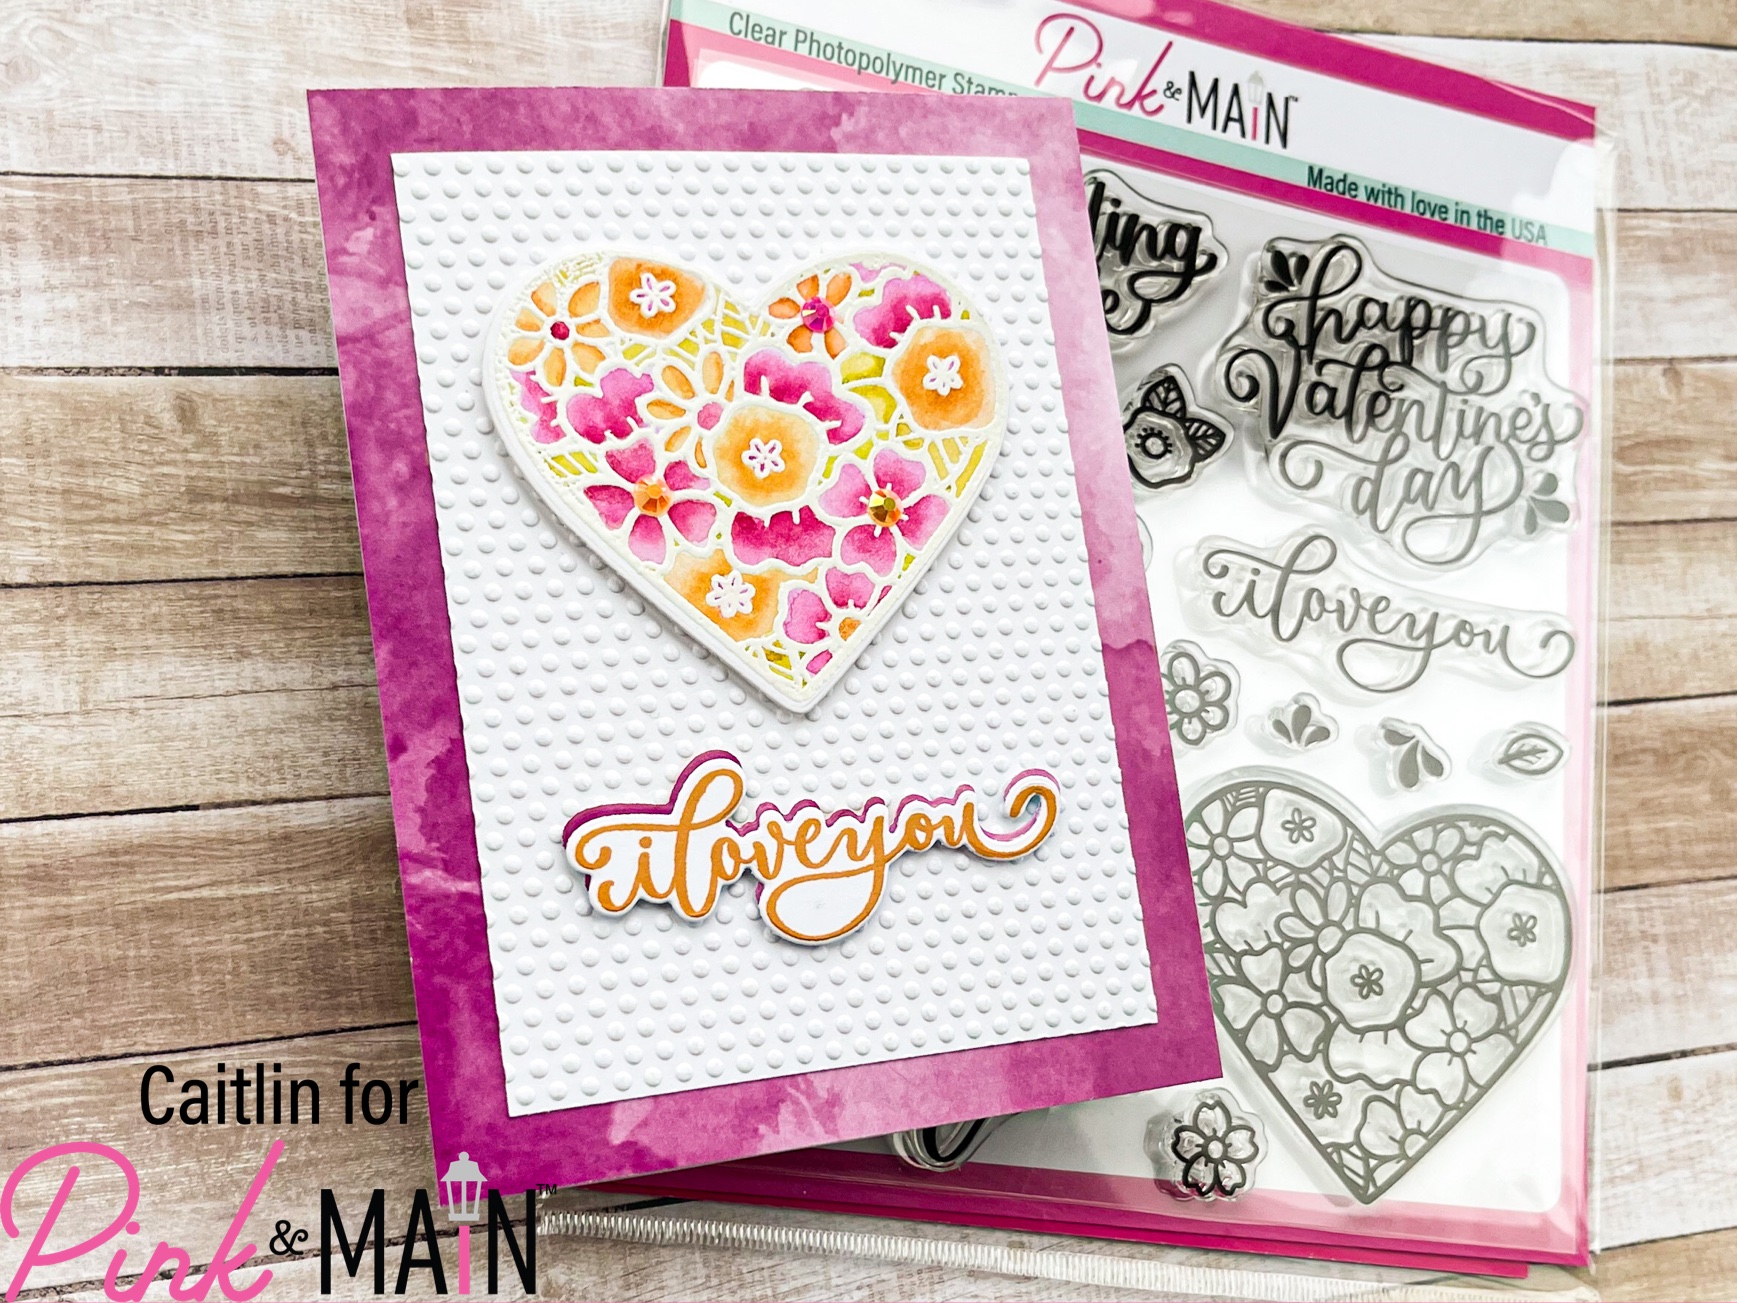
Hi friends! This is Caitlin from Caitlin Annalee Cards and today I am sharing a really fun heat embossed and watercolored card. I have been itching to try watercoloring with the new(ish) inks and when I saw the heart image from the Love Language Stamp set, I knew it was the perfect time. I am not the best at watercoloring and I don’t do as often as would like so I decided right away that heat embossing the image would be the best way to set my self up for success. The embossed lines will help to keep your painting neat and really defined so if you are also newer to painting, it’s a great way to practice.
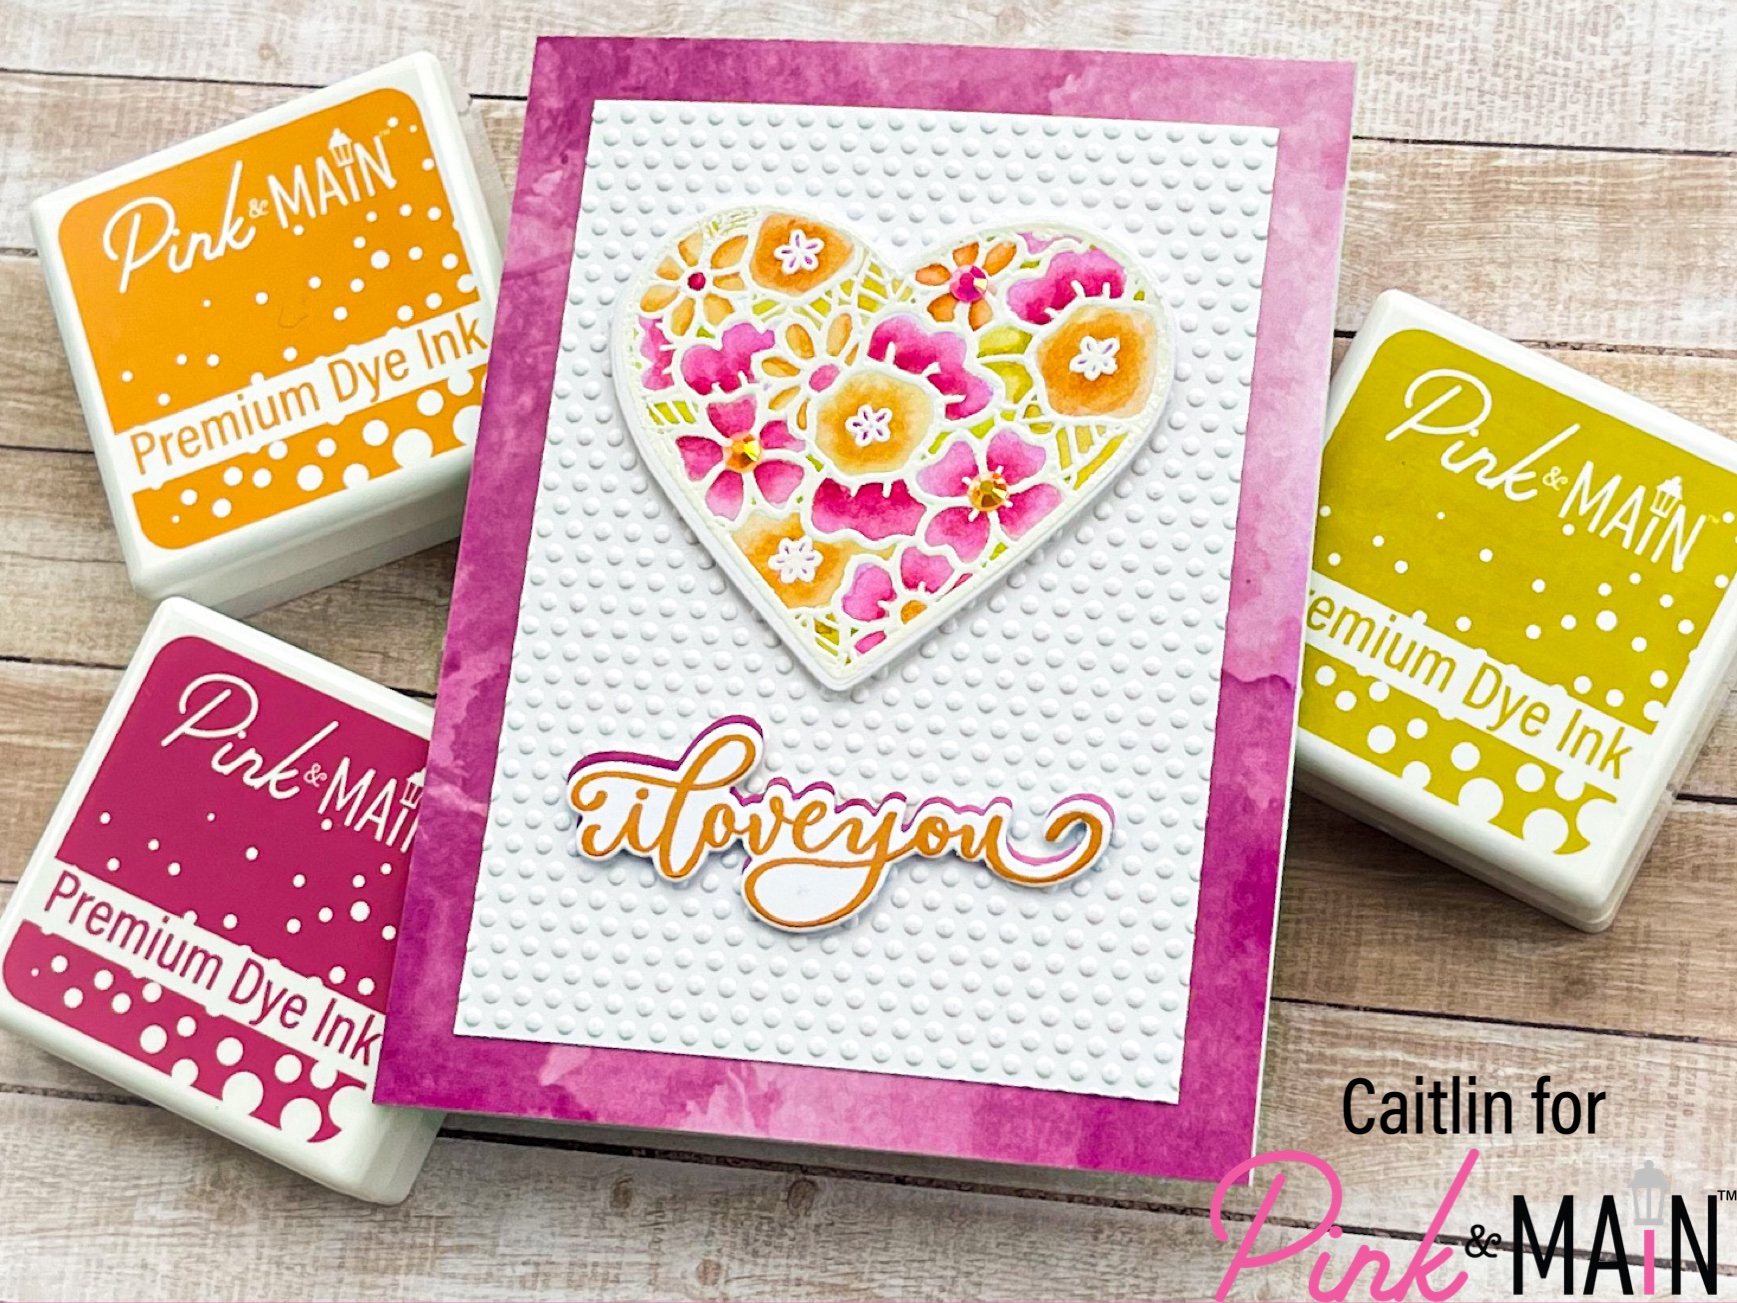
So the first thing I did was treat my watercolor paper with the Magic Anti Static Brush and then stamp my image with the Emboss and Watermark Ink pad. In the past, I have had issues with my ink bleeding under clear embossing powder lines so I picked the Frosting embossing powder for a nice opaque and crisp white. Then I picked out my color story and I decided on Dress Shop, Construction and The Park. I smushed the corner of each ink pad onto a flat plastic pallet that I could pull from with a small brush. I would paint on some clean water into one flower and then pick up some of the ink and paint it in the middle of flower, letting the water pull it out to the edges, creating a beautiful blend. I just worked in one flower at a time, alternating colors and then I went back and added the green ink to the leaves. I set this aside for about a half hour to dry before I die cut.
To create my card, I started out with a side folding A2 sized base and added a layer of the watercolor looking pink/purple paper from the Happy Paper Pad. I am not sure if this color really matches the Dress Shop Ink but it looks great with it and I love how the texture plays up the watercoloring in the stamped image. To create a base for the heart that would create a lot of contrast, I added a layer of white card stock that I dry embossed with the Micro Dots Folder. I cut it down to 3.5 in x 4.75 in for a very wide frame and then adhered it flat with liquid glue. I popped up the die cut heart with the new Foam Tape for some added dimension and then I decided the sentiment was going to need to pop as well. I stamped the I Love You sentiment onto white card stock with the Construction ink and used the coordinating die to cut it out. I also cut a second layer out of the scrap pattern card stock and then layered them up. I off set them so that the bottom layer would peak out and add extra color. I trimmed pieces of the foam tape down to be really skinny and popped up the sentiment as well. My last step was to add a few of the Warm Jellies Gems to the center of some flowers with liquid glue for some added sparkle. I am so in love with how this card turned out and I hope you are inspired to play with your products in a new way!
Pingback: 10 Stamped Floral Cards for Spring – Stamping
Pingback: 10 Stamped Floral Playing cards for Spring – Stamping - Craftersoutlet
Pingback: 10 Stamped Floral Cards for Spring – Stamping - Blog