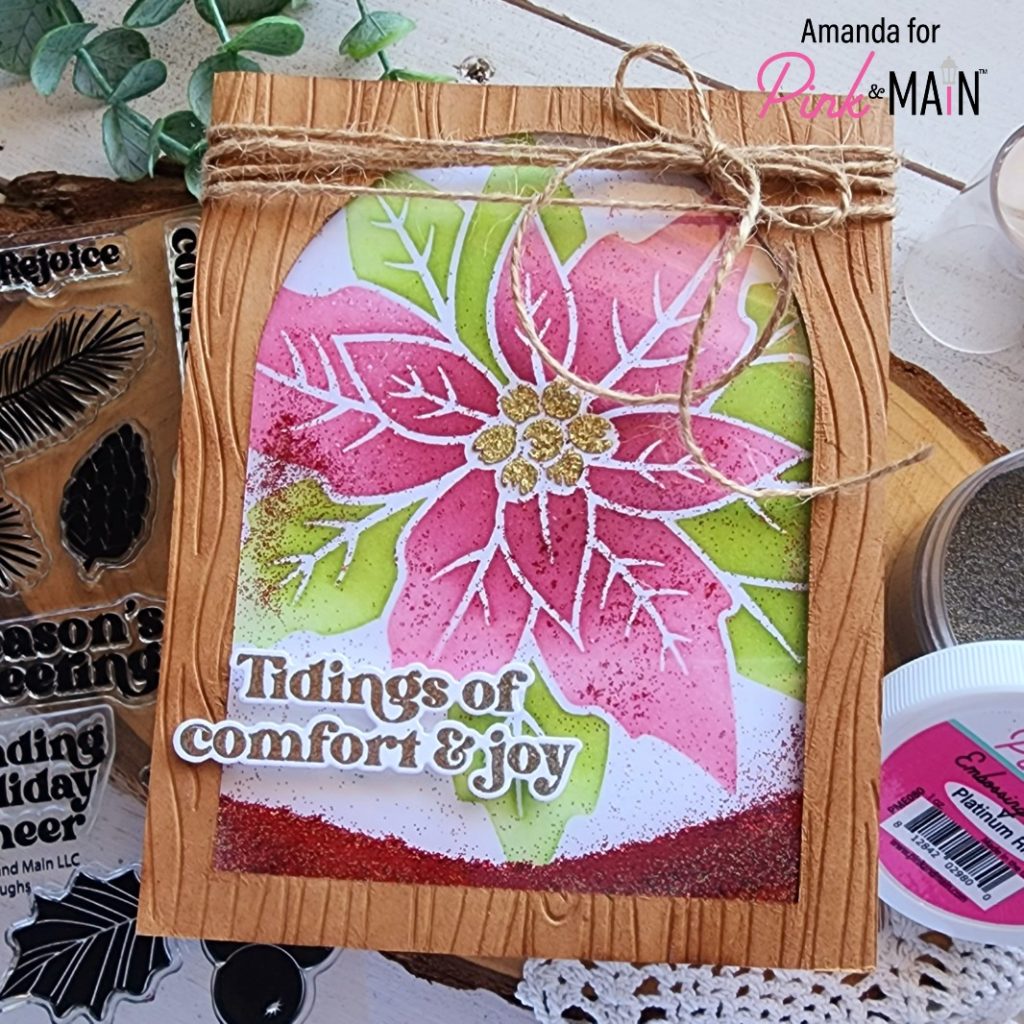
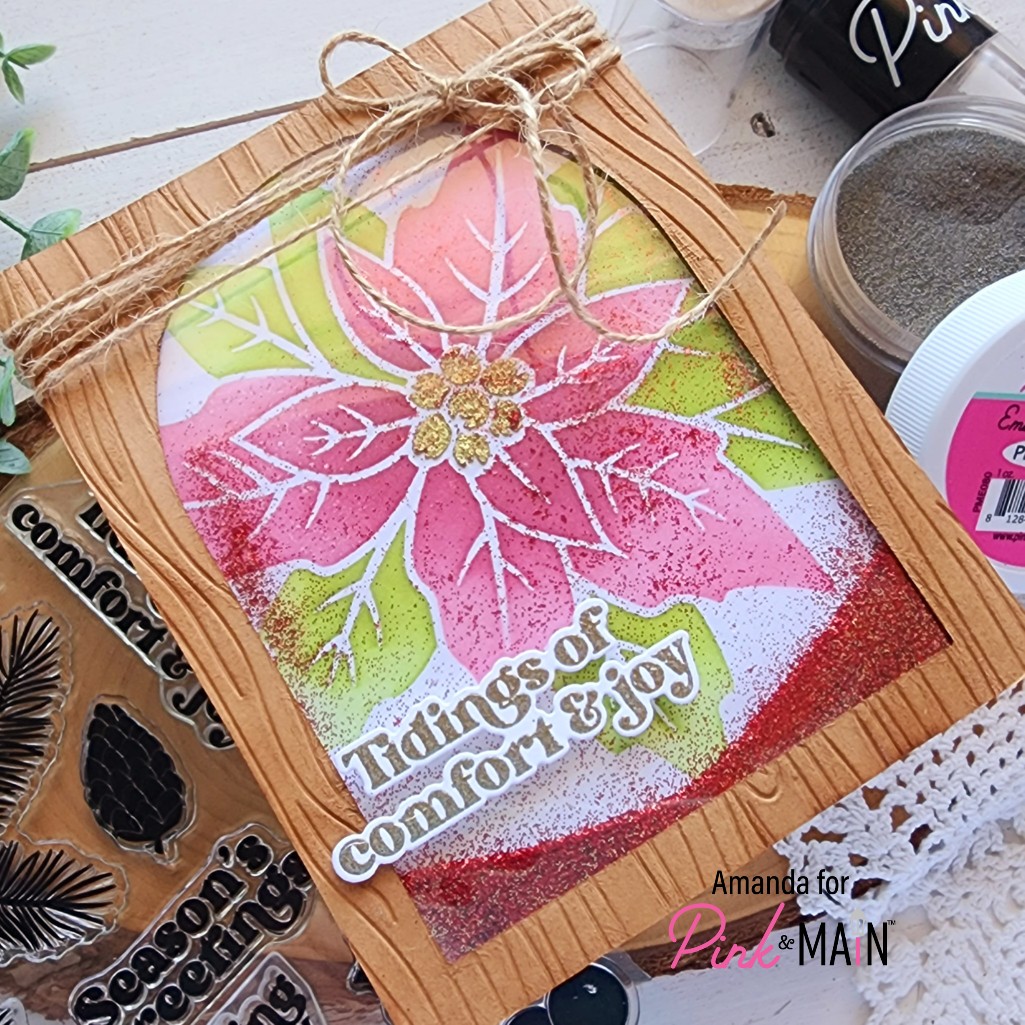
Happy Wednesday everyone! This is Amanda with some inspiration using the recently released Poinsettia stencil. This single stencil has all of the layers to create a gorgeously inked poinsettia flower that covers your card front. It’s so beautiful! Today I turned my inked panel into a shaker card for added fun.

I started by inking the poinsettia layers with my blending brushes and dye inks, except for the center. Once I got to that point, I spread gold Glitz Glitter Gel through for some added bling. Then I set the panel aside to dry while I cleaned up.

To create a frame for my shaker, I took an A2 size piece of kraft cardstock and ran it through my die cut machine in the Woodgrain embossing folder. Then I cut a window out using a Stitched Arch die. I saved the inside piece for another card which is an extra bonus! Then I lined it with EZ Tear Tape and added a piece of acetate. I then, lined that with foam strips, sprinkled some Holly Super Fine Glitter to my panel and adhered them together.

Next, I stamped and heat embossed a sentiment from Pine Boughs with the new Platinum Ring embossing powder and used the coordinating die to cut it out. I popped it up with foam squares and adhered my shaker to a top folding white card base. Then, to finish off the design, I tied some twine around the top in a cute little bow.
I love the glitz and shine from the different elements, paired with the rustic feel of the woodgrain and twine wrapping.
Products used:
Poinsettia stencil
Stitched Arches dies
Pine Boughs stamps and dies
Holly Super Fine Glitter
EZ Tear Tape – 1/4″
Foam squares and strips
Ergonomic Blending Brushes
Magic Anti Static Brush
Platinum Ring embossing powder
Embossing & Watermark Ink
Glitz Glitter Gel – gold
I appreciate you sharing your time with me. Have a fabulous day!
