I love to ink blend. And I love to mask. And I love that Pink & Main has products that make both SUPER easy!
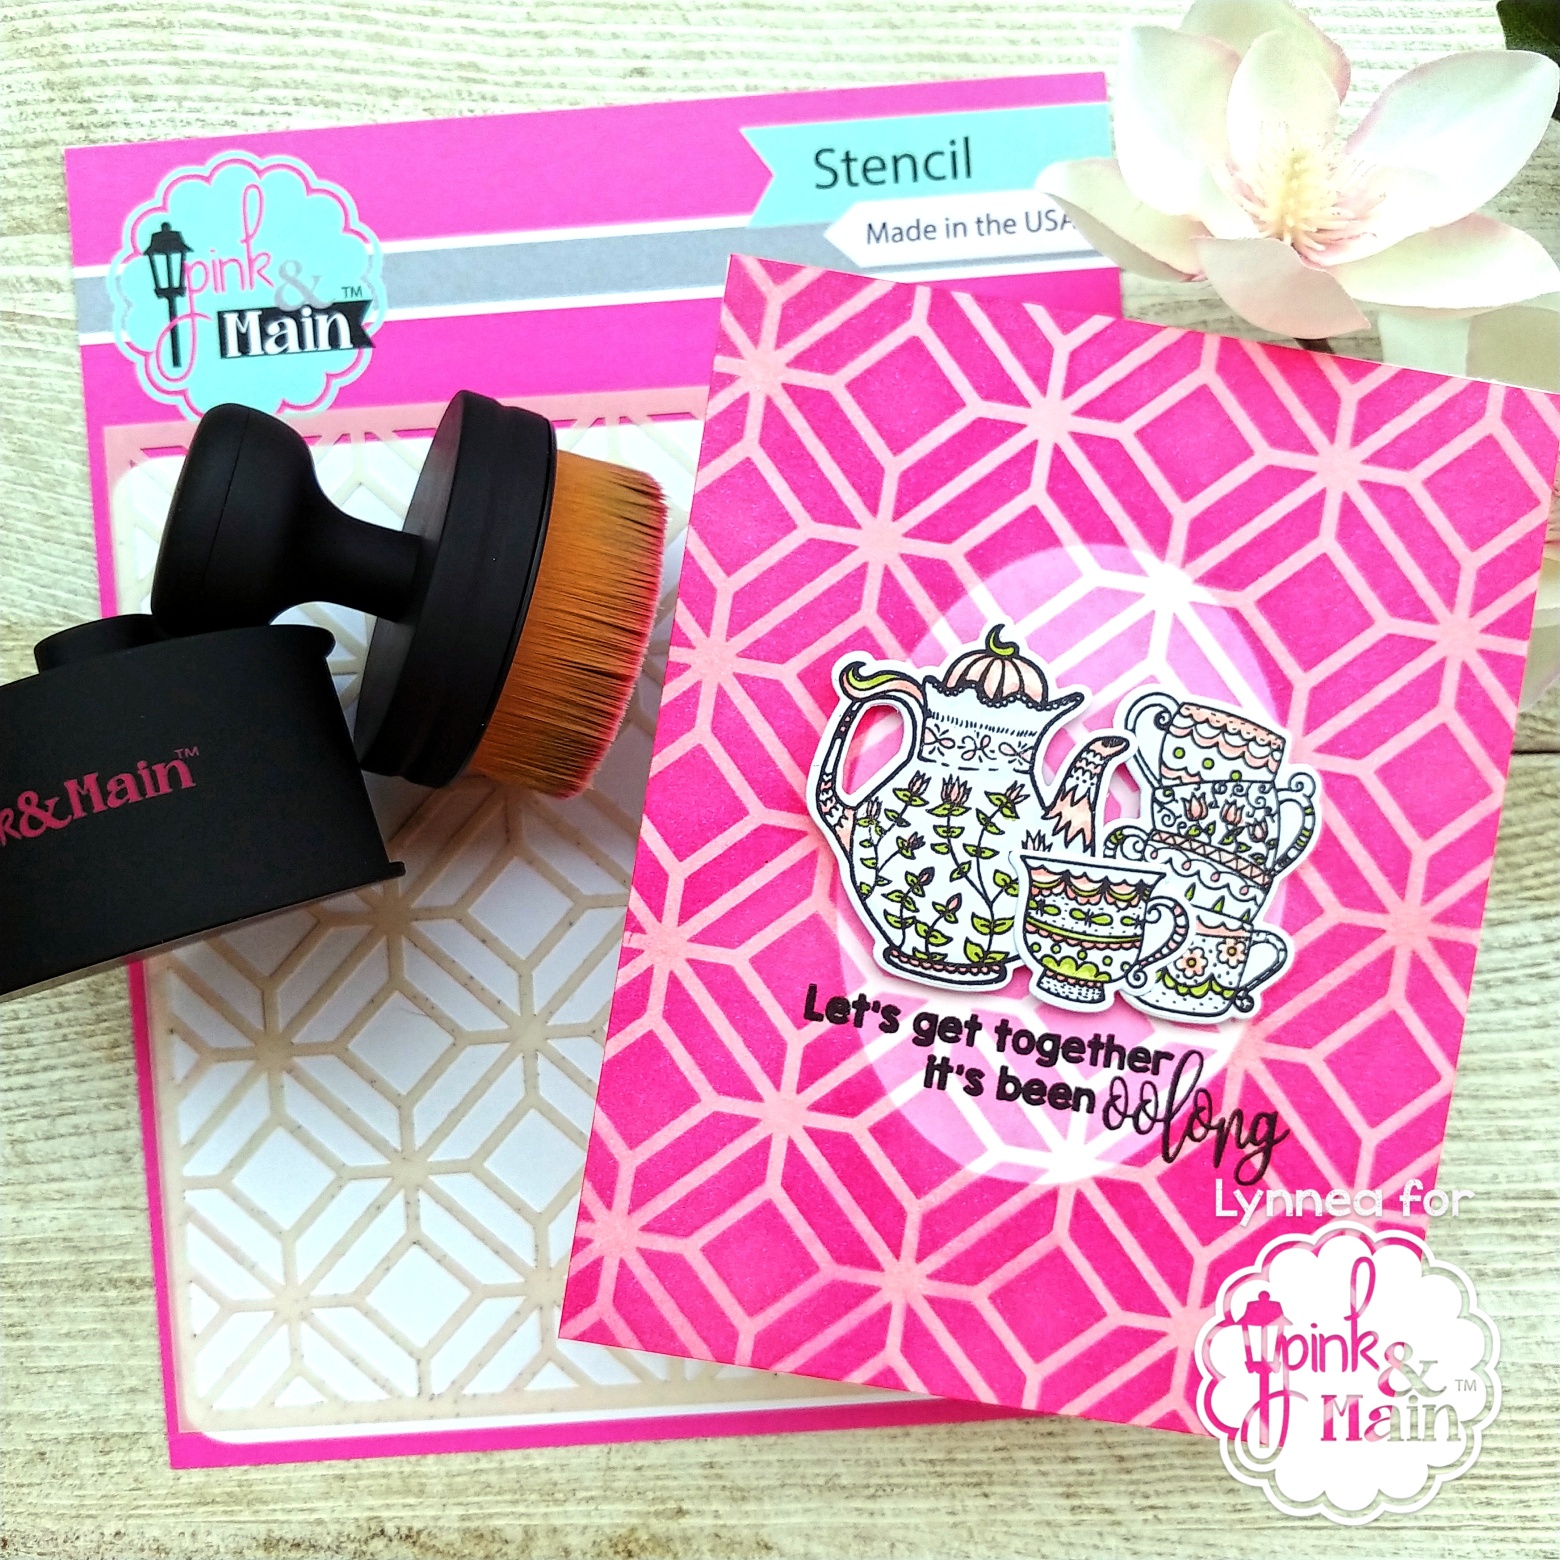
Let’s start with the background. It’s looks terribly complicated, but it’s quite easy! And I only used two shades of ink! I used the Ergonomic Blending Brush to apply a light layer of pink ink to cover a piece of white cardstock. I placed the center oval piece of the Mask It – Oval Stencil in the center of my card and used the same ink and Ergonomic Blending Brush to apply a darker pink background to the card. Here’s a tip to get perfect placement of the oval – Add the entire Mask It – Oval Stencil over the background ( using the grid lines on the stencil for alignment ) and place the center oval inside of the stencil. Remove the large portion of the Mask It – Oval Stencil from the card leaving the oval piece perfectly in the center of the card background.
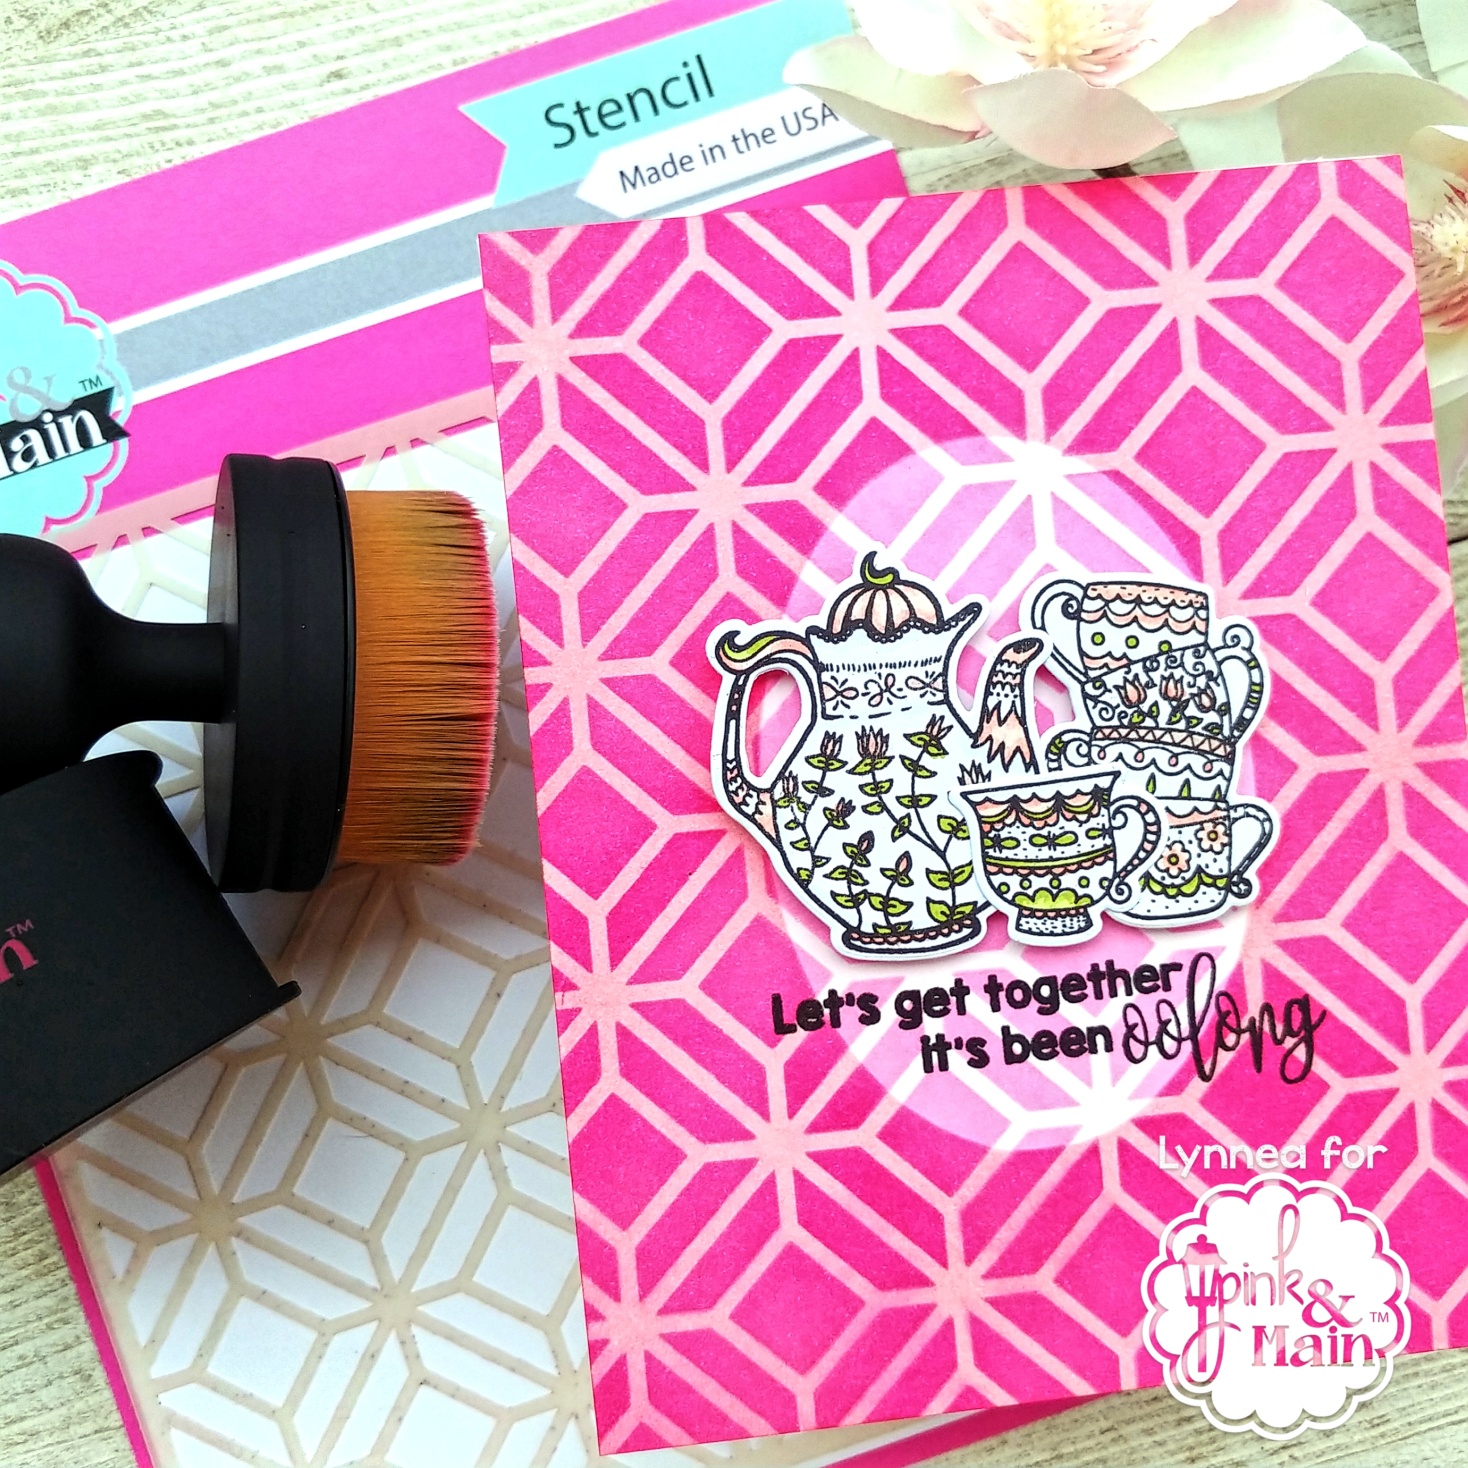
So far I have a light/medium pink background with an even lighter ink blended oval in the middle of my panel. I wanted to have a little more color and texture, so I added the Garden Gate Stencil into the mix. I used the same technique as I did to cover my background with ink, just with an extra stencil in place. I temporarily adhered the Garden Gate Stencil onto my background and blended a darker pink ink over the entire background with an Ergonomic Blending Brush. I peeled back the Garden Gate Stencil, placed the center from the Mask It – Oval Stencil over the oval in the center of the card, replaced the Garden Gate Stencil, and blended on the same darker pink ink once more with an Ergonomic Blending Brush. I just used a heavier hand to get the darker pink color. I peeled everything off my card and it looks like I used four different colors of ink when I actually only used two! And I have a perfectly masked and blended oval in the center of my card!
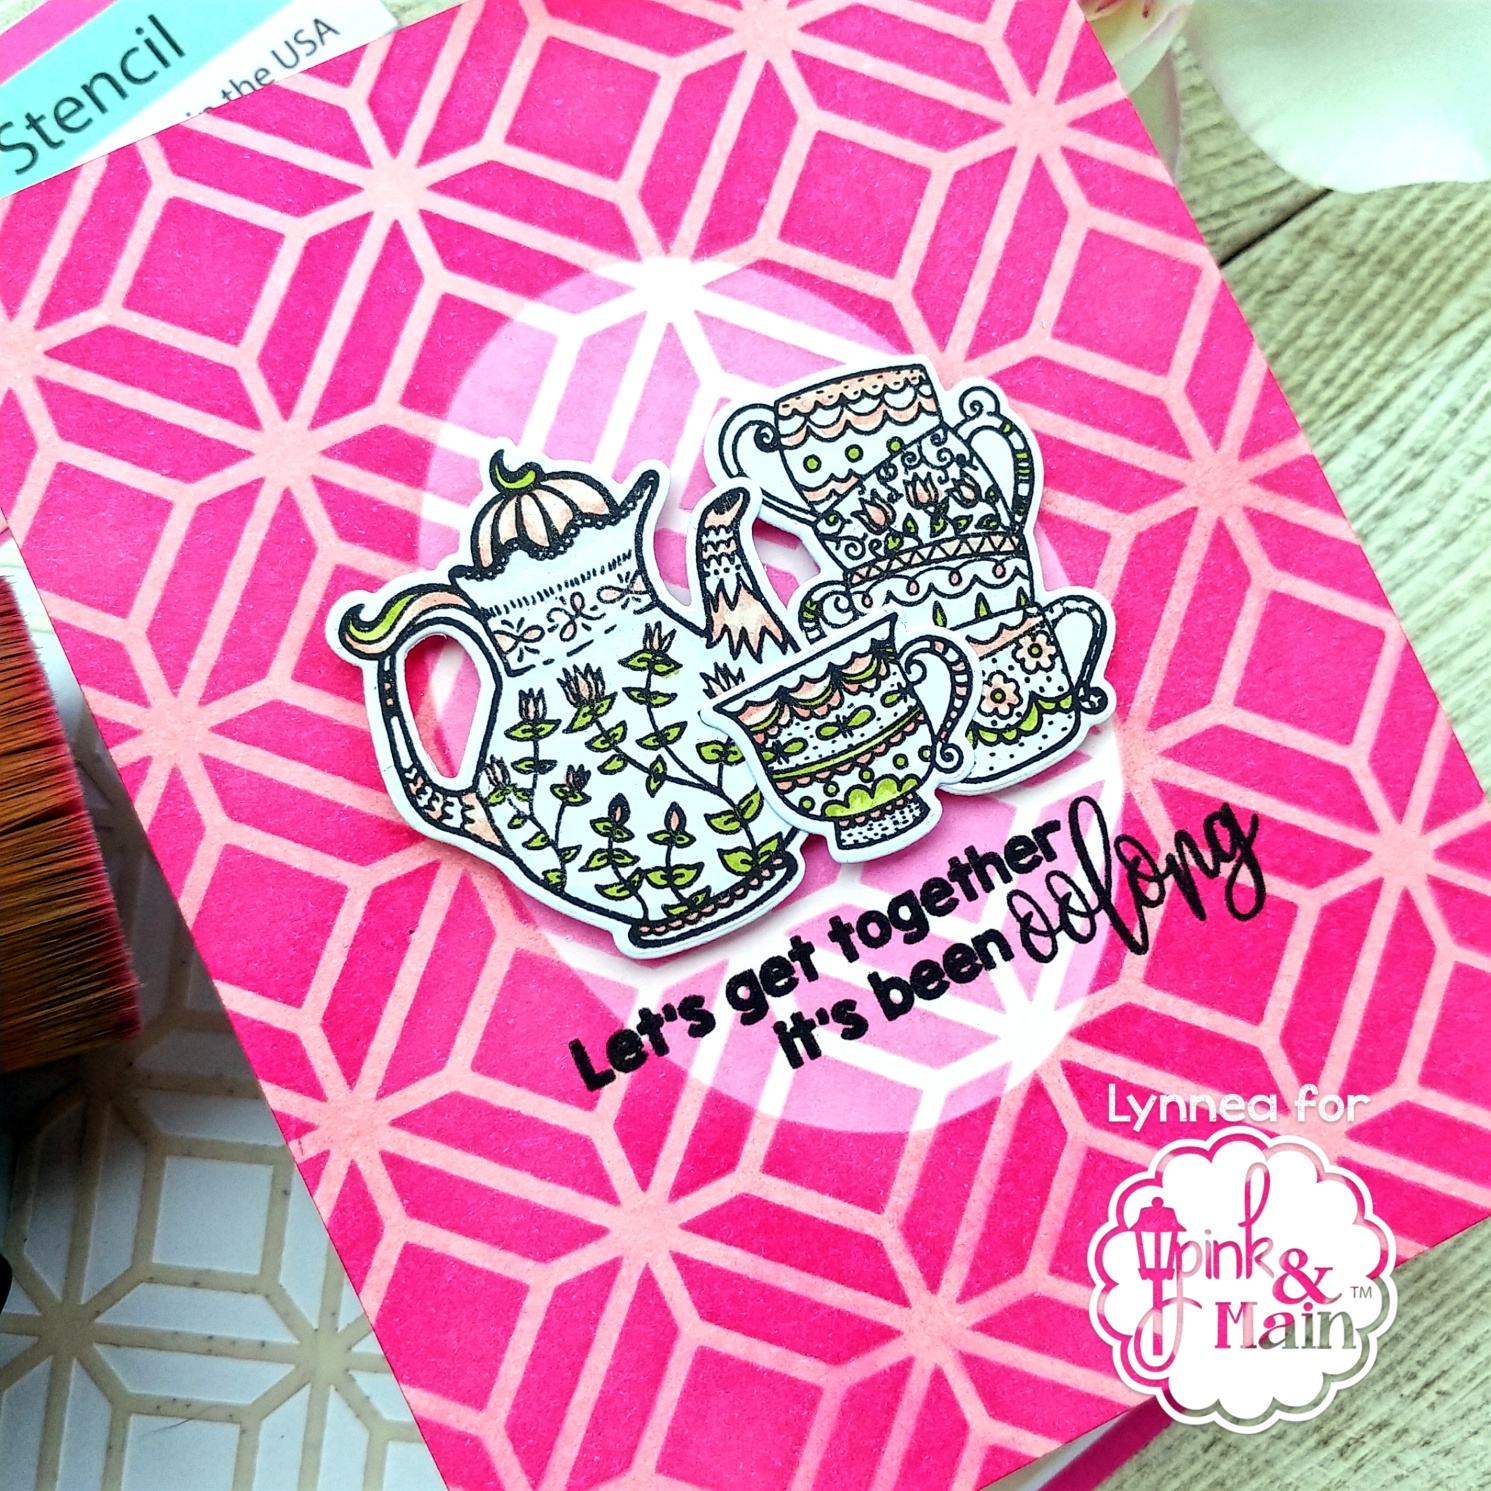
It looks like it took a lot of work, but it totally didn’t! I made this background in a little more than 5 minutes! And I love all the dimension that the masking and ink blending gives.
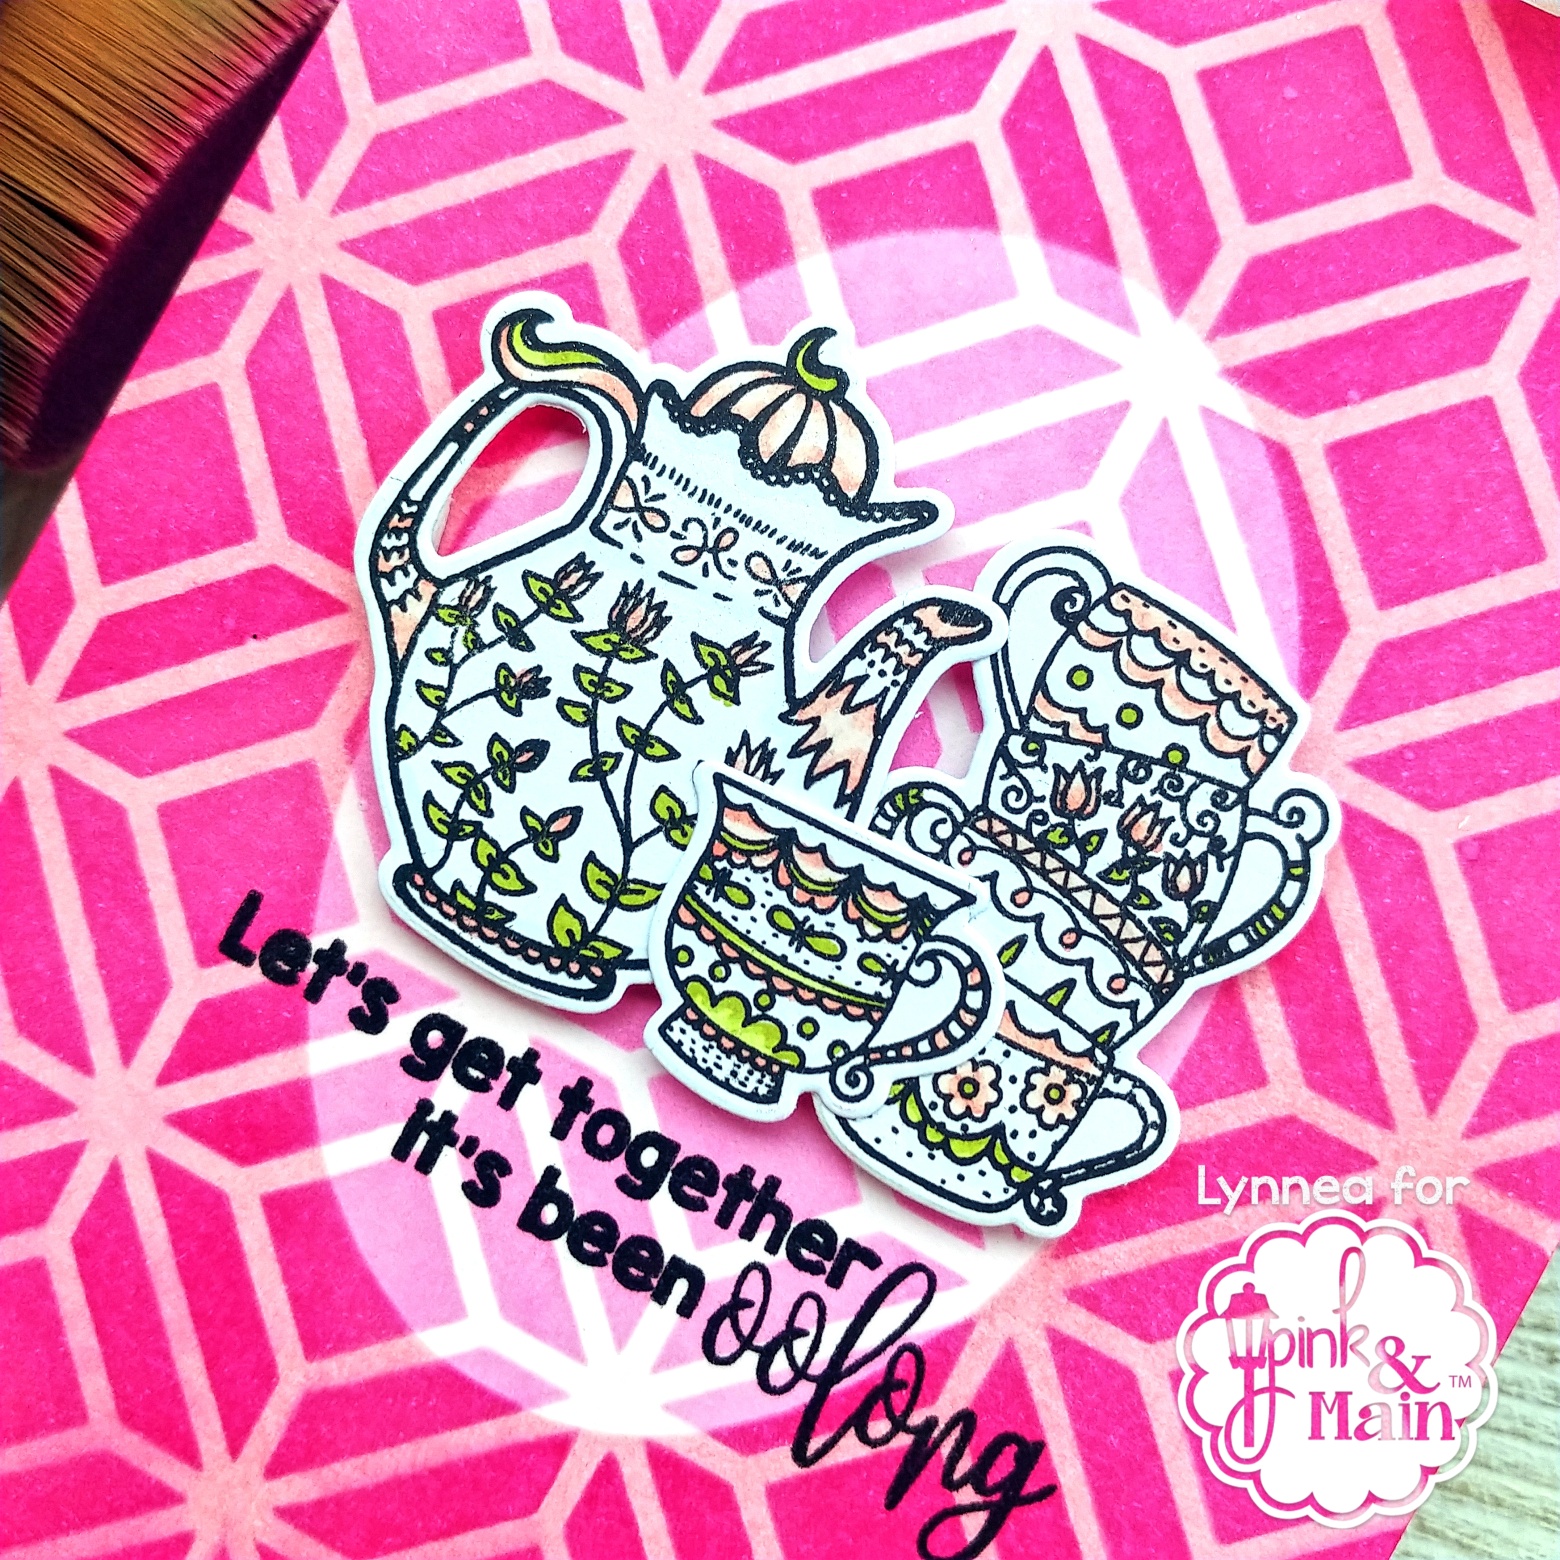
I wanted some fabulously elegant images to add on top, so I stamped images from the Tea-rific stamp set. This is on of my FAVORITE stamp sets from last year! I colored the tea pot and cups leaving lots of white areas and highlighting with pink and green. I die cut them with the Tea-rific die set and added them to the center of the oval with foam tape above a stamped sentiment from the Tea-rific stamp set.
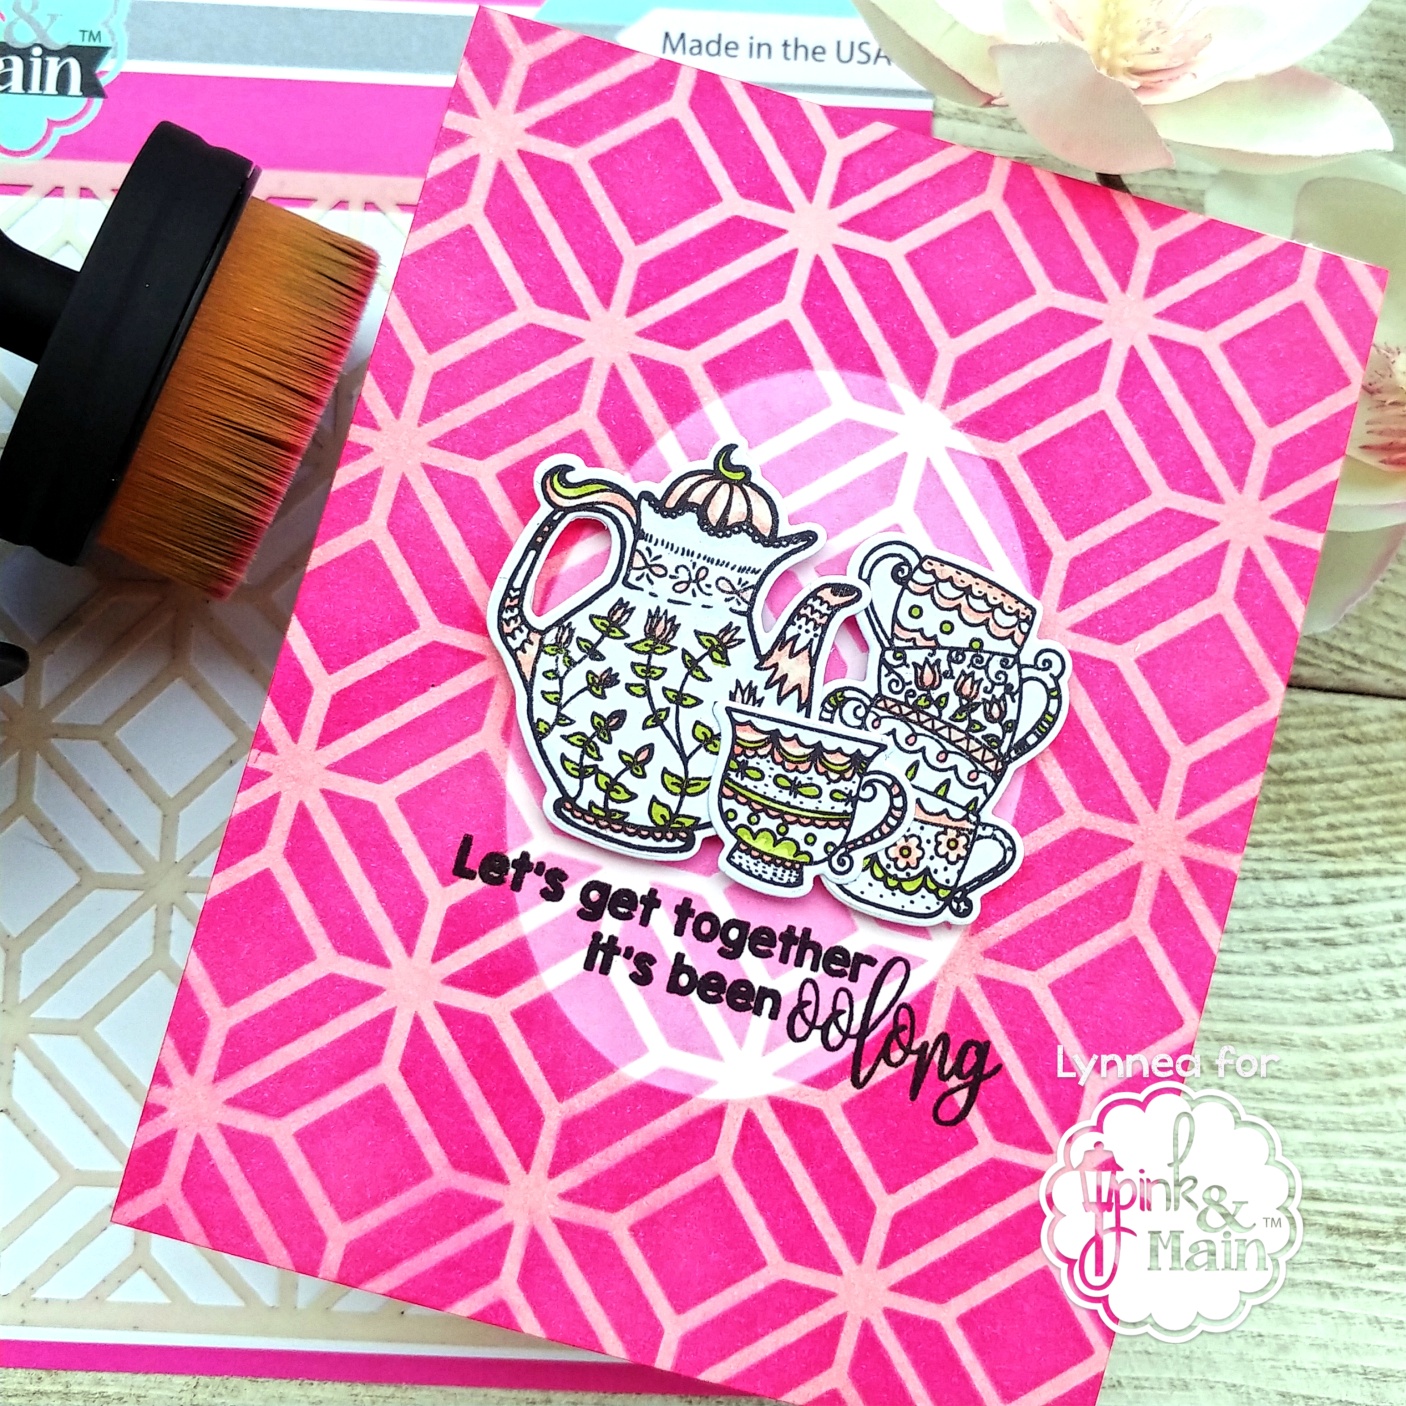
I didn’t use any extra embellishments on this card. I thought the ink blending, masking, and images told the story on their own! I’m missing all of my friends with everything that’s happening in the world right now, so this card is perfect!

This is beautiful!
I’m going to share it in the coffee loving papercrafters fb group!