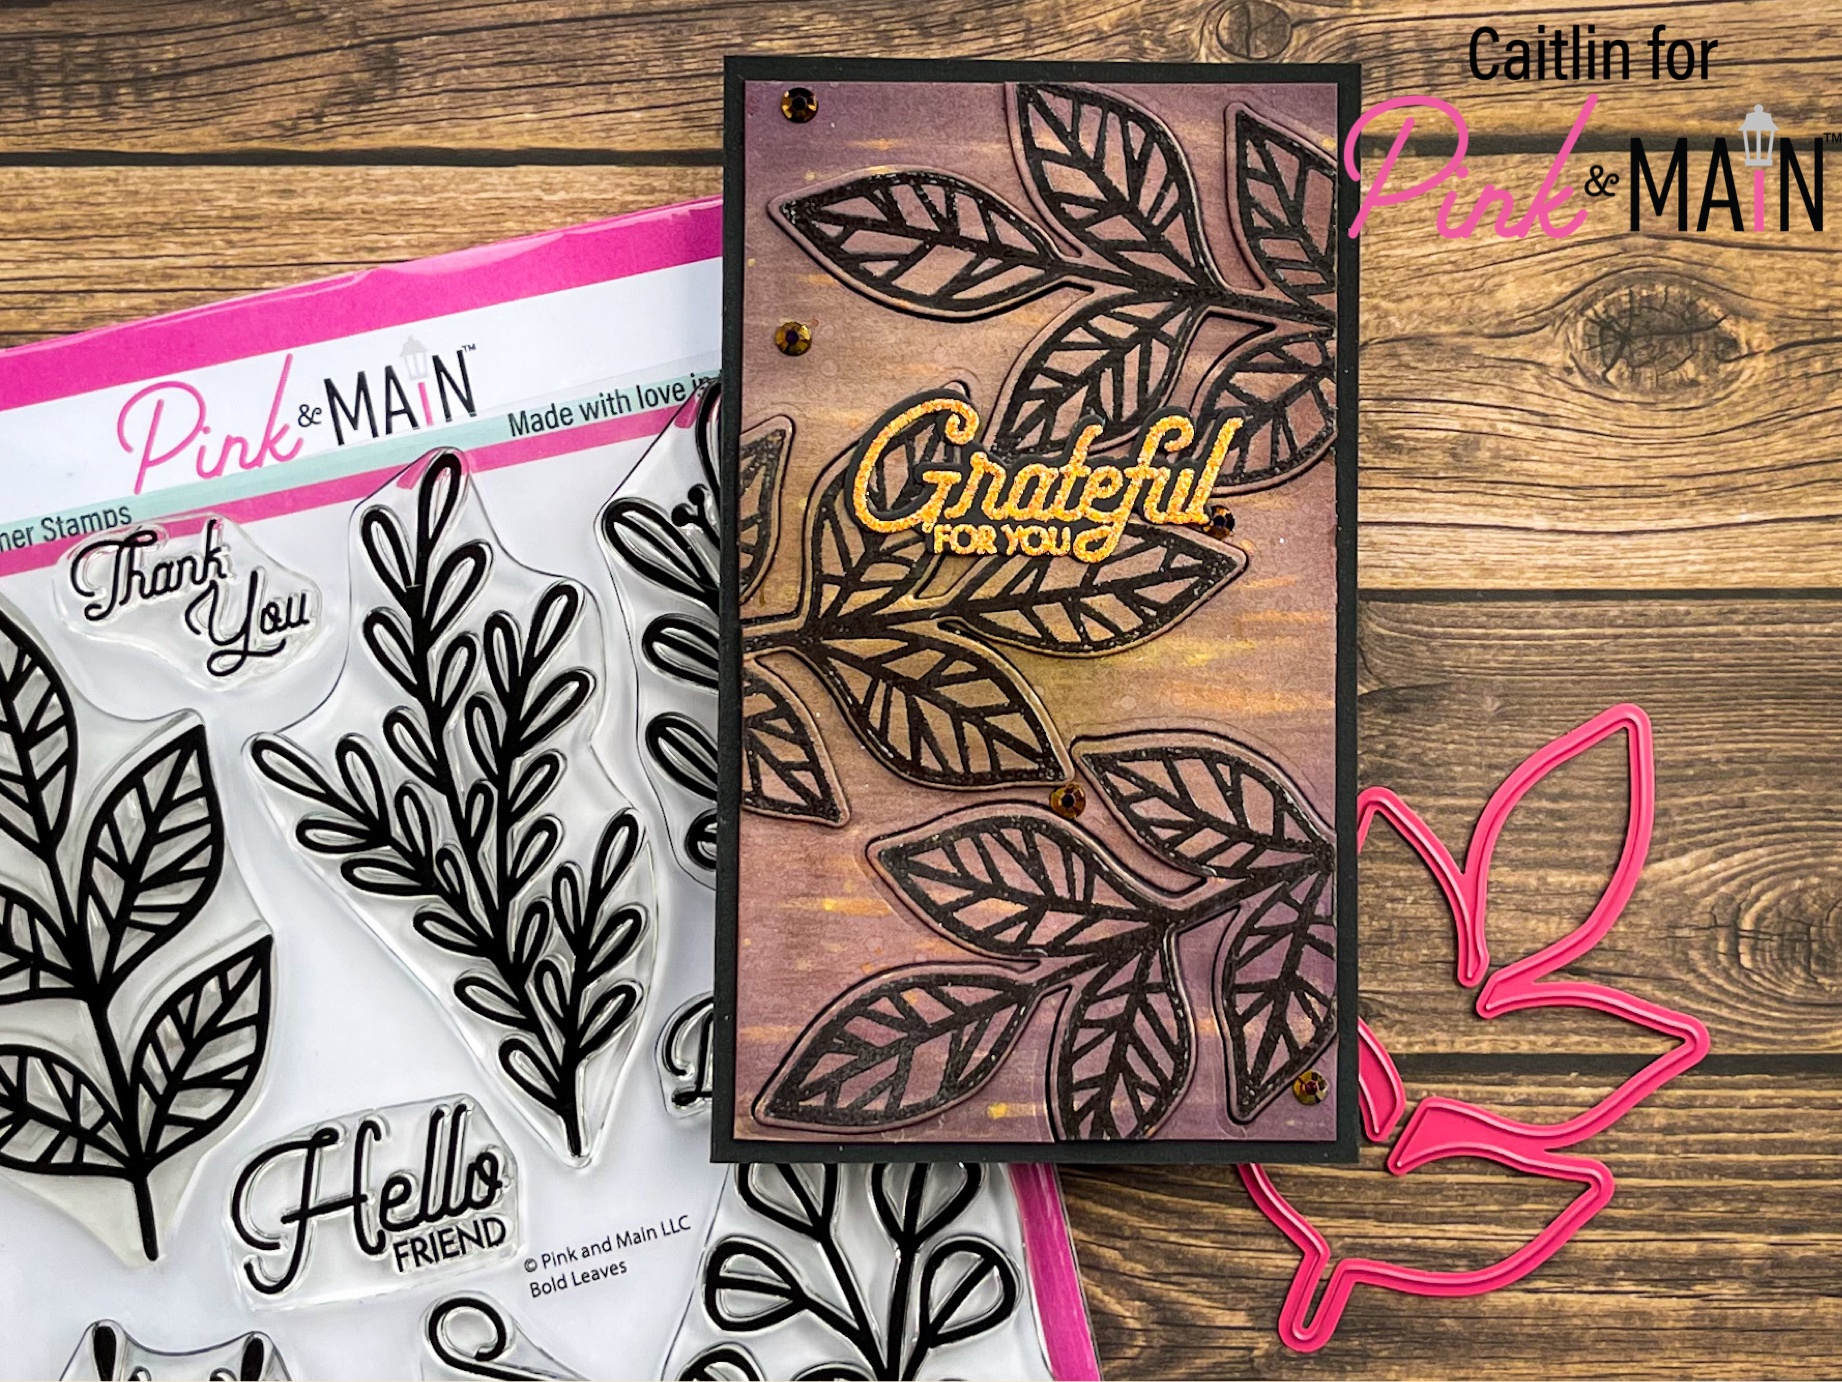
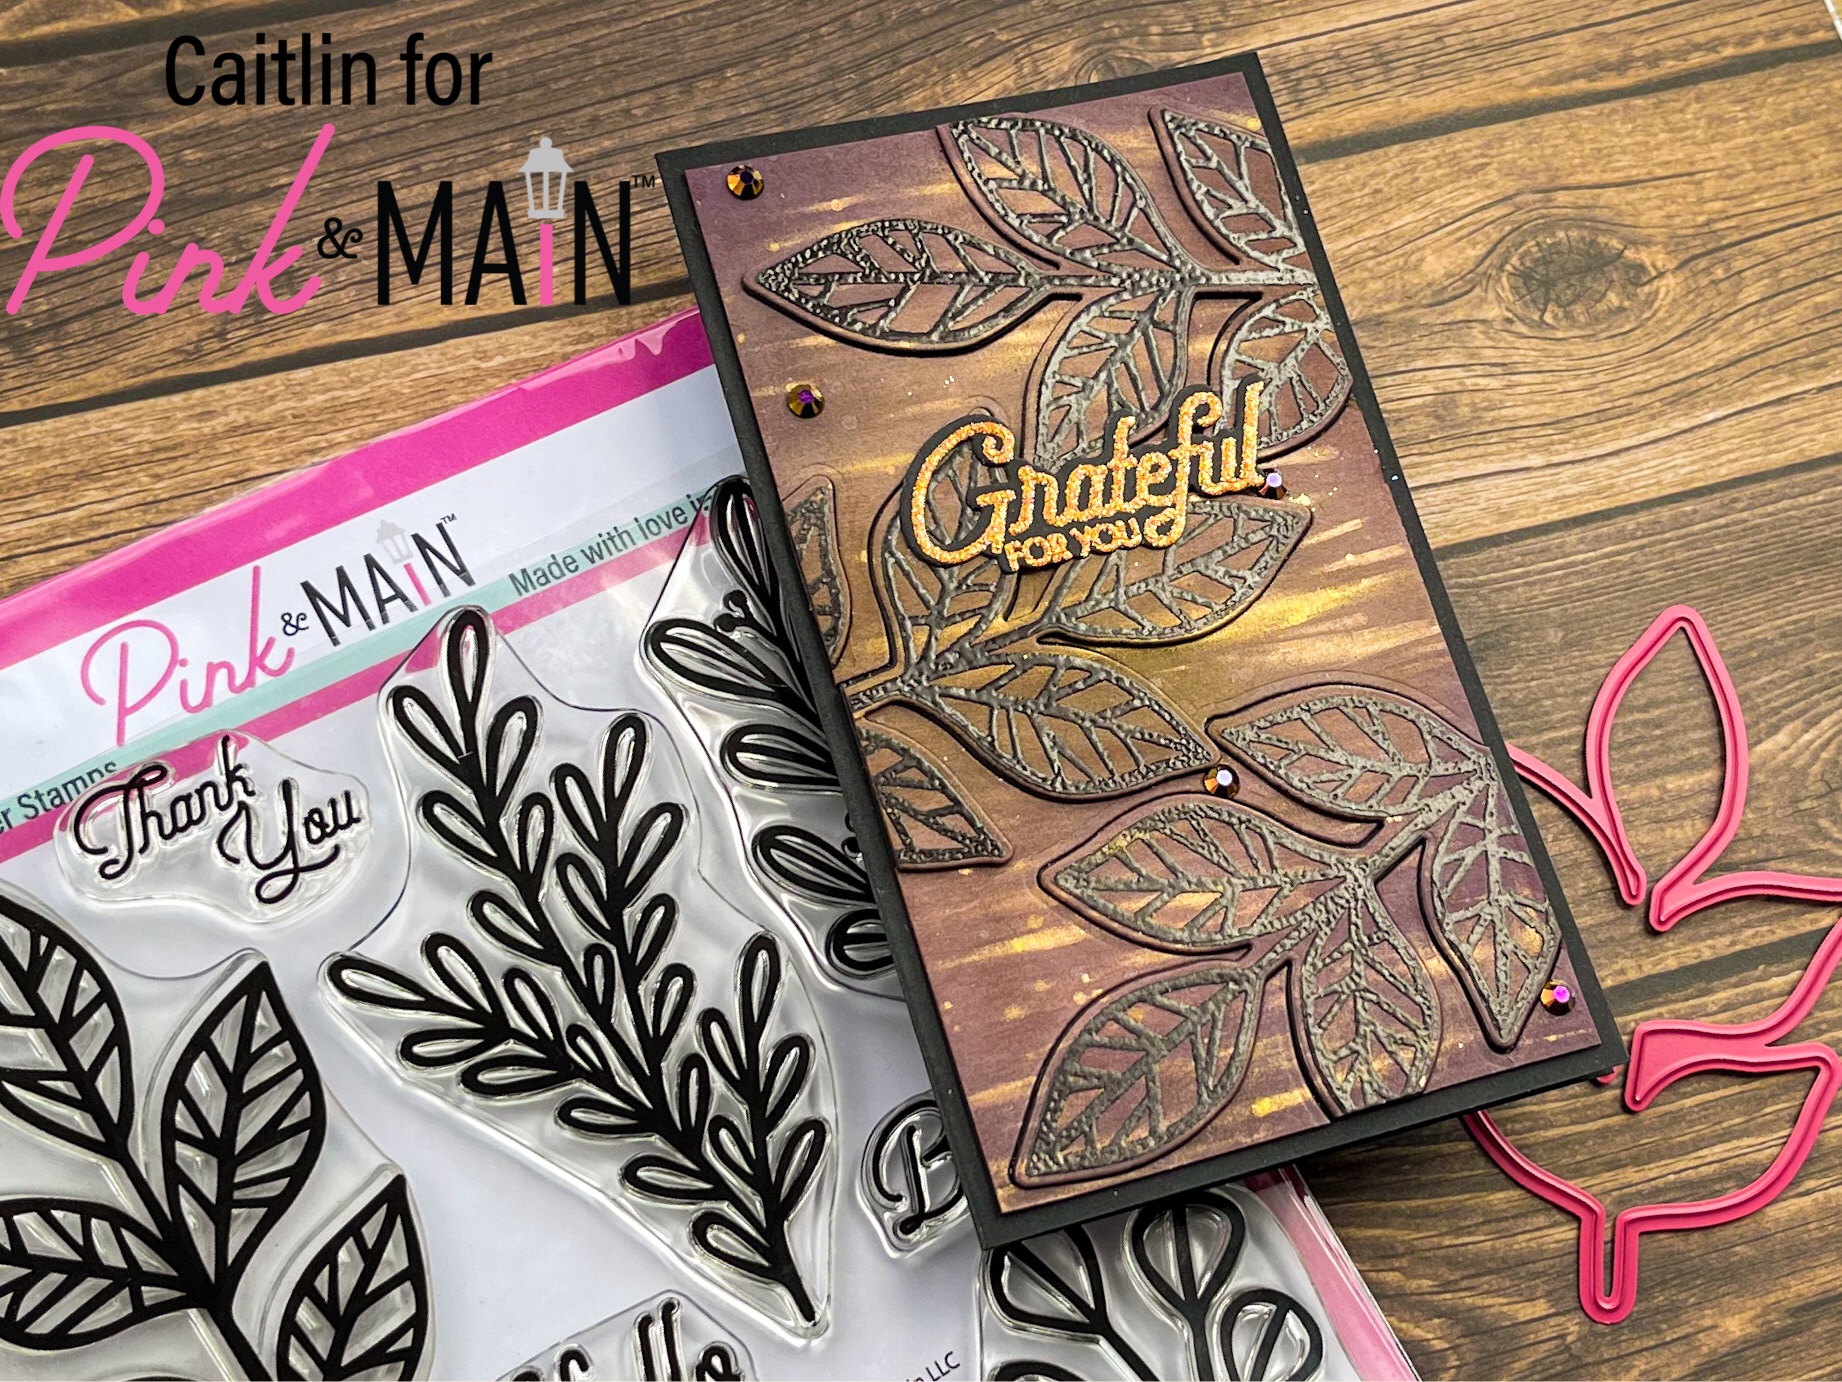
Hi Friends! This is Caitlin from Caitlin Annalee Cards and today I am sharing a mini slimline card featuring the Bold Leaves stamps and die set. This card is a different style for me but I had a lot of fun trying out some techniques that I hadn’t used before and I hope you enjoy the process with me.
I started this card with a sheet of Asphalt Card Stock, cutting it down into two panels- one was 6 in x 7 in and one was 6 in x 3.5. I scored the bigger panel down the middle and folded it to be 6 in x 3.5 in to be the main card base and set it aside. I took the smaller panel, I prepped it with the Anti Static Powder Brush and stamped one of the branch stamps across the panel 3 times, alternating directions, with the Embossing Watermark Ink Pad. I used the Clear Embossing Powder over all three stamped images and heat set them. Next I went in with Seedless Preserves, Spiced Marmalade and Mustard Seed Distress Oxide Inks on blending foams and blended on different areas of color. I sprayed on Distress Mica Spray Stains in Flickering Candle and Tarnished Brass over the panel and then used a damp paper towel to drag the color from side to side and also wipe the excess ink from the embossing.

Once the panel was dry, I used the coordinating die set to cut each of the branches out. I also die cut an additional 6 branches from scrap black card stock and used them to layer up each branch, trimming away any excess from the edges so they would fit back into the card panel. I adhered the main panel down on to the card base first with the EZ Squeeze Glue, shifting it to make sure it was laying really flat and straight. Then I took the layered pieces and glued them back into their spots to they are popped up but when you look at the straight on, you cant really tell how high up they are. The Bold Leaves stamp set comes with these amazing sentiments and coordinating dies and I wanted to use the Grateful for You sentiment to make a pop of color. The new orange glitter embossing powder, Sherbet, was a little too bright for the mood I wanted, so I scooped some out into a little spare container and added a little bit of the Black Ice embossing powder to dull it down just a little bit. I heat embossed the sentiment, cut it out and added it to the center of the card. I wanted to add just a hint more sparkle so I scattered some of the black gems from the Warm Jelly Gems diagonally across the panel as well. I really love how this card is a mix of fun and elegant and I think its great for fall!