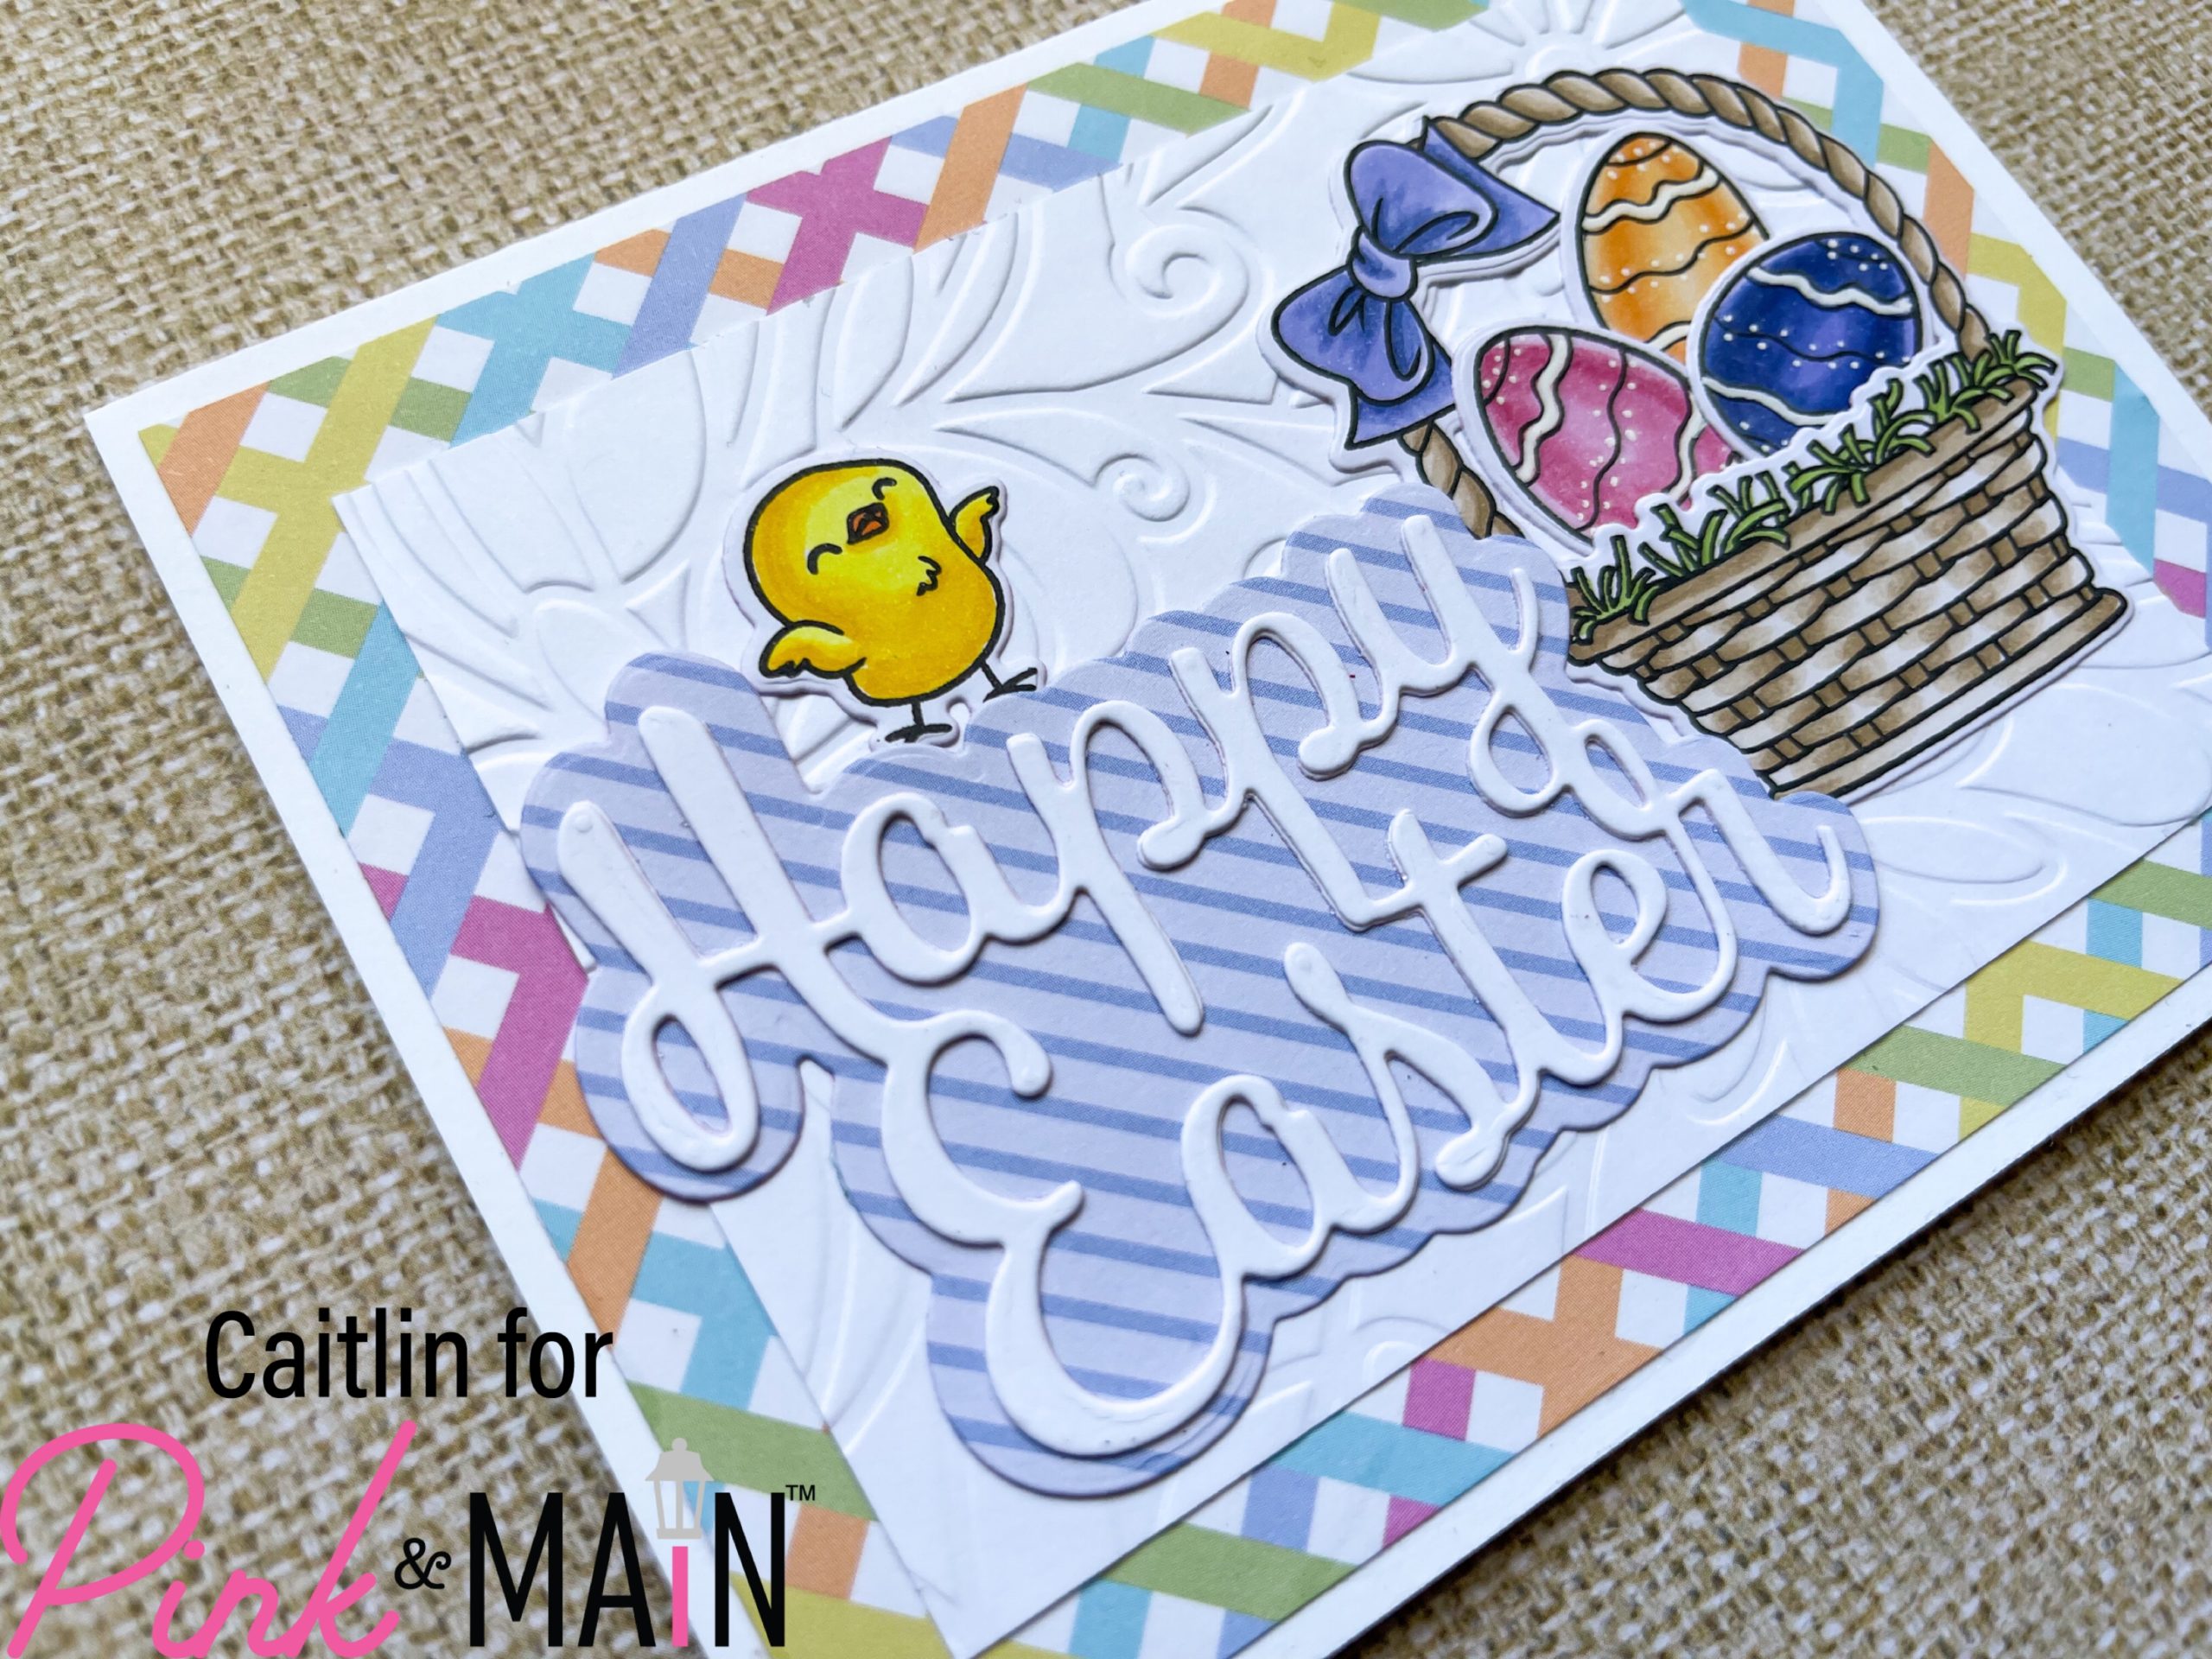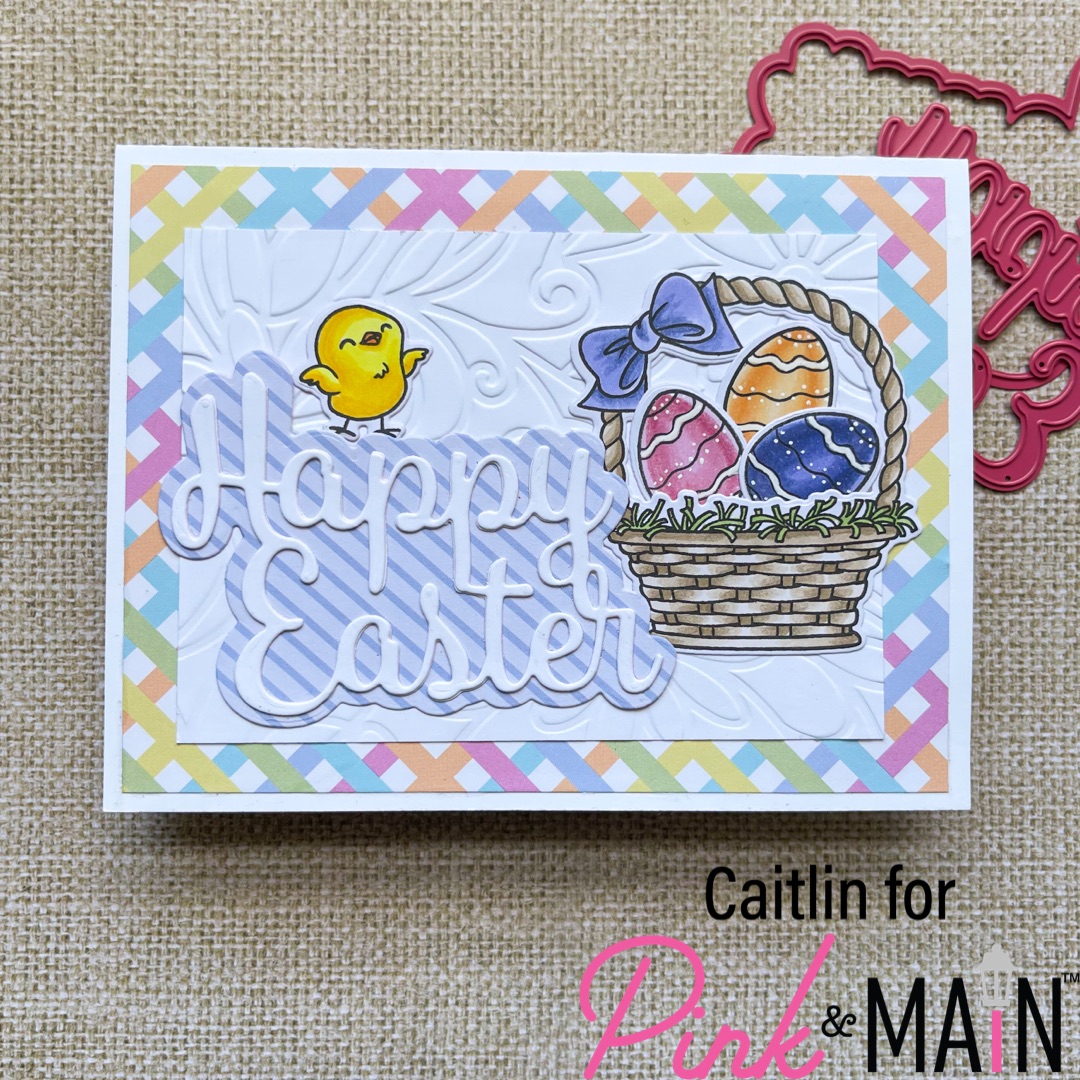
Hello and happy release day! This is Caitlin from Caitlin Annalee Cards and I am so excited to share this cheery Easter card with you today! I had a lot of fun layering lots of newness on this one but I knew I wanted to start out with an A2 Side Folding Card Base and a colorful plaid paper from the Pastel Dreams 6×6 Paper Pad. I trimmed down my pattern paper to 4 in x 5.25 in so that I would have a thin white border all the way around and adhered it with the EZ Squeeze Craft Glue. I then took a piece of plain white card stock cut down to 3.25 in x 4.5 in and ran it through my die cutting machine inside the new Daisy Embossing Folder for added texture without adding in more color. This folder is so beautiful and the detail that you get is amazing, I can’t wait to use it more this spring.
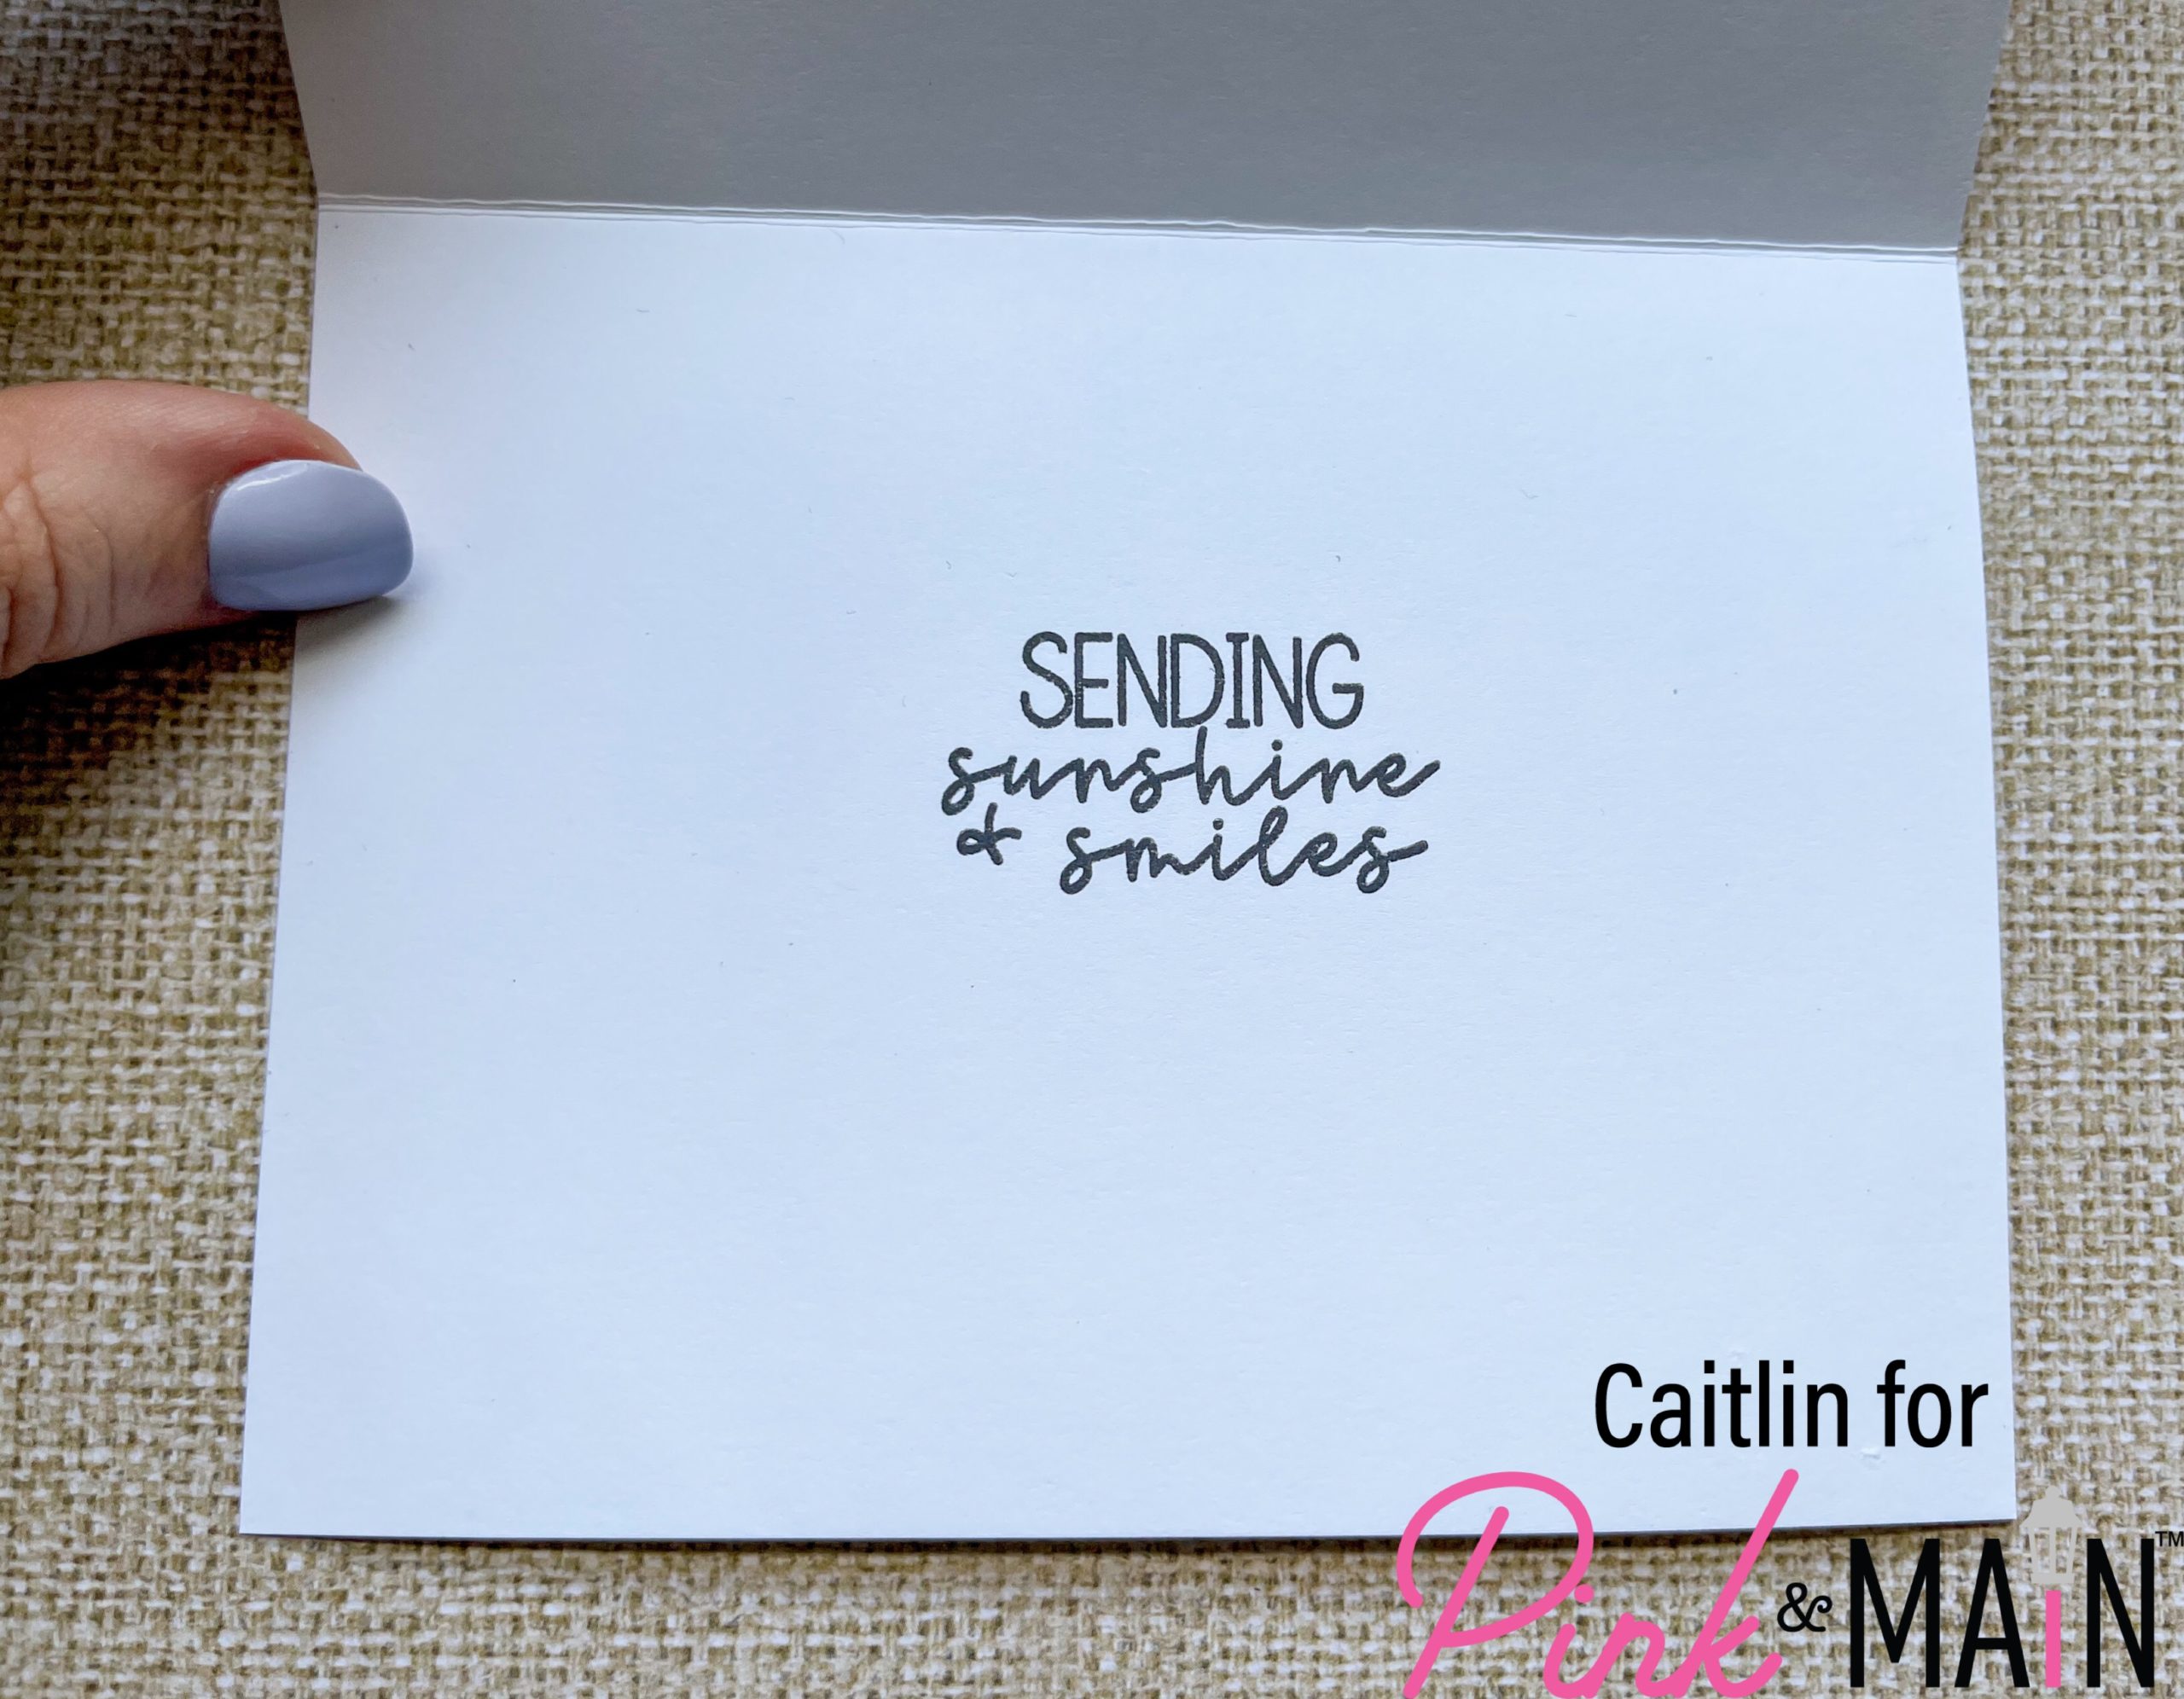
I used a tone on tone purple striped pattern paper from the same Pastel Dreams pad to cut the shadow layer of the new Happy Easter Word Dies and then cut the words out twice from white card stock. I used the liquid glue to attach all of the layers together for my main card-front sentiment. I used the Spring Sayings Stamp Set to add a small sentiment to the inside of my card that says “Sending sunshine and smiles” and then it was time to stamp out my images.
I used an alcohol marker safe ink to stamp out the basket and chick from Easter Greetings Stamp Set and then one of the eggs three times. I used my copic sketch markers to color them in and the coordinating dies to cut them out. I used a white gel pen to add and enhance details on the eggs and then arranged the images and the Happy Easter die cut sentiment on the front. There is a video of this whole process here: (link) if you want to see more details on the process and the coloring. Thanks for coming to hang out and I hope you are as inspired as I am with the new release!!