Hi friends! This is Caitlin from Caitlin Annalee Cards and today I am sharing this super fun Easter card featuring some new goodies and some old favorites. The new mini slimline dies got me inspired to change up my card size this week and I love how little and sweet this one is. I actually started creating this card with the die choice first, grabbing the new Mod Stitched Mini Slim Dies to work with. The largest one gives you a nice thin boarder on a 3.5 in x 6 in card base and I love the contrast of the rounded vs squared corners.
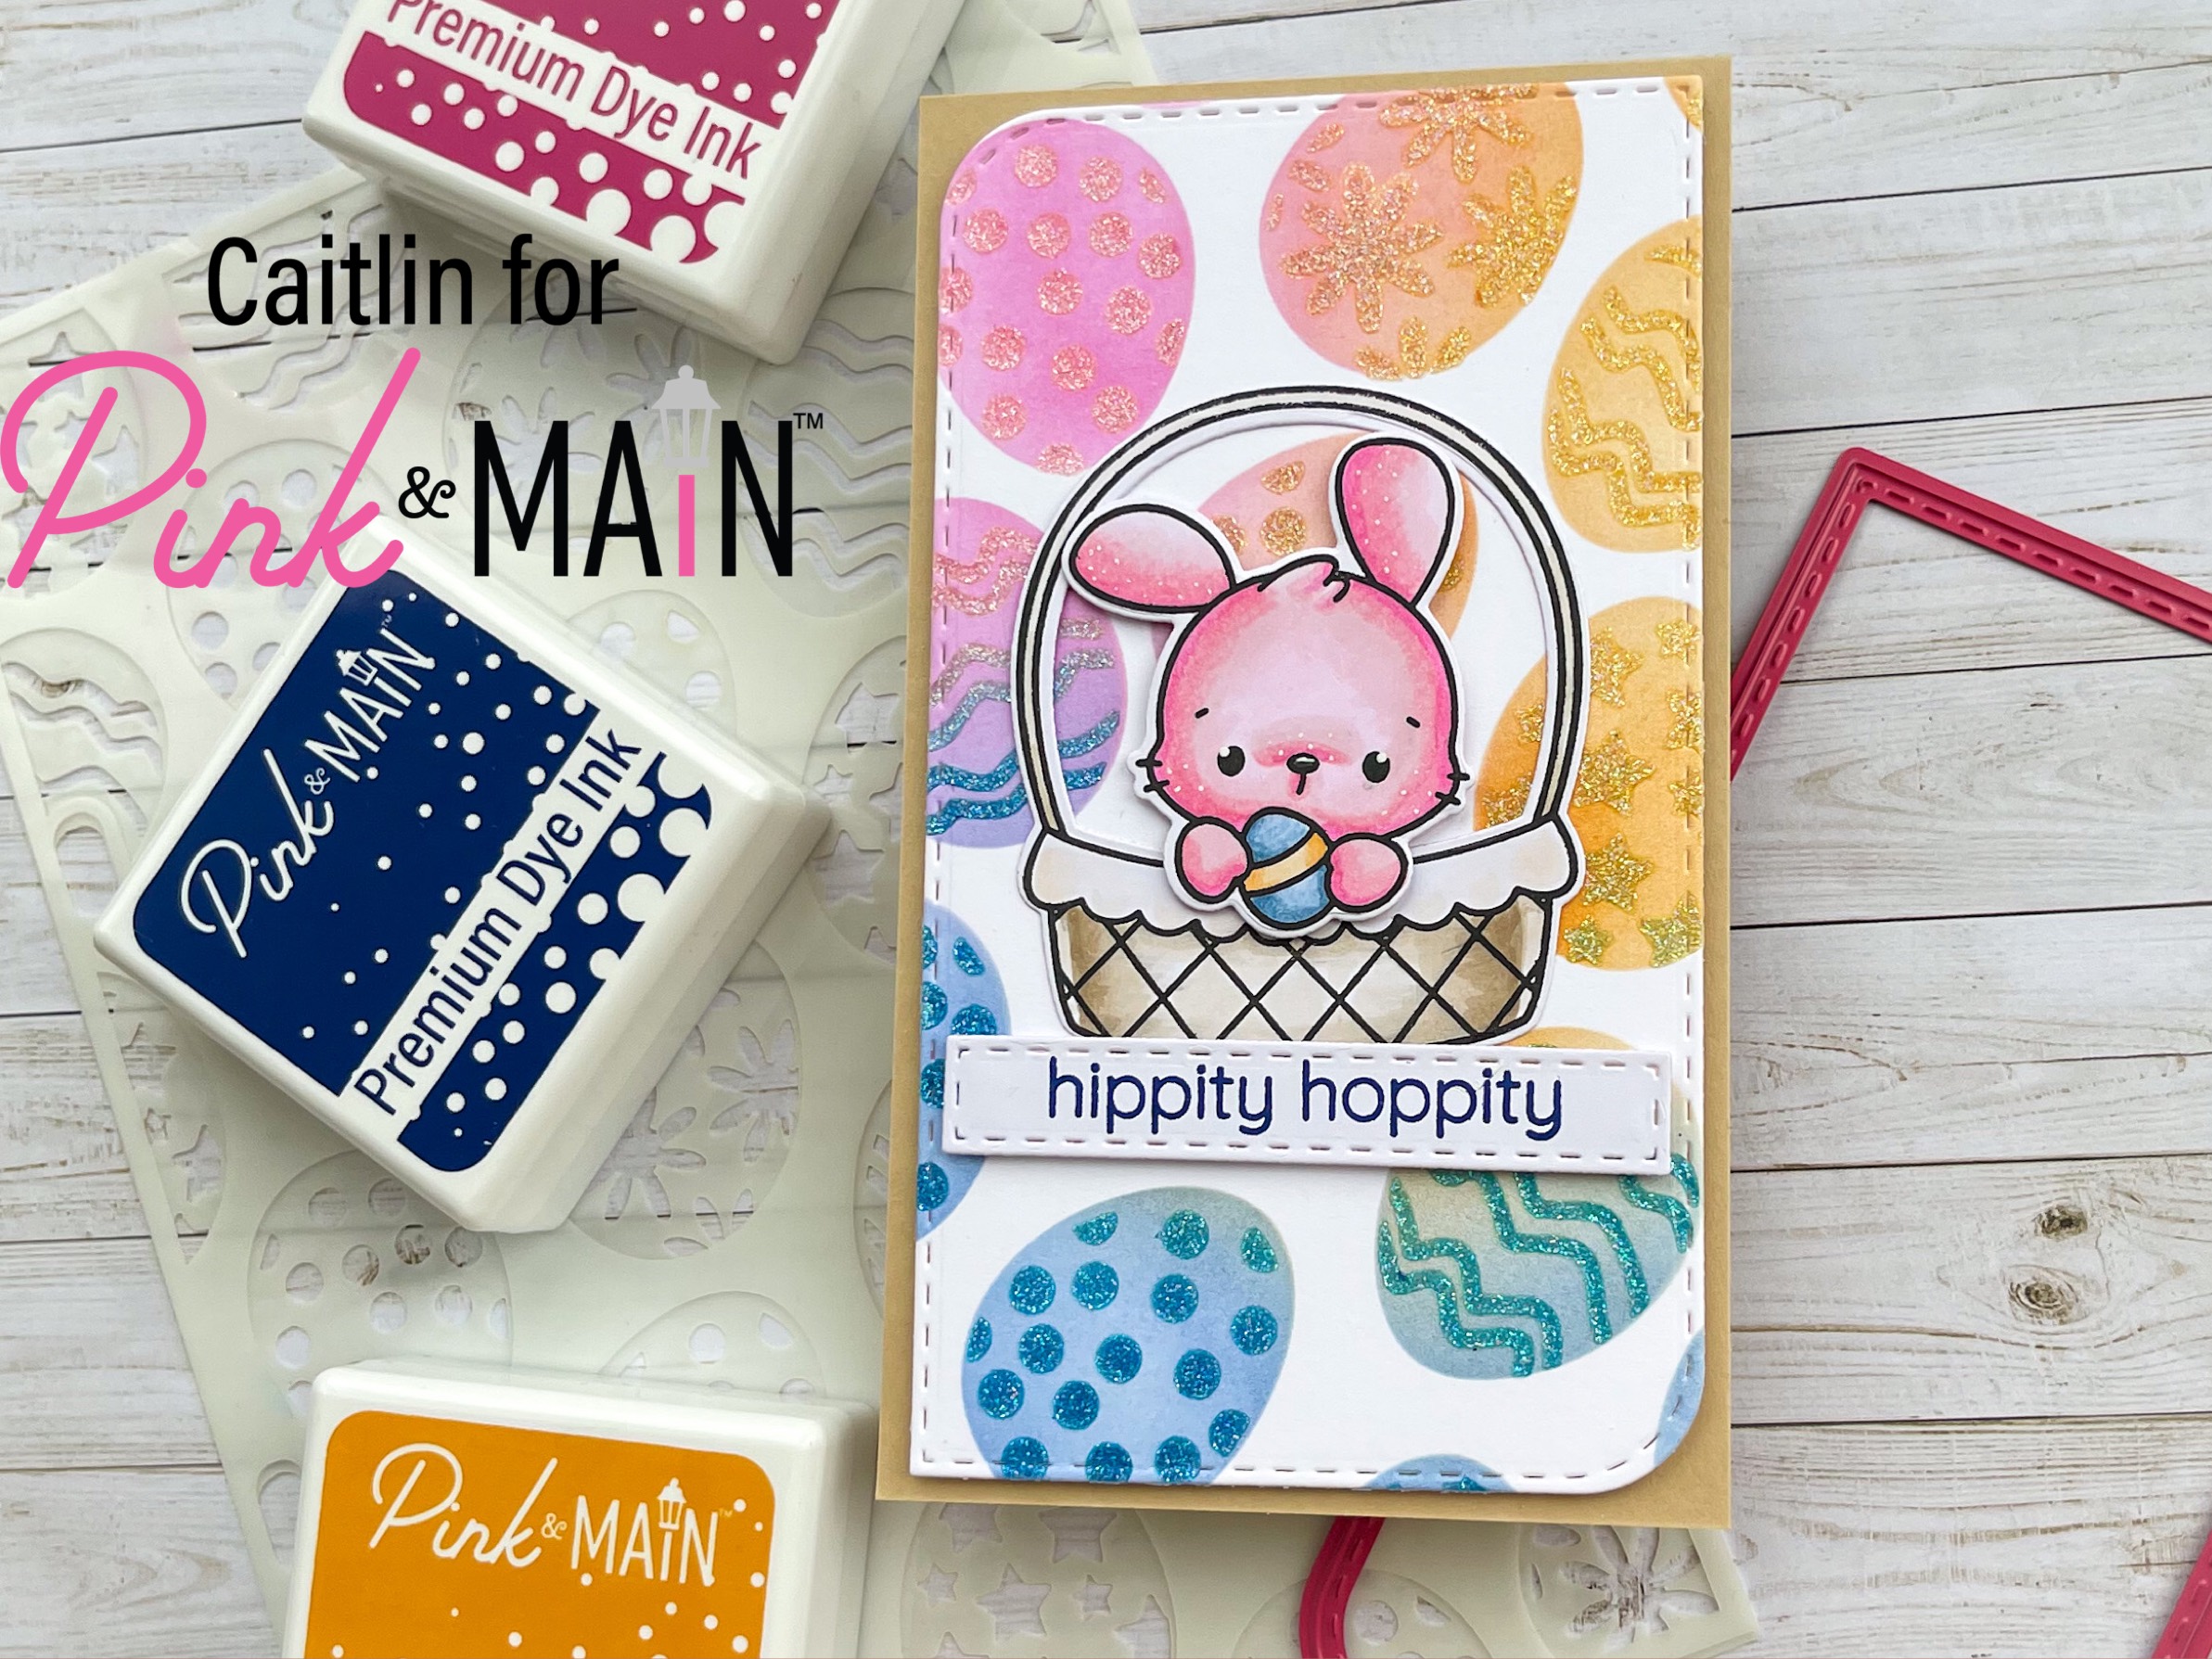
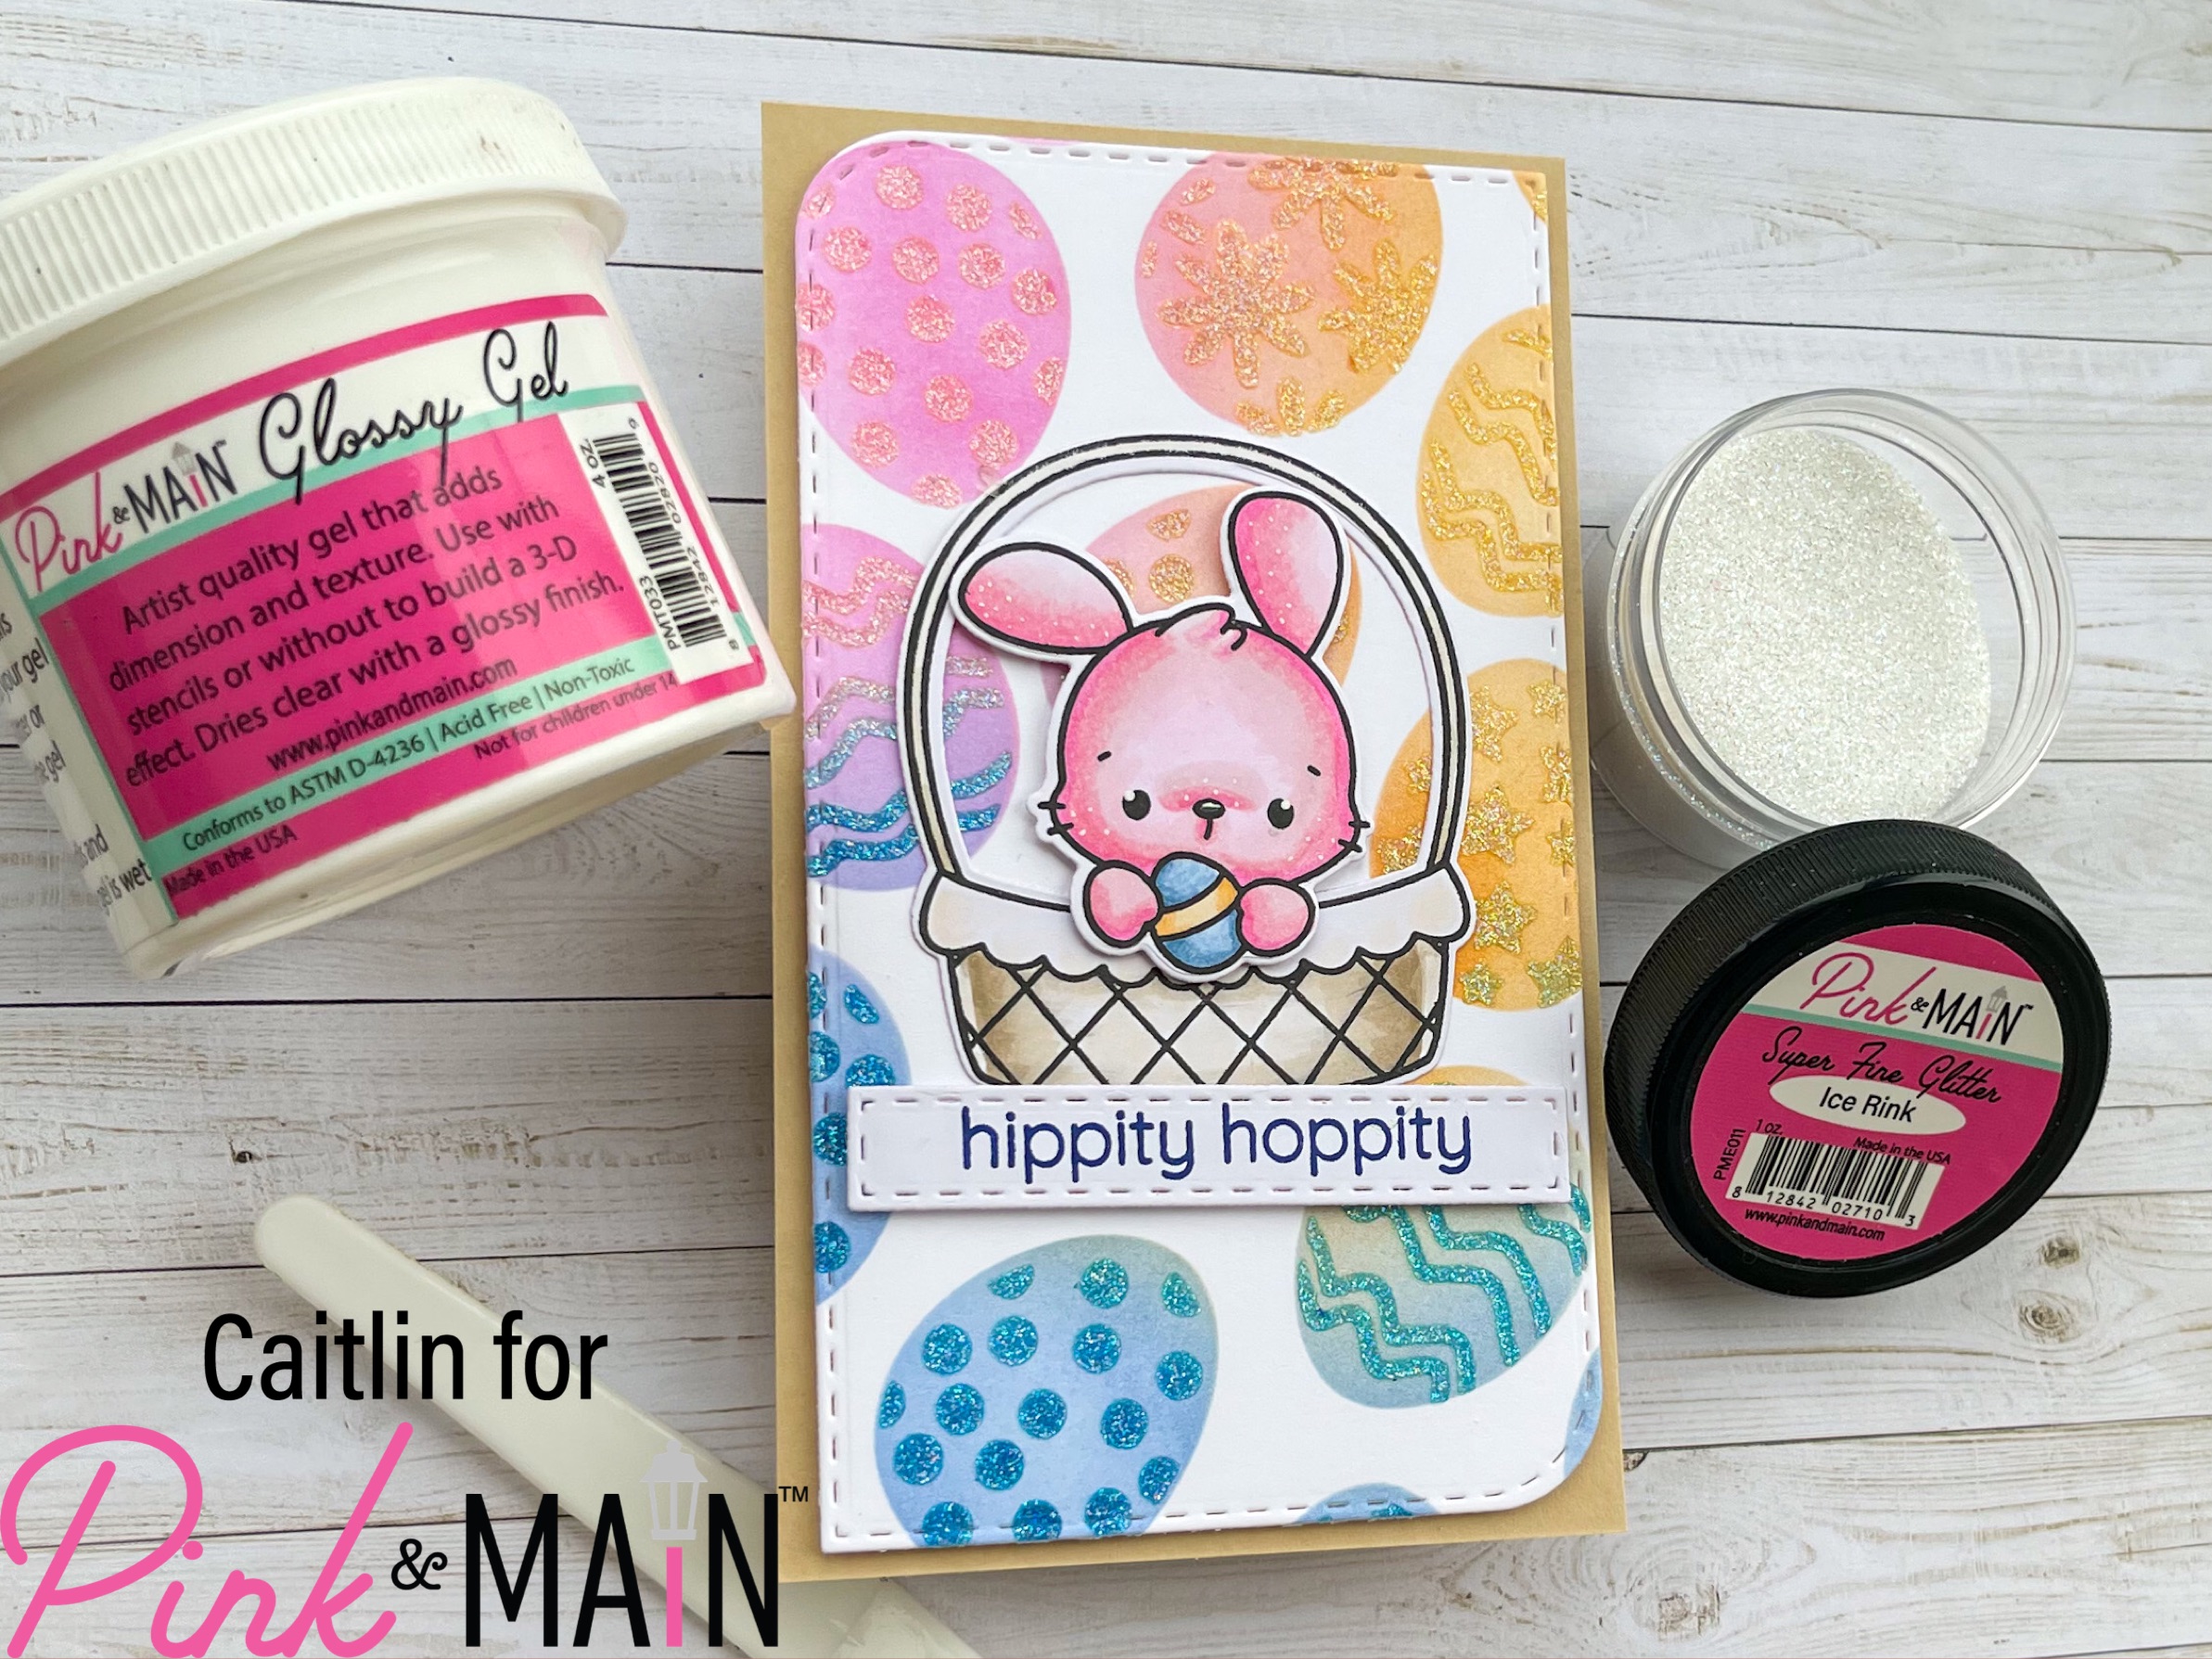
I have had the Layered Eggs Stencils on my “to use” list and it was finally the right time to break them out. I started out with a piece of Ice Rink card stock trimmed down to 4×6 with the plan to trim it later with the slimline die. I applied a light layer of 3 different inks over the blank egg layer, focusing on different corners/sides but letting them overlap to create a soft rainbow effect. I used the Dress Shop Ink in the top left corner, the Construction Ink along the right upper side and then some of the Barber Shop Ink on the left bottom corner. The pink and orange inks are close enough to red and yellow that when they are combined with each other and the blue, you do get some gorgeous new colors. The next step was to switch to the detailed pattern stencil and add more of the same inks to each area. Then without moving the stencil, I made a glitter paste by combining a small scoop of Glossy Gel with the Ice Rink Super Fine Glitter. I added a thin, even layer of the glitter paste over the stencil, being mindful of any color getting picked up on my palette knife and wiping it on a paper towel before moving to new area. When everything was glittered, I removed the stencil and immediately washed it and my knife so that the glitter did not dry onto it. I set my panel aside to dry and moved on to creating a feature image…
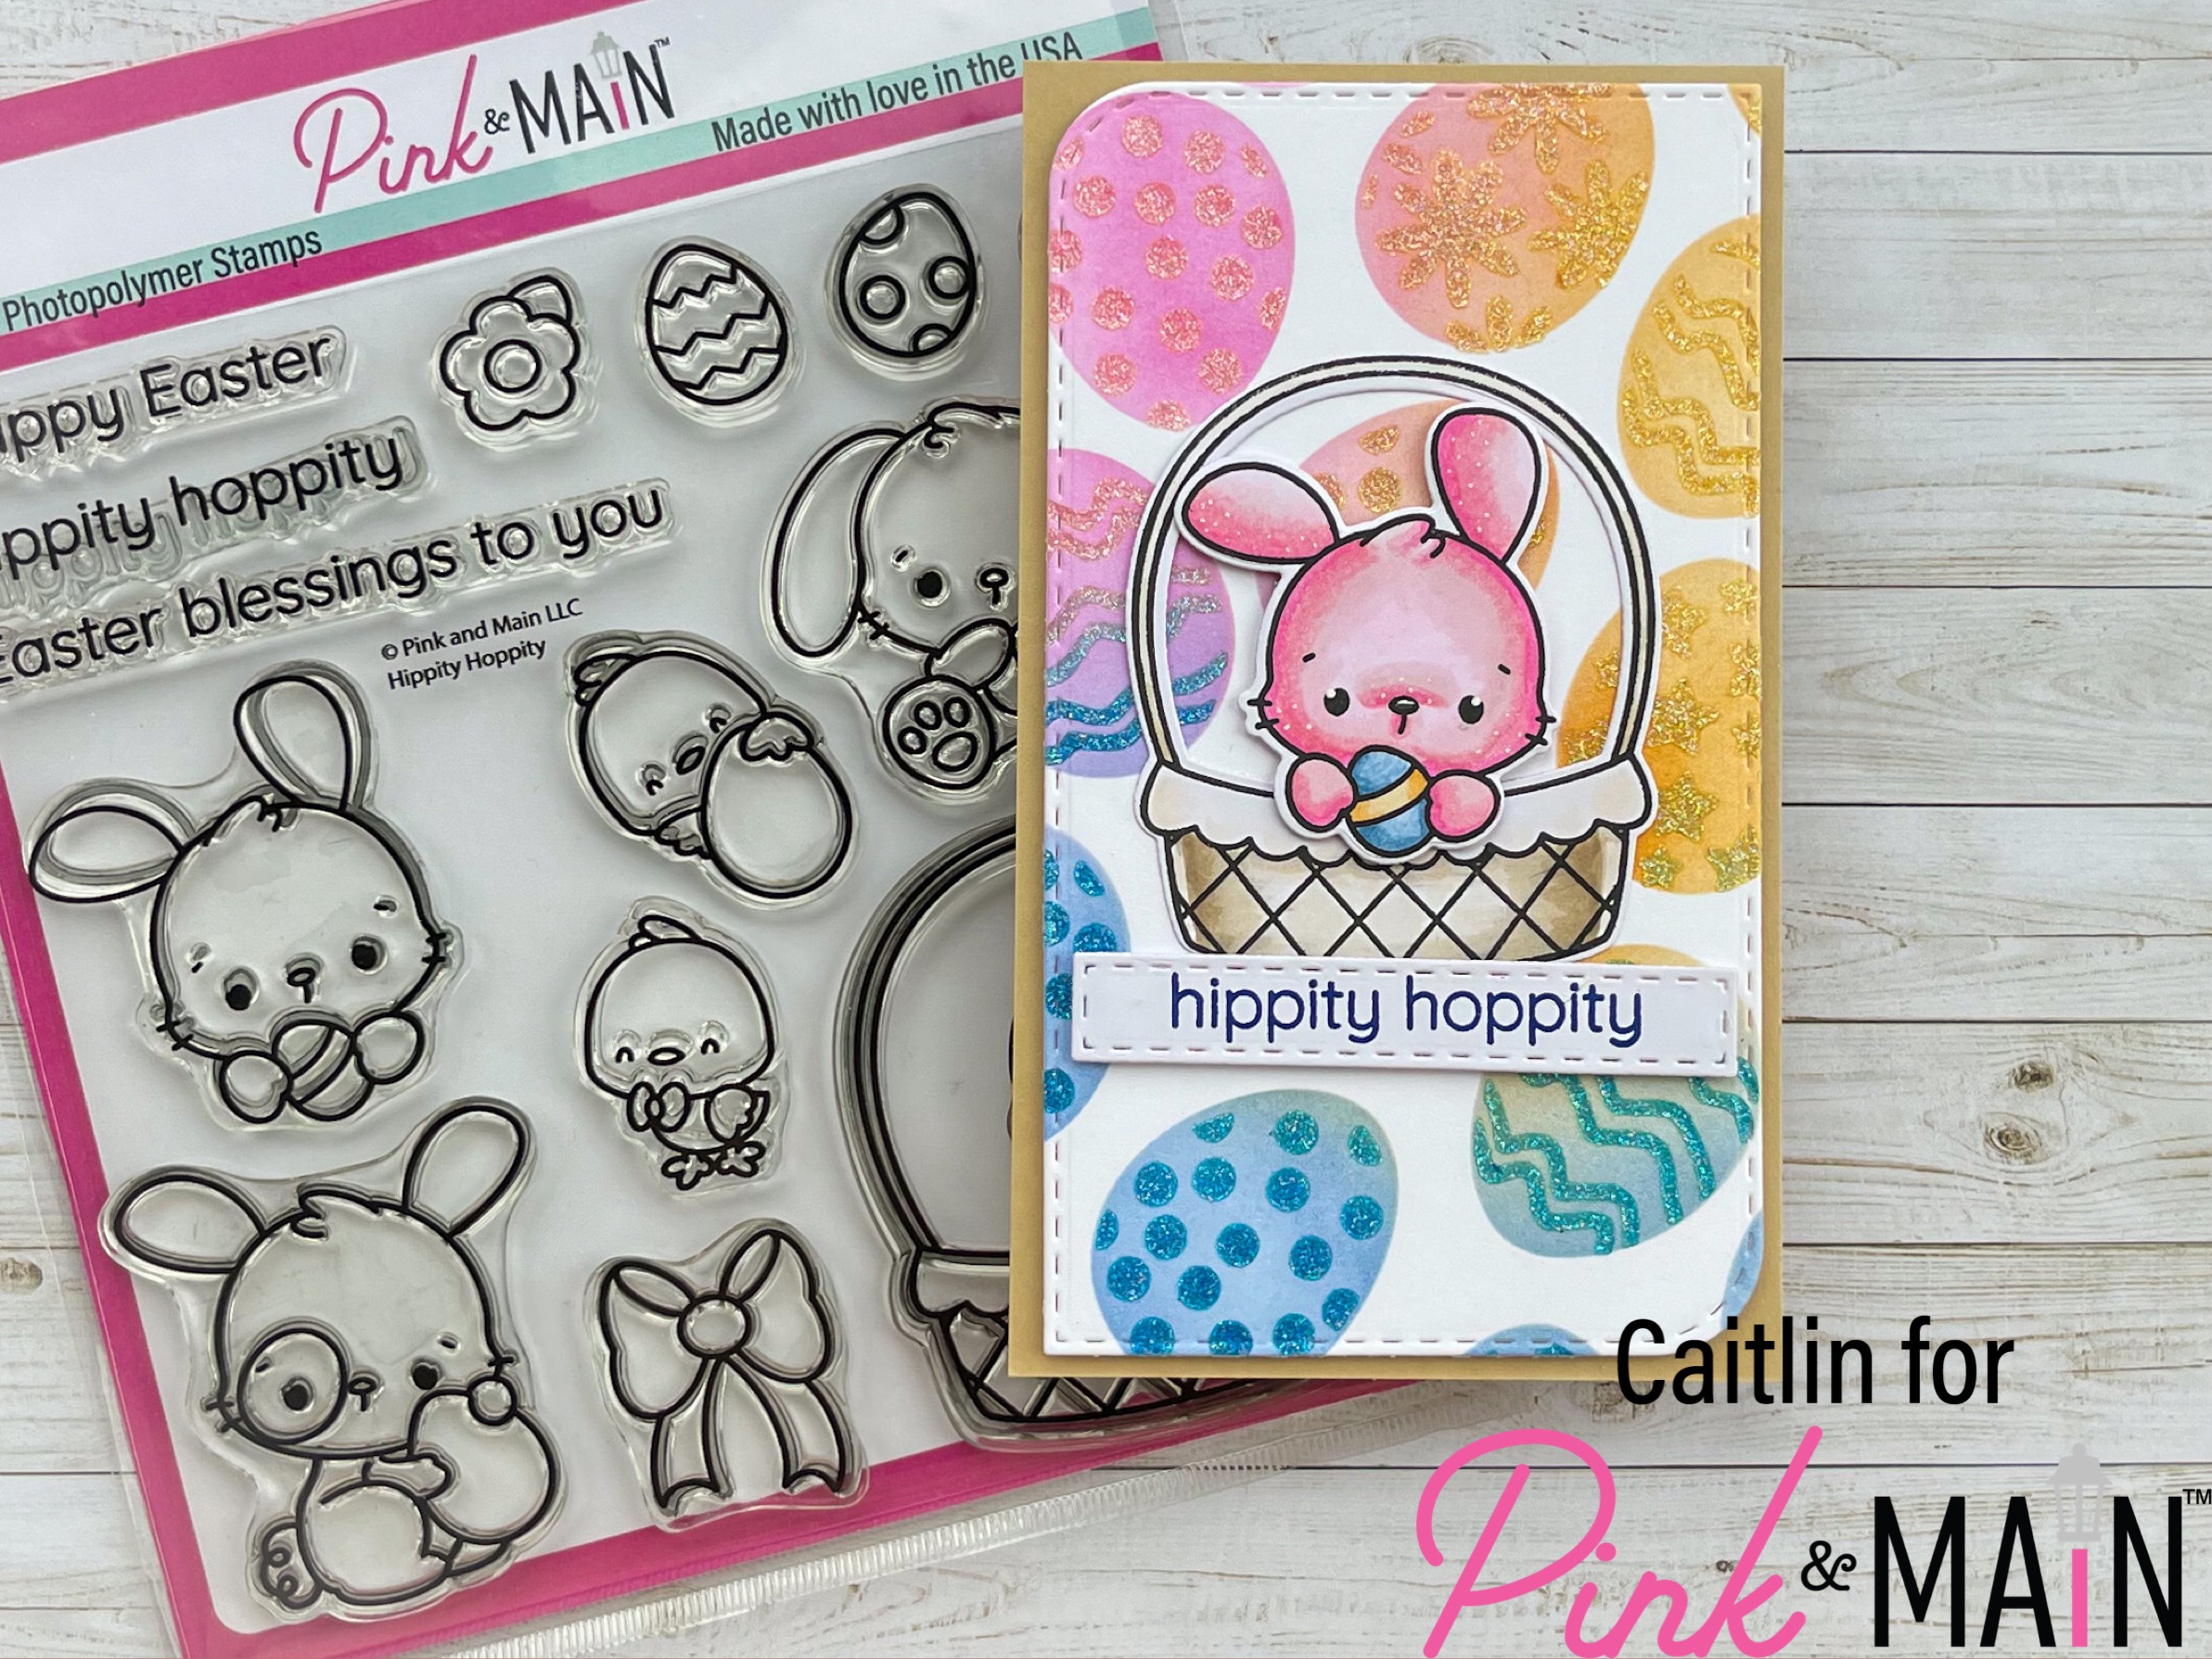
I got to play with the Hippity Hoppity stamp set in one of my Pink and Main Live Streams and I really wanted to use it again. I stamped out the basket and the little bunny holding the egg to sit inside with Asphalt Ink and the picked out some Copics to color with. I decided to grab my color inspiration from my background so I went with a pink bunny and brought in the orange/yellow and blue with the egg. I colored the basket very neutral and that helped me to decide on my card base color as well. I used the coordinating dies to cut them out and I also cut a piece of scrap card stock with the smallest die from the Stitched Mini Slim Rectangles Die Set 1. I stamped my sentiment onto that little rectangle with the Barbershop ink to pull in that blue in more place.
To build my card I grabbed some Pebble card stock and trimmed it down to 7 in x 6 in scoring it at the 3.5 in mark to create that mini slimline base. Then I used the Mod die to cut out the stenciled panel and adhered it down flat to the card base. I used the EZ Squeeze Liquid Glue to attach the basket down flat and then popped up the bunny and sentiment with some of the foam tape. I am so happy with how this card came out and I just love how fun background is. I plan on playing with some of the other layering stencils and this color/glitter technique soon.