

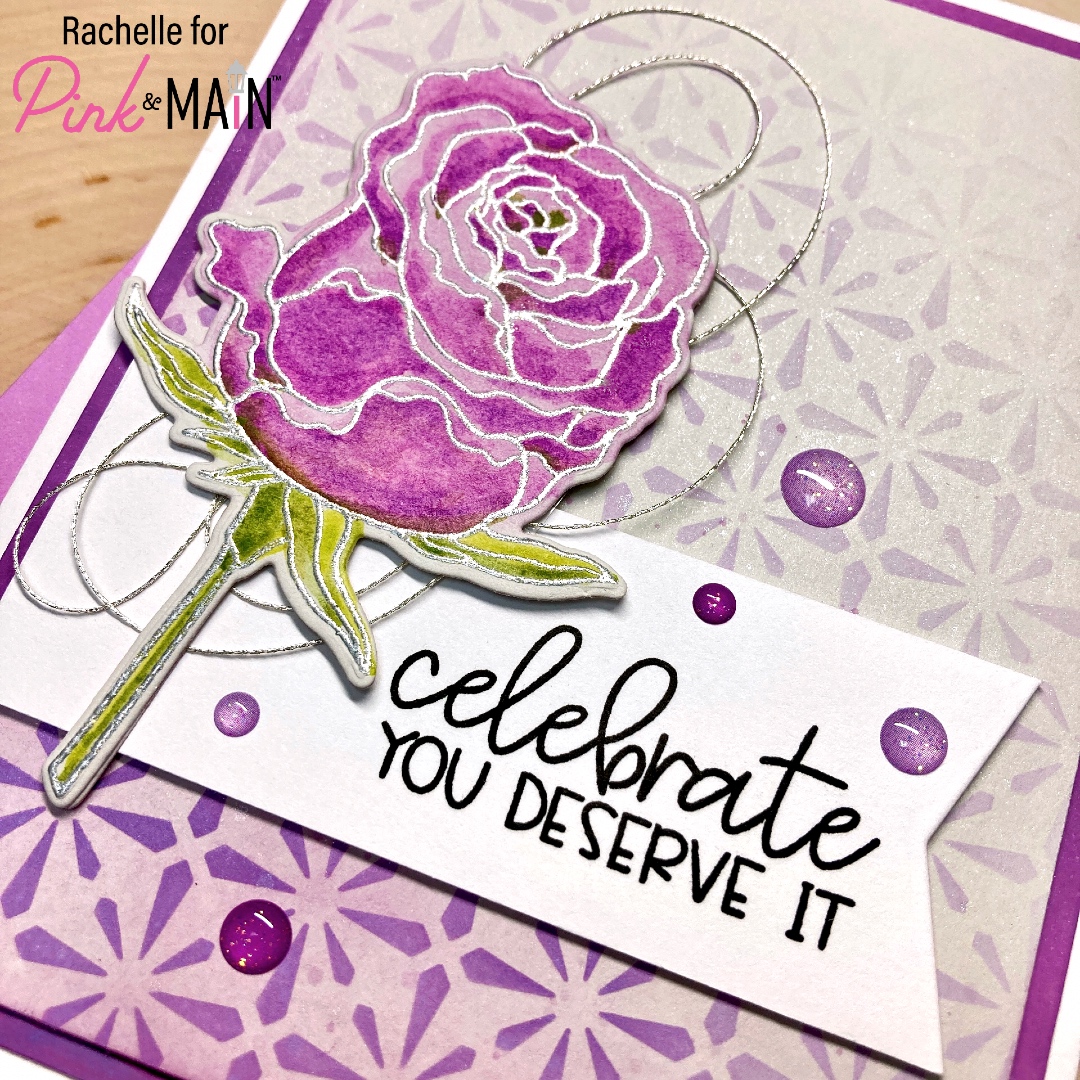
Hello Pink & Main Fans! Well now that you’ve had a chance to check out April’s release, I’m sure you’ll agree that the new products are AMAZING! I’ve got some little pigs in the pipeline for a future post but today I want to focus on the “Roses Stamp & Die Sets!” I just love the line quality on this set – it’s so well drawn and I’m showcasing the rosebud image today!
I mixed a small batch of custom embossing powder (silver, white pearl and a touch of gold sparkle) and heat embossed the flower with this blend on a pale gray card stock. The flower was water colored/die cut and I loosely gathered a bit of silver embroidery thread together and taped it to the back of the flower.
I used Dusty Concord/Seedless Preserves Distress Oxide Inks and lightly ink blended the Stained Glass Stencil pattern onto the same pale gray card stock. The panel was spritzed with shimmer mist, spattered with a little diluted ink and trimmed to 3.75” x 5”. I ink blended a solid panel with these same two inks to use as a mat for my stenciled piece; it was trimmed to 4” x 5.25” and glued to the center of an A2 top-folding white card base.
I selectively cut just the fishtail end of the largest banner die and then trimmed rest with a craft knife to be about 2” longer than the original size! This trick works every time! I stamped the sentiment (from the new “Missing You Stamp Set”), glued it to the stenciled panel and trimmed it from the back with scissors.
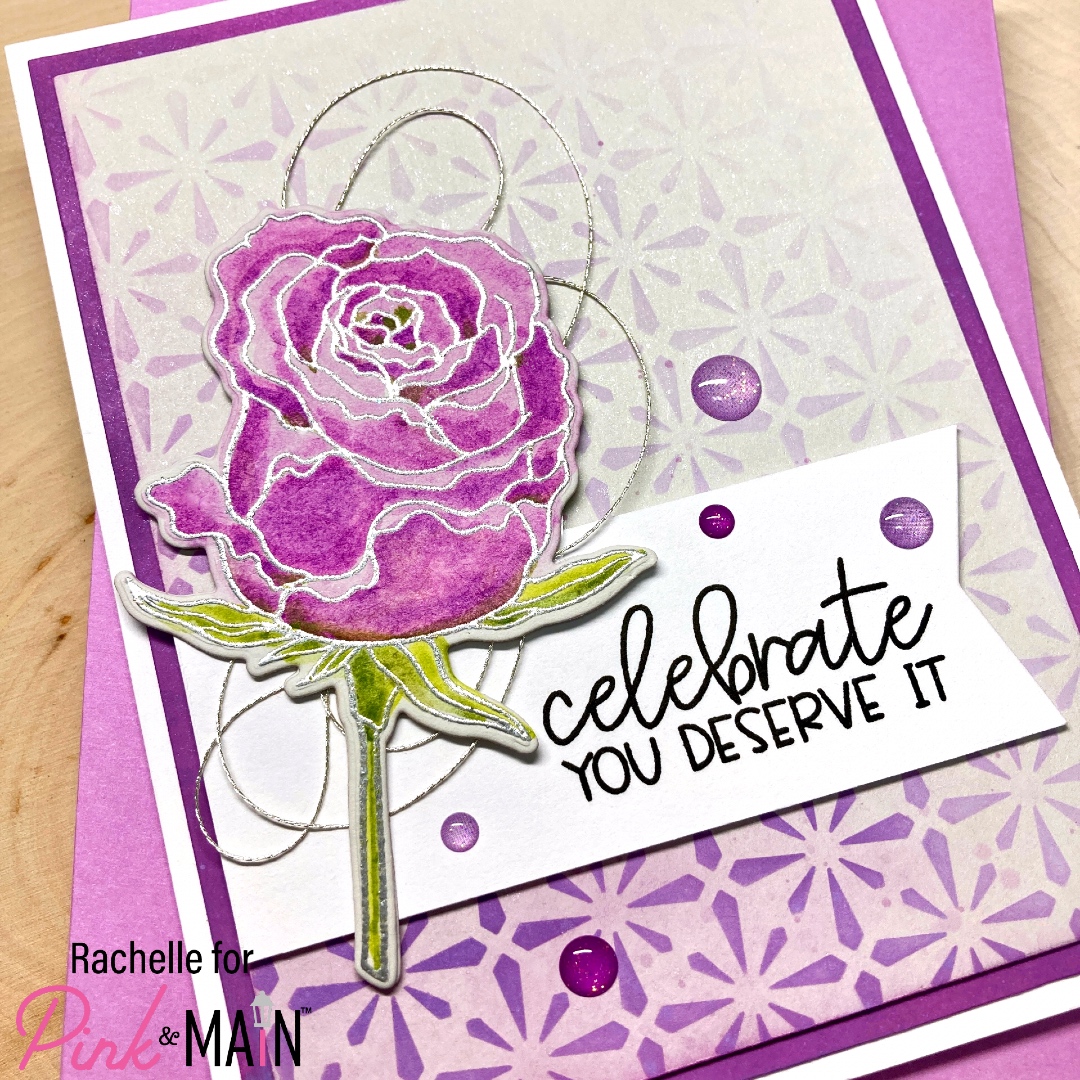
I attached the rosebud on top of the sentiment strip and this layer was adhered to the inked panel. I added a mix of “Hooray” and “Happy Mail” Glitter Enamel Dots to finish the card! It was fun to try a new color palette and I was happy with the result so I consider that a giant WIN/WIN! Yippee!
Thanks so much for stopping by and I hope you have a wonderful day!