
This post uses affiliate links at no additional cost to you! By clicking the links in this post, I earn a small commission should you make a purchase. Thank you in advance!
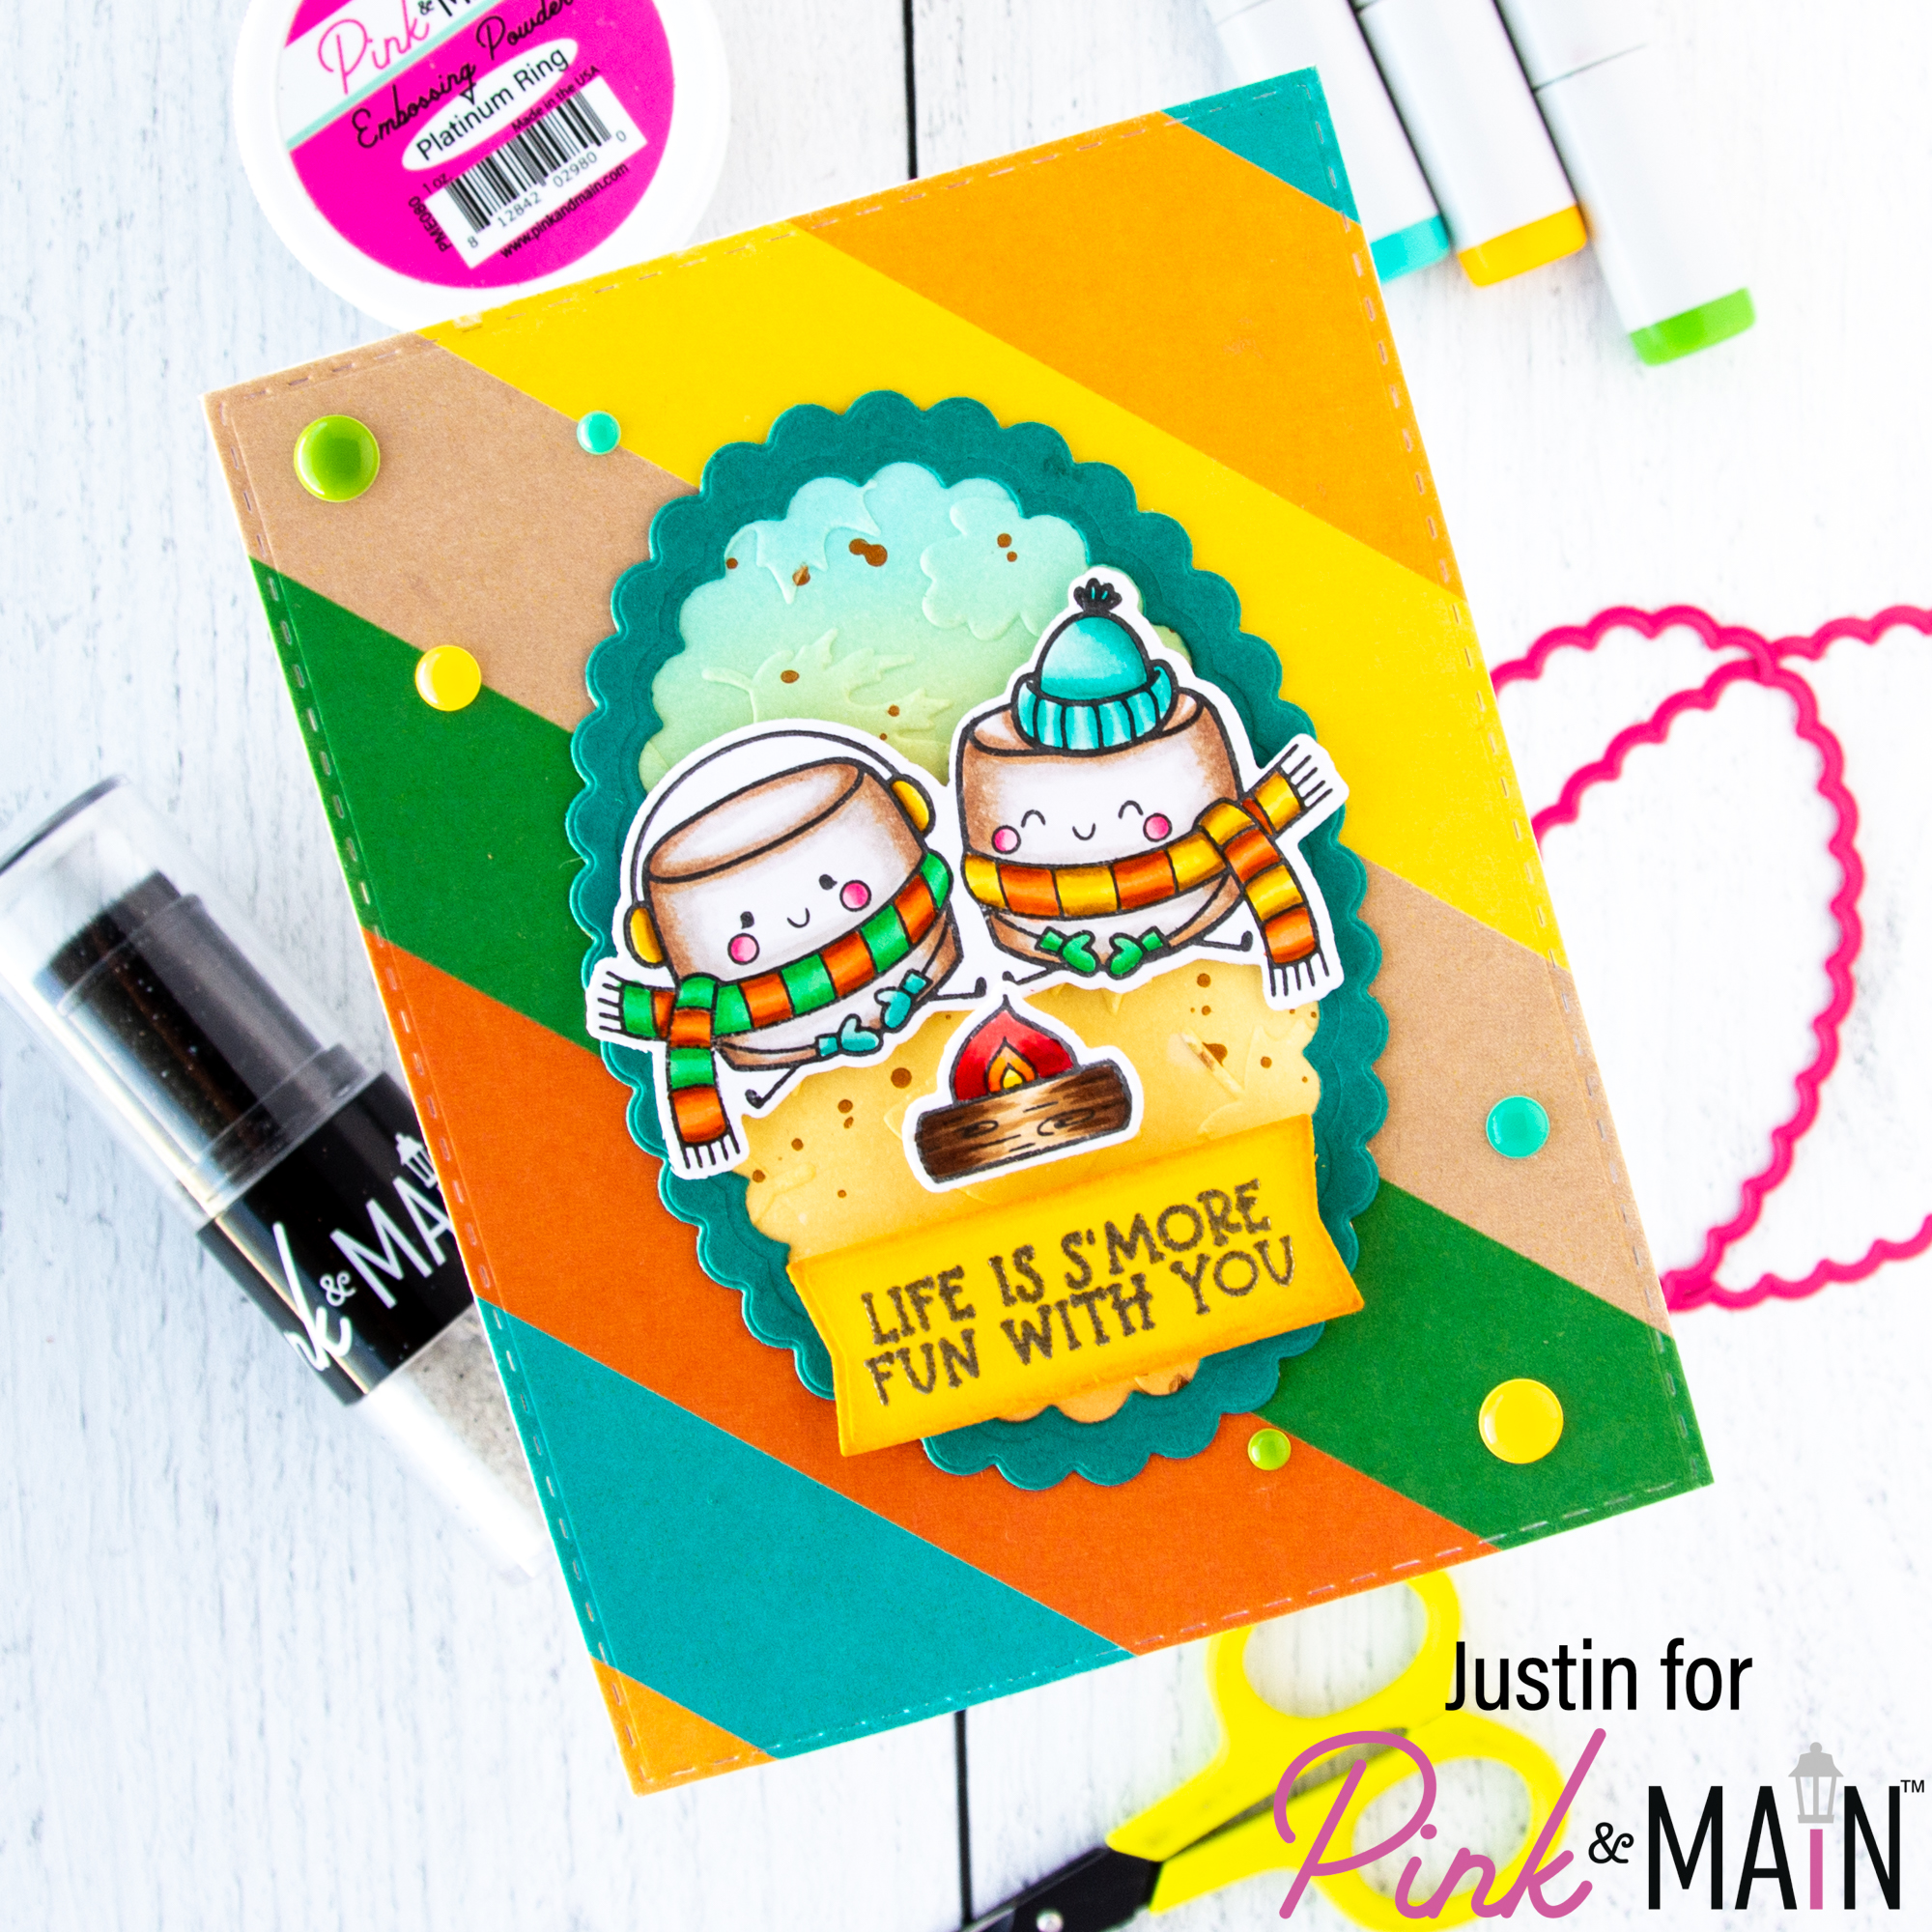
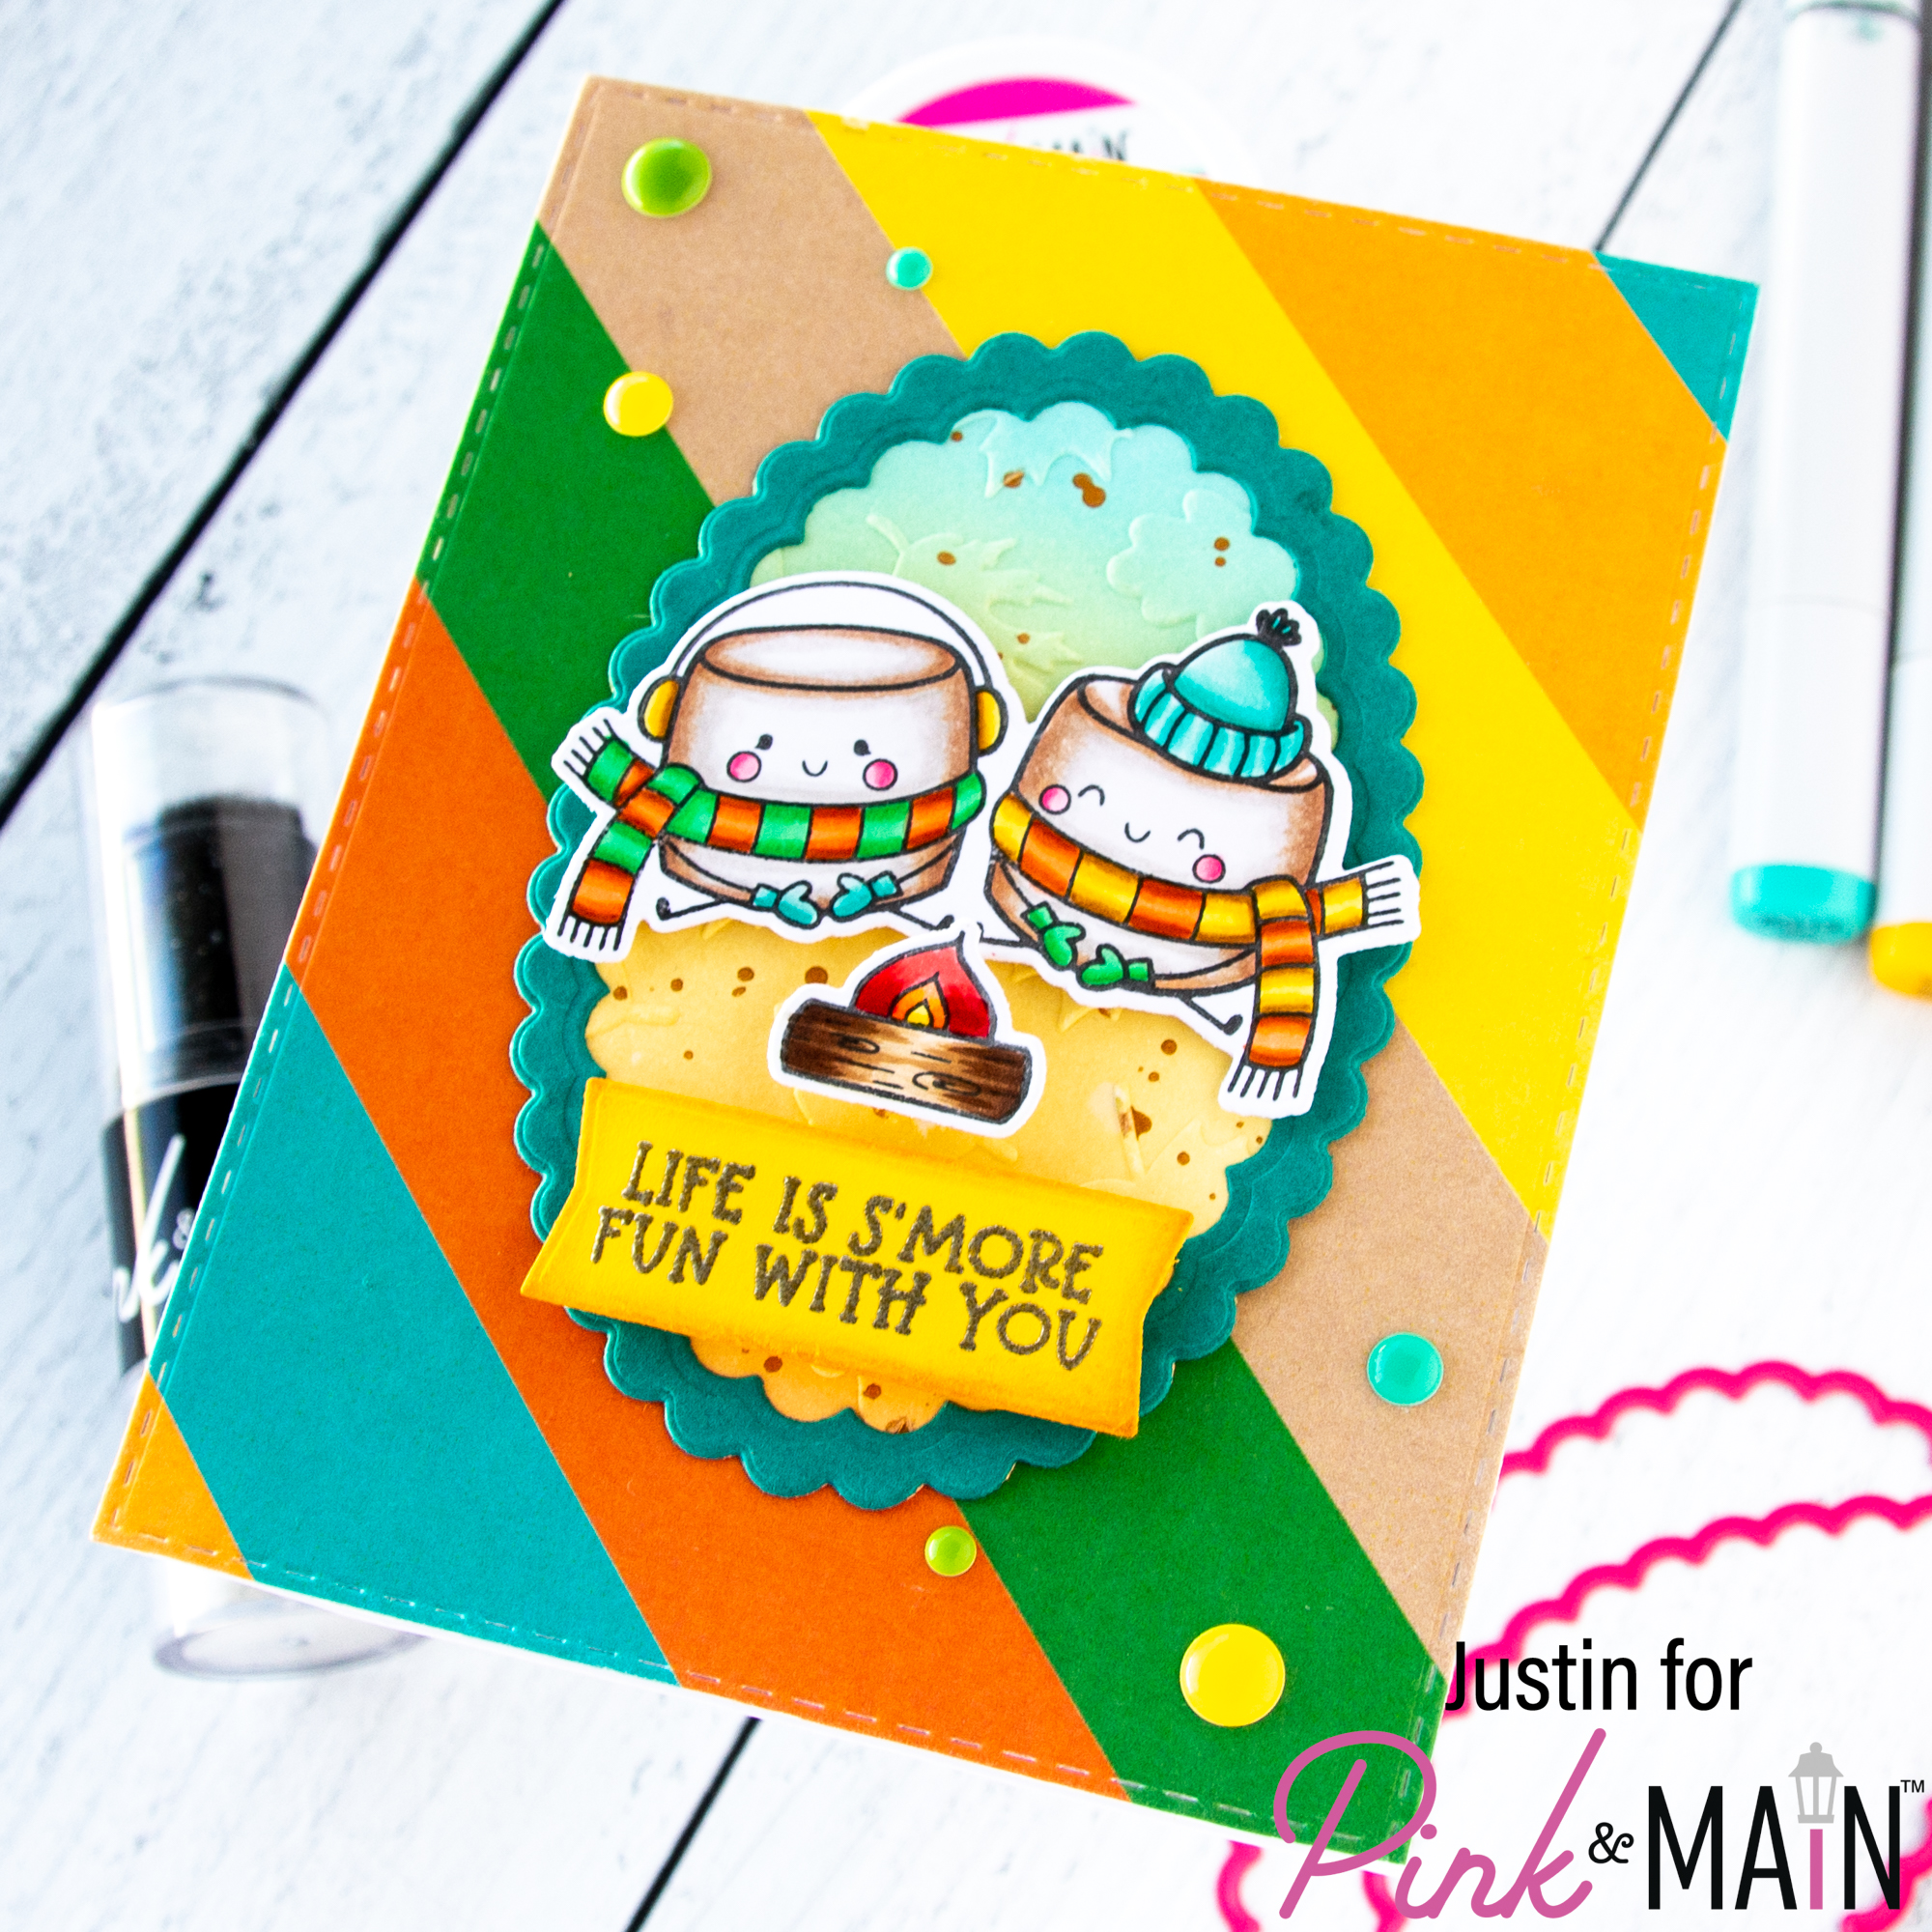
Hello friends! Justin here’ and today I am have s’more fun than usual with the October 2022 Stamp of the Month: S’more Fun (now available for individual purchase)!! I just love all of the colors on this card, because it really captures a fall scene with some non-traditional colors! Let’s get into the details!
Pink & Main Products Used:
S’more Fun Stamp Set
S’more Fun Coordinating Dies
Scalloped Oval Dies
Extra Large Sentiment Strips Dies
Stitched Rectangles Set 1 Dies
Leaves Embossing Folder
Floral Pumpkin 6″x6″ Paper Pad
Street Light Cardstock
Lakeside Cardstock
Platinum Ring Embossing Powder
Embossing Watermark Ink Pad
Magic Anti-Static Brush
Dragonfly Dreams Enamel Dots
Other Products Used:
Copic Markers
Copic-Safe Ink
Distress Oxide Inks: Dried Marigold, Scattered Straw & Salvaged Patina
Distress Ink: Wild Honey
Metallic Watercolor Accents
Foam Tape
Ok, let’s get into the details of this card!
First, I used my Copic Markers to color my images from the S’more Fun stamp set. I used the S’more Fun Coordinating Dies to cut the images out and set them aside for later.
Using the largest die from the Stitched Rectangles Set #1 Die Set, I die cut the thick striped patterned paper from the Floral Pumpkin 6″x6″ Paper Pad. I also used the 3rd and 4th largest dies from the Scalloped Oval Die Set to die cut a Scalloped Oval Frame from Lakeside Cardstock. I used the 3rd largest Scalloped Oval Die to die cut a piece of blending cardstock.
For my blending cardstock scalloped oval, I blended an ombré of Dried Marigold, Scattered Straw & Salvaged Patina Distress Oxide Inks. I misted my oval with water, placed it into my Leaves Embossing Folder, and processed it through my laminator to get an embossed effect. I then splattered gold metallic watercolor over the panel and set it aside to dry entirely. Once dry, I used liquid adhesive to adhere the Lakeside frame on top of my blended scalloped oval. I adhered this oval unit directly in the center of my striped die cut card panel.
Using the Street Light Cardstock, I heat embossed the sentiment “Life is s’more fun with you” in Platinum Ring Embossing Powder and then used one of the Extra Large Sentiment Strip Dies to cut out the sentiment. I distressed the edges of the sentiment strip with Wild Honey Distress Ink.
Using foam tape, I adhered my marshmallow and fire images, along with the sentiment strip, to my card panel. To finish my card off, I adhered a few Dragonfly Dreams Enamel Dots, and then adhered the entire unit to an A2-sized card front. My card was complete!

Thank you so much for checking out my s’mores card! I hope this card inspires you to play with some fun new color palettes with the new S’more Fun Stamp Set!
For more crafty inspiration, please follow me on Instagram and check out my personal blog as well!
Thank you again for stopping by! Happy Crafting!
Justin