
Hey crafty friends! This is Amanda from Twiddler’s Nook today. I have another card to share featuring lots of fun embossing and no real coloring involved. I love getting inky so we’ll definitely be doing that though. I hope you like it!

I started with a white panel measuring 4×5.25 inches and spritzed it with water. I placed it in the Leaves embossing folder and ran it through my die cut machine. After the bit of water dried from the panel, I added foam tape and popped it up on a white card base. Now it’s time to get messy!
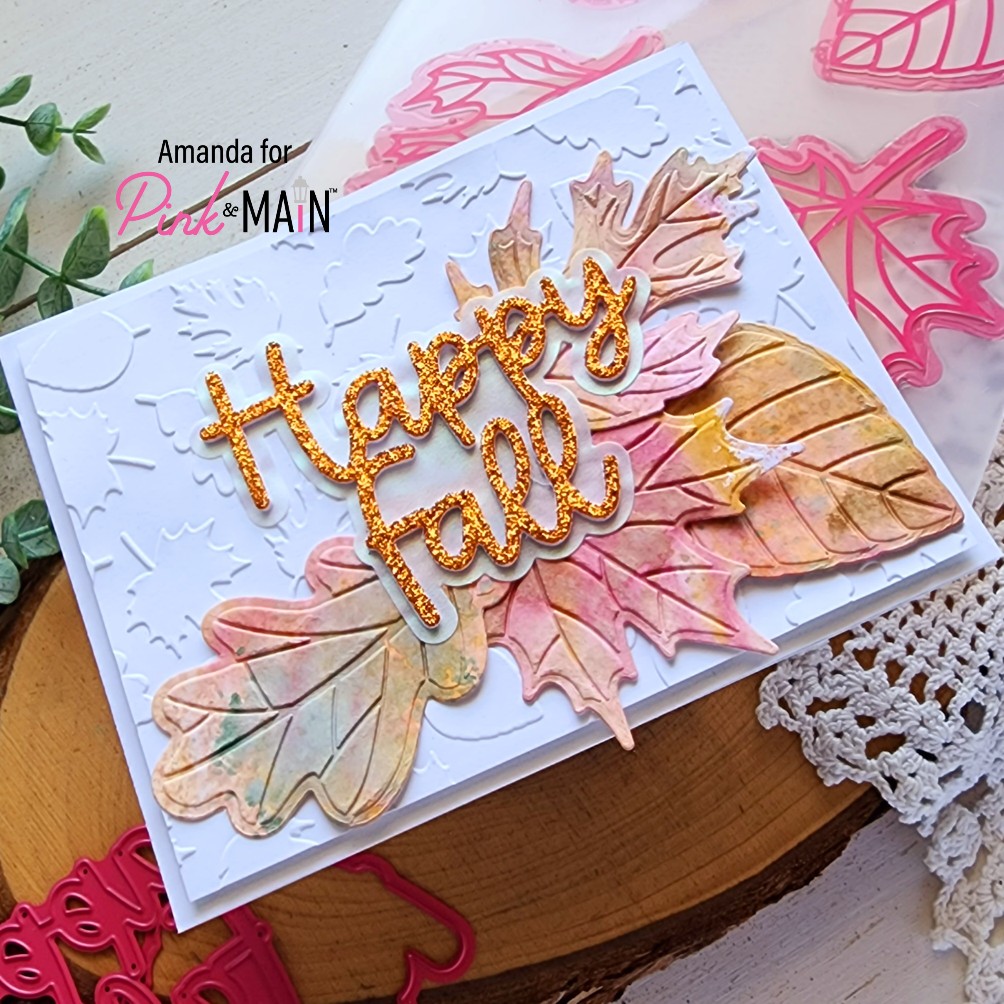
Now, I cut a 6×6 piece of white cardstock and did major ink smooshing all over it with fall colors of Tombow markers. This type of play is so therapeutic for me. Color on an acrylic block, spray it with water and smoosh it on your cardstock. For extra texture and layering, dry your cardstock in between color applications. It’s so fun!
Once the panel was good and inked up, I placed it in the Fall Leaves Emboss and Cut folder and ran that through my die cutter next.
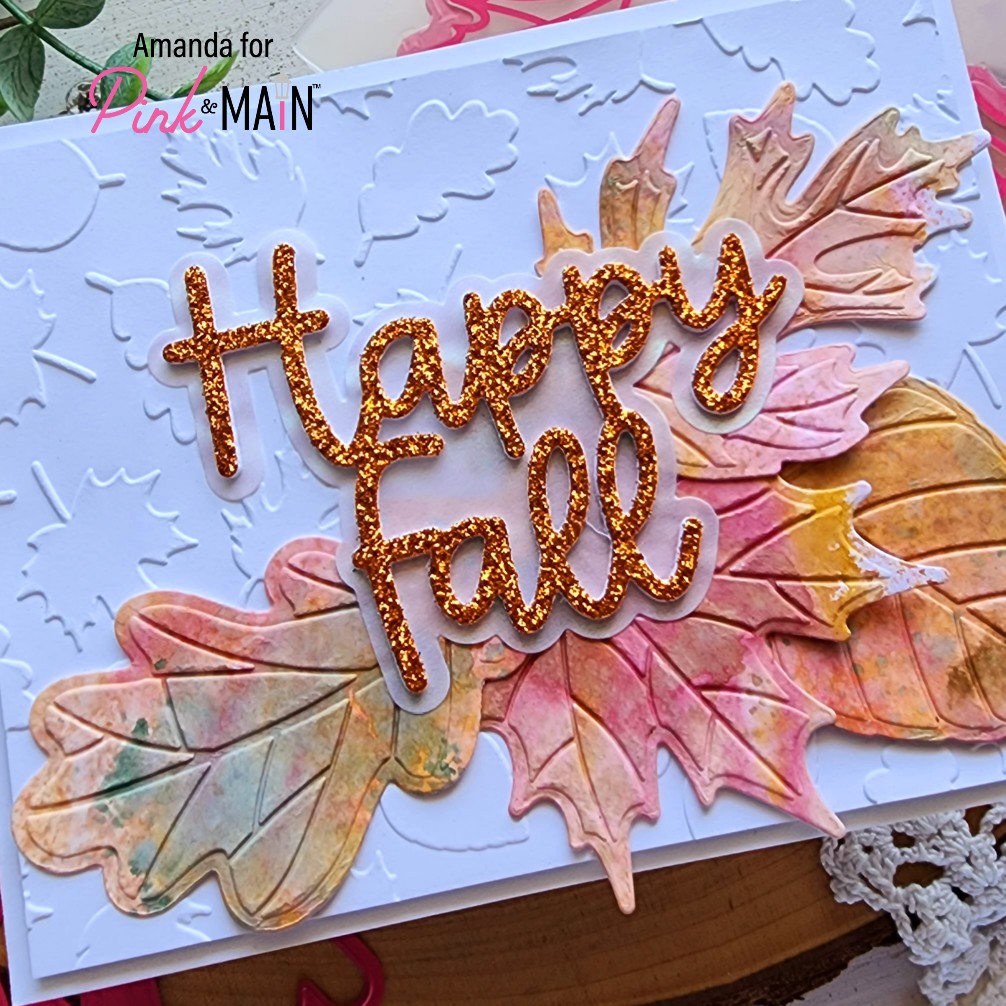
Last, I pulled out the Happy Fall word dies from last year and cut the shadow from iridescent vellum and the words from white cardstock 4 times. I used EZ Squeeze liquid glue to adhere them all together and arranged them with my leaves on the front of my card. Once everything was in place, the white letters were a little lost so I pulled out the amazing Fall Glitter paper pad and cut them out from the orange glitter. Doesn’t that extra bling and texture add so much awesome to this card?!? I love it!
Products used today:
Fall Leaves Emboss and Cut folder
Leaves embossing folder
Happy Fall dies
Fall Glitter paper pad
EZ Squeeze liquid glue
Foam tape
I appreciate you sharing your time with me. Have a fabulous day!
Lovely card.