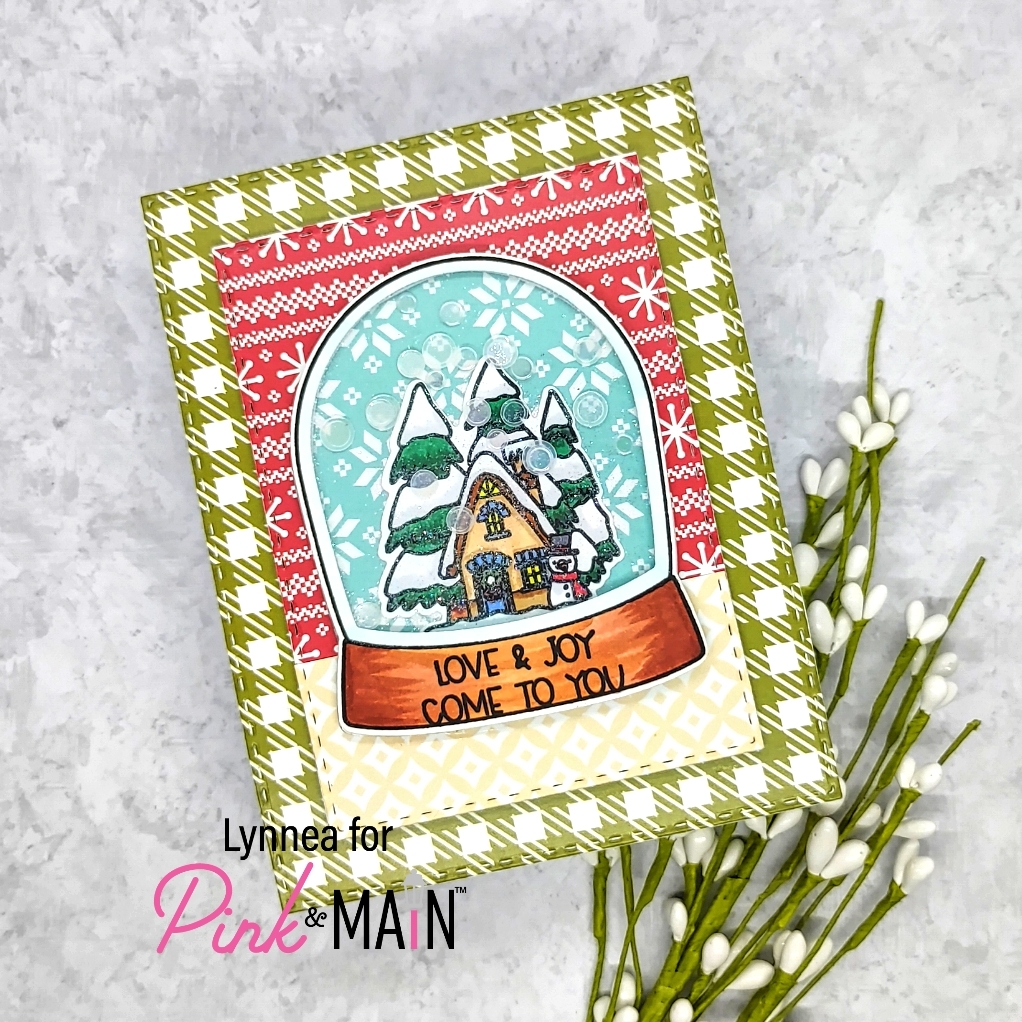
It’s beginning to look a lot like Christmas in my craft room! I created a glittery snow globe scene using Pink & Main stamps and dies!
This card is really quite simple to make, but I love how there are so many little details that bring the card to life! Let’s start with that snow globe shaker. I stamped the globe from the Empty Snow Globe Stamp Set and the adorable wintery scene from the Winter Snow Globe Scenes Stamp Set and colored them with Copic Markers. The coordinating dies for the Empty Snow Globe Stamp Set will cut out around the image, but there is a second die that will cut out the center of the snow globe allowing you to create a shaker! And the Winter Snow Globe Scenes Die Set perfectly cuts out that scene so that you can put that right at the bottom of your snow globe.
I added acetate to the back of my snow globe and created a simple shaker well using small strips of foam tape and added some Ice Rink Super Fine Glitter along with some clear confetti and sealed up the shaker with a piece of patterned paper from the Homespun Christmas 6×6 Patterned Paper Pack. I used the outer die from the Empty Snow Globe Die Set so that it would perfectly line up with my shaker. I love how the glitter makes everything look wintery and shimmery!
I wanted to keep the focus on the snow globe shaker, but still have a cute background, so I picked some patterns from the Homespun Christmas 6×6 Paper Pack and cut them with the Stitched Rectangles 1 Die Set. I used the largest for the green plaid and used the third largest die to cut the red and cream colors. I cut the cream paper with my paper trimmer and added it to the bottom of the red paper to create a grounding element for my snow globe. And that’s it! Thanks so much for joining me!


