
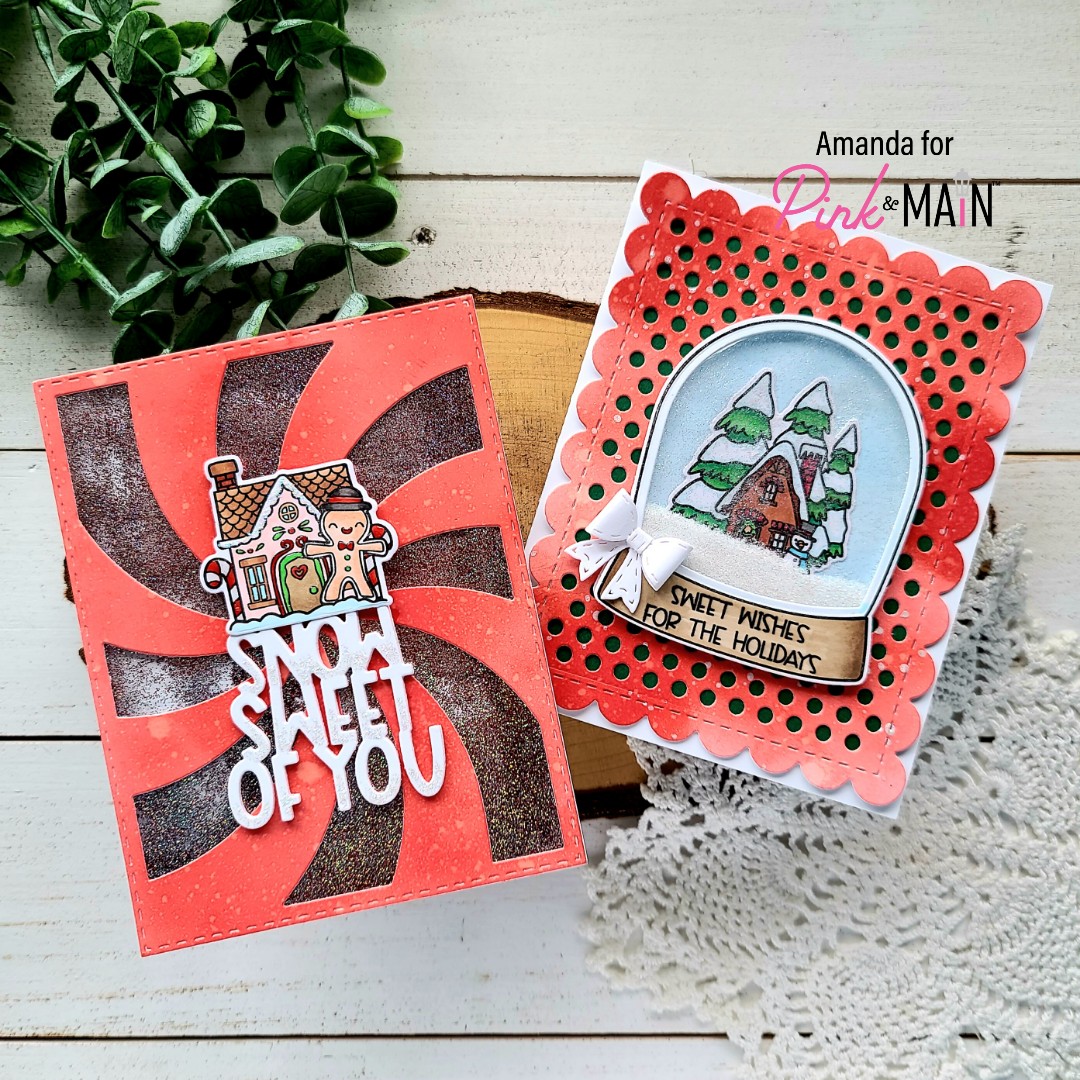
Happy Friday friends!!! It’s Amanda from Twiddler’s Nook today, sharing a couple of super fun shaker cards featuring some of the amazing Christmas release. I was creating the first snowglobe card, not planning to make it a shaker and then I couldn’t resist. But while I was creating it I had another idea that I just couldn’t pass up. So today you get double the inspiration! I hope you enjoy them.
This all started because I wanted to make one of those adorable snowglobes. So I stamped images from the Empty Snowglobe set and Winter Snowglobe Scenes and colored them with my copic markers. It became apparent pretty quickly that I did want to make this cute scene into a shaker so I cut the additional elements needed like the acetate panel a new base panel and cut the window out of the stamped snowglobe I already had.
Next, I inked up the base panel with blue and adhered my house scene down to that. Then I adhered the acetate to the frame and lined it with foam strips. I added some ice rink fine glitter to my scene and sealed it all up.
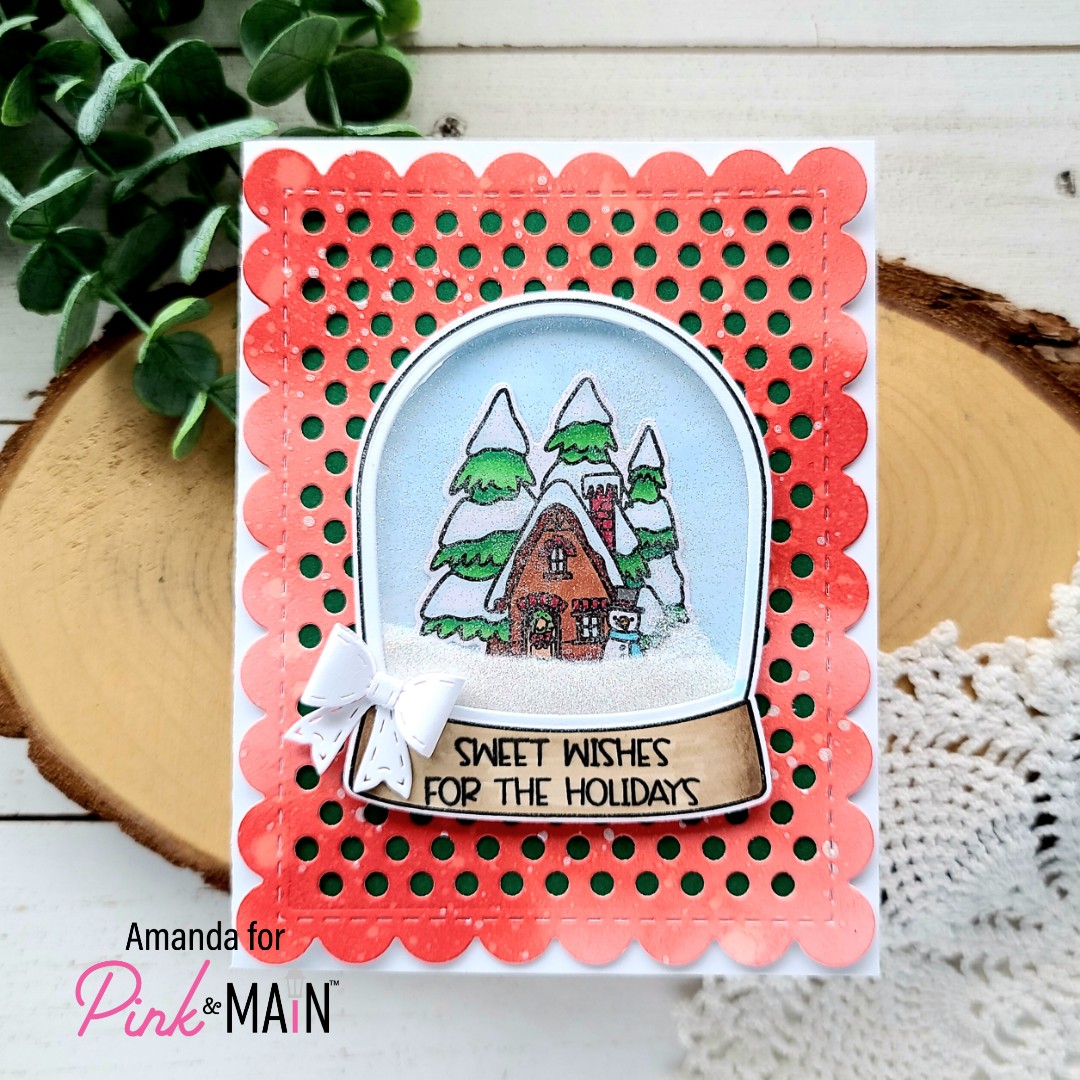
For the background panel of my card, I inked up a white piece of cardstock with candied apple distress oxide as messy as I could. Some heavy spots, some light spots and some streaks. Then I spritzed it with water and flicked pearl watercolor all over it. Once it was dry I die cut it with the Dotted Cover die and just love how it looks! I lined the back with green cardstock and adhered it to a white card base. Next, I adhered the snowglobe down with liquid glue. I thought it was missing something so I pulled out the Stitched Bow dies and cut the smallest one from white cardstock. I used my awesome new reverse tweezers and liquid adhesive to assemble it and glued it to the left of the sentiment.
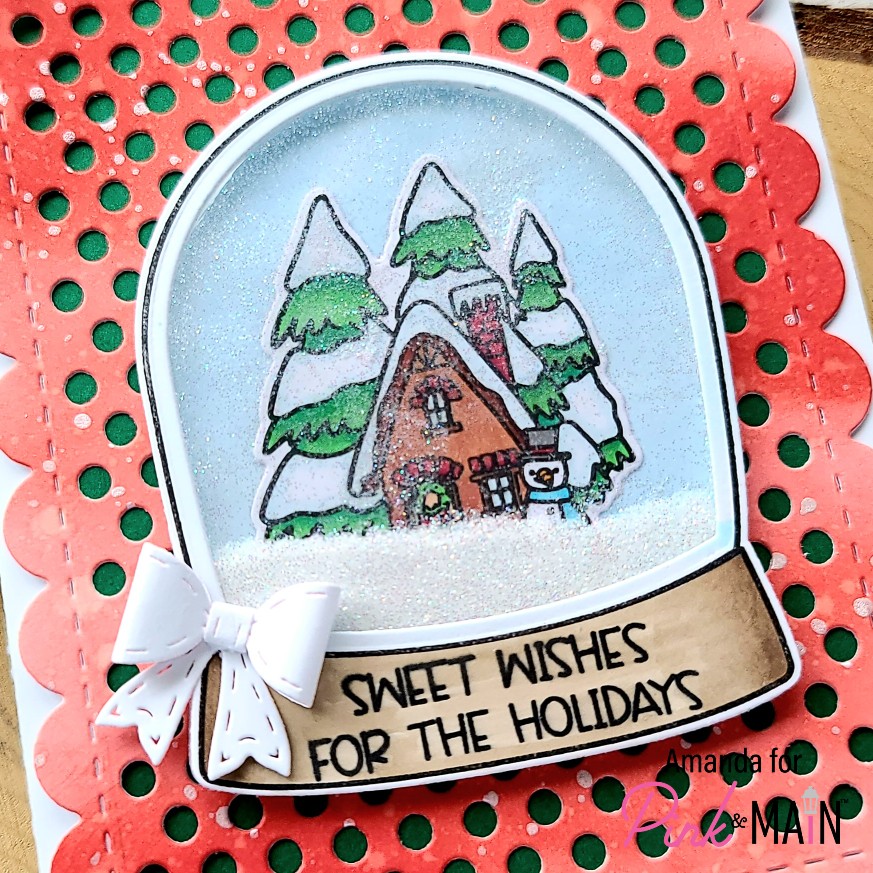
This was so fun to create and I love how the ultra fine glitter looks like a grand snow bank waiting for kids to run out and play on. Super cute!
While I was using the Empty Snowglobe dies, I had to move the sentiment die in the set out of the way…which got me thinking that it would go so cute with the gingerbread image from the Winter Snowglobe Scenes. Hence, I have another adorable card to share with you.
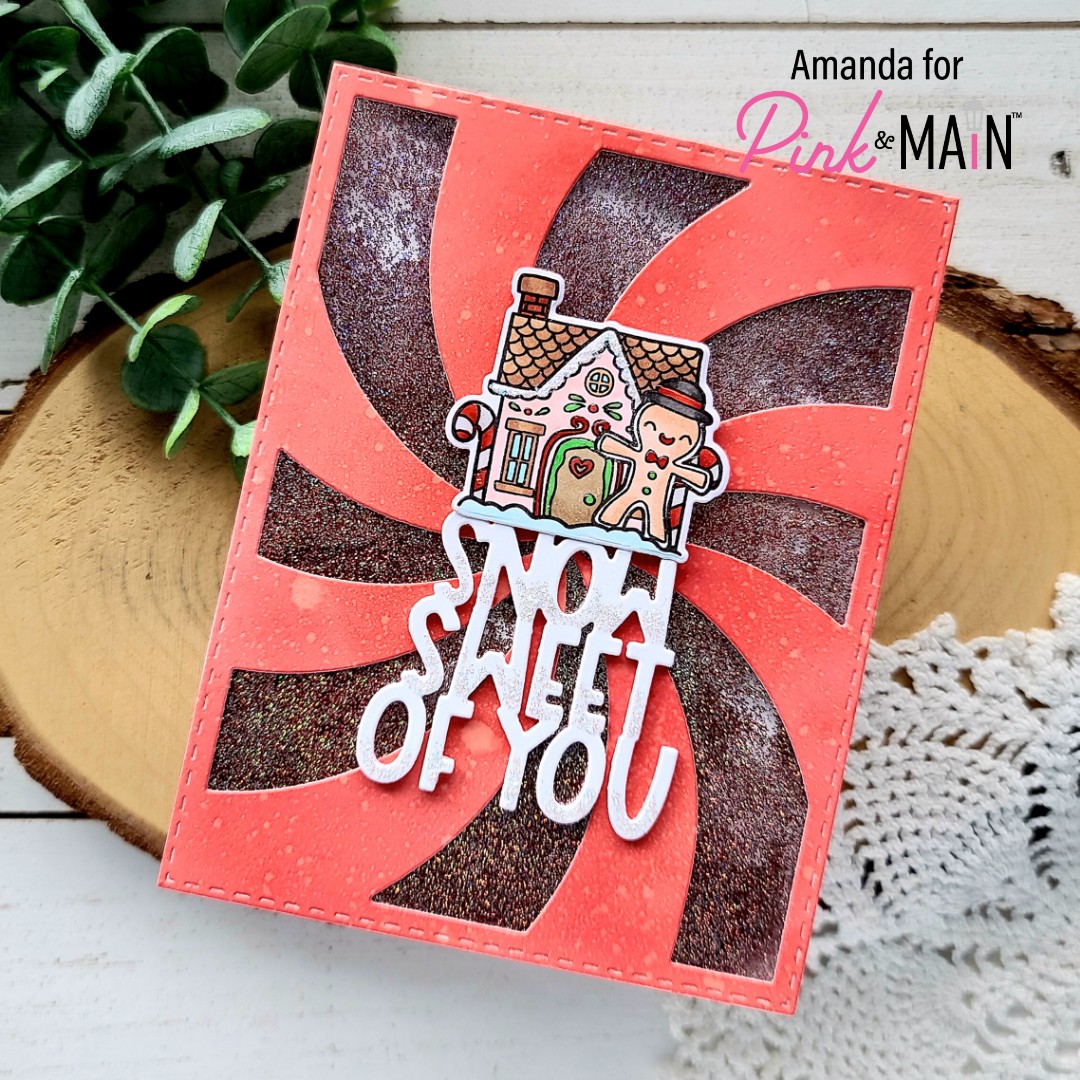
For this card, I stamped and colored the Winter Snowglobe Scene with my copics and used the coordinating dies to cut it out. Then I cut the sentiment from white cardstock 5 times and adhered the layers together with liquid glue.
I used the same candied apple distress oxide ink, but this time I started in the center of my panel and inked it up in a circular motion working my way out. I spritzed the panel with water and let it dry. Once it was dry I cut it out with the Peppermint Cover die, trimmed a piece of acetate to fit and adhered them together with liquid glue. I lined it with foam strips and filled it with holly and silver bells fine glitter. Once it was all sealed up I adhered the shaker to a white card base.
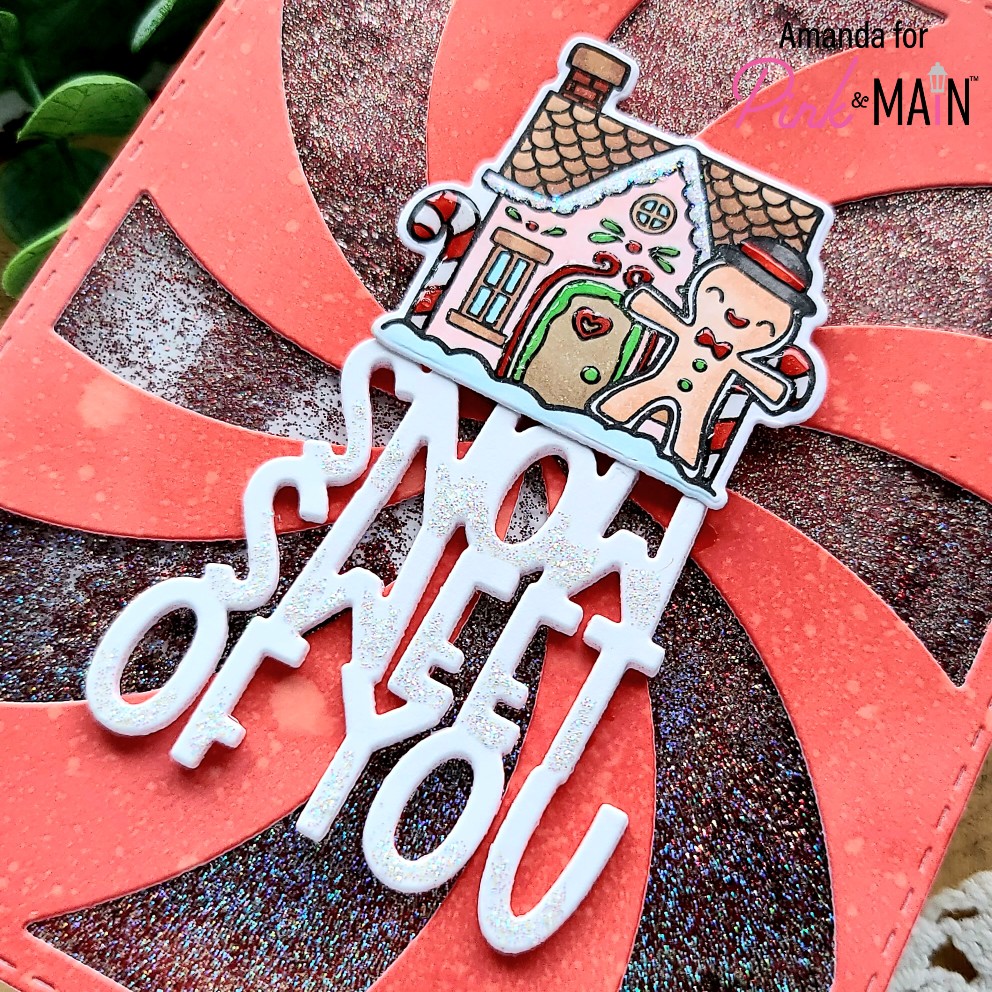
Next I used liquid glue to adhere the sentiment on the front and foam squares to pop the image up to same height. For finishing touches, I added unicorn stickles to the bottom of the letters in the sentiment and the roof line of the house. Then I added glossy accents all over the image to anything that looks like frosting. I think these two things really tie them in to the super shimmery glitter shaker.
These are so much fun and such happy cards! They’ll be great to share with someone at Christmas time! I’m also excited to have two more cards for my holiday stash! Have you started yet?
Products used today:
Winter Snowglobe Scenes stamps and dies
Empty Snowglobe stamps and dies
Peppermint Cover die
Dotted Cover dies
Stitched Bow dies
Fine Glitter – holly, silver bells, ice rink
EZ Squeeze liquid adhesive
Reverse Tweezers
Glossy accents
Distress Oxide – candied apple
Stickles – unicorn
Foam strips
Copic markers
I appreciate you sharing your time with me. Have a fabulous day!