
Happy Day Pink & Main friends… who’s excited about the release? It is NOW AVAILABLE, YAY!
I love Easter and this release is FULL of Easter/Spring fun that you are going to love, so let’s get started.
Today I am getting crafty with the new Pink & Main…
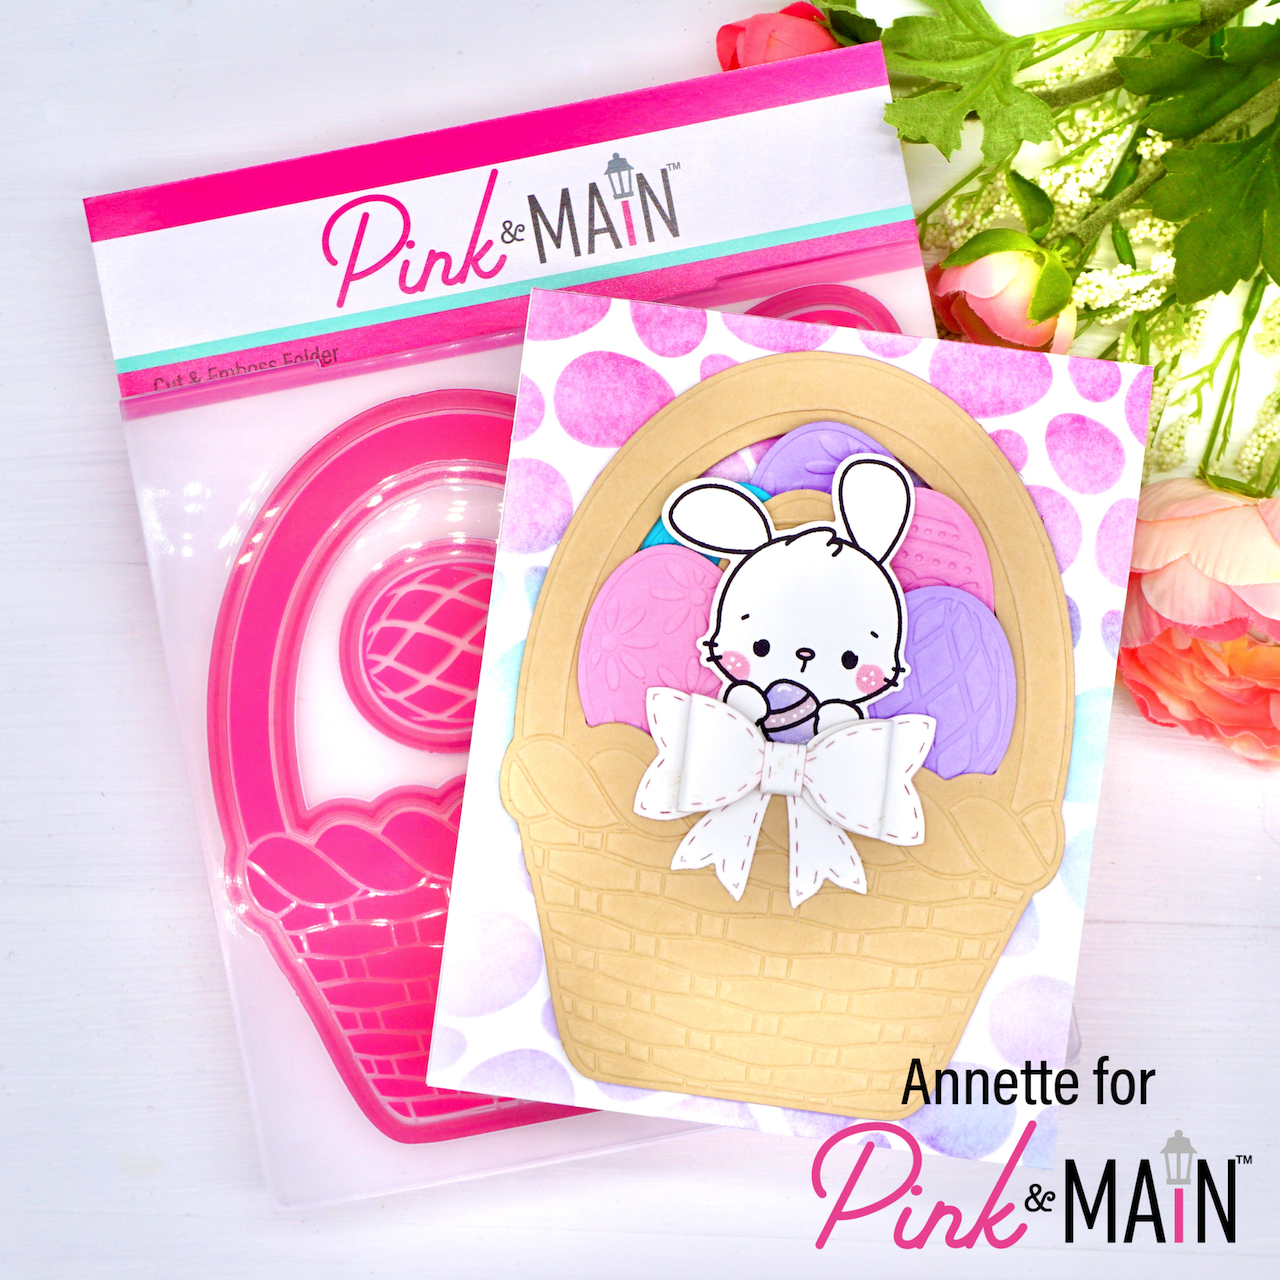
- Easter Basket Emboss and Cut Folder
- Hippy Hoppity Stamp Set
- Hippity Hobbity Dies
- Stitched Bows Dies
- Pebble, River Walk, Evening Clouds and Salon Premium Cardstock
- Night Sky, Lakeside, Dress Shop Premium Dye Ink Pads
- Ergonomic Blending Brush
- Easter Egg Stencil (now on clearance)
- Foam Tape
Create card from cardstock A2 size.
Stencil directly onto your card base the Easter Egg stencil with Pink & Main Premium inks. When adding the ink, use a light hand so the ink is lighter.
On P&M colored cardstock emboss and cut the Easter Basket multiple times on the colors of your choice.
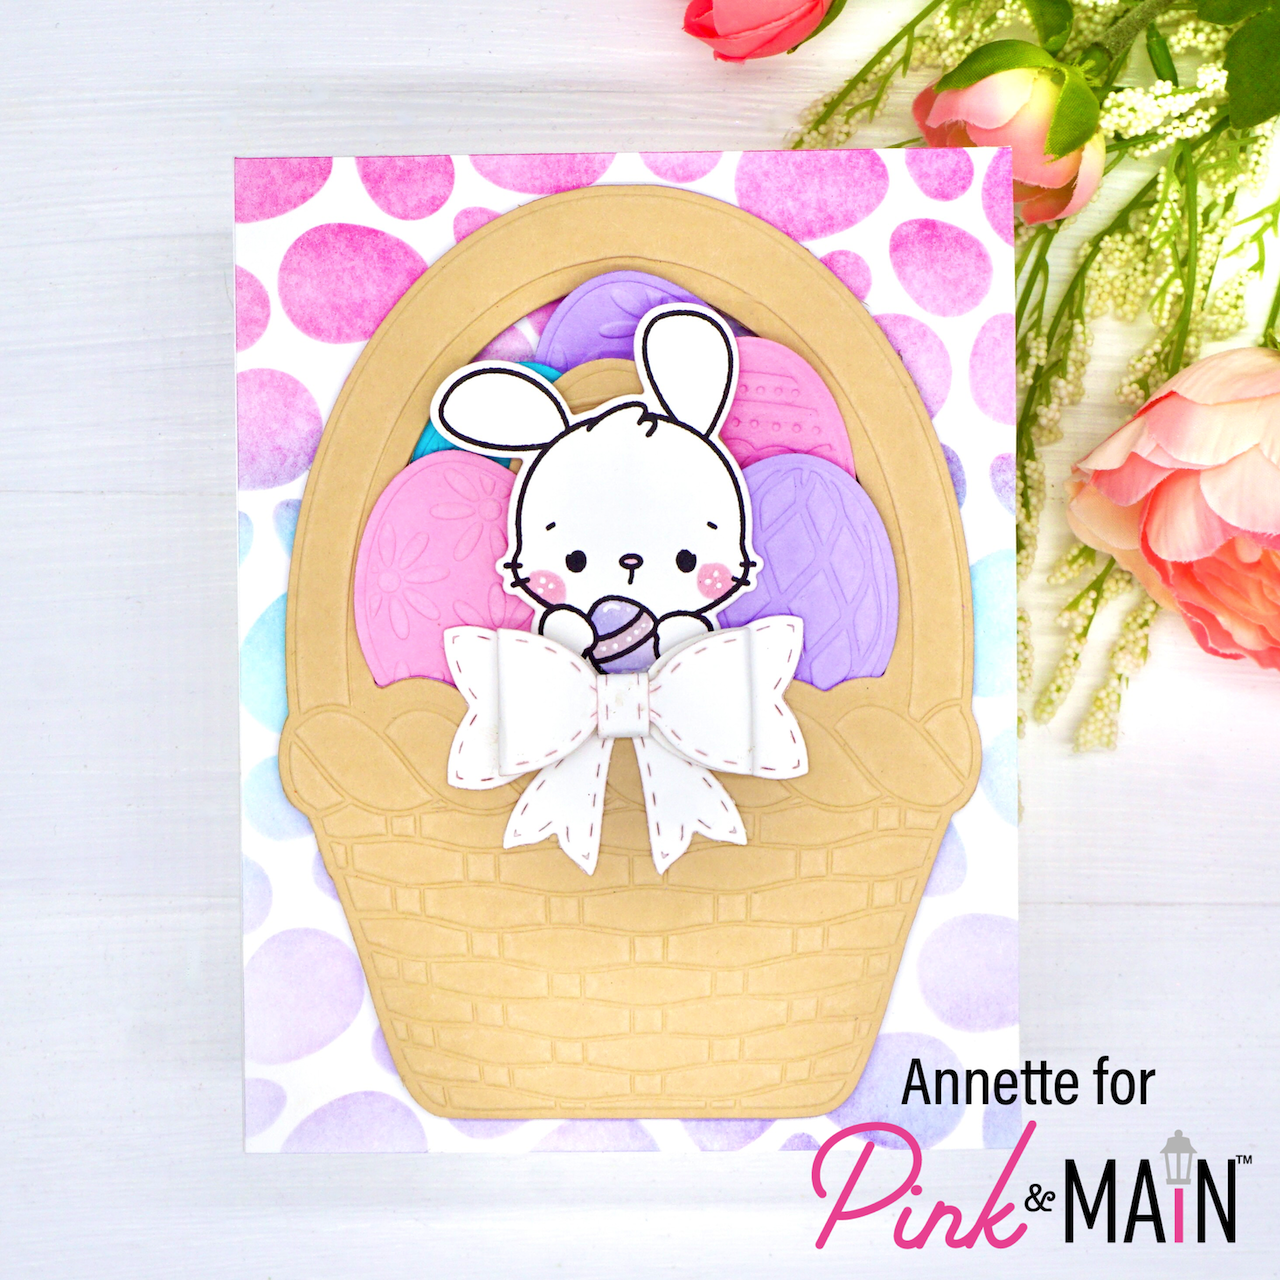
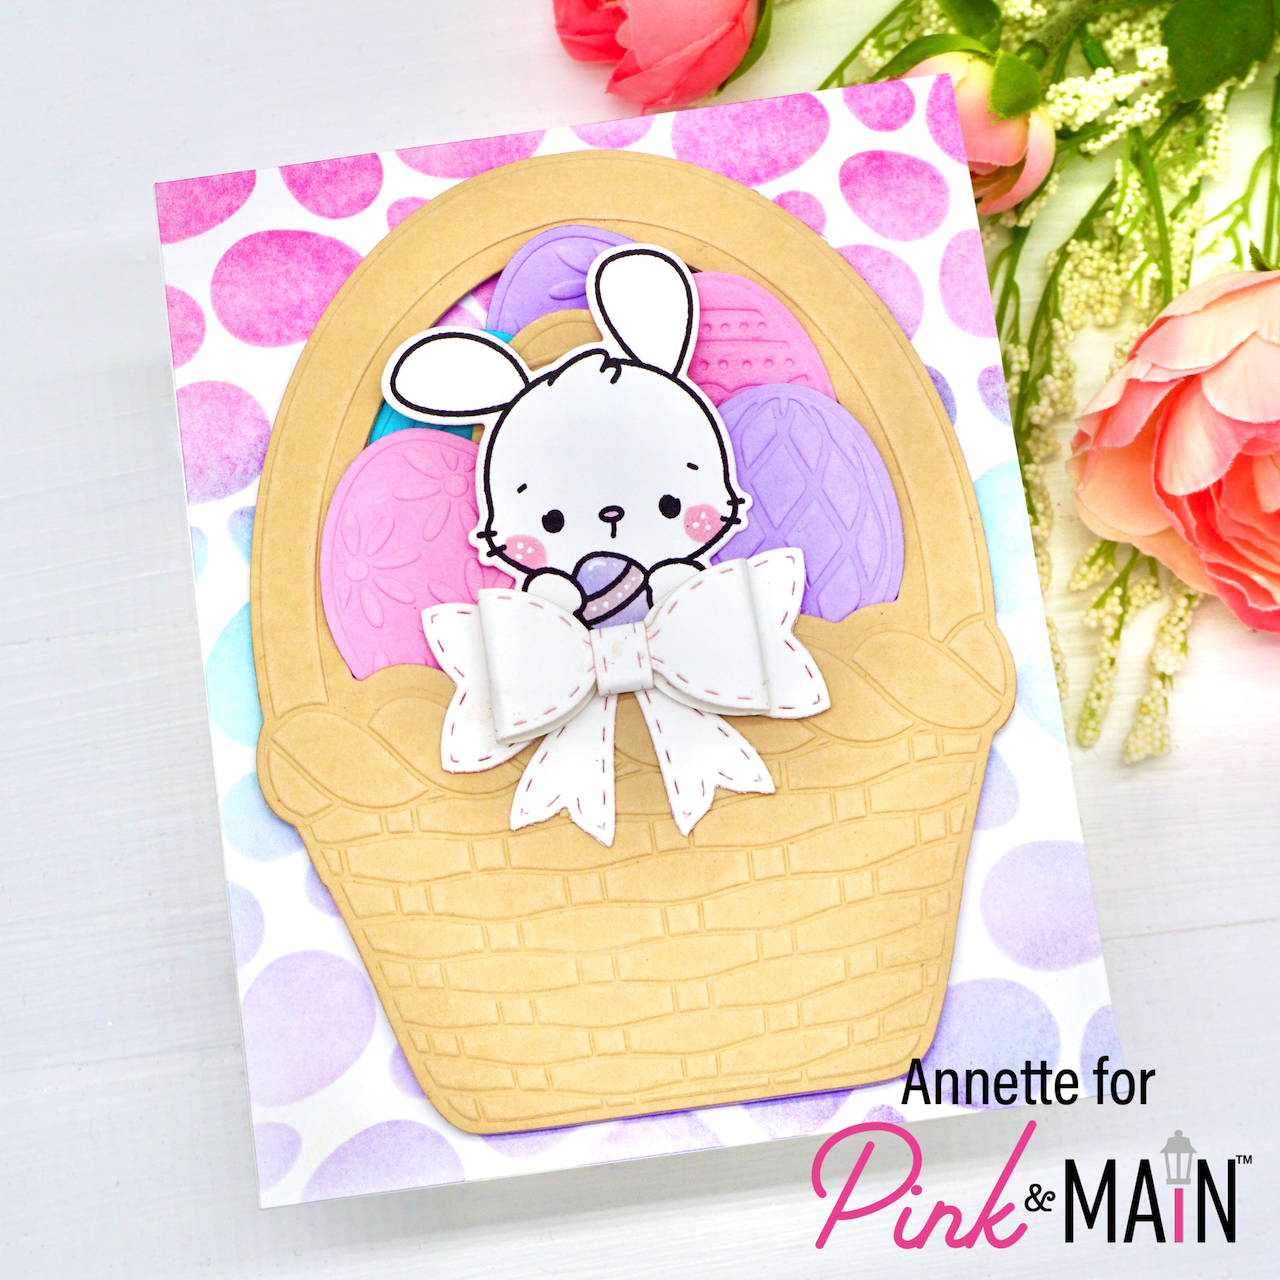
Using P&M Foam Tape, adhere the basket to your stenciled background.
Now add the eggs rotating the colors. Fill the basket with these fun embossed eggs.
Stamp this sweet bunny image from the new Hippity Hoppity stamp set and color using the medium of your choice. I used Copic Sketch markers.
Add your sweet bunny to the card using P&M foam tape.
Die cut the medium sized bow from the P&M Stitched Bows die set on white cardstock and adhere together, then add to the card.
I did not add a sentiment on the front of the card but you can always stamp a sweet message inside the card.
That is all for today.
Thank you for stopping by.
Make sure to check out the new release.