
Happy Saturday Pink & Main friends… Annette Allen here with you today and I am loving all these fun stamps from the April release. Spring is here and this release is all about Spring…
Today I am showcasing the new…
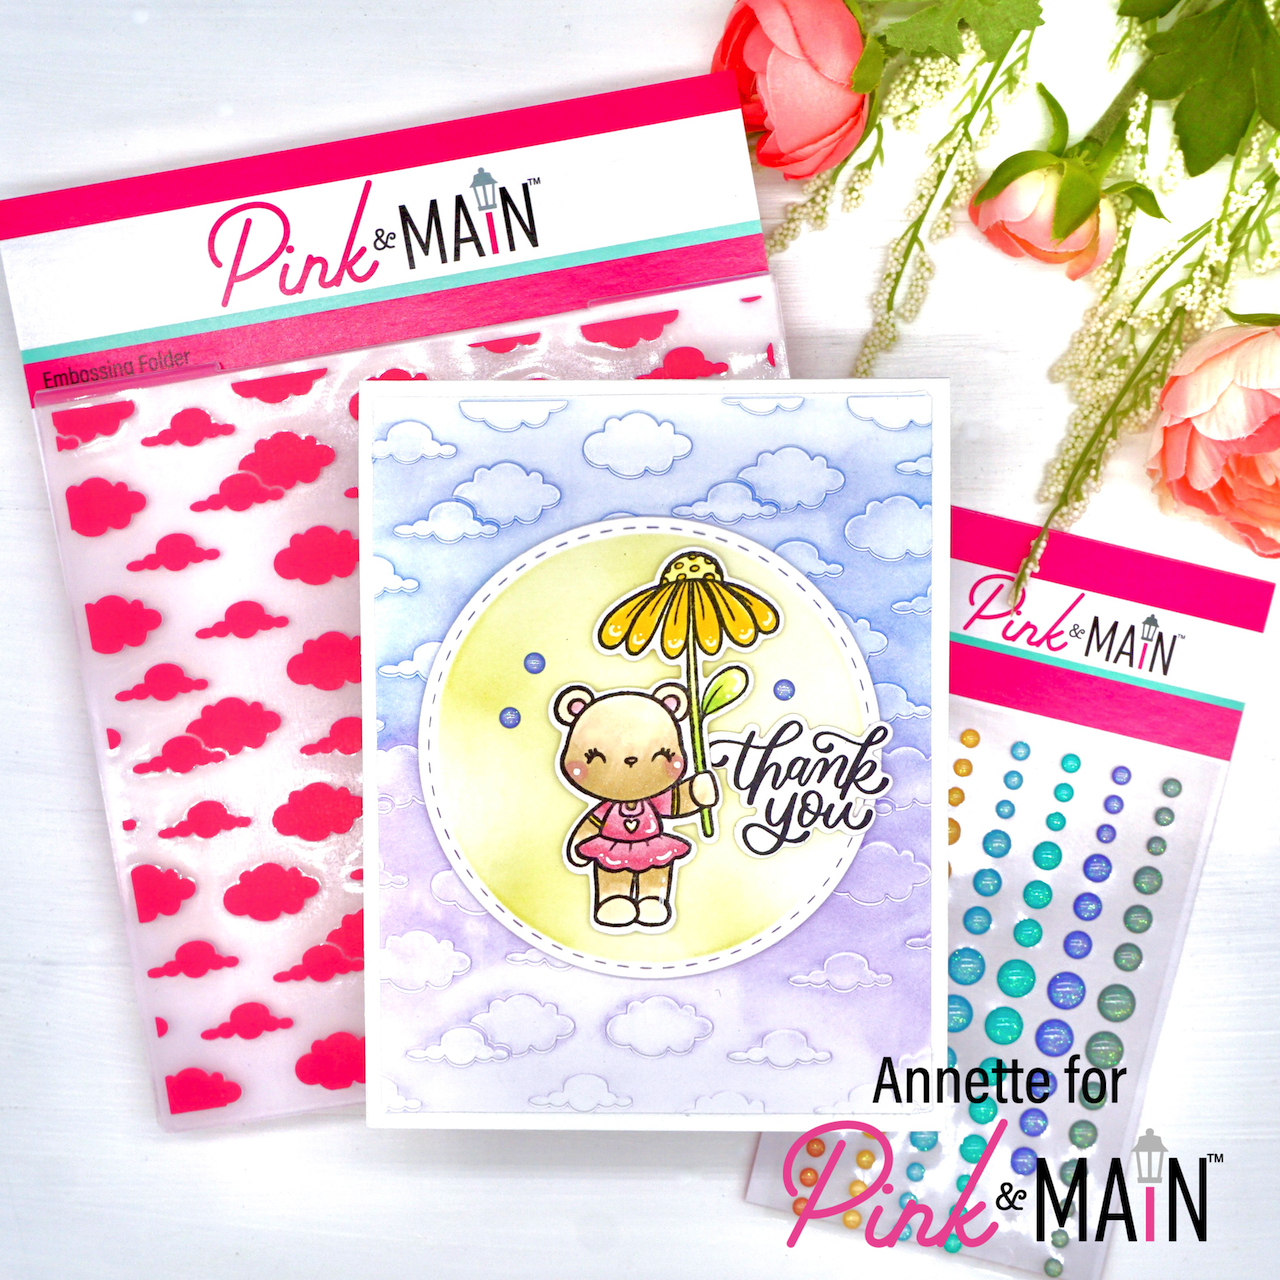
- Sunshine Days Stamp Set (new)
- Sunshine Days Dies (new)
- Cloudy Day Embossing Folder (new)
- Cloudy Day Glitter Enamel Dots (new)
- Layered Scallops Circle Dies (new)
- Premium Dye Inks (The Park, Night Sky and Barbershop)
- Ergonomic Blending Brush
- EZ Squeeze Craft Glue
- Foam Tape
Create card from cardstock A2 size.
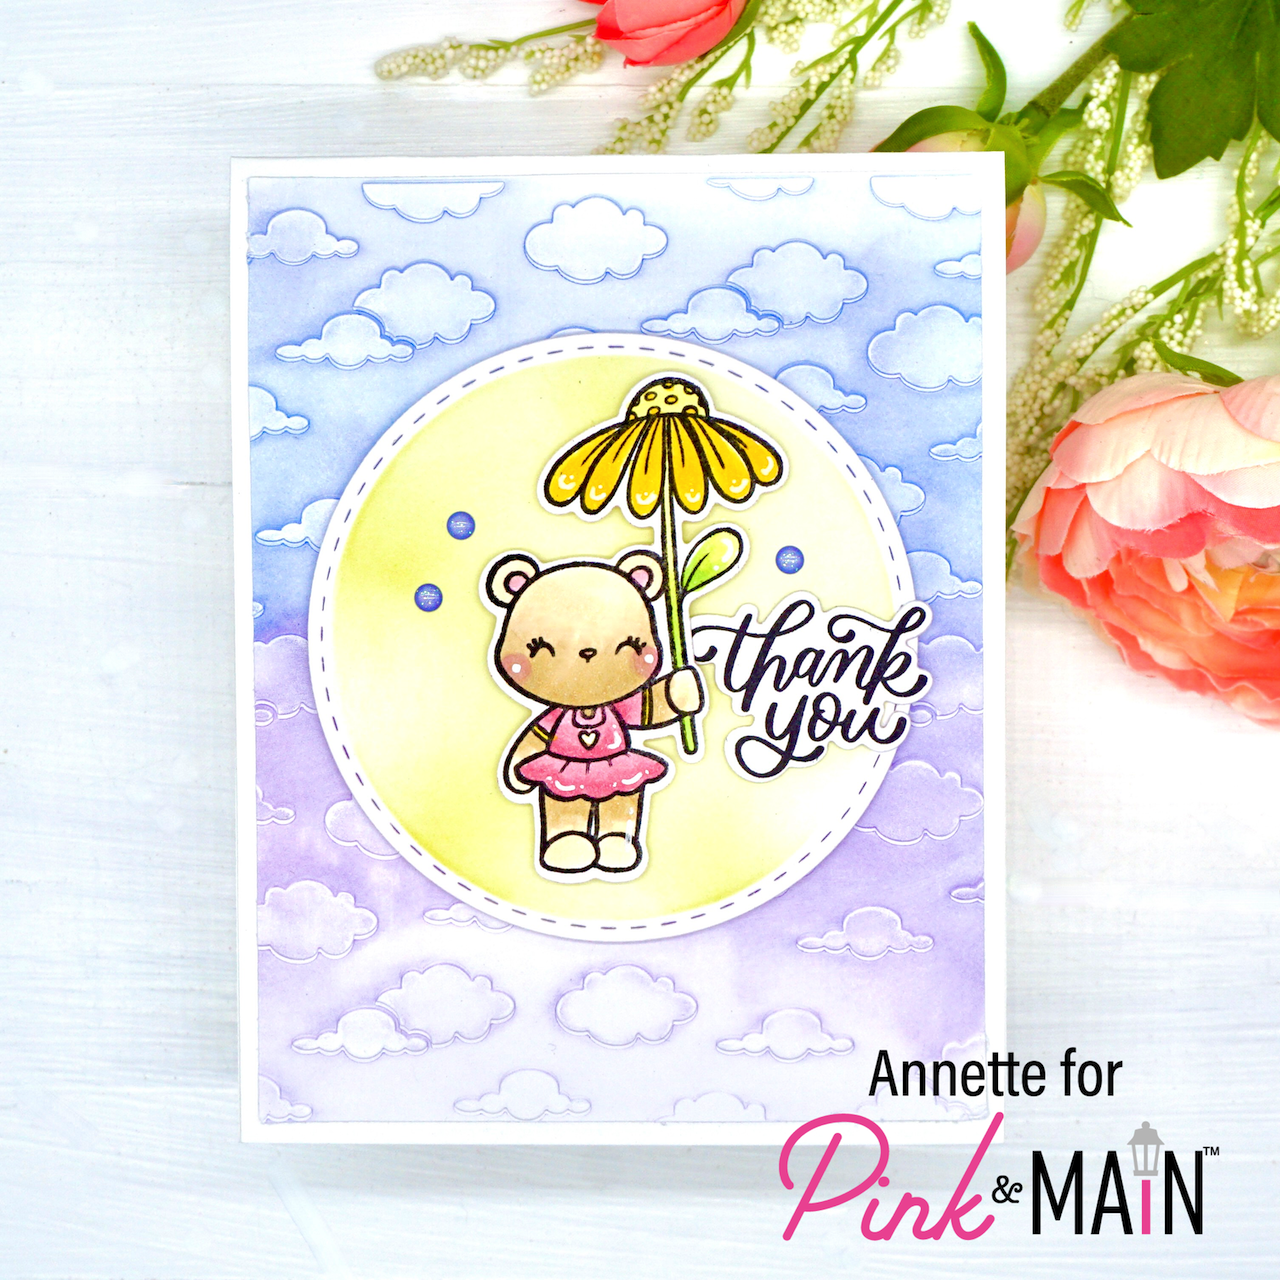
Cut another piece of white cardstock slightly smaller than the card base. Using the new Cloudy Day Embossing folder and Premium inks Barbershop and Night Sky. Add some ink on the embossing folder. The ink should be on the top inside of the embossing folder. When you emboss the folder the ink will transfer.
Die cut the larger of the circles from the Layered Scallops Circle dies. Once you die cut the circle leave the die in place and ink blend The Park ink. Leaving the die in place with leave the white border.
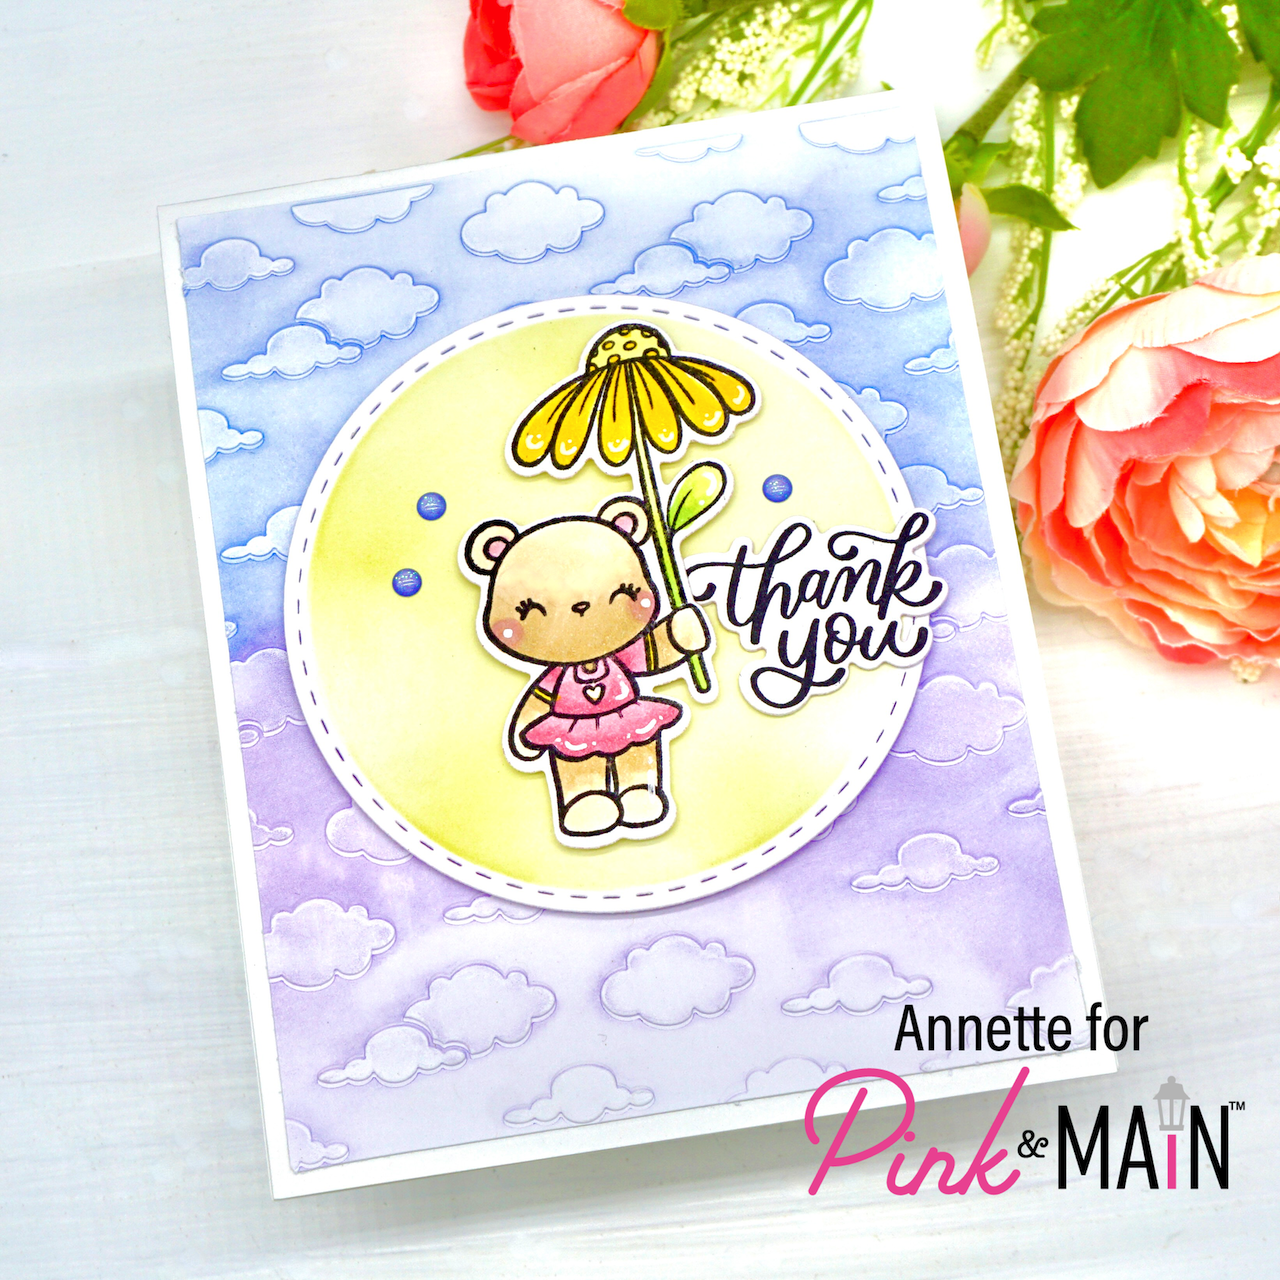
Stamp out your sweet images from the Sunshine Days stamp set and color, using your favorite medium. Die cut using the coordinating die. Add some of P&M foam tape behind the image and adhere it to the center of the circle.
Stamp out the sentiment of your choice from the Sunshine Days stamp set and die cut using the coordinating dies. Adhere the sentiment to the right side of the image in the circle area.
Add a few of the those new Cloudy Day Glitter enamel dots.
Add some foam tape to the back of the circle and adhere it to your card base.
I decided I need a little white gel pen here and there.
Make sure to check out the entire release on the Pink & Main online store. Lots of Spring fun.
Thank you for stopping by.