
Hello, hello!!! Laurie here with you this morning to share a couple of cards that will put a bit of sparkle in your day! This week we are collaborating with the wonderful people over at Thermoweb! If you’ve never checked out their online shop, I encourage you to! It is filled with glittery and shiny goodness as well as a ton of unique products that will make your crafty life easier!
I got to play with Red Velvet Glitz Glitter Gel, Gold Glitz Glitter Gel and some beautiful Silver Deco Foil. This was my first time using the glitter gels and let me just say…whoa!! They are gorgeous and so easy to use!!
Let’s start with the backgrounds.
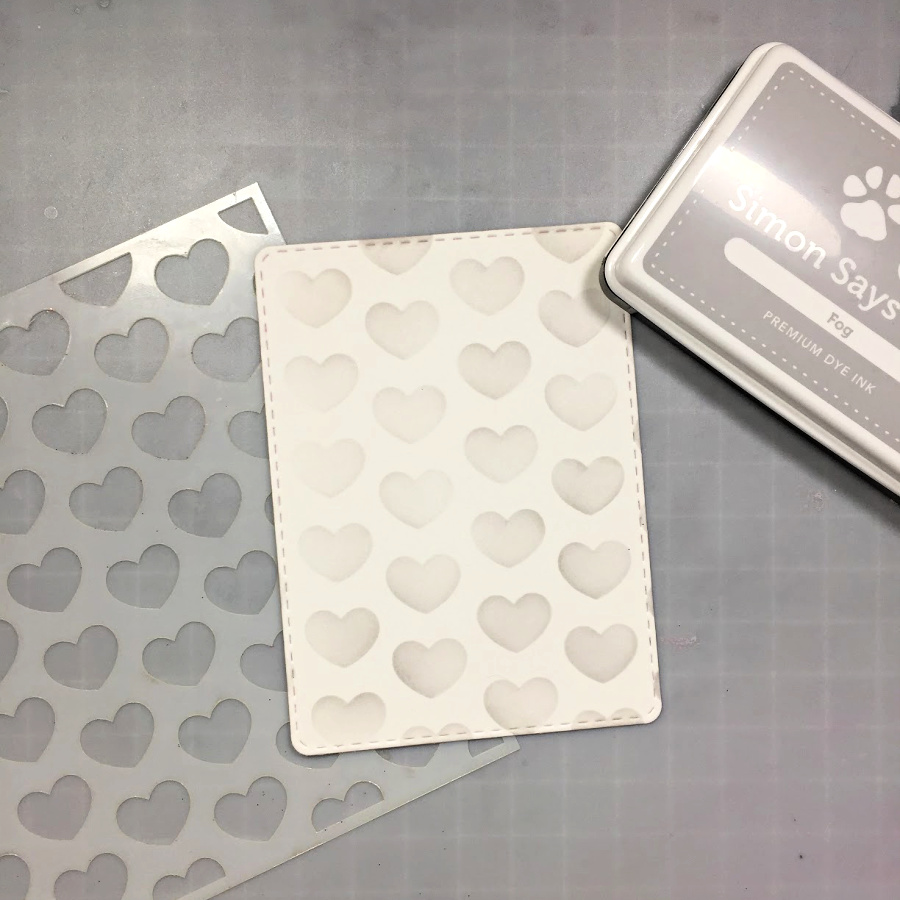
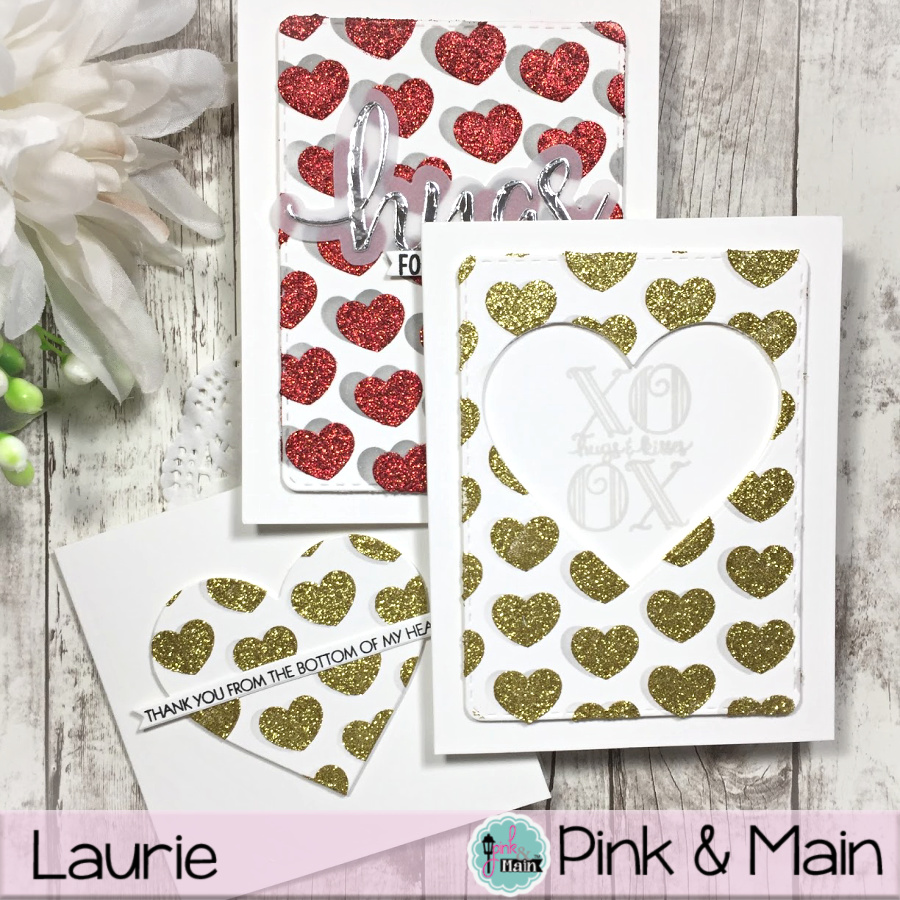
I started by blending a light grey ink using the Puffy Heart Stencil onto a piece of white cardstock cut with the second largest of the Stitched Rounded Rectangle Dies. After cleaning off the stencil, I lined the stencil up then shifted it slightly down and to the right.
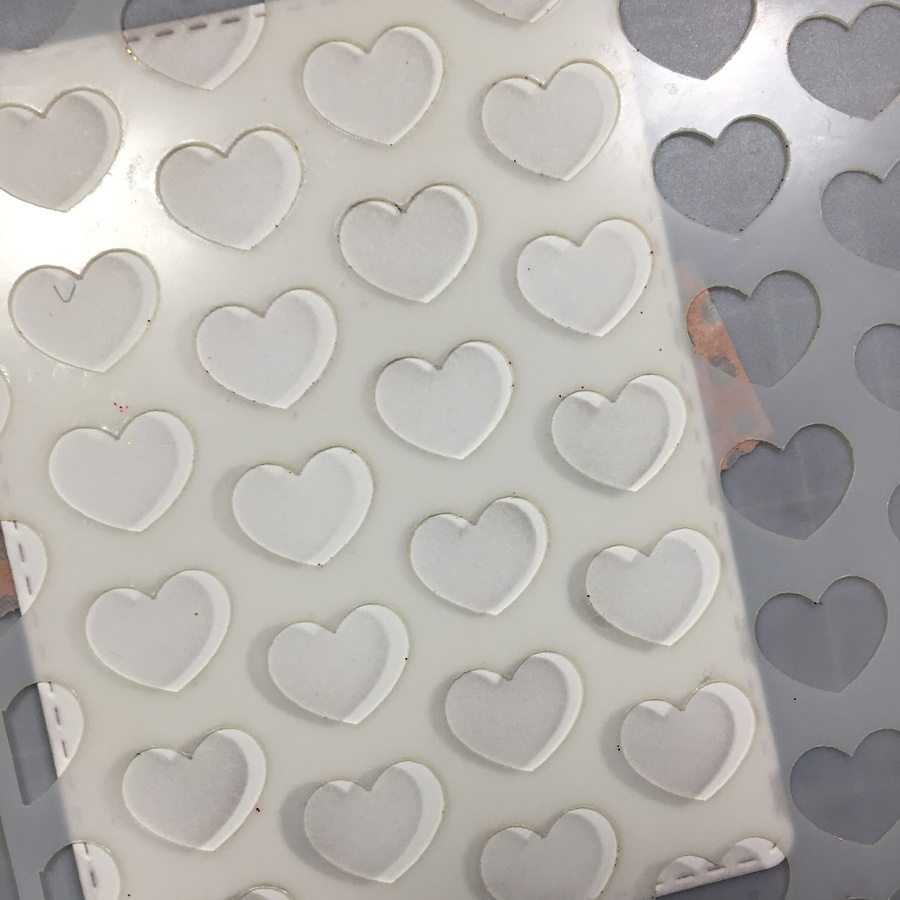
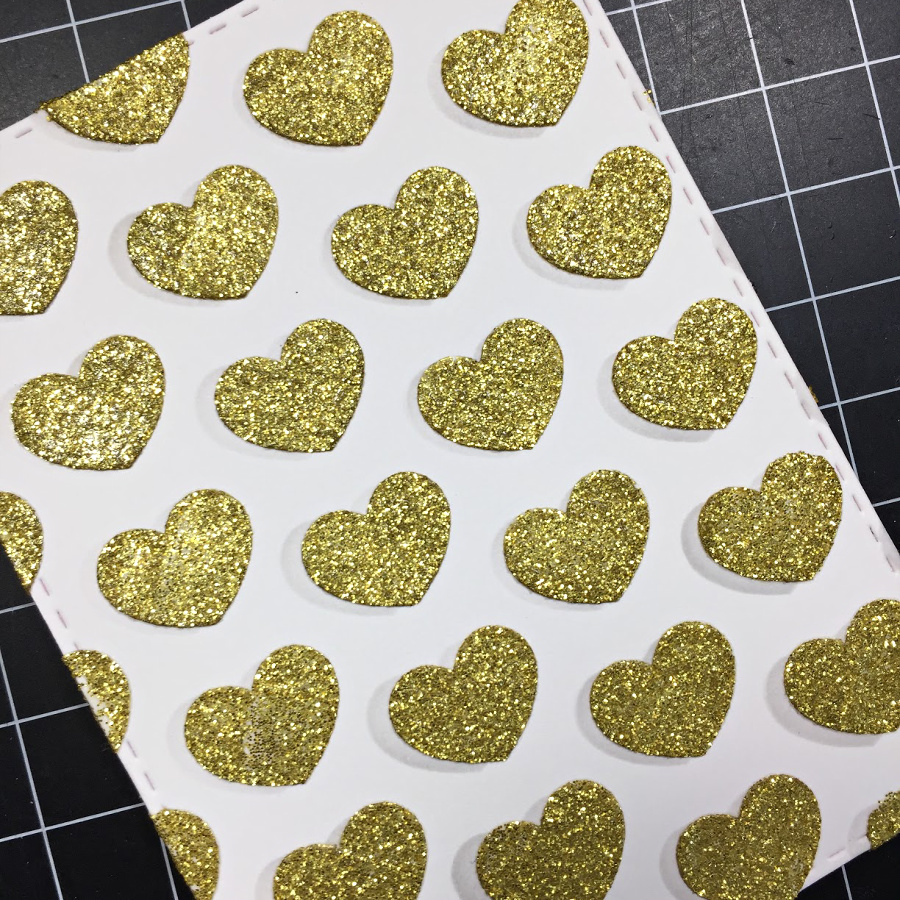
I then added a layer of the Gold Glitz Glitter Gel. By using the ink first, it created a drop shadow effect.
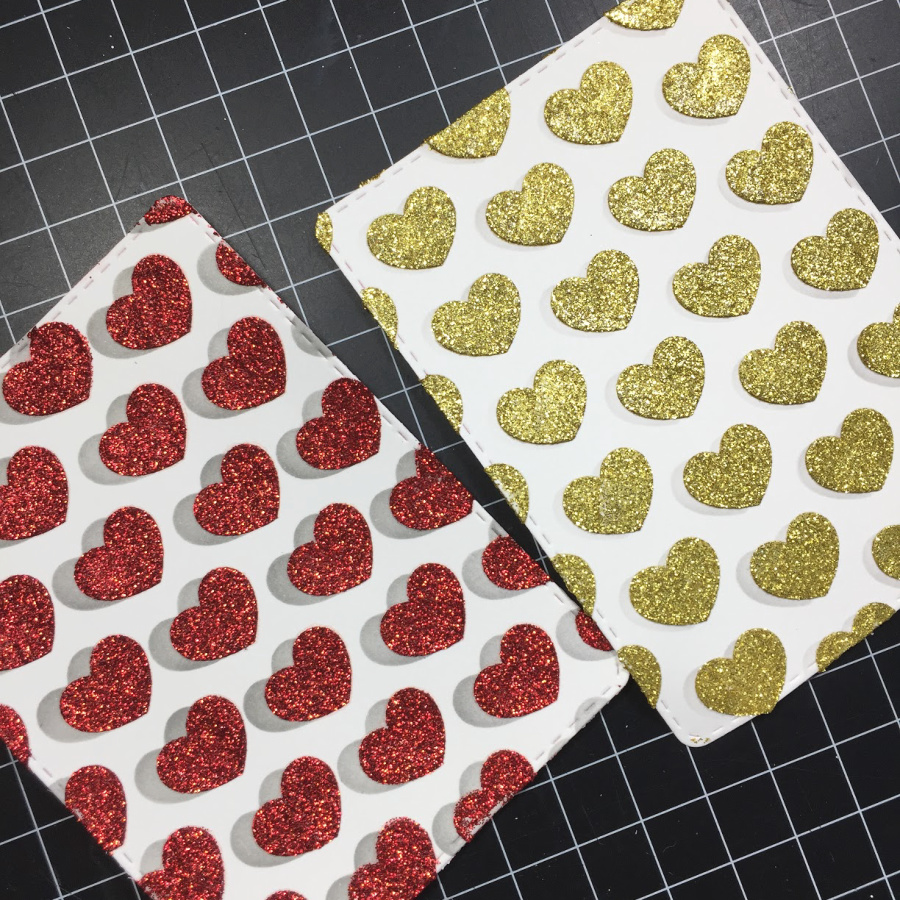
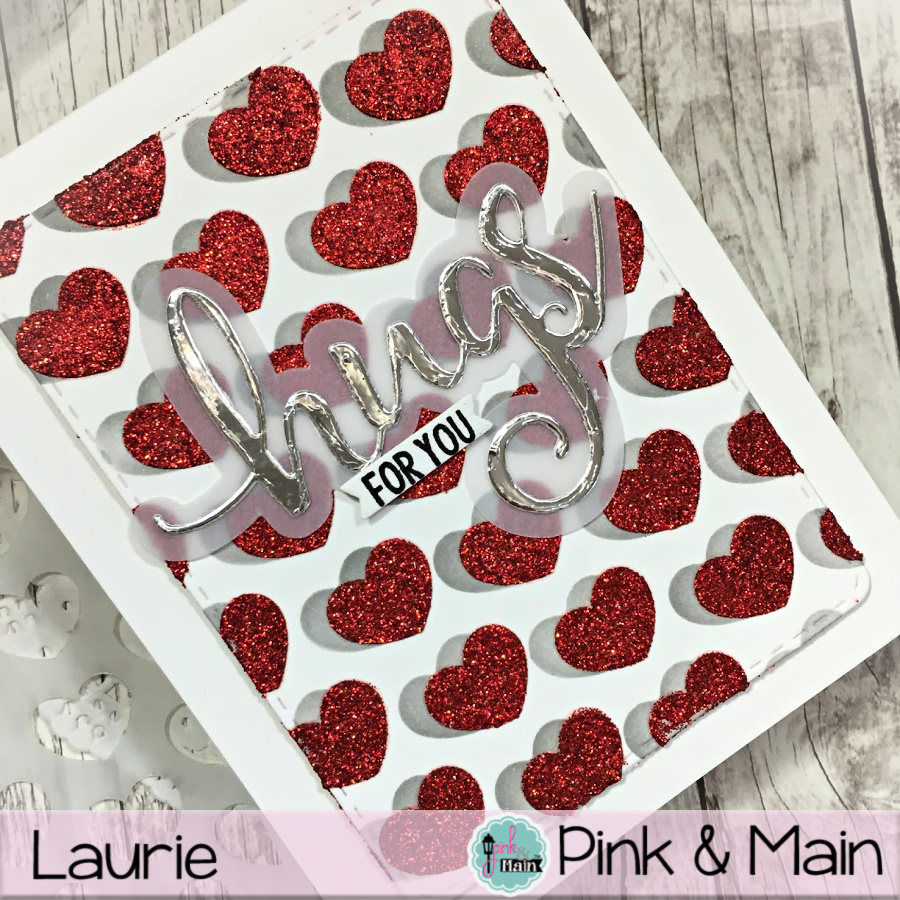
Of course, I just had to try this again using the Red Velvet Glitter Glitz Gel! This time, I used a darker shade of ink which gave a much better contrast!
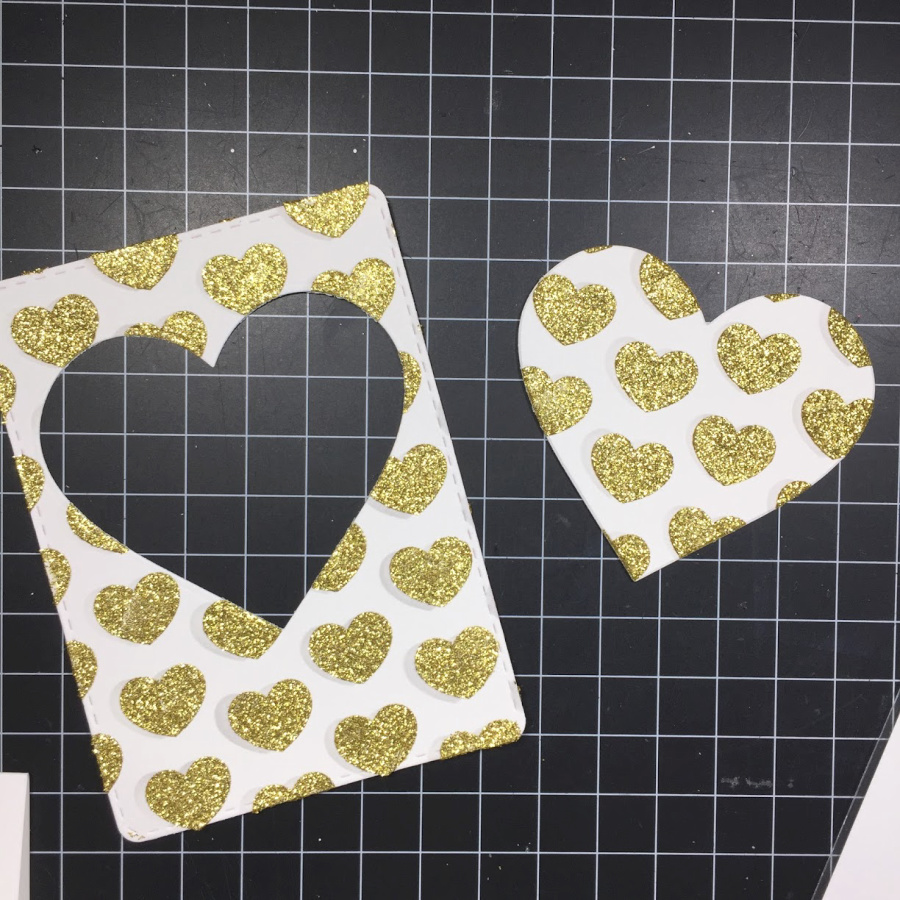
Because these background are so beautiful, not to mention a little “busy”, I kept the cards simple. I used a heart die to cut from the centre of the gold panel. This, in turn, gave me enough pieces for two cards!
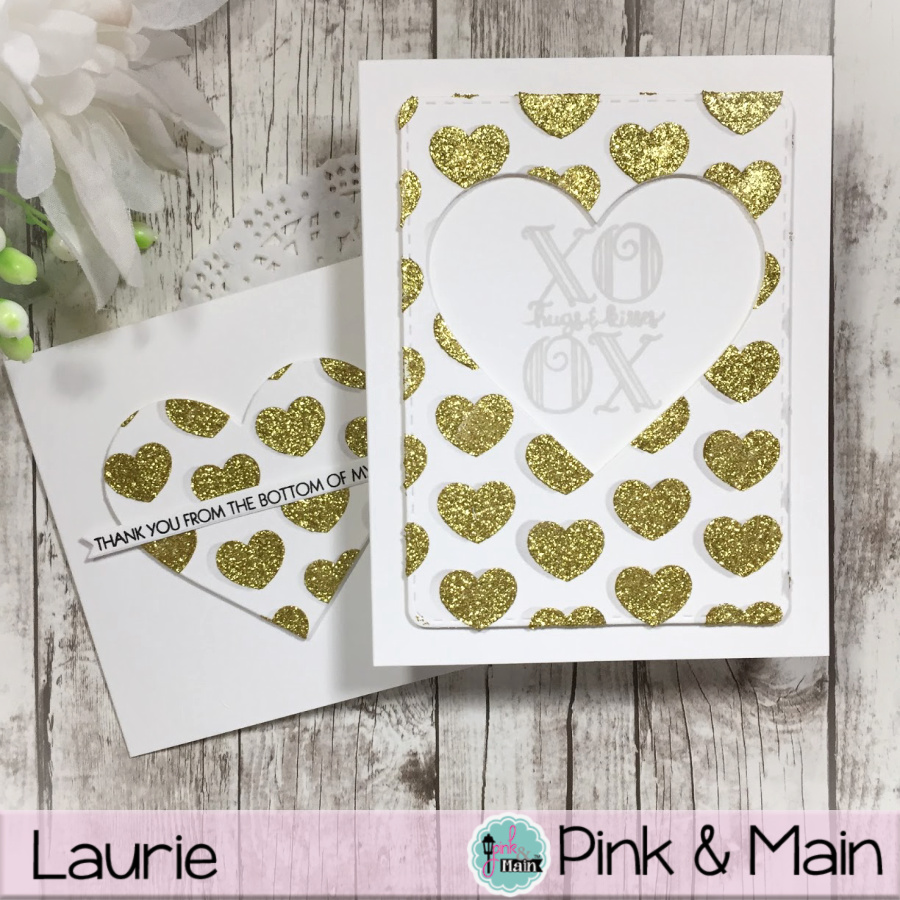
I mounted the panel onto a white card base and stamped a sentiment inside the heart. This awesome sentiment comes from the Sent With Love Stamp Set.
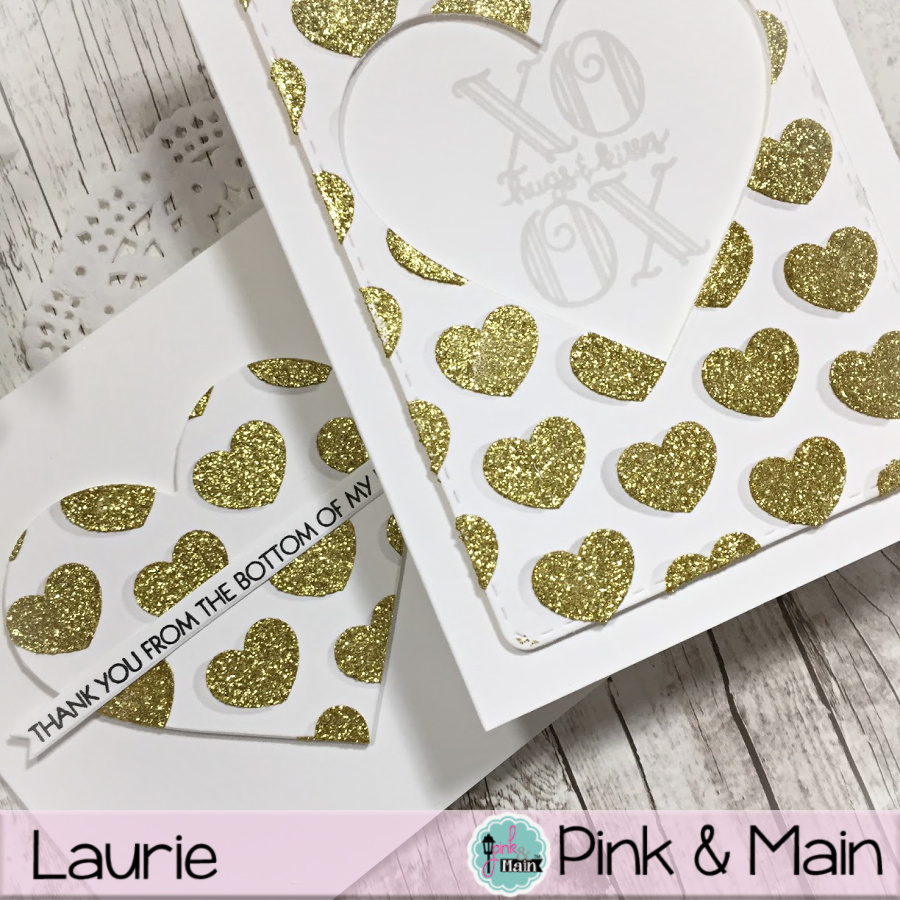
I foam mounted the heart die cut onto a small, square card base and stamped a sentiment from the Grateful Greetings Stamp Set onto one of the Sentiment Strip Dies. It worked perfectly!
Now, onto the red, heart panel! I left this panel intact so I needed a “statement piece” that really stood out. I chose to use the Hugs Dies along with the Hugs Needed Stamp Set.
It was time to break out the Silver Deco Foil!! Here is an easy way to get a foiled die cut sentiment without heat. All you need is some sort of double sided adhesive. I used Stick It Adhesive sheets but regular double sided tape should work just as well!
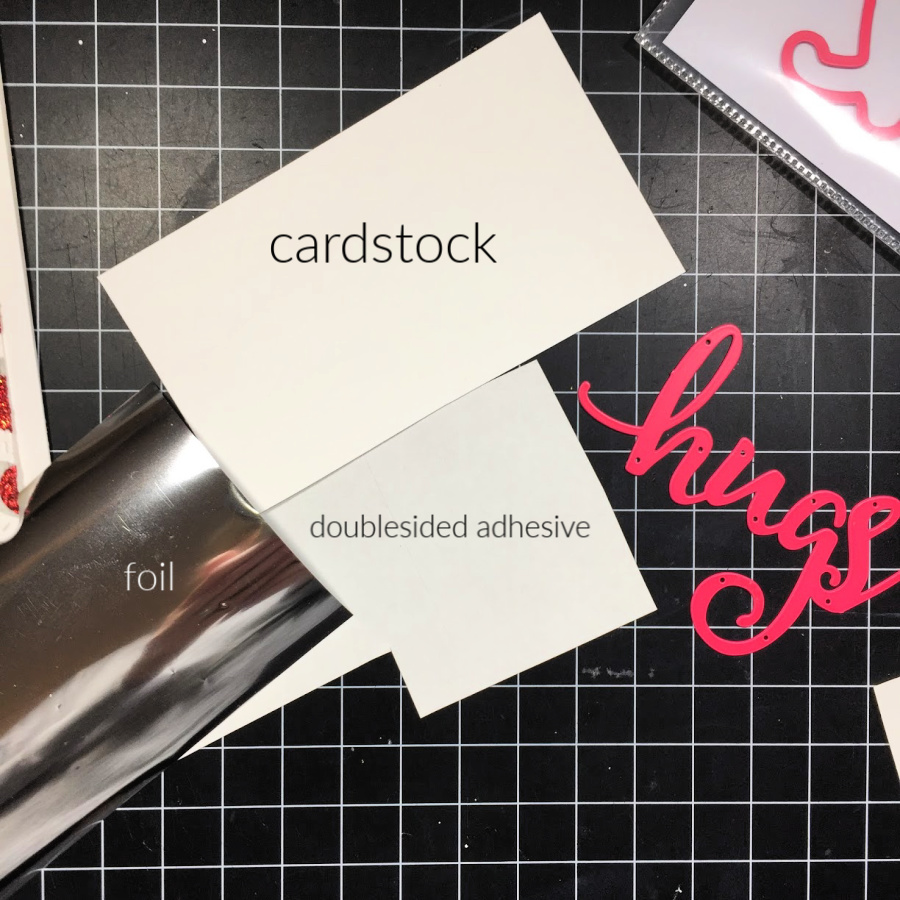
Start by adding the adhesive to your cardstock. Remove the backing from the tape and apply the foil. Smooth it out gently! I found it will scratch if you’re too aggressive. Place your die on top of the foil and run through your die cutting machine. I ran it through twice just to be sure everything cut through.
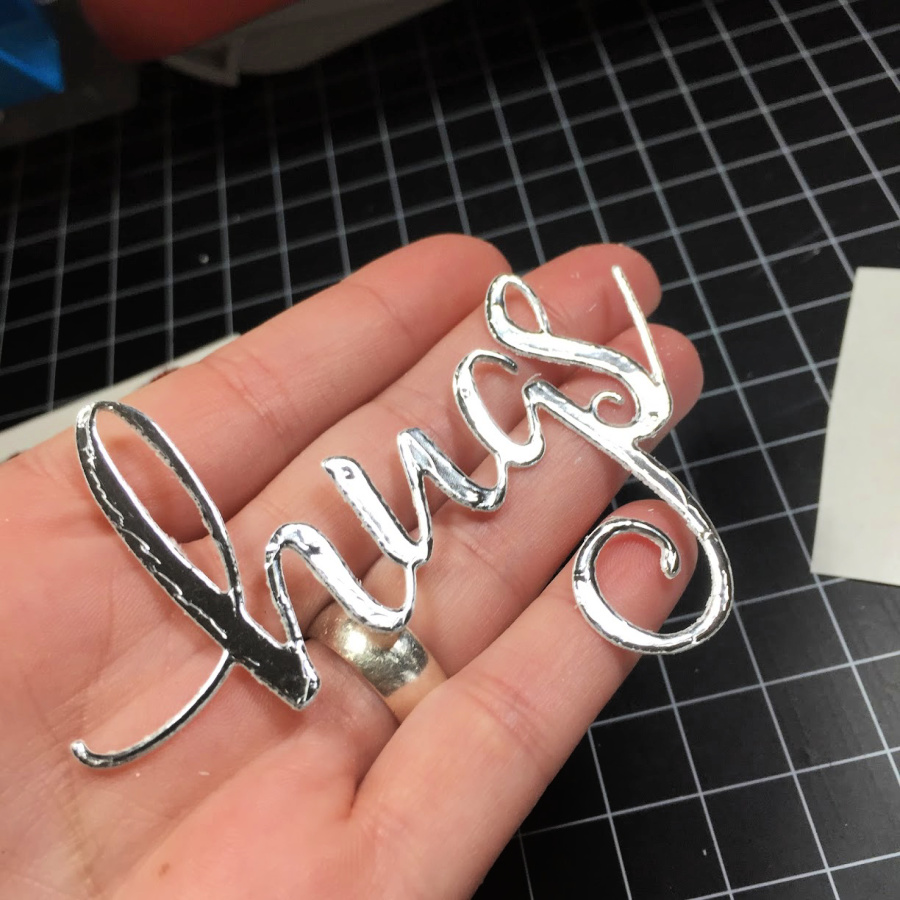
Isn’t the result beautiful?? The Hugs Dies come with a shadow layer, so I die cut that out of some vellum and adhered the two with liquid glue. I added liquid glue behind the scripty portion of the “hugs” and applied to the glittery, red card front.
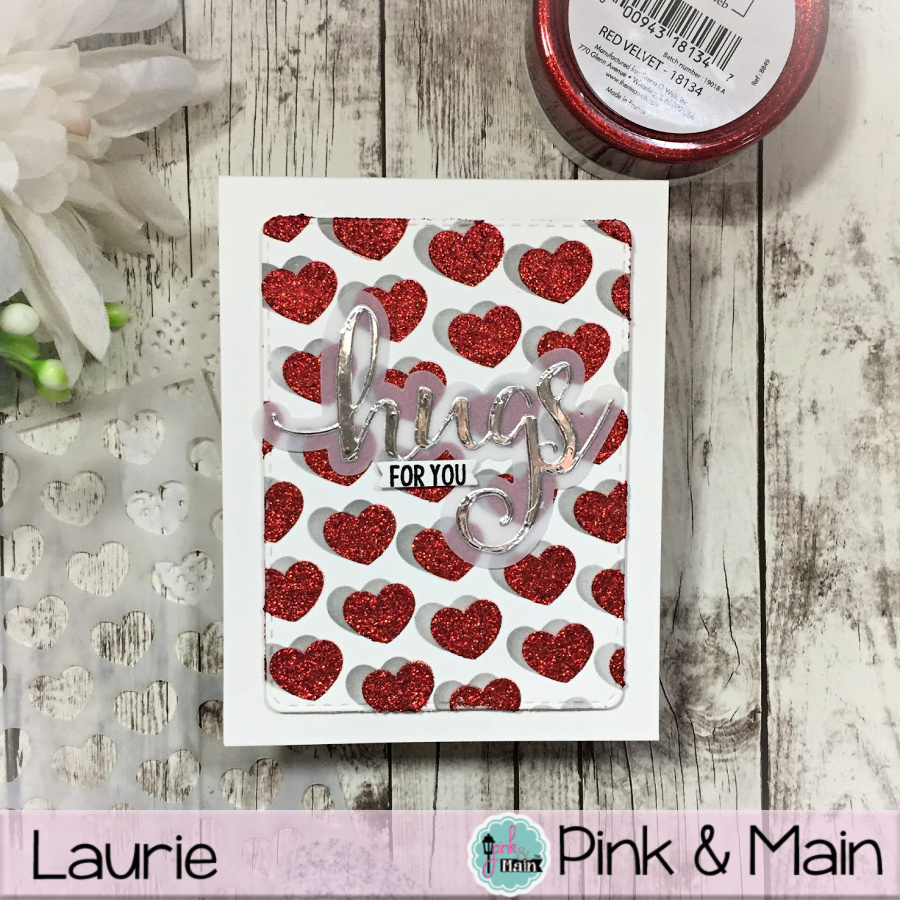
It’s best to place something a bit heavy, even an acrylic block, over the sentiment as it seems to take a bit for the glue to sink into the glitter. I finished off the sentiment by stamping “for you” onto one of the tiny Sentiment Strip Dies and foam mounting it under the Hugs.
So, which card do you like the best? I think my favourite is the small, square card with the glittery, gold heart!
Thank you so much for stopping in this morning! I had so much fun using these FABULOUS products from Thermoweb!!
See you soon!
Laurie
Have to remember this one for
Valentine” Day. The hearts
are so pretty – love the glitter.
thanks for sharing
txmlhl(at)yahoo(dot)com
Love all that sparkle! Beautiful cards!
Love the drop shadow effect, really adds some great depth! Must give this a try!
Hard to pick a fave – they are all sooo pretty! I think I like the cut out heart w/sentiment inside best. Love getting a 2 for 1 card, too.
Gorgeous work with
the glitters. Love the
hugs card.
Carla from Utah