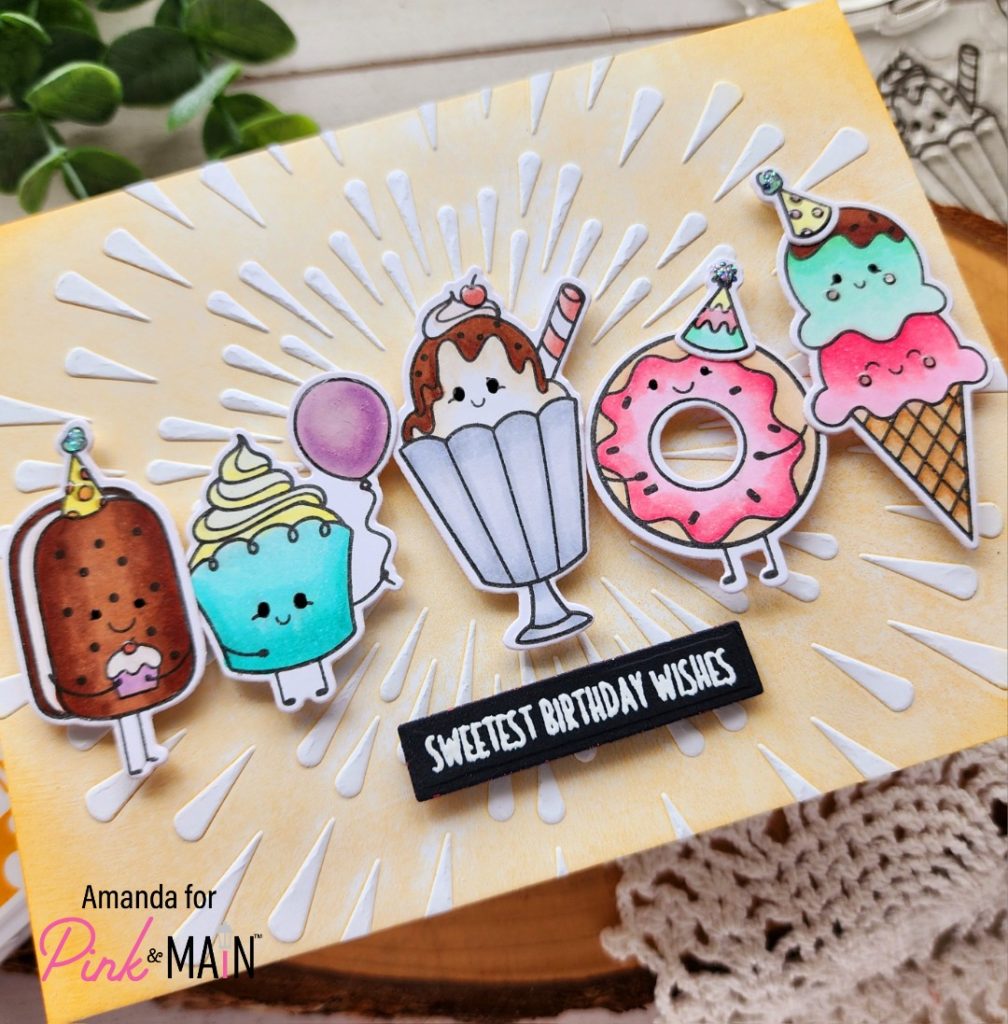
Hey friends! It’s Amanda from Twiddler’s Nook today with some sweet birthday wishes and a fun technique to try.

I started my card with a design idea in my head so I stamped a bunch of images from Sweet Birthday which happens to be the stamp and die of the month for March! You can get a super deal on this set if you sign up before the end of the month. After coloring the images with copic markers, I used the coordinating dies to cut them all out. I used EZ Squeeze liquid glue to adhere the party hats to a couple of the images missing one and set them aside to dry.

Next, I took a white panel and the new Fireworks embossing folder. I used a brayer roller with construction ink on the flat side of the embossing folder. Next, I placed the white panel on the other side and closed the folder. After running it through my die cut machine with the embossing folder sandwich, I had this awesome panel where the raised, embossed areas are white but the panel is orange. Isn’t that so cool!?! It’s really fun to play around with.

I adhered the embossed panel to a white card base and popped my images up with foam squares across the center of the card front. Then I stamped and heat embossed a sentiment from the set and cut it out with a sentiment strip from Sunny Greetings and popped it up too.
For finishing touches I added black glaze pen to all the eyes and stardust Stickles to the top of the party hats. Then I used Touch of Gloss on things like cherries, cheeks and the balloon.
I hope you’ll try this fun background technique. It gives your embossing folders a new lease on life, which is awesome because they are a craft tool that is less expensive and fun to create with!
Products used:
Sweet Birthday stamps and dies (Stamp and Die of the Month)
Fireworks embossing folder
Touch of Gloss
Magic Anti Static Brush
Ink – embossing and construction
Embossing Powder – icicle
EZ Squeeze liquid glue
Stickles – stardust
Brayer roller
Foam squares
I appreciate you sharing your time with me. Have a fabulous day!
