This post uses affiliate links at no additional cost to you! By clicking the links in this post, I earn a small commission should you make a purchase. Thank you in advance!
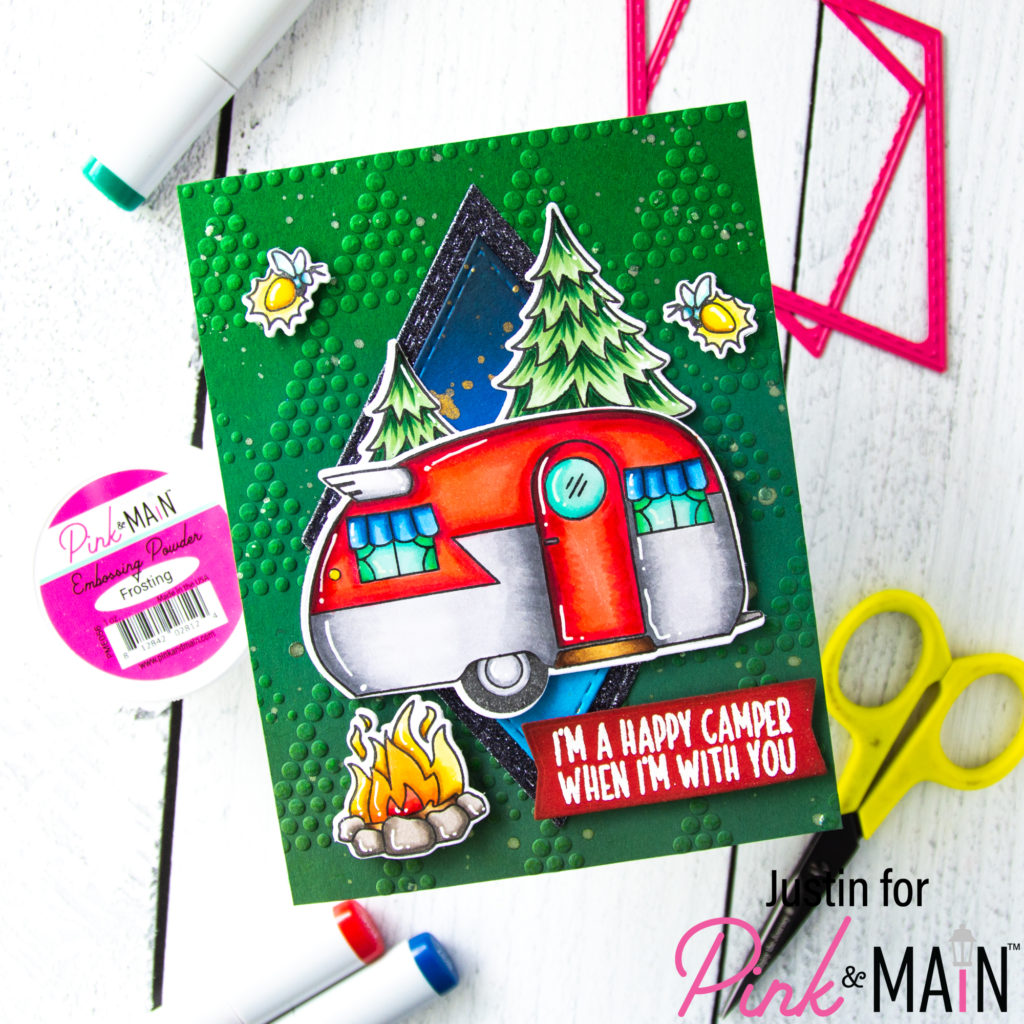
Hello friends! Justin here, and I am so excited to be helping contribute to the Pink & Main October Sneak Peeks with one of the brand new stamp sets: Happy Place! This 6″x6″ stamp set is packed full of some woodsy inspiration that is just perfect for that outdoors-lover in your life! I will actually be giving some sneaks for a handful of October Release items, so be sure to stick around!
Pink & Main Products Used:
Happy Place Stamp Set
Happy Place Die Cuts
Stitched Diamond Dies
Dotted Triangles Embossing Folder
Extra Large Sentiment Strip Dies
Touch of Gloss
Frosting Embossing Powder
Watermark Embossing Ink Pad
Magic Anti-Static Brush
On the Green Cardstock
Middle School Cardstock
Stop Sign Cardstock
Fall Glitter Paper
Other Products Used:
Copic Markers
Copic-Safe Ink
Distress Oxide Inks: Rustic Wilderness, Forest Moss, Prize Ribbon, Chipped Sapphire & Black Soot
Distress Ink: Vintage Photo
Metallic Watercolor Accents
Let’s get into how I put this card together!

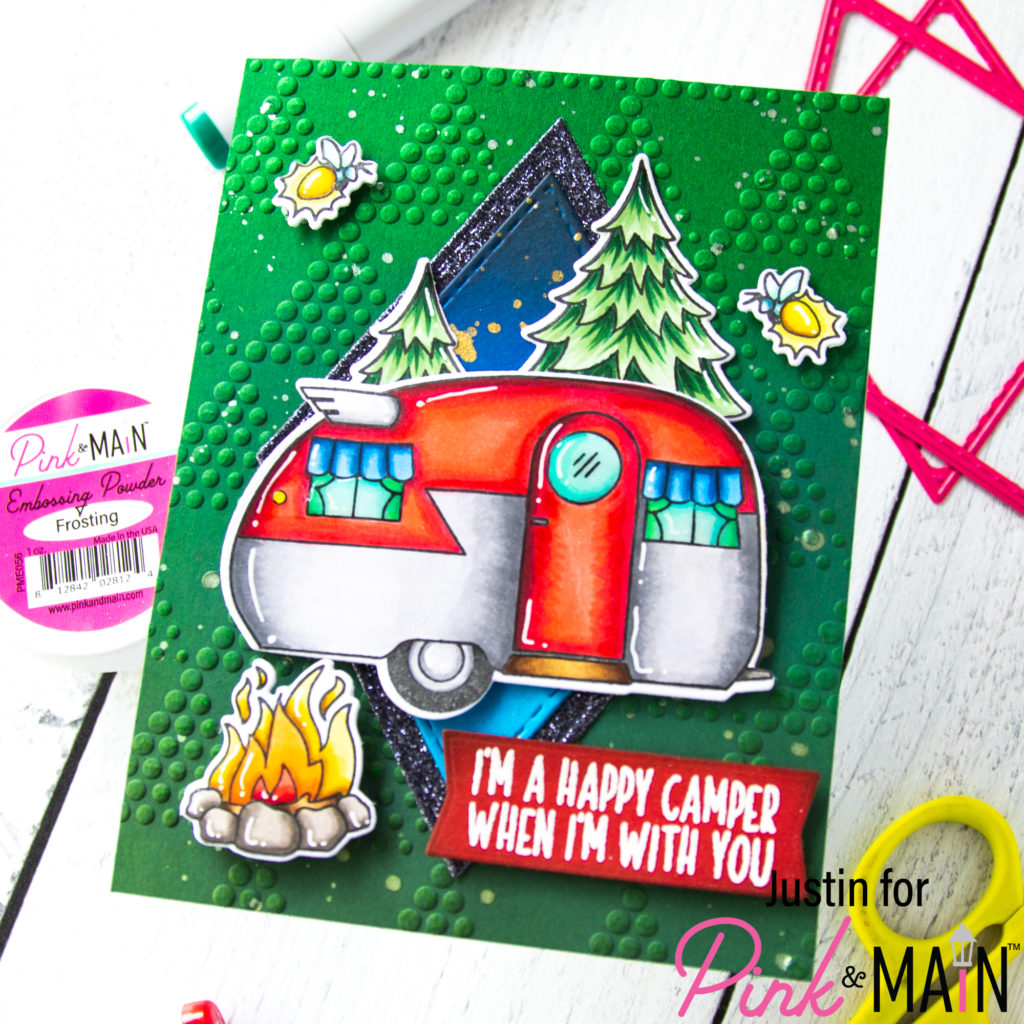
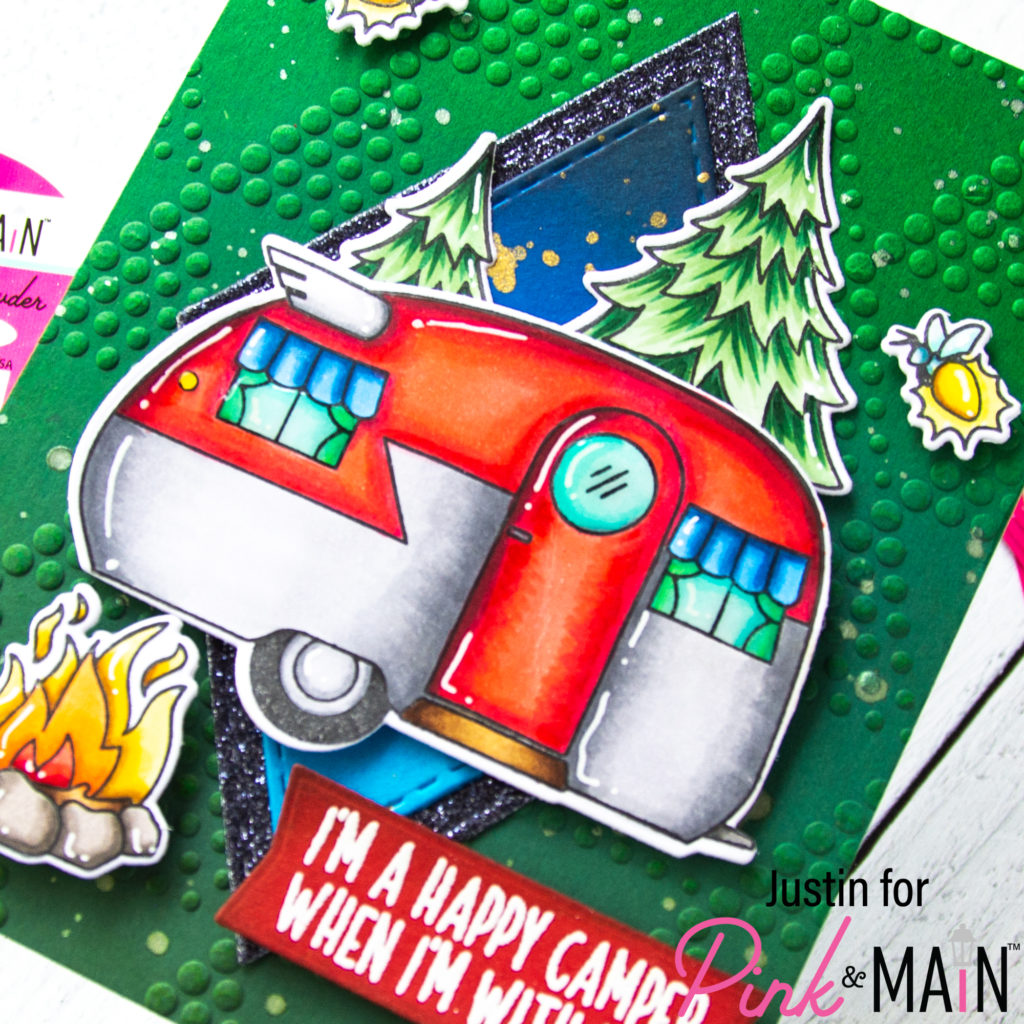
First, as usual, I colored up my images from the Happy Place stamp set with Copic Markers, and then die cut them out using the coordinating die set. I chose to color up the larger camper, 2 trees, 2 fireflies, and the bonfire. Because I was only using the top of the trees, I didn’t color up the stump and rocks at the bottom of the image! I set these images aside for later. I also used the new Touch of Gloss to add a gloss accent to the windows of my camper!
Please make sure that when you use the new Touch of Gloss that you set your image aside in a spot where it will remain undisturbed. I recommend letting your Touch of Gloss dry for at least an hour, but if you can let it dry overnight you will be good to go for sure!
Next, I took a piece of On the Green Cardstock and blended Rustic Wilderness & Forest Moss Distress Oxide Inks. I then misted the panel with water, and embossed it with the Dotted Triangle Embossing Folder. I splattered some green metallic watercolor accents on the panel and set it aside to dry.
Then, I used the 2nd and 3rd largest dies from the Stitched Diamond Die Set and die cut a piece of navy glitter paper from the Fall Glitter Paper pack and the Middle School Cardstock respectively. On the Middle School Cardstock Diamond, I blended it up with Prize Ribbon, Chipped Sapphire and Black Soot Distress Oxide Inks. I then splattered this panel with some gold metallic watercolor.
For my sentiment, I took a scrap from my stash of Stop Sign Cardstock, stamped the sentiment “I’m a Happy Camper When I’m With You” in Watermark Embossing Ink and heat embossed the sentiment with Frosting Embossing Powder. I then used the Extra Large Sentiment Banner Dies to die cut out the sentiment, and distressed the edges of the banner with Vintage Photo Distress Inks:
Note: the Magic Anti-Static Brush is absolutely fantastic to reduce the amount of “straggler” embossing powder bits to get a clean embossed sentiment.
Finally, I began piecing my card together. I adhered my Dotted Triangles background onto an A2-sized card base. Then I adhered my (2) diamond die cuts (Navy Glitter Diamond first, then the Middle School Ink-Blended panel adhered on top) in the center of the card. I used liquid adhesive to adhere my colored up trees. I then used foam tape to adhere the camper, fireflies, fire and sentiment. My card was completed!

I hope this sneak peek has you excited for all of the rest of the goodies that are coming your way with our October Release! This release will be available for you to shop on Friday, October 21st, 2022 on the Pink & Main website!
For more crafty inspiration, please follow me on Instagram and check out my personal blog as well!
Thank you again for stopping by! Happy Crafting!
Justin

Your card is awesome! I love the bright colors and the layout. Cute stamps.