
Hello, hello Pink & Main fans!! Laurie here to share not one but THREE cards I made using a single stamped background! This will be a rather lengthy post as I wanted to share a couple tricks along the way! So grab a coffee or tea and let’s get started!
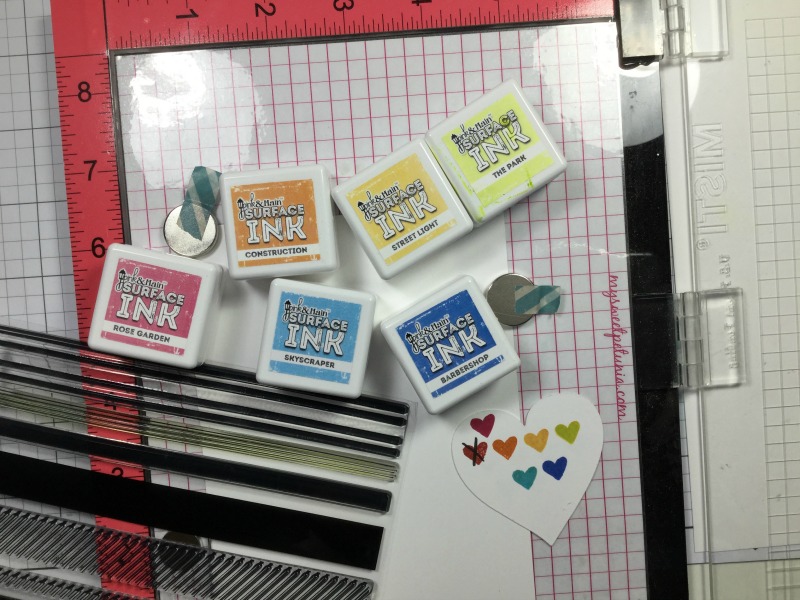
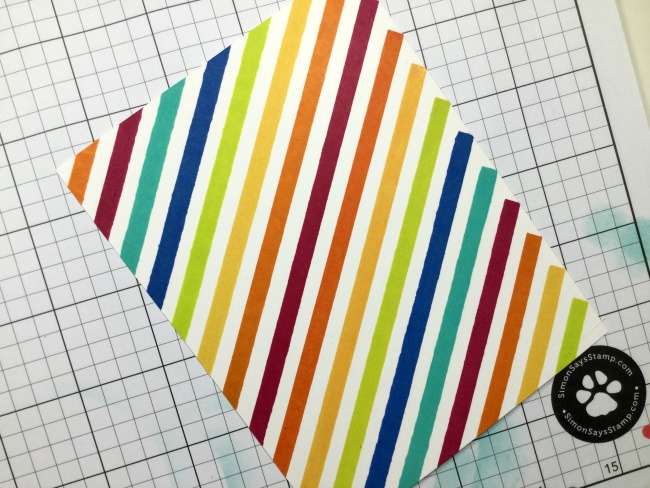
I used the awesome new Pattern Maker stamp set and a bunch of the Pink&Main Surface Inks to create a simple striped, rainbow-ish background panel. The colours I chose were: Rose Garden, Construction, Street Light, The Park, Barbershop and Skyscraper.
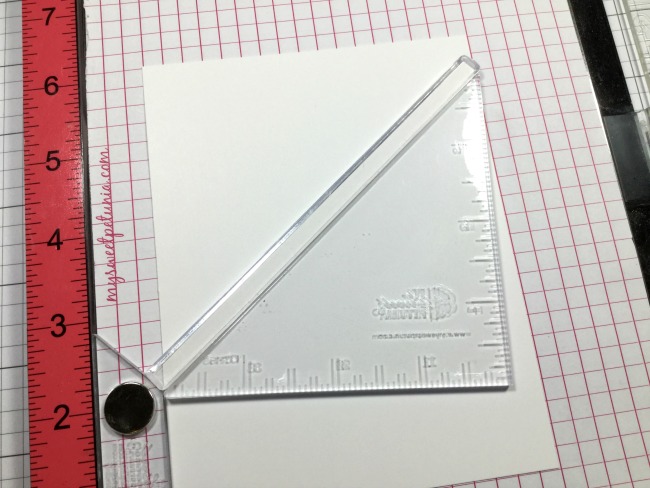
The can be done with an acrylic block but I really prefer to use my Misti as it’s a lot more precise. I started by lining up one of the stripe stamps with the aid of one of the Creative Corners (Misti accessory). But this can easily be done using a ruler!
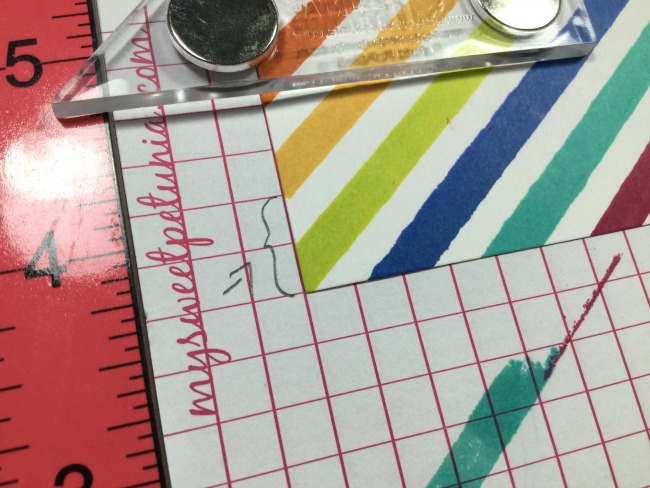
Once the stamp was in place, the stamping goes very quickly as you always move the paper up or down and not the stamp. This particular stamp is 1/4″ so to get equal spacing between the lines, I simply moved the paper 2 squares on the grid paper..
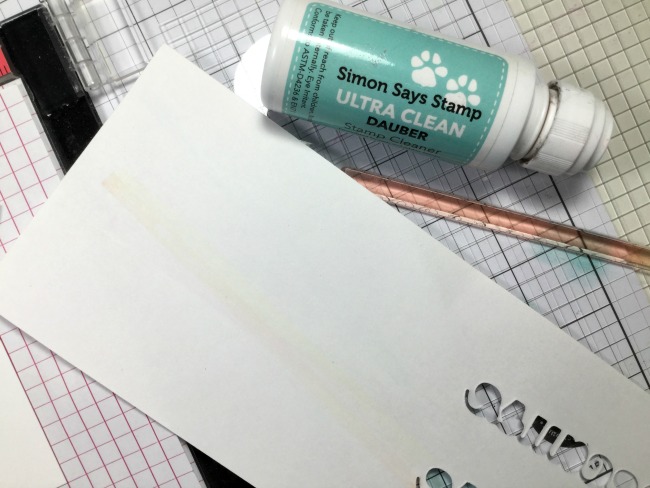
Another important thing to note is that after each colour, you want to clean the stamp very well to prevent mixing of colours. I use the Simon Says Stamp Cleaner along with a damp cloth, then take a piece of scrap paper and press it over the stamp. I find this helps remove any residual ink.
I was so happy with the way this turned out! These inks are so vibrant and stamp beautifully!!
My initial plan was to make only one card but I wanted to see how far this one panel could go and boy, it went far!! I used the Cloudy Frames Dies for the first cut.
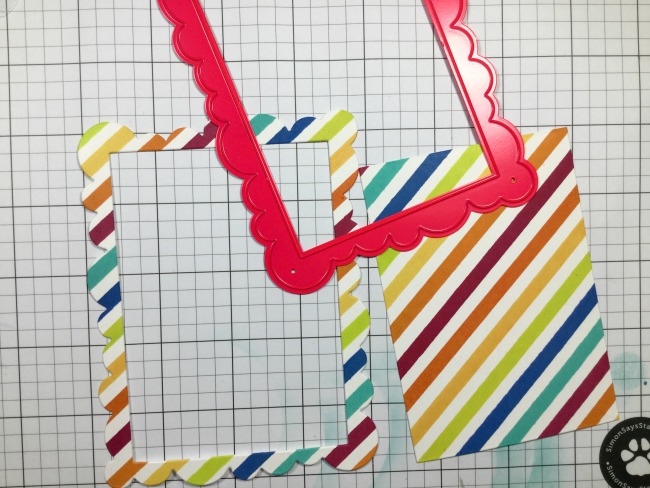
We easily can make two cards. But wait!! I decided to take the Sunshine Word Die and used the outline die to cut the centre of the inner portion of the panel. Then cut the script die to cut the inside out of the border. This sounds confusing, doesn’t it? I hope this photo explains…
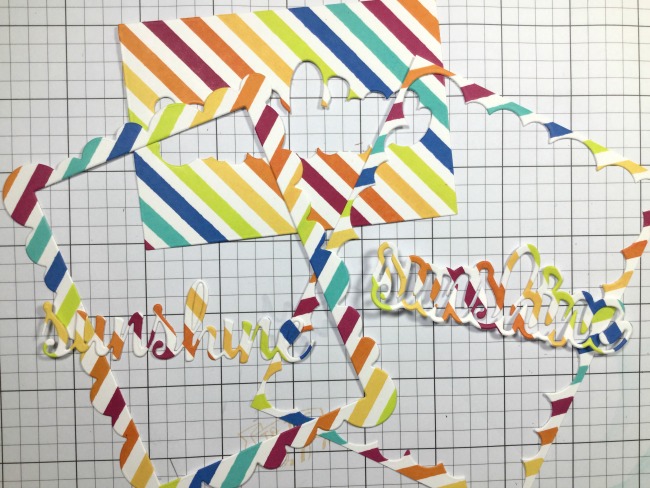
So now I have the actual “sunshine” word plus a cool rainbow outline! Plus, I also decided to use the piece of cardstock that was left over from when I cut out the original Cloudy Frame!! Because I was on a die-cutting roll, I dug through my scraps and found different shades to cut out the script sunshine a few more times.
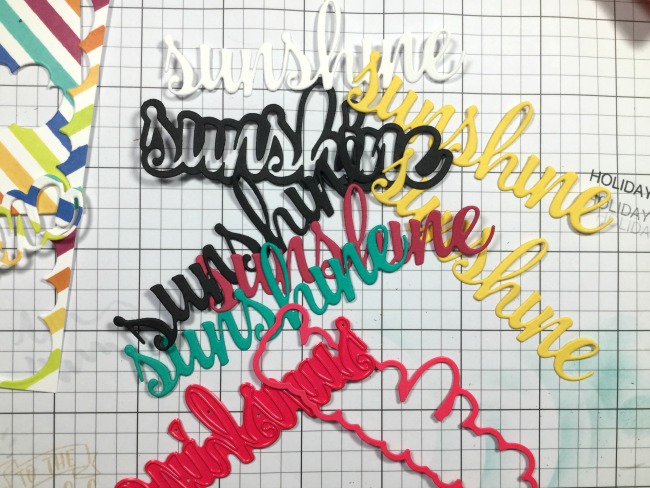
I did a “dry run” on how I was going to make all these pieces into cards but before I put them together, I stamped/embossed a few of the sentiments from the My Sunshine stamp set onto strips of either black or white cardstock.
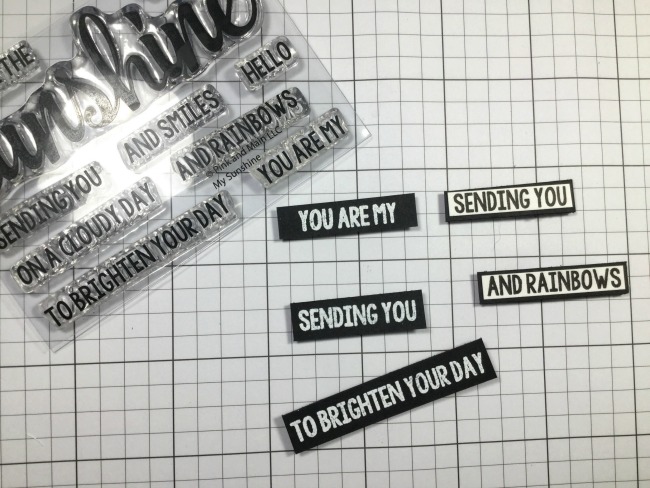
A few technical difficulties occurred here. First, a couple days ago my heat tool decided to stop working. I have the Ranger Heat Tool, which is good for some things, but not heat embossing. And second, I could not get a straight cut from my paper trimmer. As you can probably see from the wonkiness of my sentiment strips!
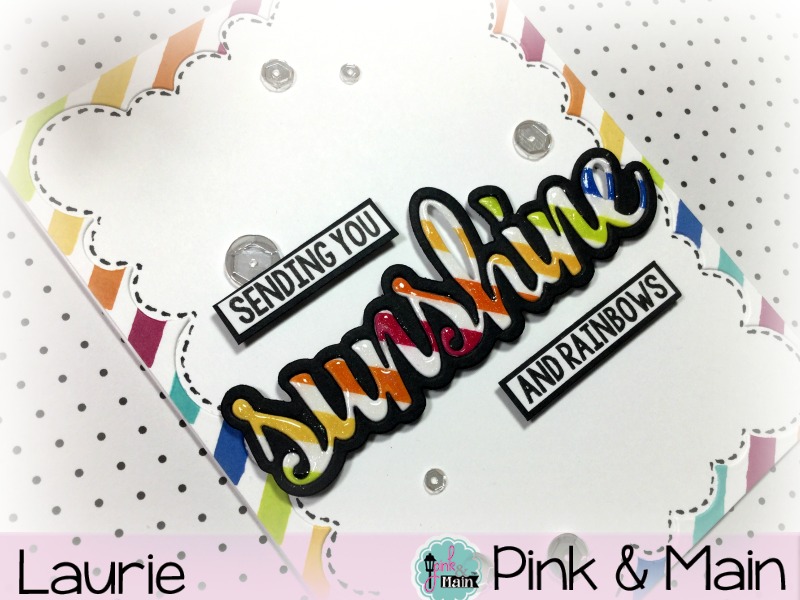
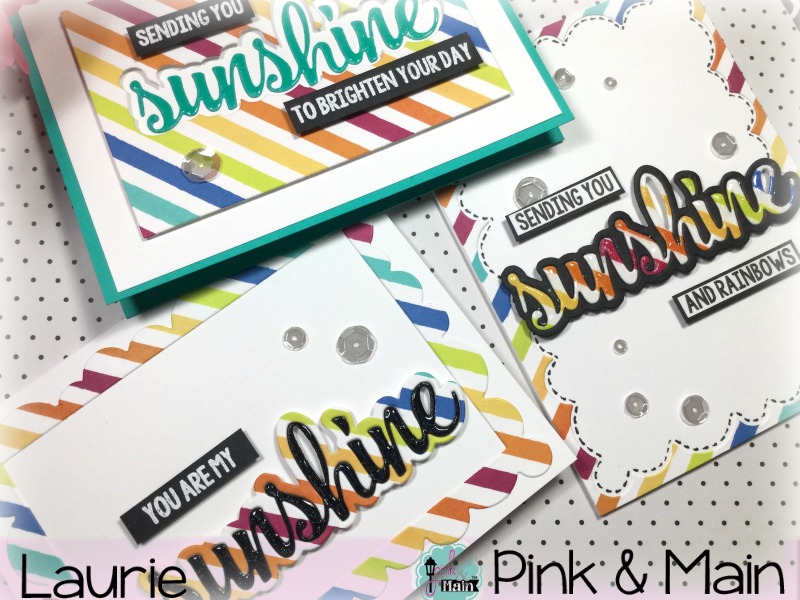
Now finally let’s have a look at the final projects!! Card one is made from the left over piece from my initial die cut with the Cloudy Frame Die. I added quite a bit of black to offset the white space!
This next card uses the largest of the rainbow pieces. The inner portion that the Cloudy Frame Die cuts. This also had the Sunshine outline cut from the centre, allowing for a different colour of cardstock to be placed inside.
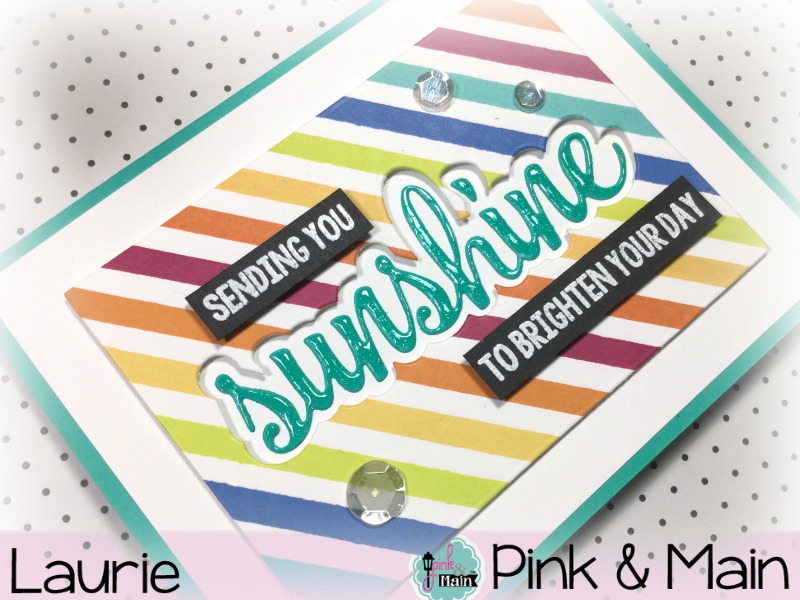
And finally, the third card, which may be my favourite. This uses the actual Cloudy Frame Die itself as well as a rainbow Sunshine outline.
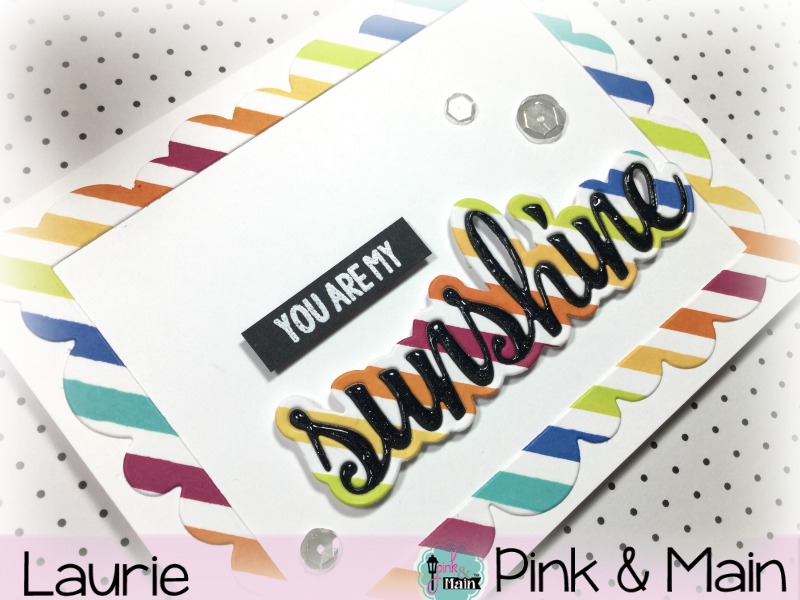
I just had to add sparkle and Glossy Accents to all the die cuts and add a few clear sequins for embellishments!
Thank you so much for sticking with me through this long post! I had so much fun creating these cards and I hope you found a little inspiration today!!
Until next time…
Laurie
Pretty cards!!
Have a great day!
Marilyn❤