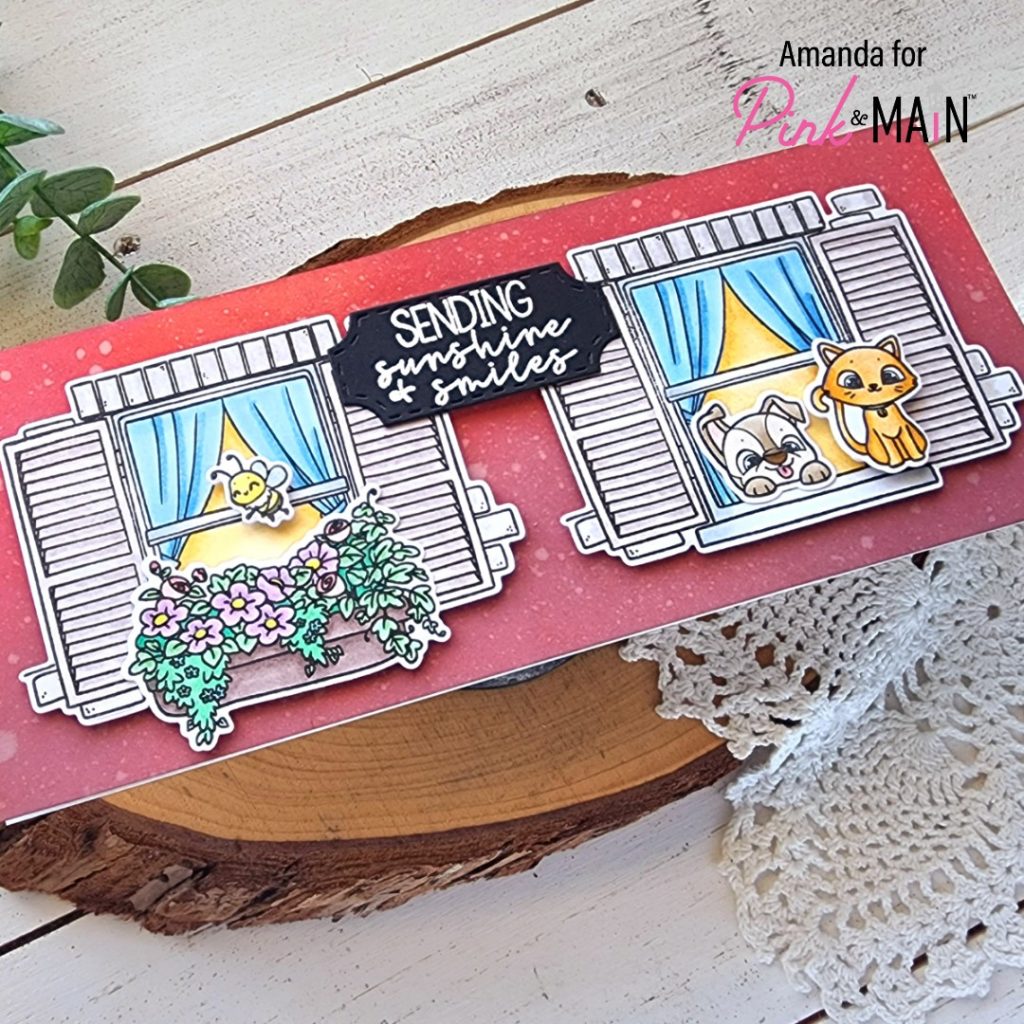
Welcome everyone! This is Amanda from Twiddler’s Nook sharing this slimline card featuring the newly released Window View stamp set. When I pulled this set out to play with, I immediately wondered if I could fit multiple windows on a slimline card. I absolutely LOVE the fact that I can easily fit two like the front of a house. It’s so fun!

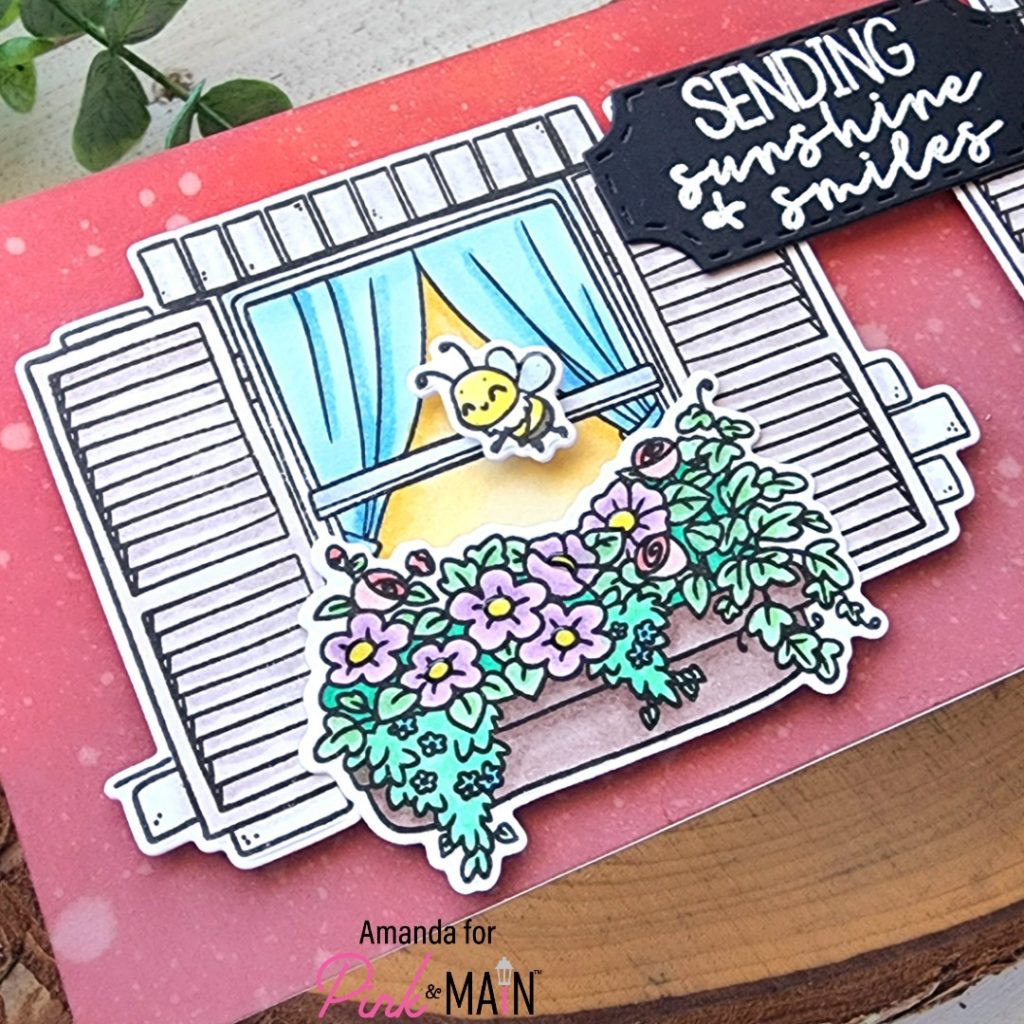
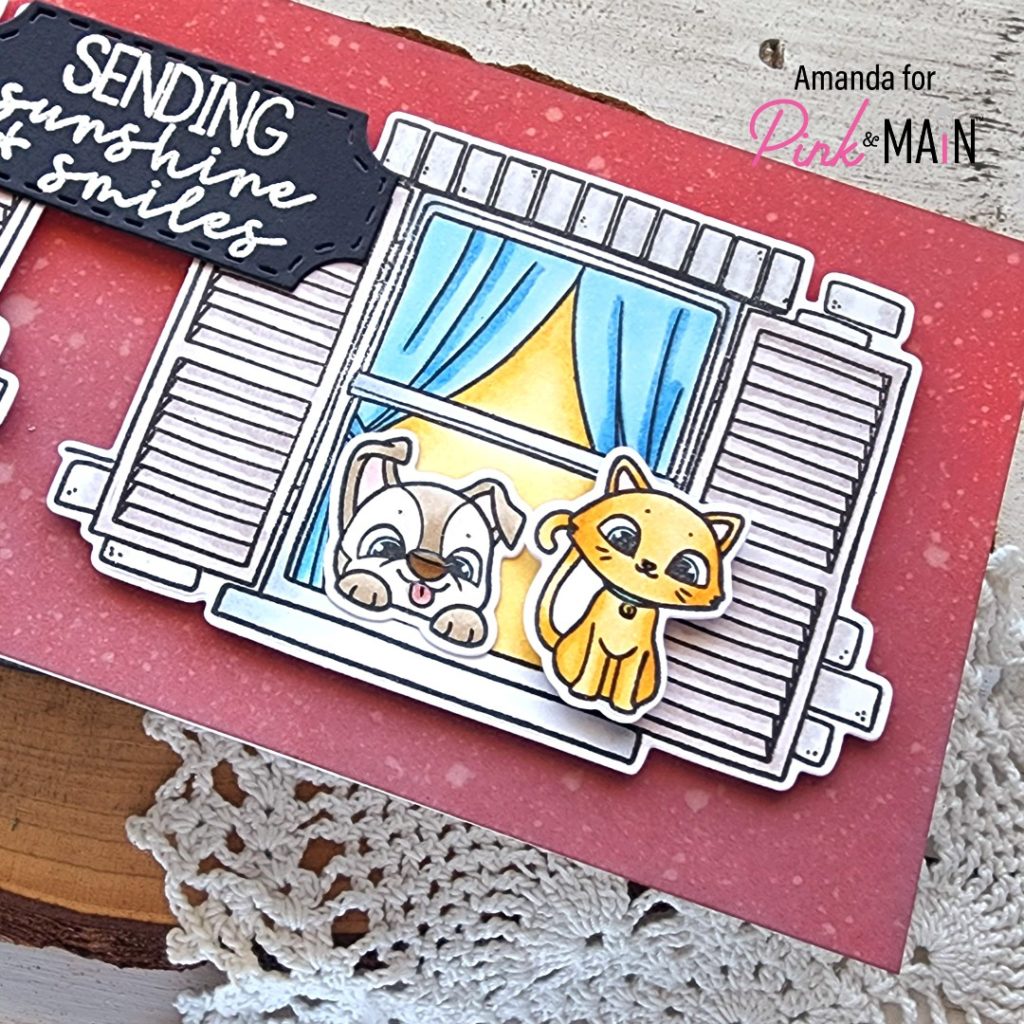
Once, I realized that, I chose the “decorations” for each window and stamped all my images. I colored them with copic markers and used the coordinating dies to cut everything out. I adhered the flower box and puppy with liquid glue and popped the kitty and bee up with foam squares.

Next, I inked blended a slimline panel with aged mahogany and fired brick distress oxide inks. I spritzed the panel with water and blotted it dry before adhering it to a slimline card base measuring 8.5×3.5 inches. I wanted a more substantial sentiment than the one in the Window View set so I went digging and found this cute one in the Spring Sayings stamp set. I stamped and heat embossed it with Icicle embossing powder and cut it out using the smallest Notched Corners die.

I added the windows with foam tape and then layered the sentiment in the upper center with a foam squares and liquid glue where it overlaps the windows. Then I moved on to finishing touches, adding glossy accents to various parts of the images like flower centers and bee wings.

For the critter window, I just added glossy accents to their noses and the kitty’s tag. Aren’t they literally the cutest thing ever?!? I just love their faces!
Products used today:
Window View stamps and dies
Spring Sayings stamps
Notched Corners dies
EZ Squeeze liquid glue
Embossing Ink
Embossing powder – icicle
Anti-static powder tool
Foam tape
I appreciate you sharing your time with me. Have a fabulous day!
