Hello, Pink & Main friends and fans!
I’m back with MORE cards and coloring to share!!!
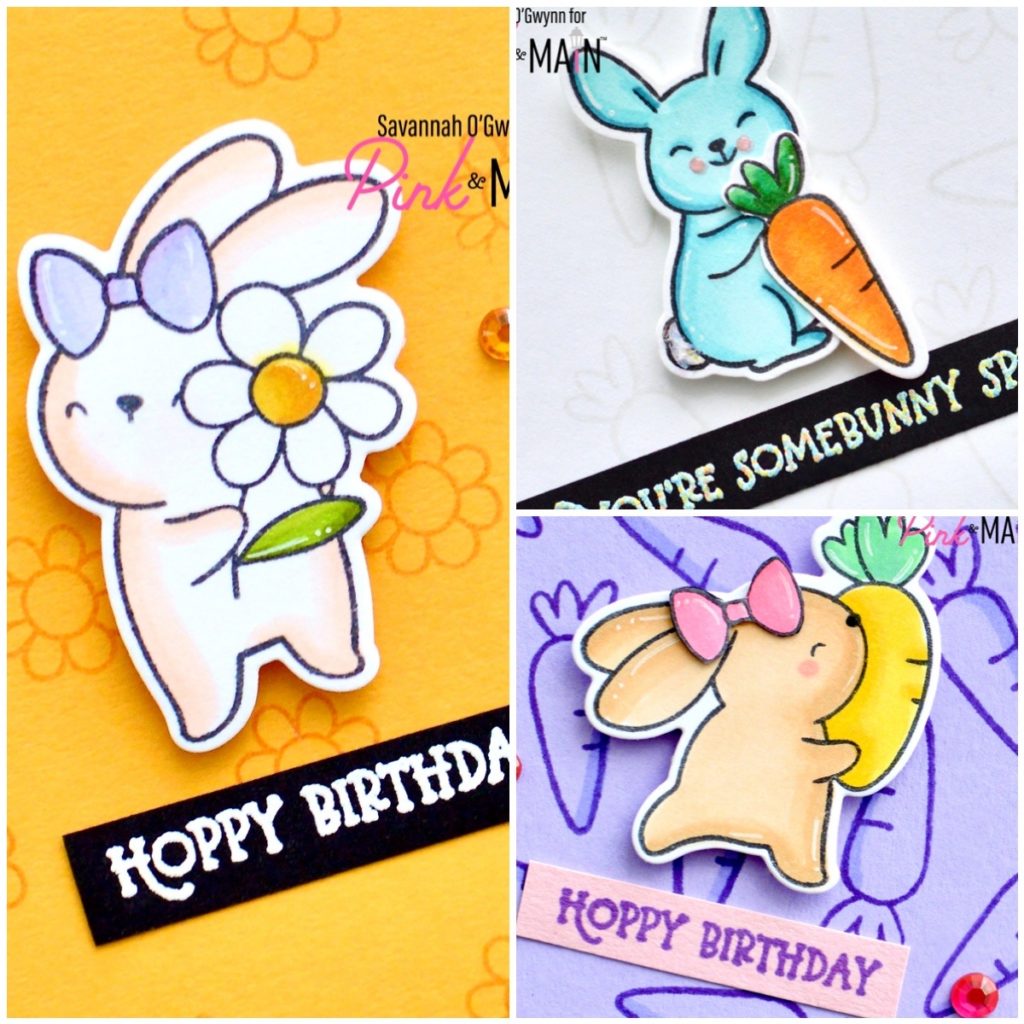
Today’s cards feature the cutest little bunnies from the P&M Hoppy Spring set. I stamped several of the images from this set and colored them, not really knowing how I would use them but coloring just for fun and to learn. As I was practicing coloring, I kept looking at the smaller stamps in this set, and it hit me– I wanted to use those smaller images to create a background design for my new colored images. PERFECT!!!
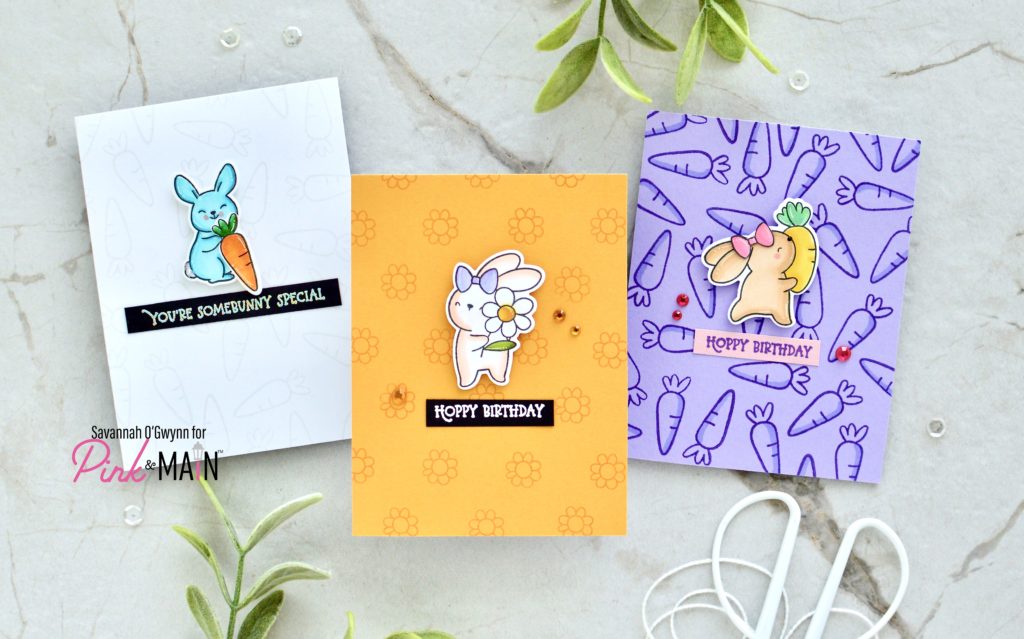
Creating a background design is really easy as you just stamp smaller images onto the paper… the tricky part is trying to figure out if you want a pattern, random design, lighter ink, coordinating ink, one image or mix and match. LOL! As you can see, I couldn’t figure out which I wanted so I made multiple card backgrounds 🙃
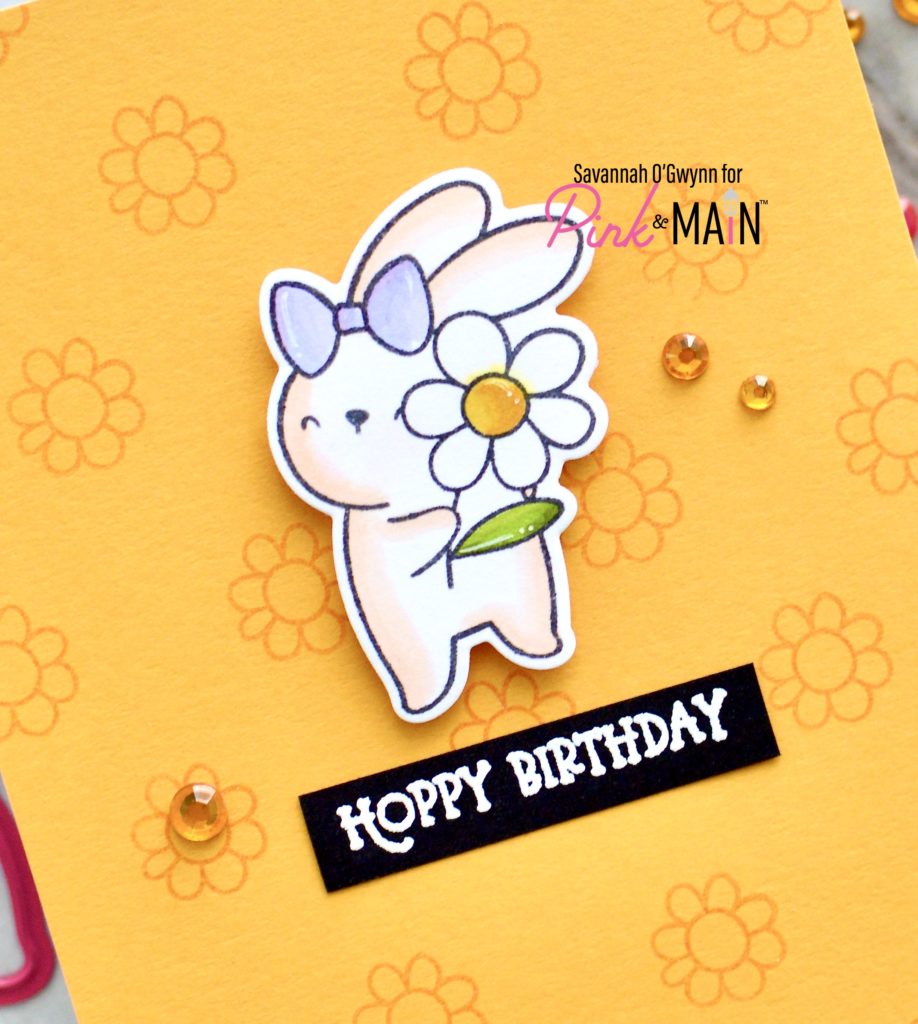
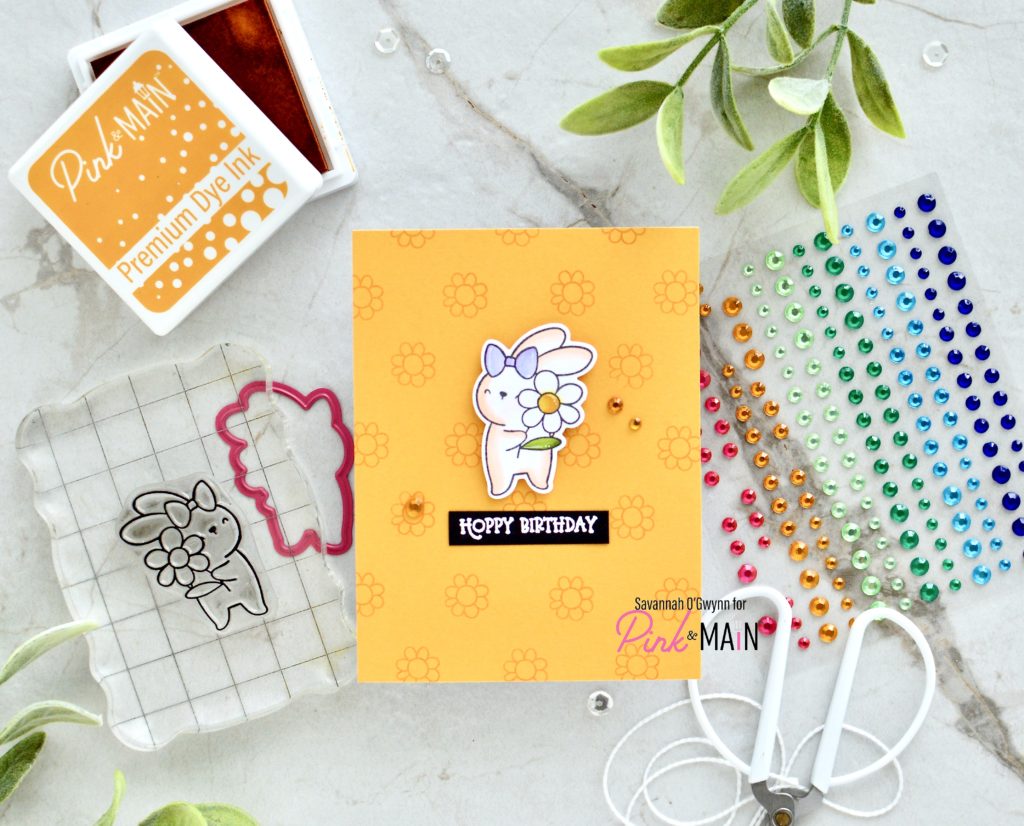
SLTC #15: For my first card, I started stamping a pattern with the flower image. The softer image was a happy mistake for this card— I used the P&M School Bus paper and Construction ink and couldn’t be happier!! I love how this card turned out… minus the coloring mistake. YES!!! Another coloring mistake! This time it was bleeding on the flower. I guess I got carried away with the color yellow. LOL! I know there’s a way to clean that up with the “colorless blender” pen… but it looked worse and I didn’t want to start over. So I left it because you can only see it when you ZOOM in really. I’m embracing this coloring mistake 😊
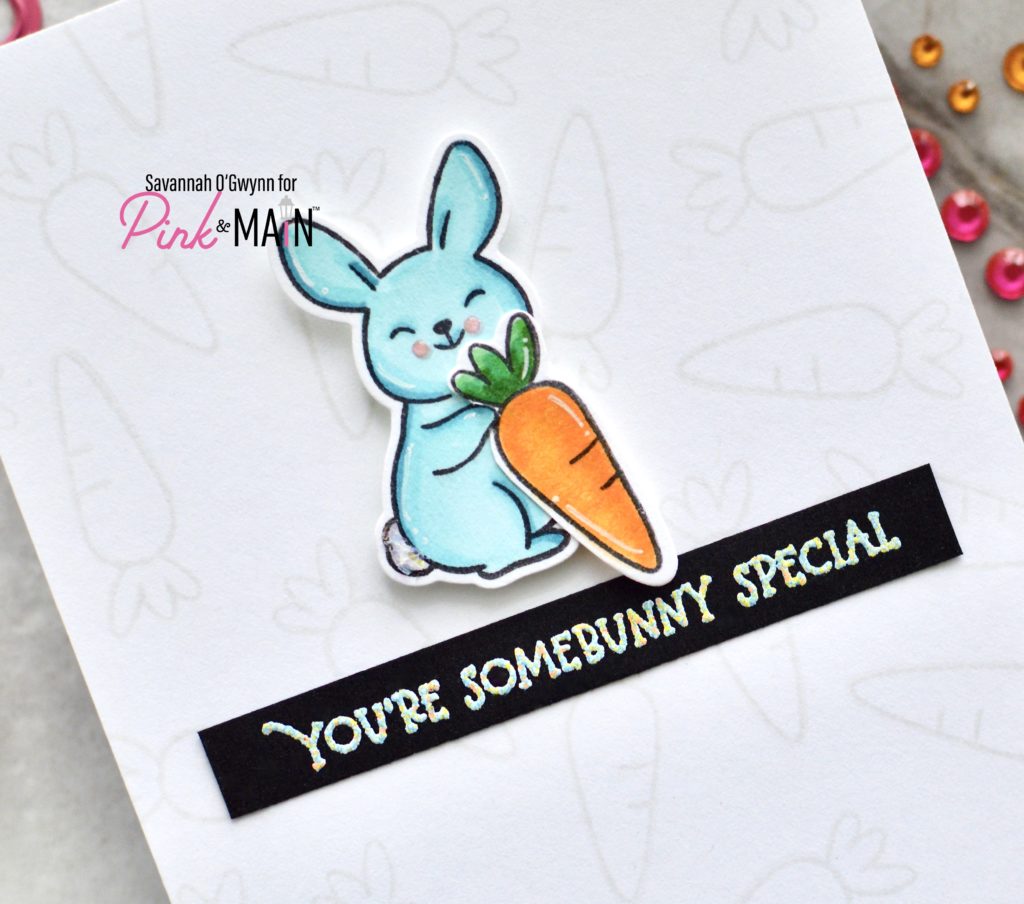
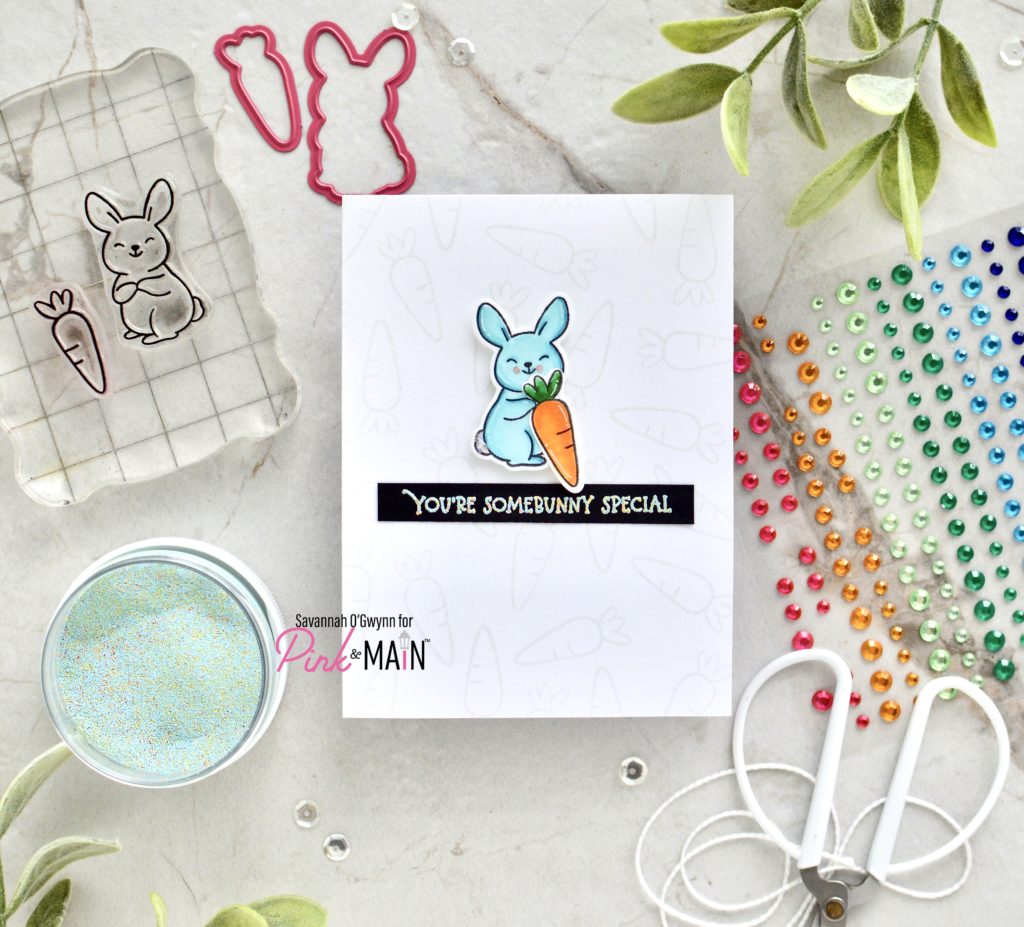
SLTC #16: For the second card I continued with a soft image but in a random design. I wanted the little bunny to hold something so I used that same background image as the main image— I LOVE IT! The sentiment was stamped using the NEW Spring Meadow embossing powder— I LOVE LOVE LOVE it! This card is literally tooooo cute- a blue bunny with a sparkly tail, and that embossed sentiment— TOOOOO CUTE!!!
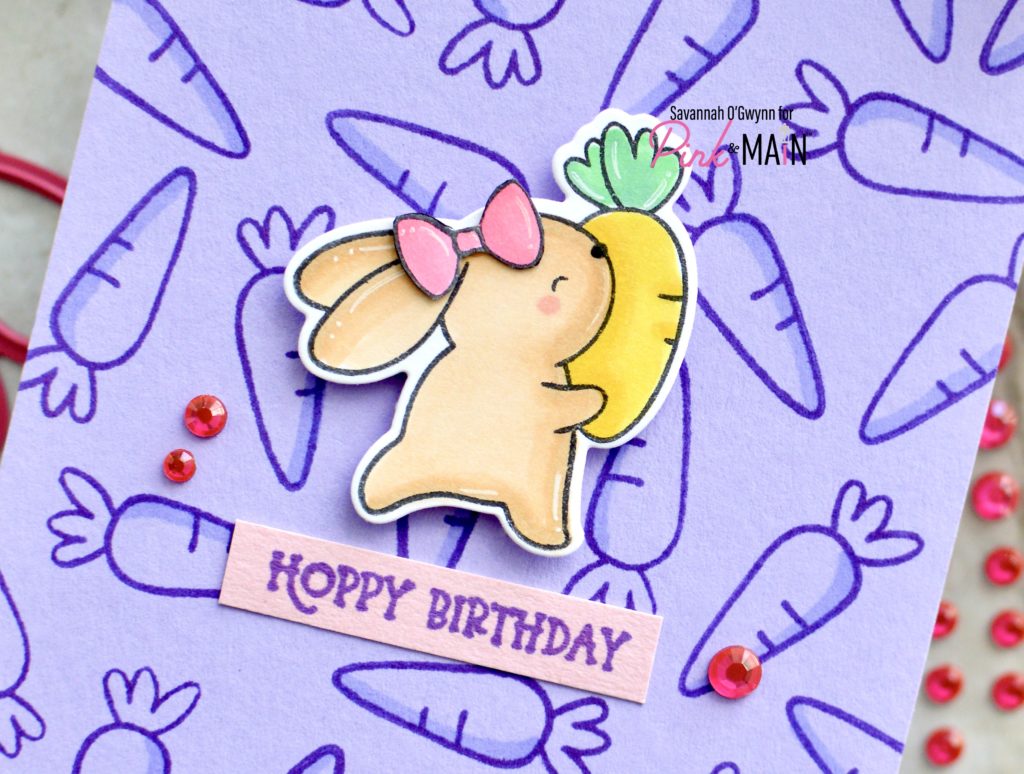
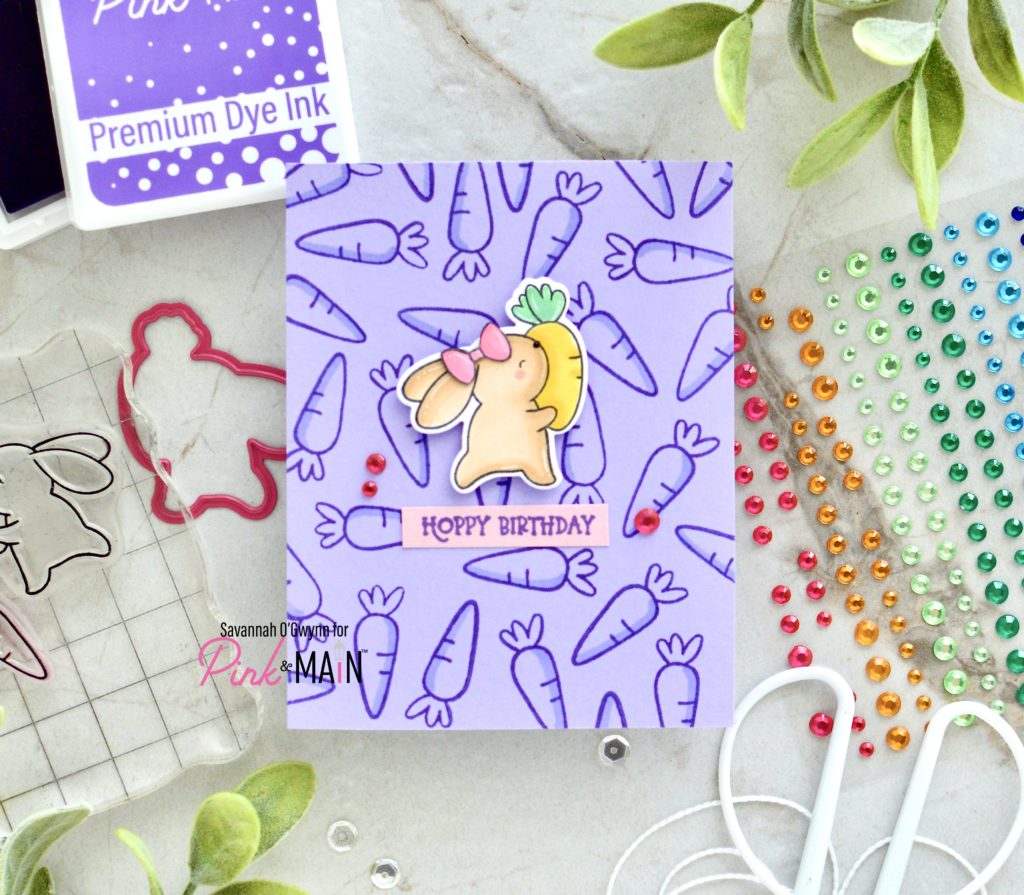
SLTC #17: My last background was also a mistake– too bold for me😂 But as you know, I don’t throw things away or scrap them unless I realllllly have to. So I sat and thought about how to tone down the image. I think adding that “shadow” to the carrot was the perfect solution!! I wasn’t so sure about his card at first, but as I continued to work around mistakes, I am absolutely in love with it!
Overall: I continue to try to color and enjoy the process. I’m embracing mistakes (best I know how) and trying new techniques like creating my own backgrounds (#SAVfact: I prefer patterned papers!). I will admit that embracing that coloring bleed was hard… but good news— overall, I’m learning to love to coloring (so that means MORE coloring designs will be shared by me!! LOL!)!
I hope my cards inspire you!! I hope that you will try making your own backgrounds for your next project:)
I’ve got MORE to share, so be sure to come back soon! Please remember to share what you create using these techniques, if you are learning to color with me, or if you use this P&M stamp/die set so I can leave you some love ❤️
THANKS so much for stopping by! Happy crafting!!!
Hugs ❤️ Savannah
Pink & Main SUPPLIES
- Hoppy Spring stamp and die set
- Asphalt, Construction, Night Sky, Embossing ink
- Ice Rink, Evening Clouds, School Bus papers
- Spring Meadow embossing powder
- Happy Hello sticky gems
- Cracked Glass chunky glitter

Pingback: Savannah Learns To Color #20- An Easter & CAS Card – Pink and Main Blog