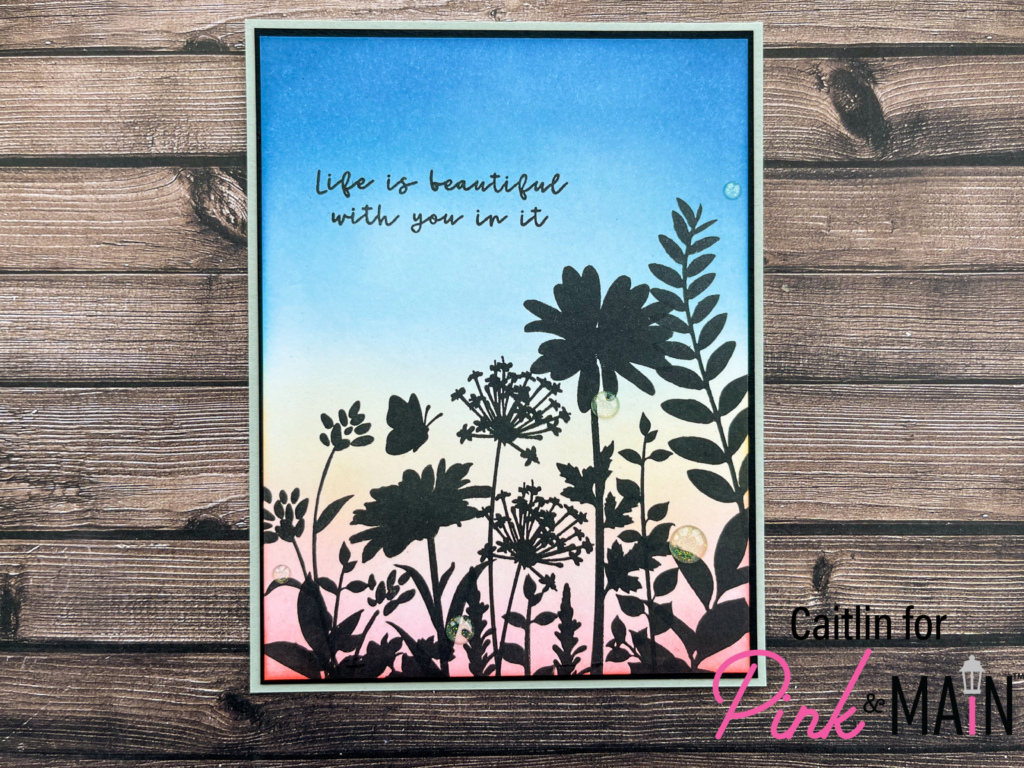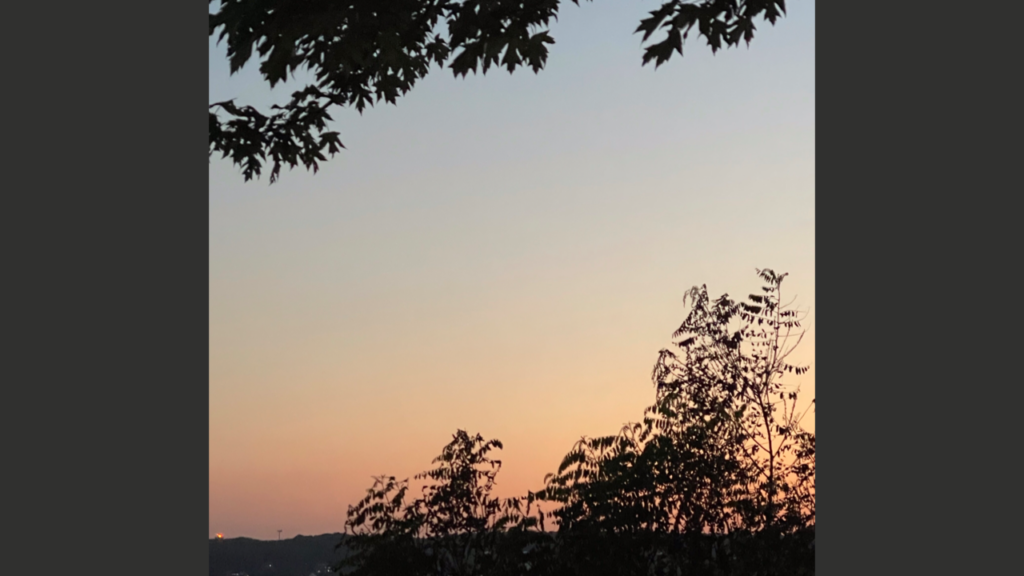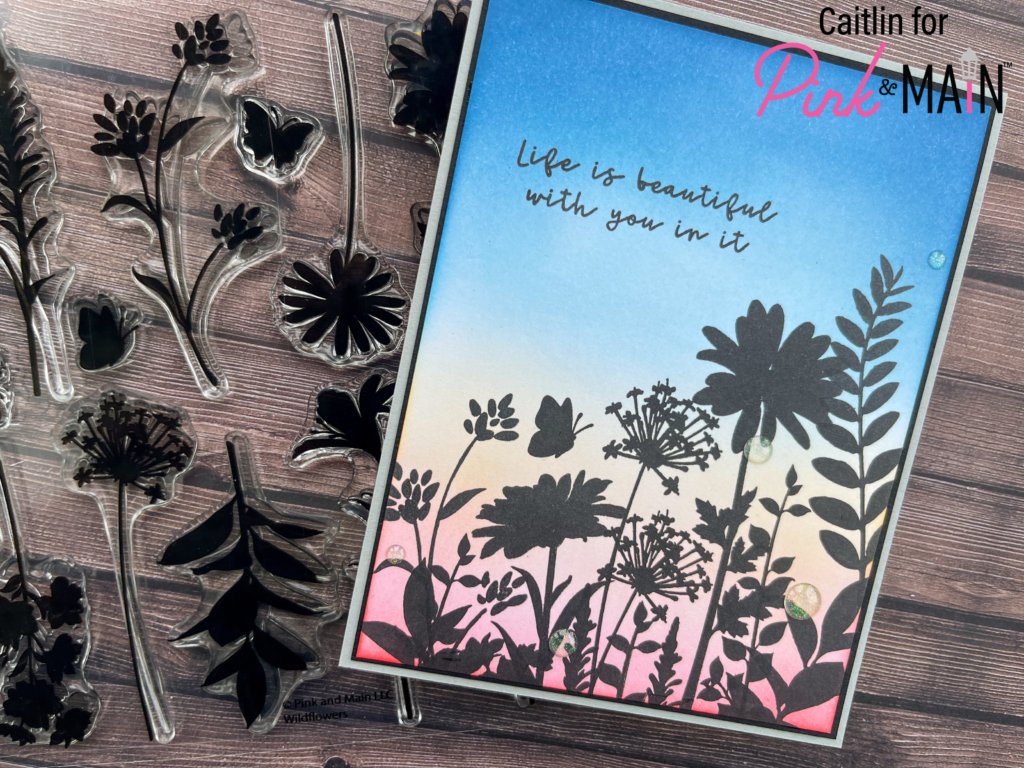
I am so excited that we are celebrating a new release day! Hi Friends! This is Caitlin from Caitlinannaleecards and I am sharing and of the many gorgeous stamp sets that released today! I went to see fireworks with my family the day I received this release and while we were waiting, we saw the most beautiful sunset and I took a picture that had plants at the bottom. It clicked immediately that I need to use the new Wildflowers Stamp Set to recreate that scene. This is what my inspiration picture looked like:

I started out by ink blending using my Mini Ergonomic Blending Brushes and some Distress Oxide Inks ( Abandoned Coral, Saltwater Taffy, Scattered Straw, Tumbled Glass and Faded Jeans). I really wanted a soft blend and to be able to but two colors up against each other without them mixing (no green skies here) so these brushes were the perfect way to achieve it. They give you so much control of your color saturation and placement, I absolutely love them! I had trimmed down my panel to be 5.25 in x 4 in before I started blending because I knew I wanted to keep the little bit of color that builds up on the edges for my finished product. Once I had the blend that I wanted I set up my panel in my stamping platform and pulled out the Wildflowers stamps.

I started out my stamping in the bottom left corner and worked my way over towards the right going up higher just focusing on creating the top diagonal line. I stamped each image twice with black in to make sure that the images came out clear since it was my fist time using them and I wanted them to be super solid. Once I had the upper images in place, I went back in with some of the thinner leafy stamps and filled in the lower area to create a more full appearance. The variety of florals and plants in this stamp set are just beautiful and I can’t wait to use them again. I added in the little butterfly to finish off the stamping and I borrowed a sentiment from the new Floral Wings Stamp Set. Originally I was planning on only using an A2 sized panel of the new grey card stock but when I tested out what the panels looked it, I didn’t love it. I decided to glue the stamped panel to a sheet of black card stock in the corner so that there was a very thin frame on the bottom and left side and then I trimmed the black panel on the other two sides to have the same thin boarder. Then I took that whole thing and glued it to the grey A2 sized card stock and then to a card base. I think that think black mat really helps to ground all of the black solid stamping and the get helps to keep the whole thing lighter and more summery.

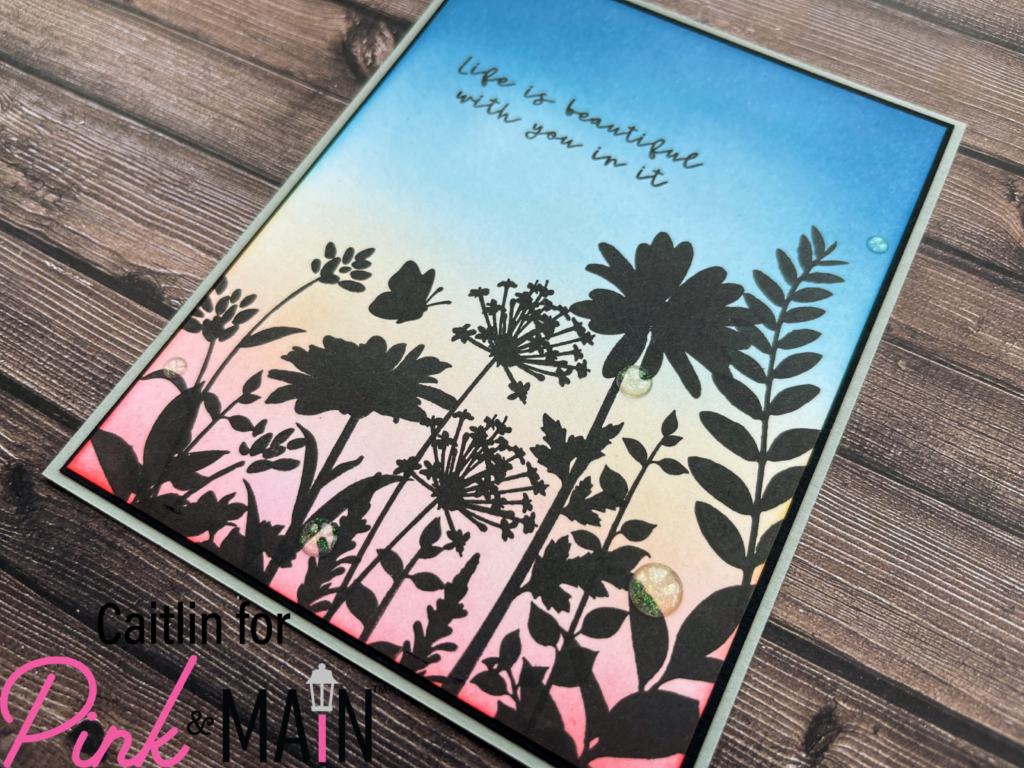
The final step was to add some sparkle and I didn’t want to take away from the design to I grabbed my Clear Glitter Enamel Dots and scattered them through the stamped images. This whole card just makes me feel how happy I was to be spending time with my family and I am so in love with how it turned out. Make sure you check out the new release today because I just know you are going to love it!
