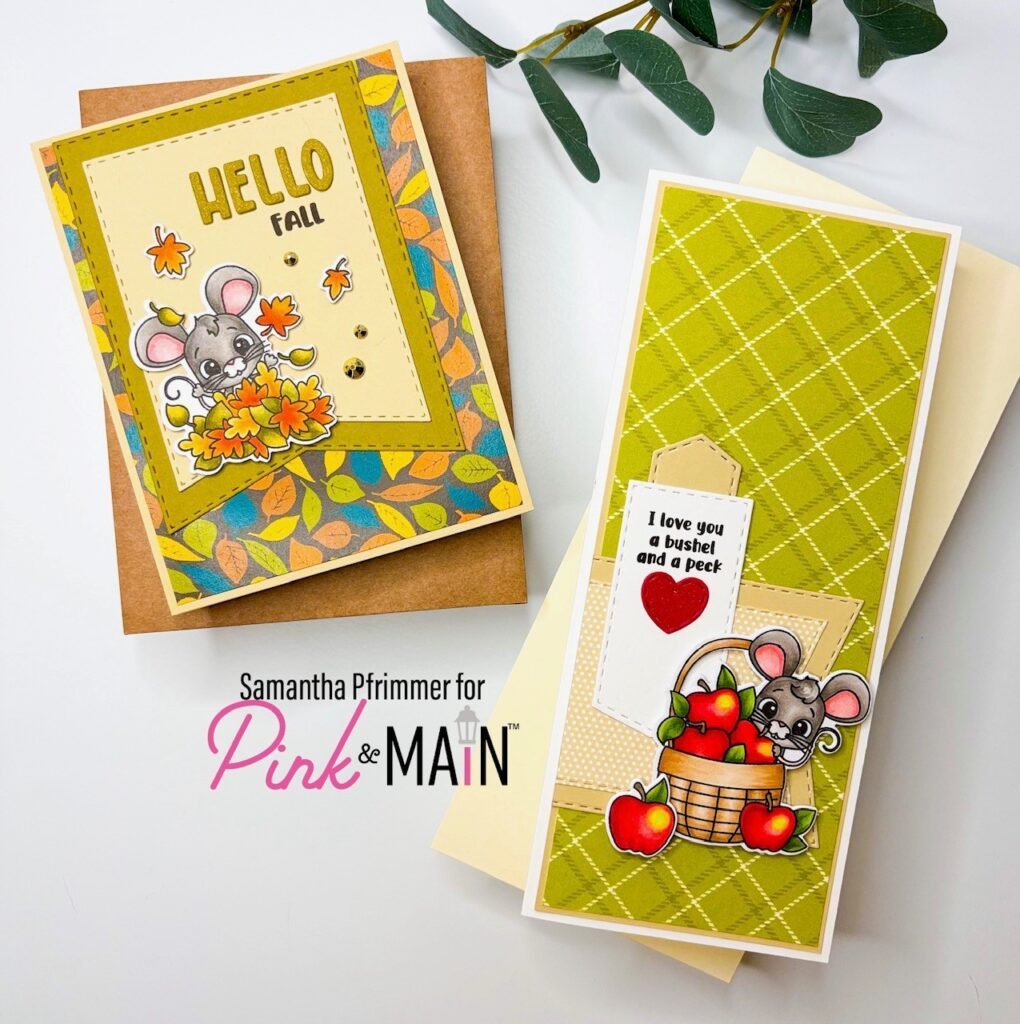
Hi everyone! Samantha here on the Pink and Main Blog today sharing two cute cards made using the new Pumpkin Kisses Stamp Set. I am so in love with these adorable mice I had to make two cards to show off their cuteness!

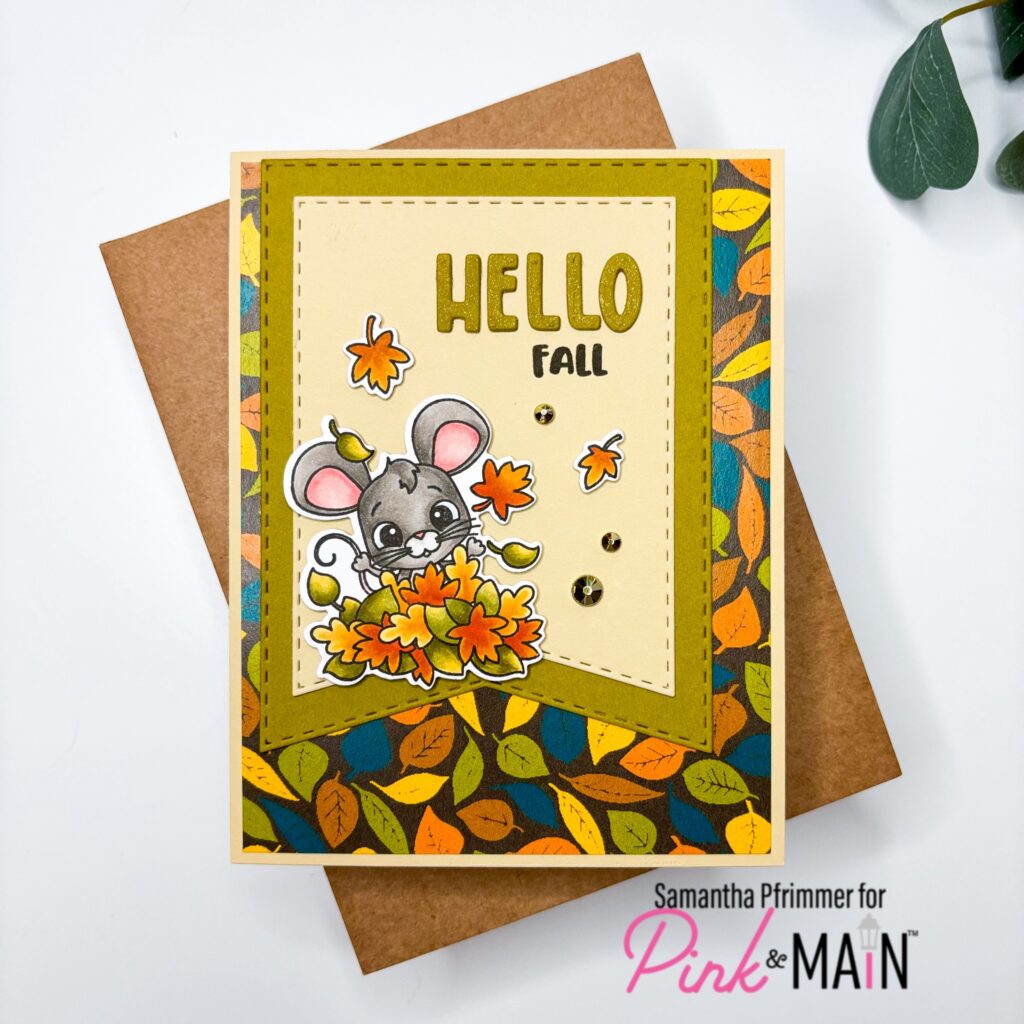
CARD 1
For my first card I chose to make an A2 card featuring the mouse playing in the Autumn leaves before moving onto the apples image. To start, I stamped all of my images onto Copic X-Press It paper in Espresso ink and colored the images with Copic markers. Next, I used the corresponding Pumpkin Kisses Dies to cut out the images before setting them aside to work on my layout.

I grabbed the new Hello Fall Paper Pack and selected a paper that matched up with my leaf scene. I cut the paper 4″ x 5.25″ and adhered it to an A2 sized folding card base in a sand-colored cardstock. Next, I used the new Thick Flag Banner Dies and cut two banners, one each in an olive green and a smaller banner in the same sand color as my card base and I adhered them as shown above. For my sentiment, I took the “Hello” letters from the Layered Scallops Square Dies and die cut the “Hello” from the olive green card stock and then I stamped the word “Fall” using a partially masked sentiment from the Hap-Bee Fall Stamp Set. To finish everything off, I adhered my mouse and fall leaves with foam tape as shown and added a few of the new Gold Sticky Gems.

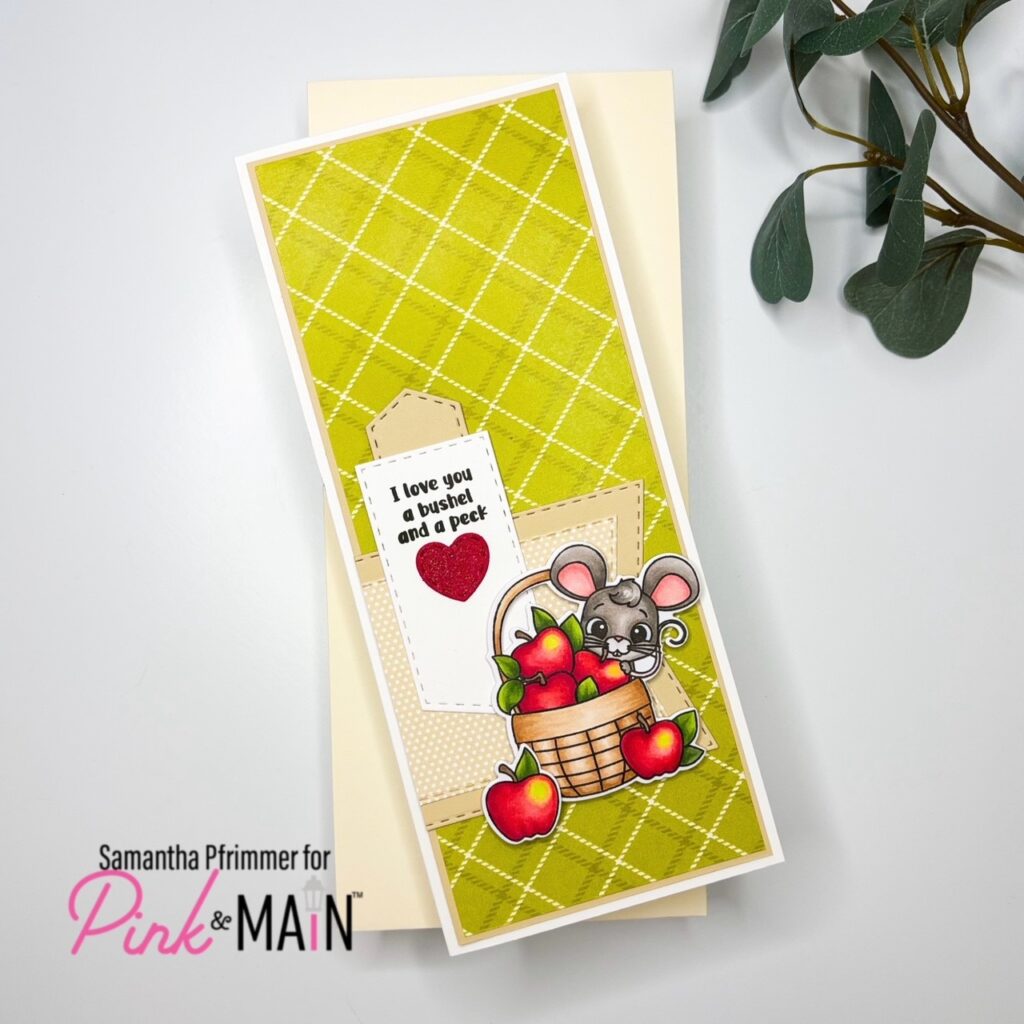
For my second card, I chose a slimline because I just love the unique look of this size. Using my paper trimmer I cut a slimline card base out of white cardstock that when folded measures 8.5″ x 3.5.” Next, I cut a sand-colored panel to be used as a mat measuring 8.25″ x 3.25″ before cutting a panel of Hello Fall pattern paper 8 1/8″ x 3 1/8th and adhering it to the sand colored mat.
I again grabbed my Thick Flag Banner Dies and cut two banners, one from my sand-colored cardstock and a second using a polka dot pattern paper from the World to Me 6×6 Paper Pad. I glued both Flag Banners horizontally onto my matted card panel as shown above before trimming off the excess with my scissors and adhering the panel to my card base. I decided to add a few more banner details as shown using the new Card Cut Essentials Set 2 Dies and a cute heart using the Card Cut Essentials Set 1 Dies. To finish things off I added on my adorable mouse image along with an additional apple image I stamped and colored from the new August Mug Stamp Set. and my card is complete.
Thank you so much for reading!

This is too cute. Woild like to have this set.