
Hi friends! This is Caitlin from Caitlin Annalee Cards and I am sharing another sweet fall card with you today. I know that a lot of people are getting into Christmas mode but my heart belongs to fall and so I wanted to finish out October properly. My favorite thing about the new Happy Place Stamp Set is that it is perfect for year round card making. I love all the little touches that can make it Christmas themed but also that you can change it up just by how you color it.
To start out my card I decided I needed to pick a fall color scheme first so I grabbed a few pattern paper packs to flip through. I decided on the Pumpkin Season diagonal stripes and chose all of my other colors from there. I trimmed down that pattern paper to be a standard US A2 sized card front (4.25 in x 5.5 in) and set it aside. To create a more neutral background for my images to sit on, I dry embossed a panel of Pebble Card Stock with the Leaves 6×6 Embossing Folder and trimmed that down to be (3.75 in x 5 in). I really love having a single color, textured base for my center panel. I think it adds so much detail and interest to the card without distracting from the main images.
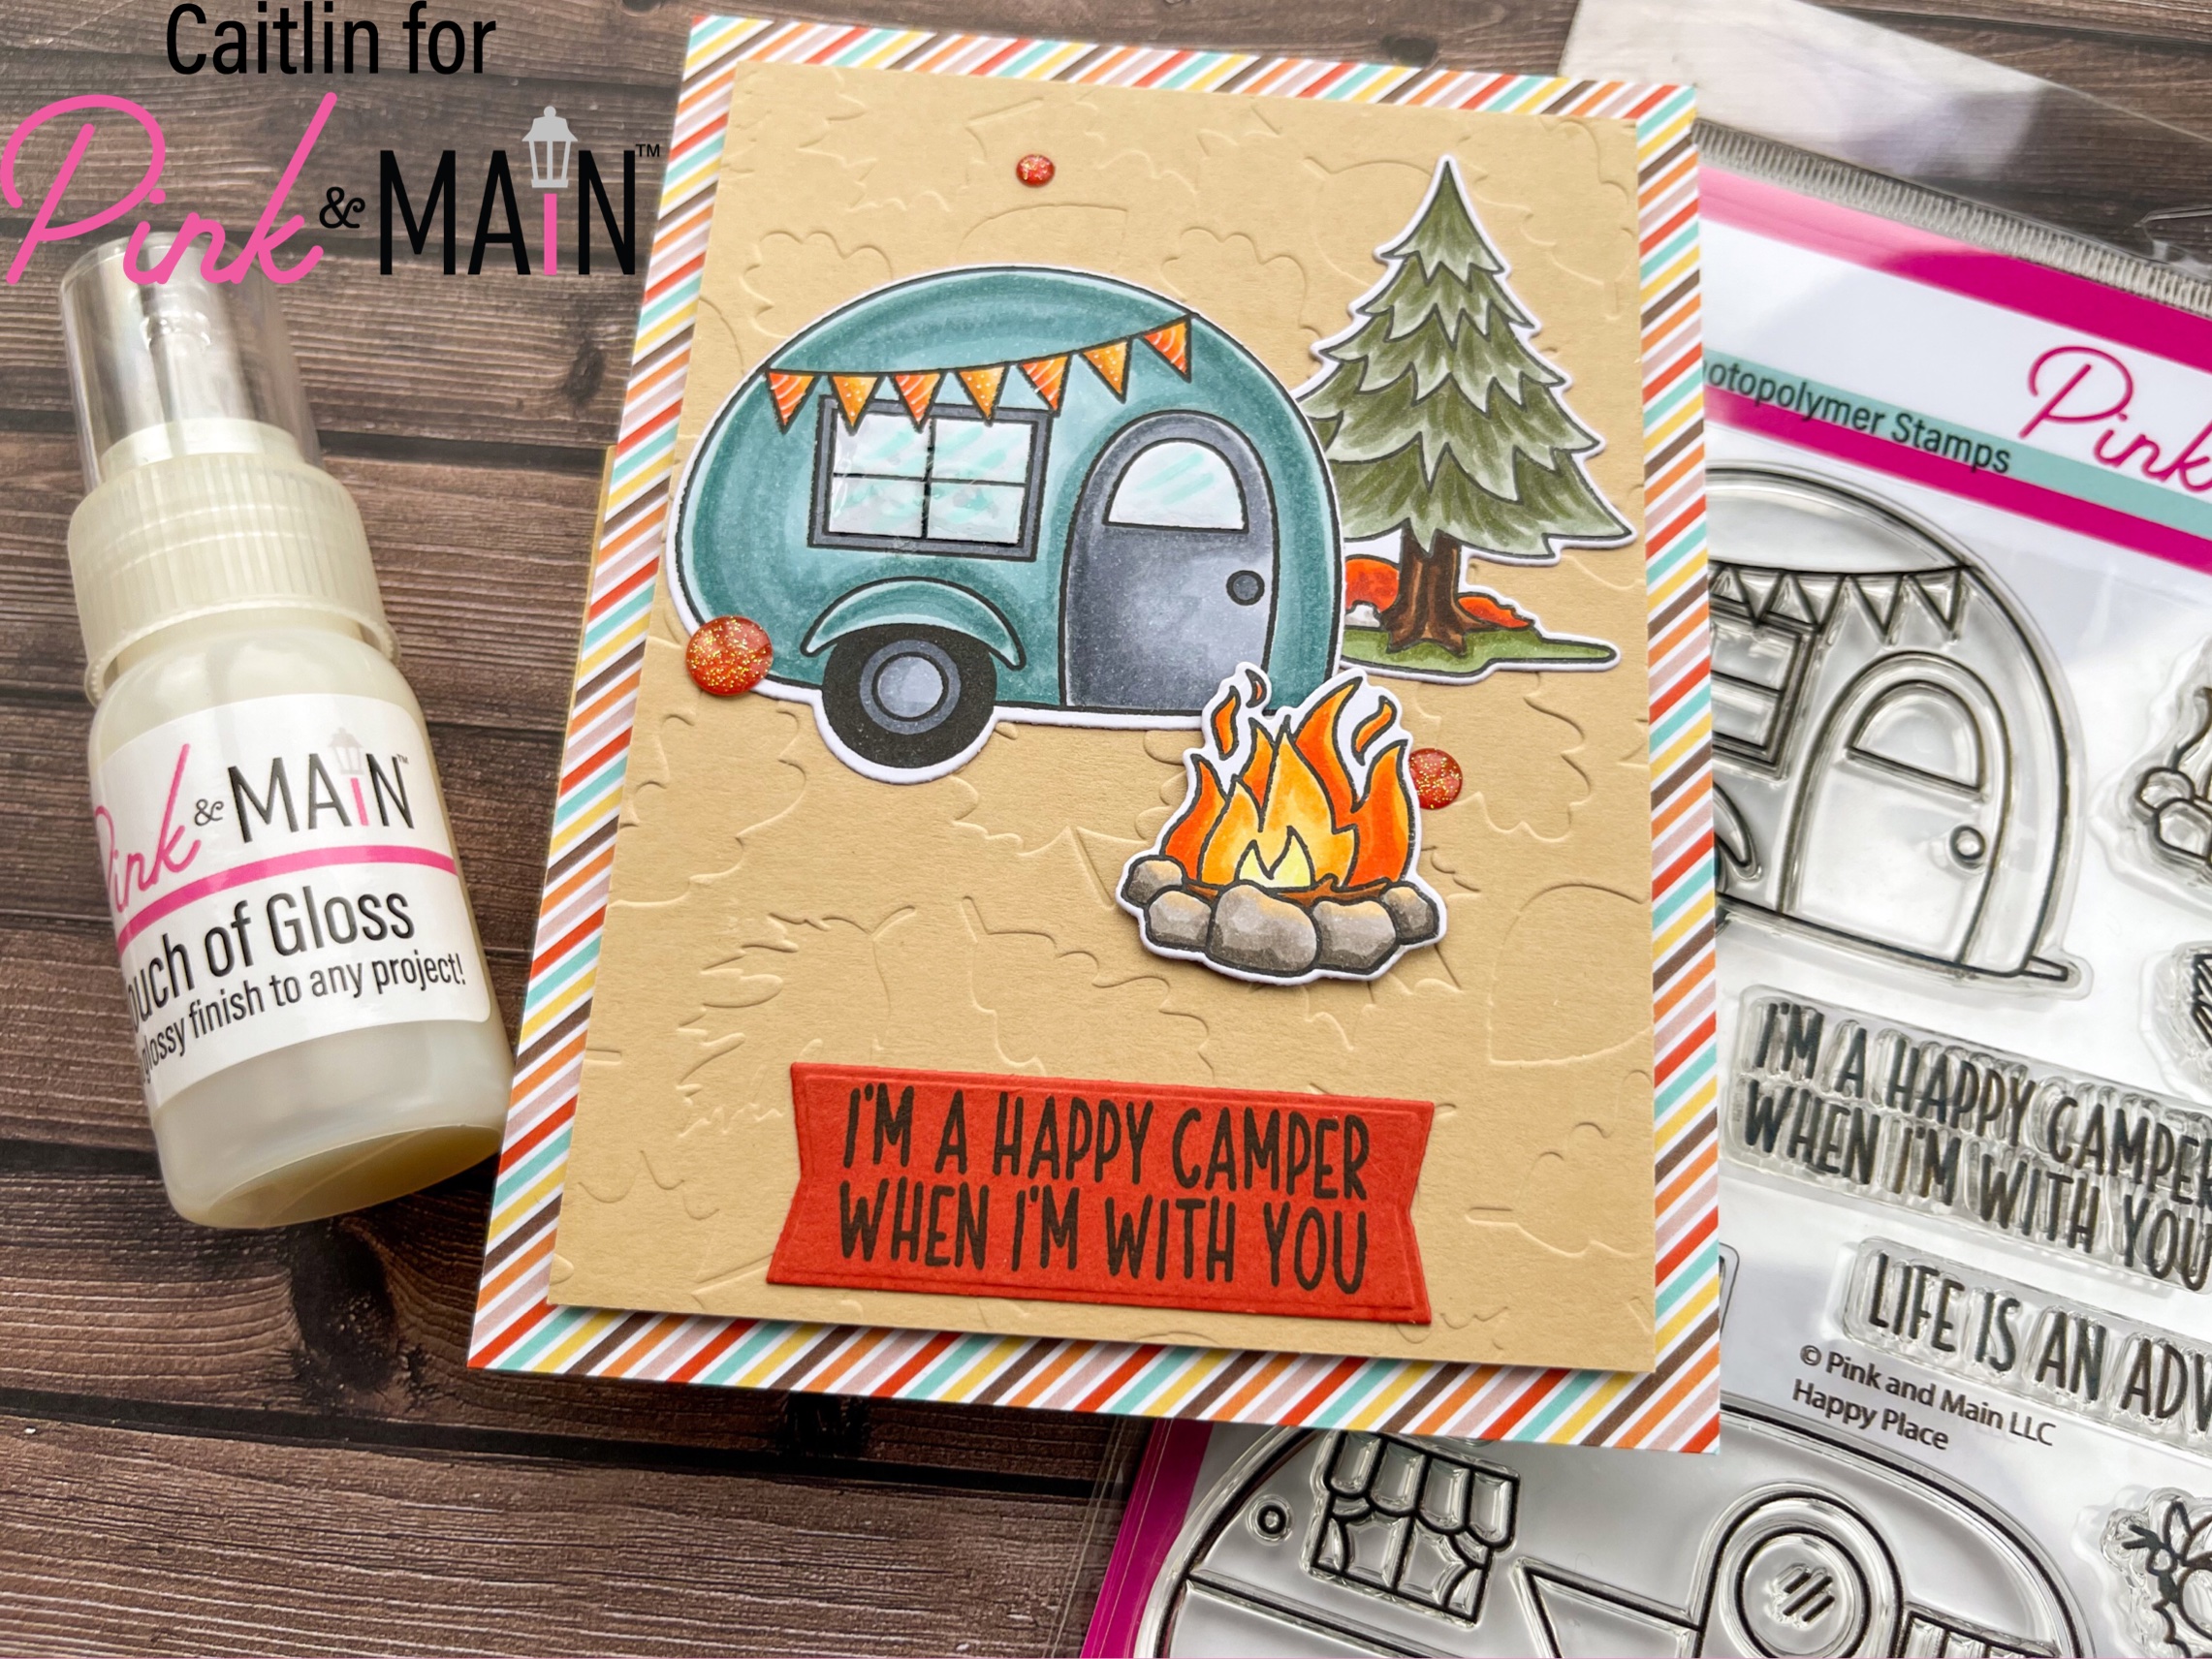
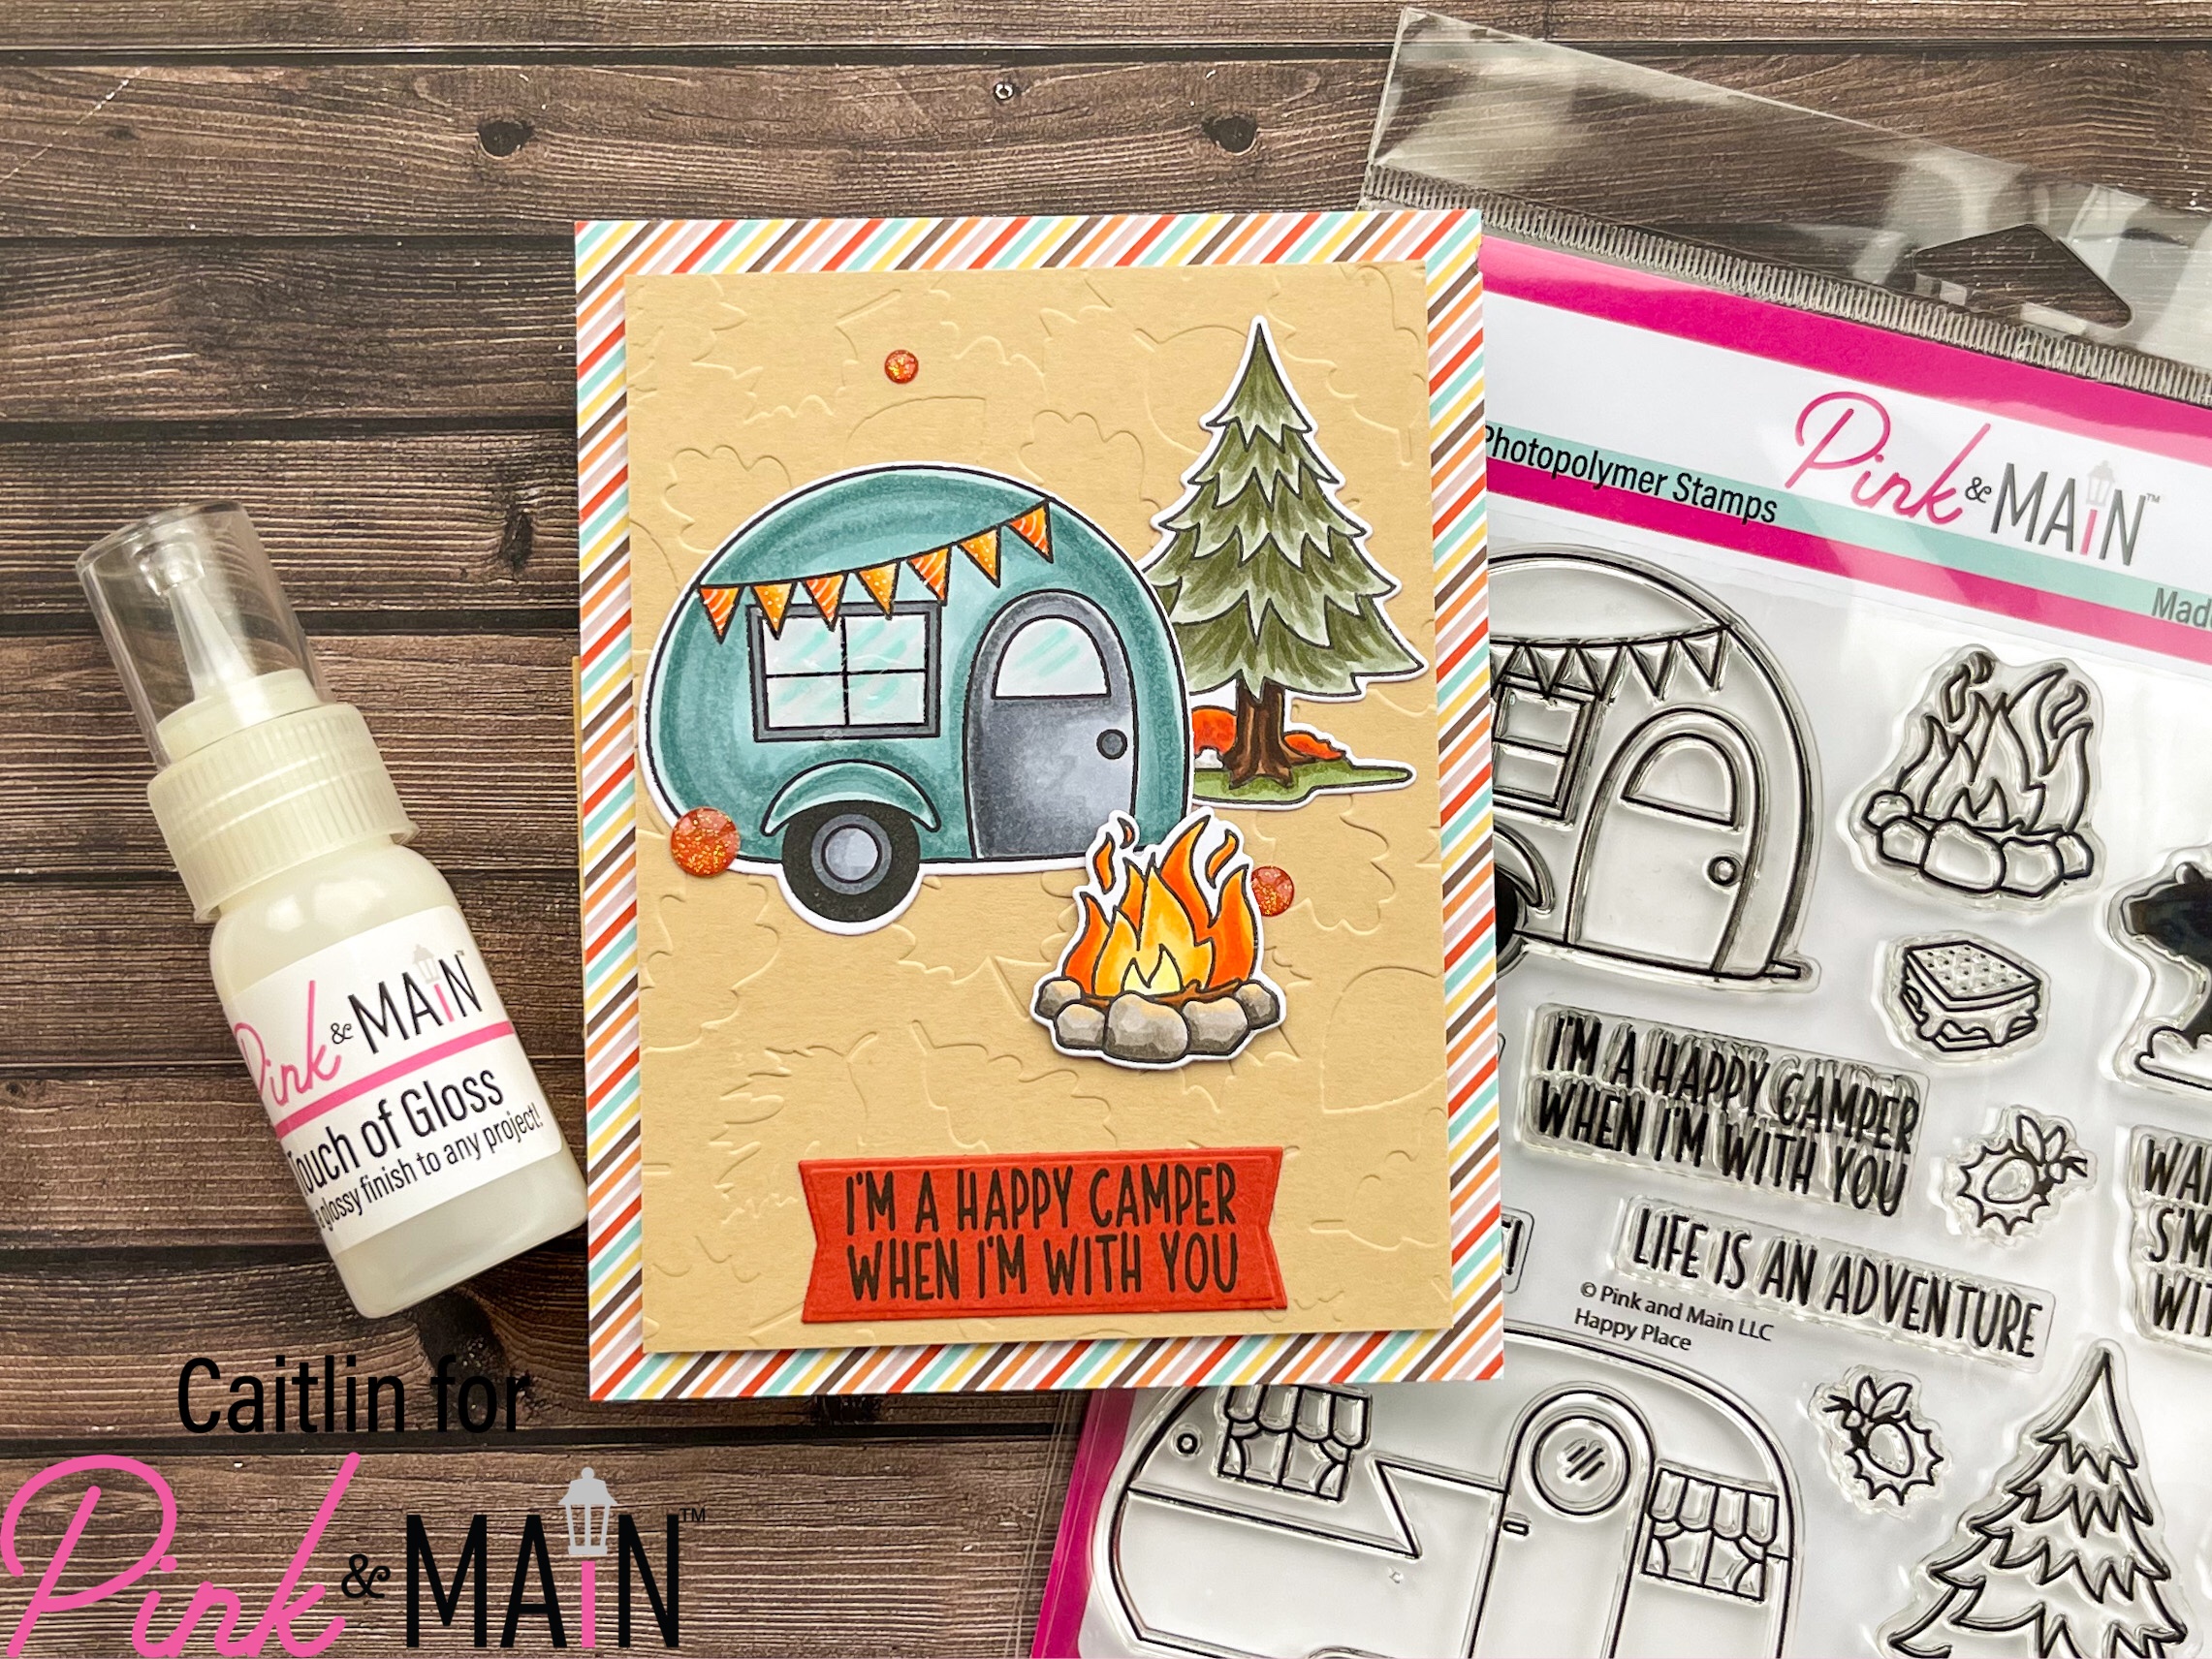
From the stamp set, I grabbed the smaller camper, pine tree and fire images and stamped them with alcohol friendly ink. I used copic markers to color them in trying to use similar colors to that original patterned paper and keep the overall tone desaturated, which lends itself to a fall feeling. I used the coordinating dies to cut out the three images and then it was time to decide on a sentiment. I really loved the Happy Camper sentiment and it just so happened to be the perfect size for one of the new Extra Large Sentiment Strip Dies. I used a scrap of the Wildflowers Card Stock to stamp the sentiment with black ink and cut it out with that die.
To start assembling, I grabbed a side folding A2 card base and glued the pattern paper panel down first. Then I added the embossed layer with thin foam tape for some fun dimension. I glued the tree, camper and sentiment down flat with the EZ Squeeze Glue and popped up the fire with more thin foam tape. I thought it would be nice to create a more balanced triangular shape with the images and create depth both with my placement and the addition of the foam. For a little extra sparkle, I added 3 of the orange enamel dots from the Floral Pumpkin Glitter set around my little scene. I also decided to add some shine by adding a thin layer of Touch of Gloss to the windows of the camper and set the card aside to dry for about 30 minutes. I love how happy and cozy this card feels and I hope you are all loving the new release!
