
Happy Wednesday everyone! It’s Amanda from Twiddler’s Nook today, squeezing in as many extra Christmas cards as I can before we’re knee deep in hearts and all things Valentine.
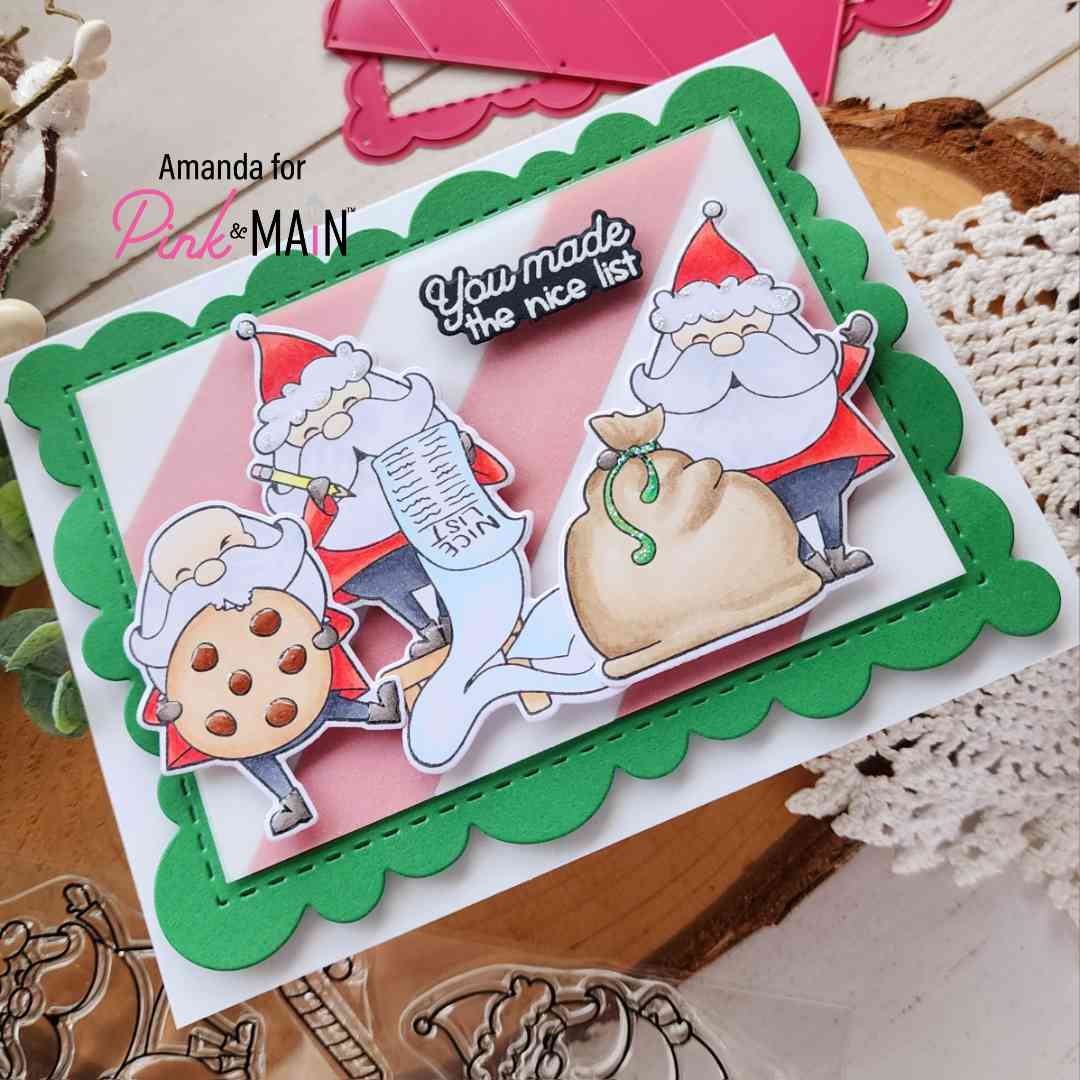
I love these Santas and had to create with them again. They’re so fun with all their different poses and accents, why not pile them all together while we’re at it!
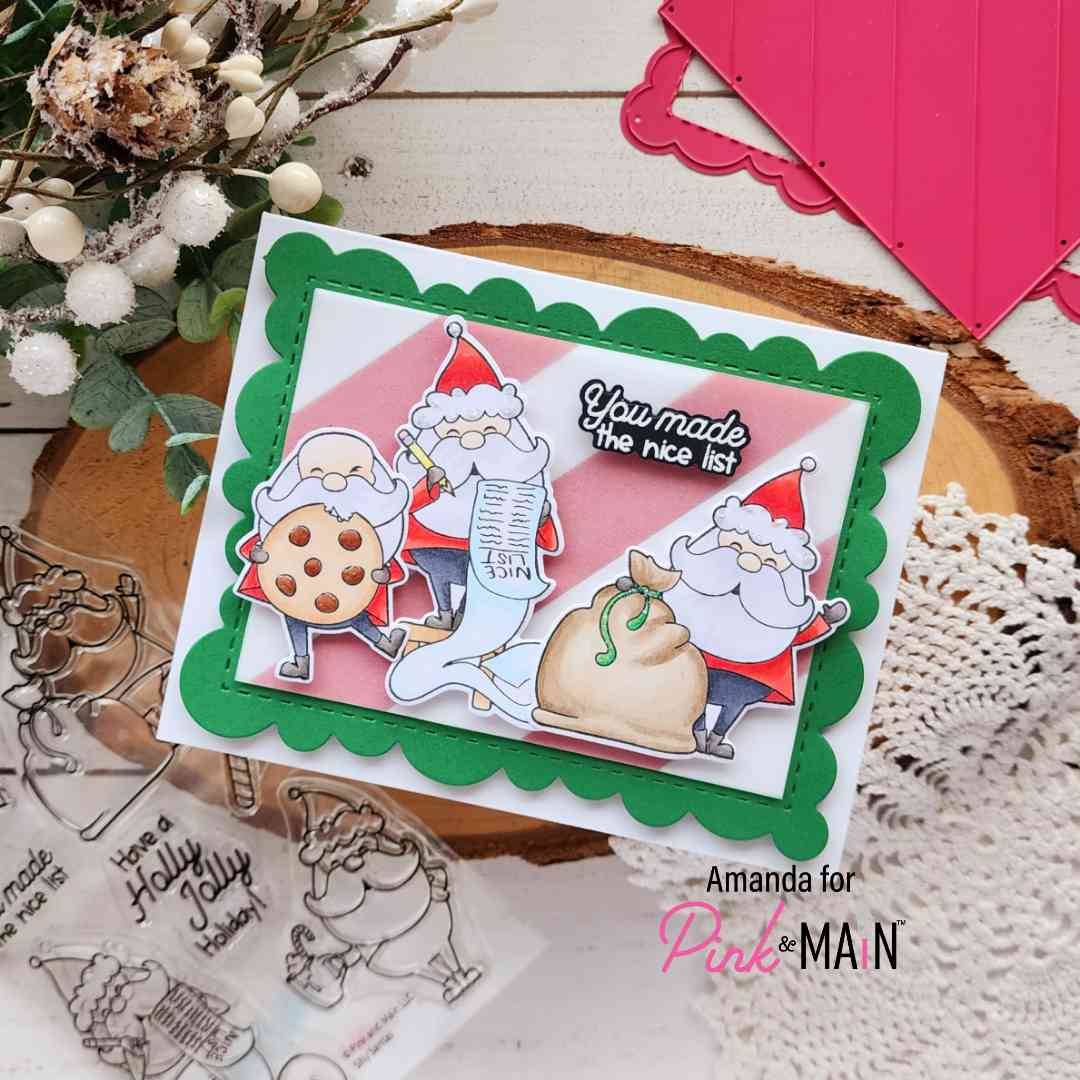
So I chose three of them to stamp and color, then I used the coordinating dies to cut them out and used liquid glue to adhere them together where they overlap. I stamped and heat embossed my sentiment at this point too, using the coordinating die to cut it out also.
For my background, I pulled out the Diagonal Cover dies. I cut the main part from green cardstock and then the stripes from red and white. I find it easier to insert my stripes back in the die upside down and use washi tape to hold them together before gluing them to the background. This time I also cut a piece of vellum the same size as the stripes and used tape runner to hold it in place before popping my images and sentiment up with foam squares.
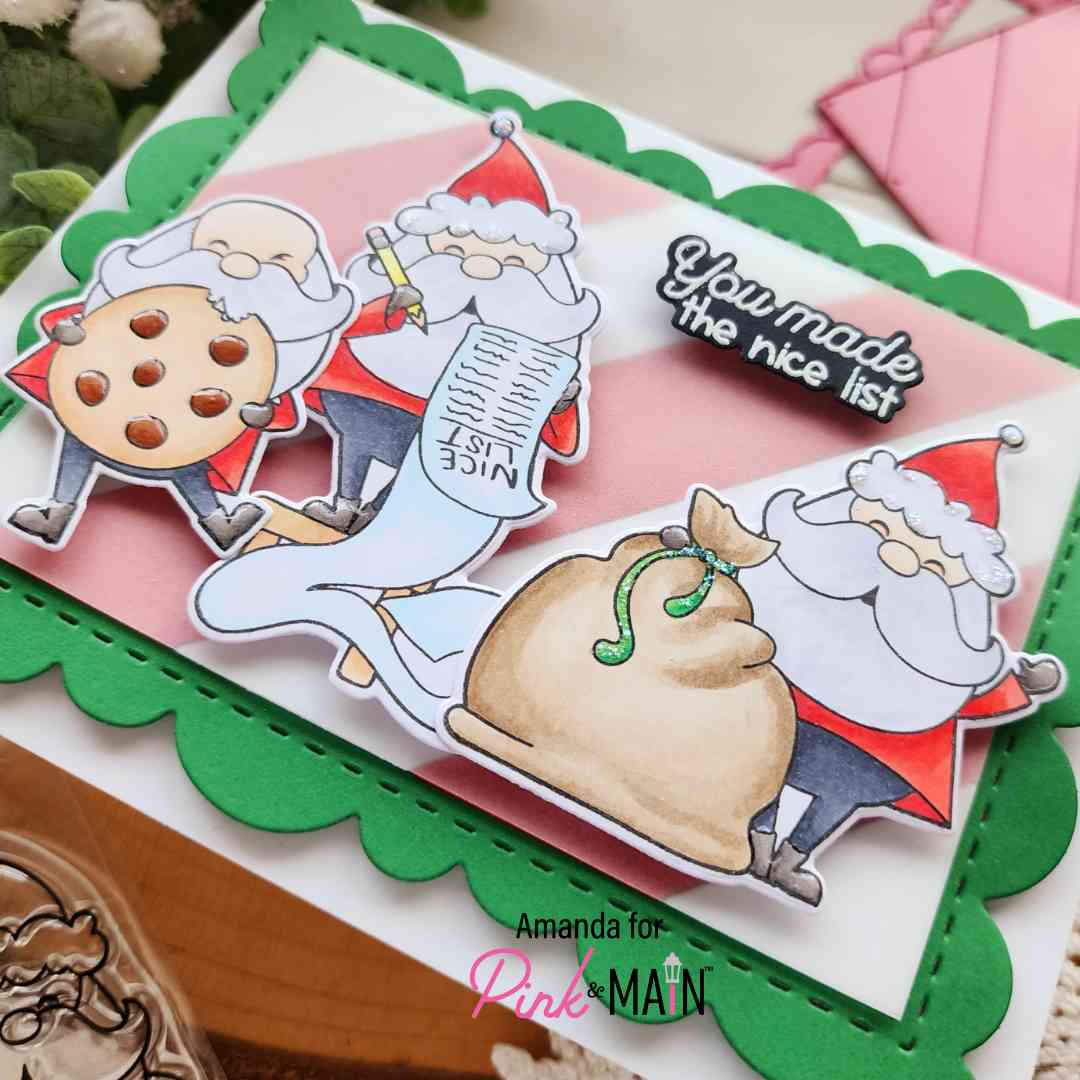
Once that was done I popped the scalloped rectangle up with foam tape on a white card base. For finishing touches I added Touch of Gloss to all the Santas boots and mittens plus the chocolate chips, then stardust Stickles to the hats and toy bag string.
Aren’t they adorable?!? I can’t get enough of them…especially that giant cookie!
Products used:
Silly Santas stamps and dies
Diagonal Cover dies
Foam tape
Touch of Gloss
Anti-static brush
Embossing & Watermark ink
Embossing powder – frosting
EZ Squeeze liquid glue
Stickles – stardust
I appreciate you sharing your time with me. Have a fabulous day!