This week I created with one of the new releases from earlier in the year called Mister. I challenged myself to create two versions of the same card : one masculine and one feminine.
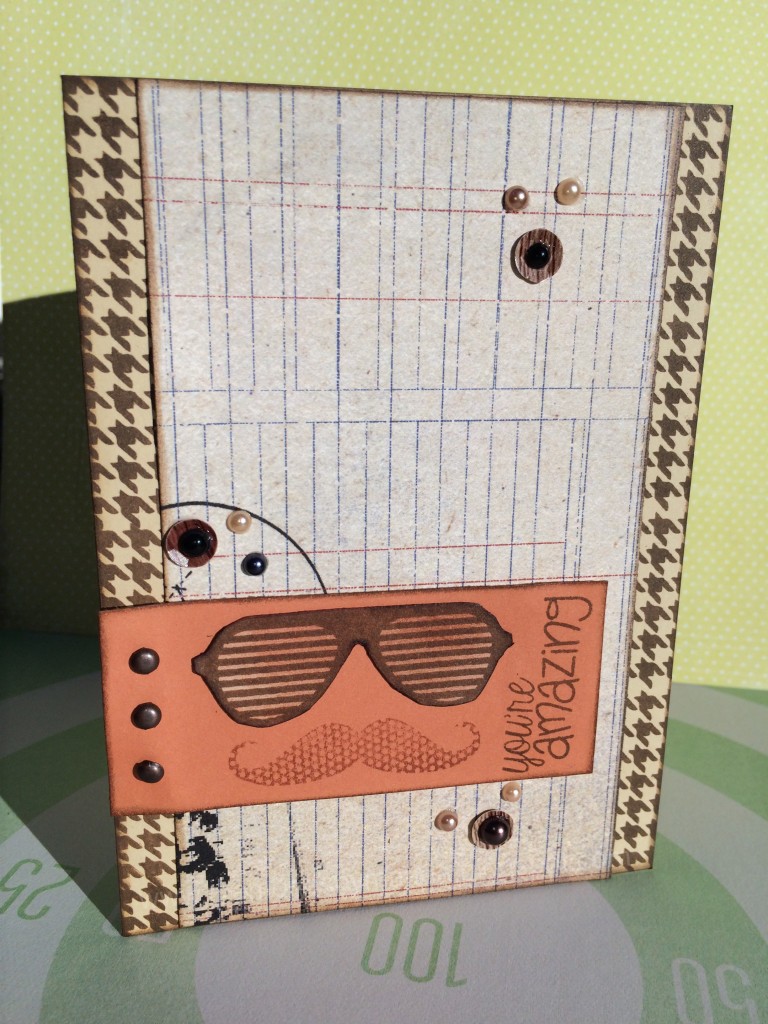
To start with I made the masculine card:
I stuck with my traditional, go-to colour for masculine projects – brown. I created the background pattern with brown ink on cream card with the herringbone swatch in the stamp set. Then I adhered a patterned paper panel and cardstock panel with stamped elements. The glasses were stamped on white chipboard so they would be three D. The cardstock panel was adhered with foam tape. Lastly I added the brads, pearls and sequins.
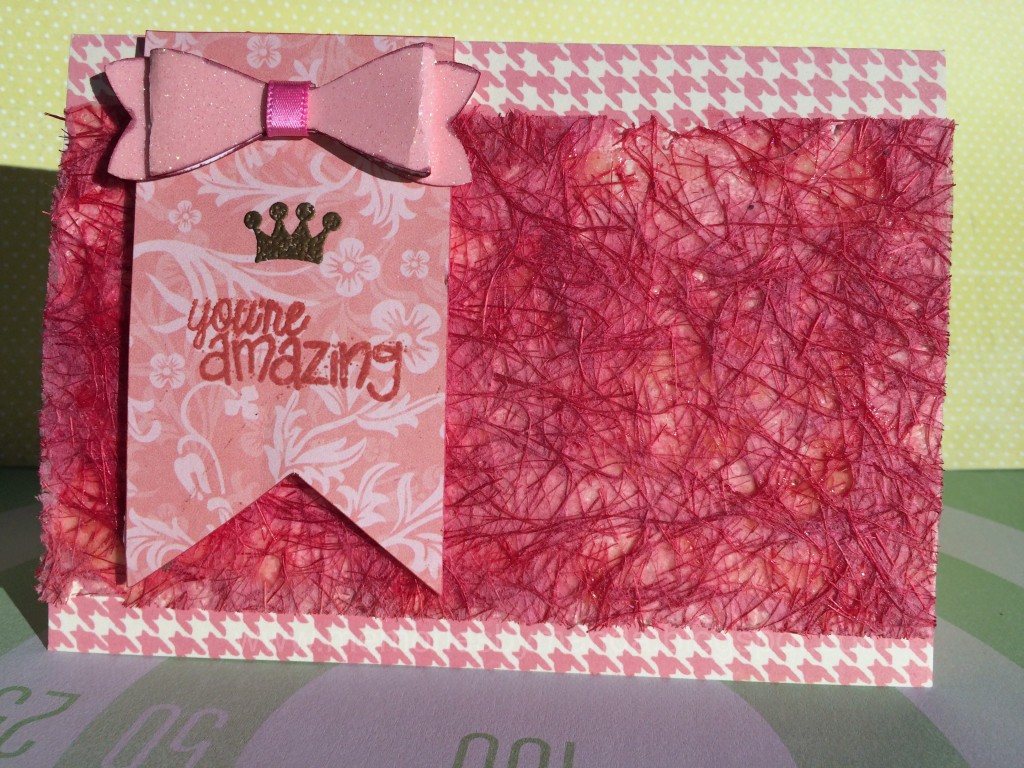
Next up is my feminine version:
For this feminine version I turned the layout on its side and used the obviously feminine colour – pink. I created the same patterned paper look by stamping the herringbone swatch on the cream background again, but with pink ink this time. In this version, I made the rectangle a pennant with patterned paper. On the pennant I embossed the crown in gold and embossed the same phrase I used on the masculine version, but in terracotta this time. A bow made from glitter cardstock finishes it off.
I encourage you to not just limit yourself to the theme of a stamp set; challenge yourself to use them in other ways.
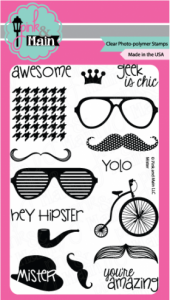
Here’s the stamp set I used: Mister
DT Amanda


Nice and simple, I love the masculine one, I always find them the hardest to create. The background looks great, I thought it was patterned paper, have now added this set to my wish list, thanks Amanda!