
Hello Everyone,
It is Zsofi here today with a clean and simple card for your best travel buddy: be it your better half or a friend. This design will suit anyone. Such a nice way to say hi before a trip.
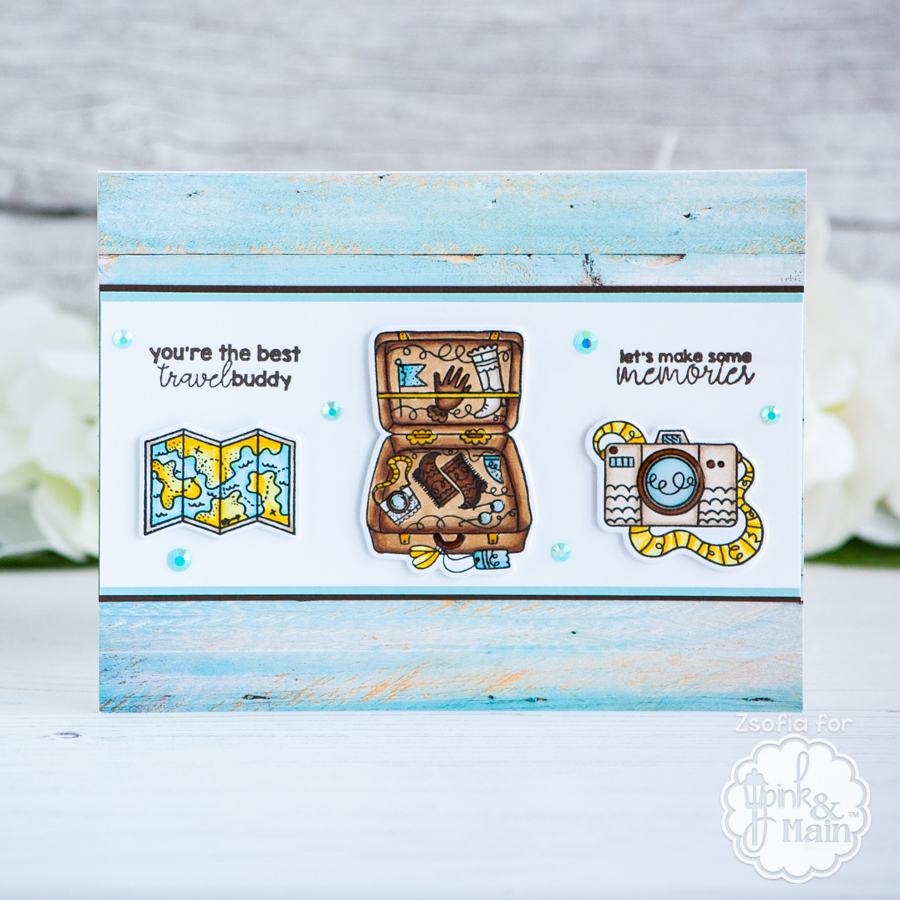
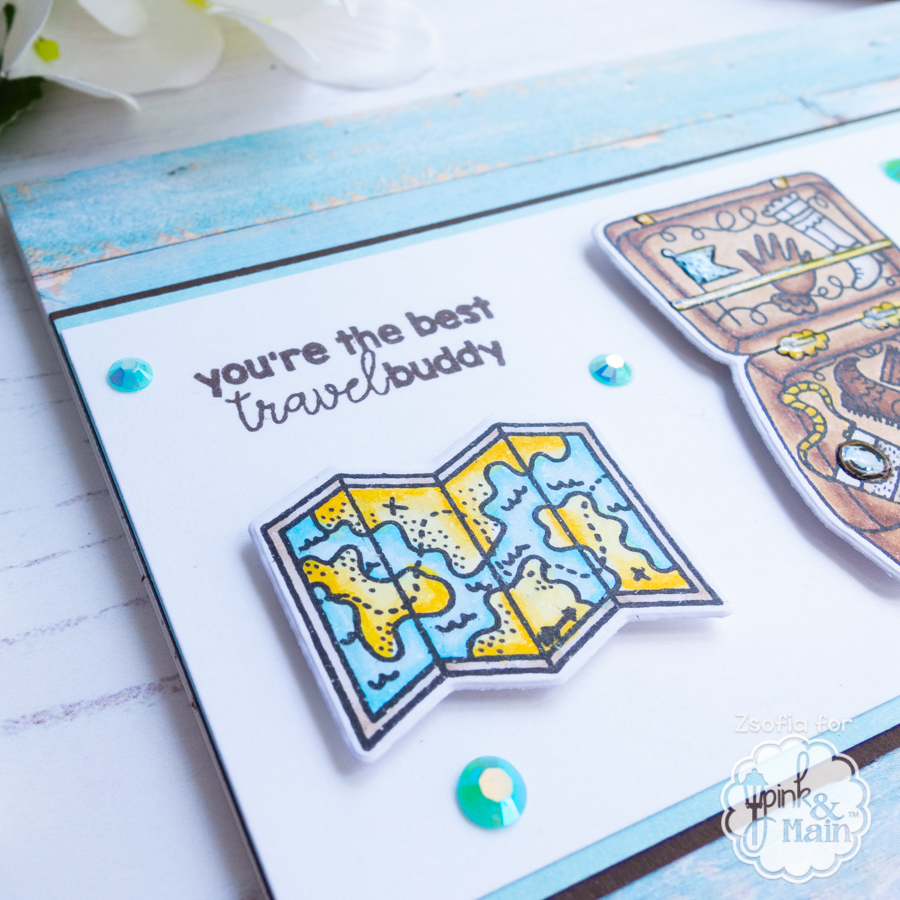
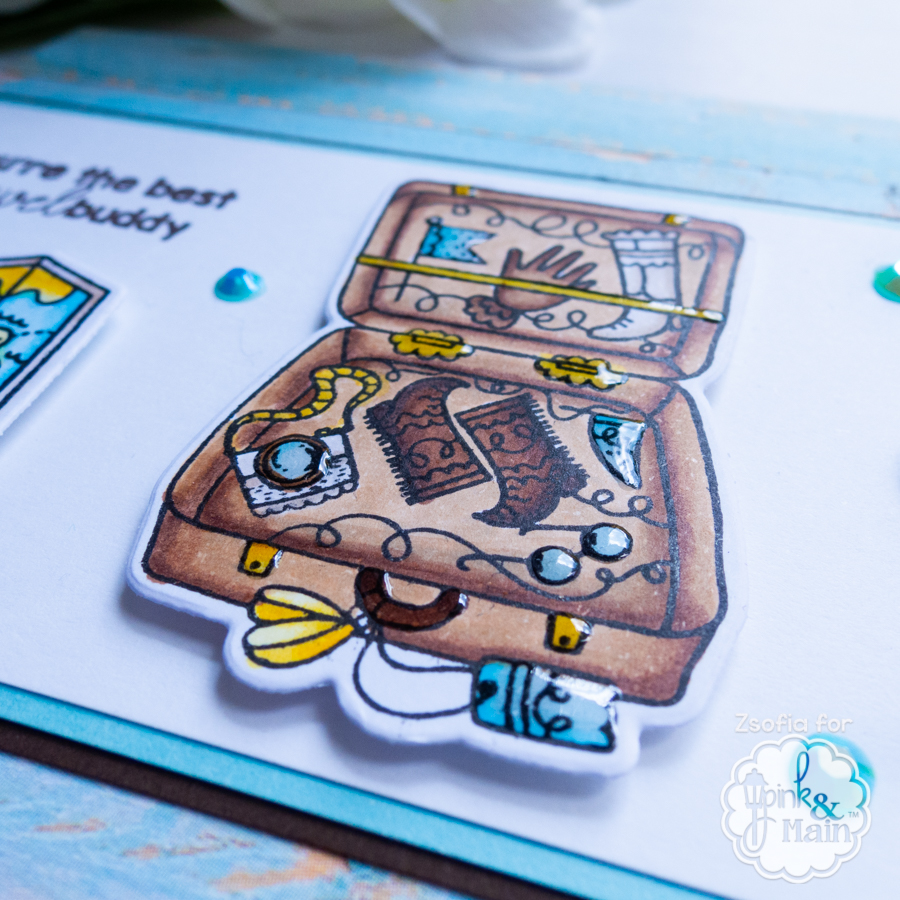
I started with stamping some of the smaller images from the Travel buddy stamp set, coloured them with Copic markers and cut them out with the coordinating dies.
I cut a strip of white cardstock to be 2,25*5,5 inches, stamped 2 of the sentiments from the set with brown ink and matted it first with a tiny wider aqua cardstock and then with dark brown. I love the layered look, so easy yet still effective!
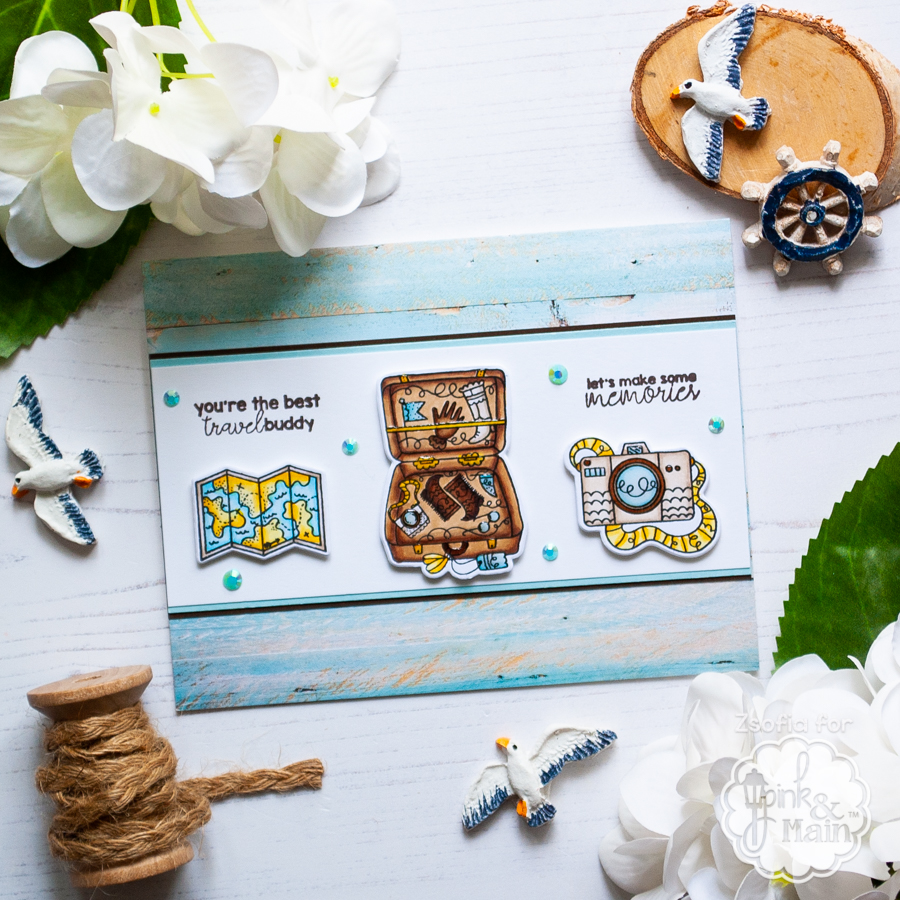
For the background I chose a very summery wooden plank patterned paper from the gorgeous new The shore paper pad and adhered it to an A2 white card base.
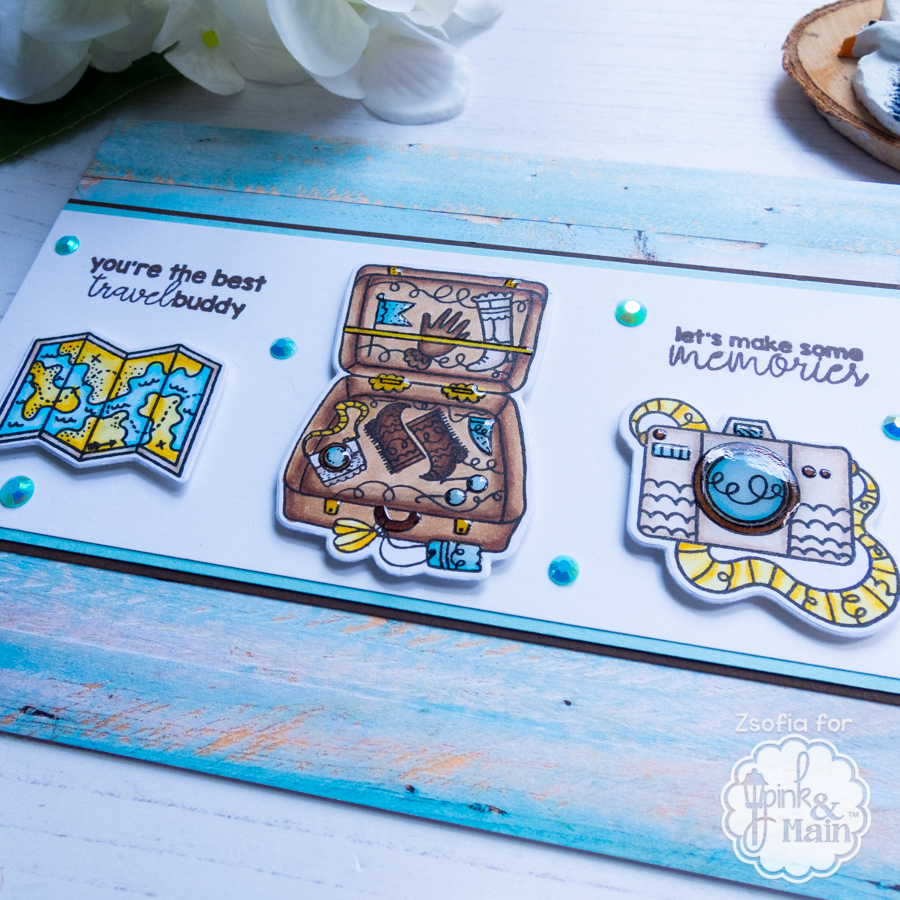
I assembled the card using 3D foam squares to mount the coloured images. As a finishing touch I added glossy accents here and there and scattered some aqua jewels all around.
I hope you got inspired to use the smaller images from your stamp sets to create fun cards with! Until next time, happy crafting!
Zsofi
Cute card!
Have a great day!
Marilyn❤️