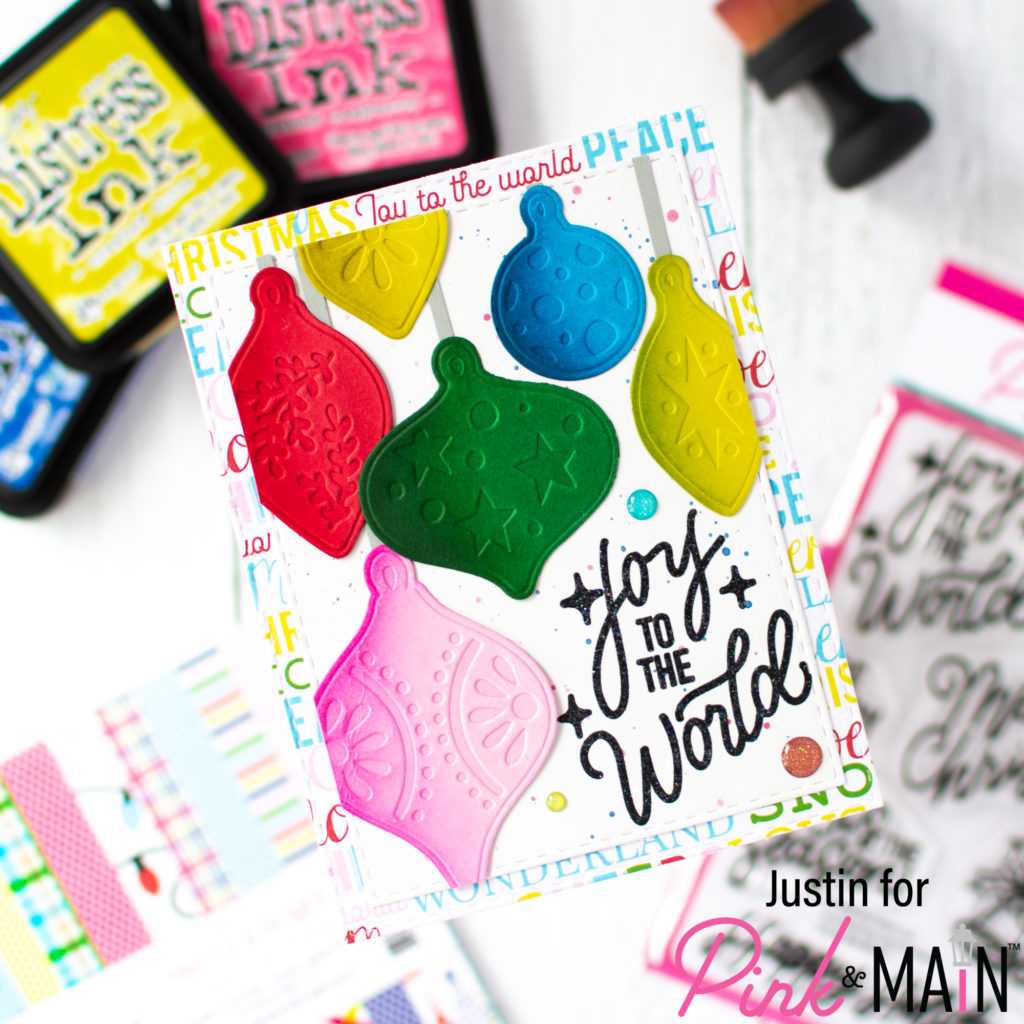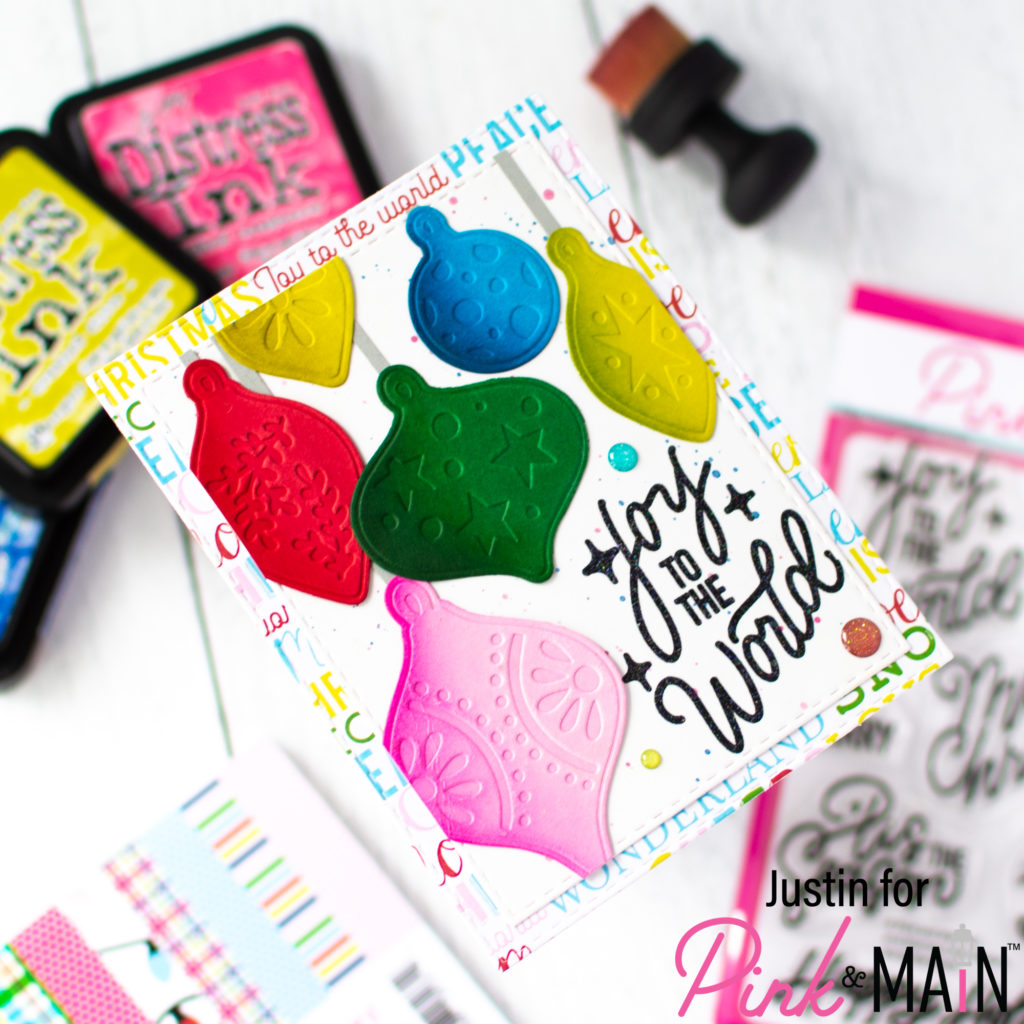
Hello crafty friends! Justin here, and today I am sharing some holiday inspiration that I created up using the new Ornaments Cut and Emboss Folder, paired with the Joy to the World Stamp Set. I was inspired by the colors in one of the prints in the Merry & Bright paper pack, and got to work!
Below is a list of products that I used to create this card:
Ornaments Cut and Emboss Folder
Joy to the World Stamp Set
Merry and Bright Paper Pad
Stitched Rectangles 1 Die Set
Salon Cardstock
Stop Sign Cardstock
The Park Cardstock
On the Green Cardstock
Middle School Cardstock
Sidewalk Cardstock
Icicle Embossing Powder
EZ Squeeze Adhesive
Other Key Products Used:
Distress Inks: Picked Raspberry, Lumberjack Plaid, Crushed Olive, Pine Needle, & Prize Ribbon
Nocturne Versafine Clair Ink
Prima Metallic Watercolor Accents
Now let’s get into the details for how I put this card together!

I started creating my card by using the Ornaments Cut and Emboss Folder to cut the ornament shapes out of the following Cardstock Colors: Salon, Stop Sign, The Park, On the Green & Middle School. I then used Distress Inks to add some shading to the left side of each ornament. I adhered each ornament to a thin 1/8″ strip of Sidewalk cardstock and set them aside or later.
I used the largest die from the Stitched Rectangles Set to cut out the worded pattern from the Merry and Bright Paper Pad. I then used the 2nd largest die to cut out a piece of white cardstock. I splattered the white cardstock with blue and pink metallic watercolor and set it aside to dry. Once the panel was fully dry, I arranged my ornaments and adhered them accordingly, leaving space in the lower right hand corner for my sentiment.
Once I had all of my ornaments adhered, I went ahead and stamped my “Joy to the World” sentiment in Versafine Clair Nocturne ink and then heat embossed it with Icicle Embossing Powder. I adhered my ornament panel onto the pattern paper panel, and added a few enamel dots. My card was completed!

Thank you so very much for stopping by the blog today! I hope this card leaves you with some joyful inspiration for your next project using the Ornaments Cut and Embossing Folder!
Don’t forget that for more crafty inspiration, you can follow me on Instagram, subscribe to my channel on YouTube, and check out my personal blog as well!
Thanks again for stopping by!
Happy Crafting!
Justin
