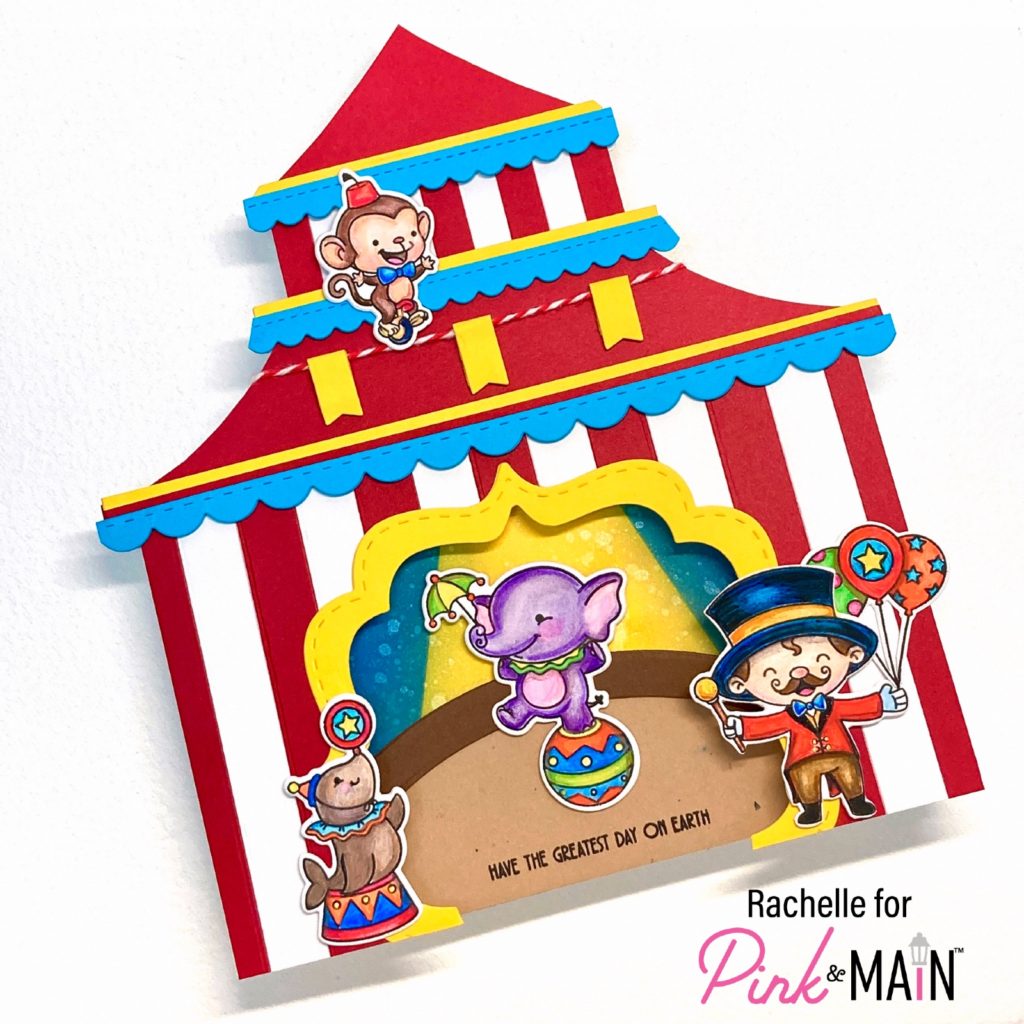
Hello Pink& Main Fans! It’s Rachelle from Red Cre8s and today I’m featuring an older set, “Life is a Circus”, with this peek inside the Big Top!
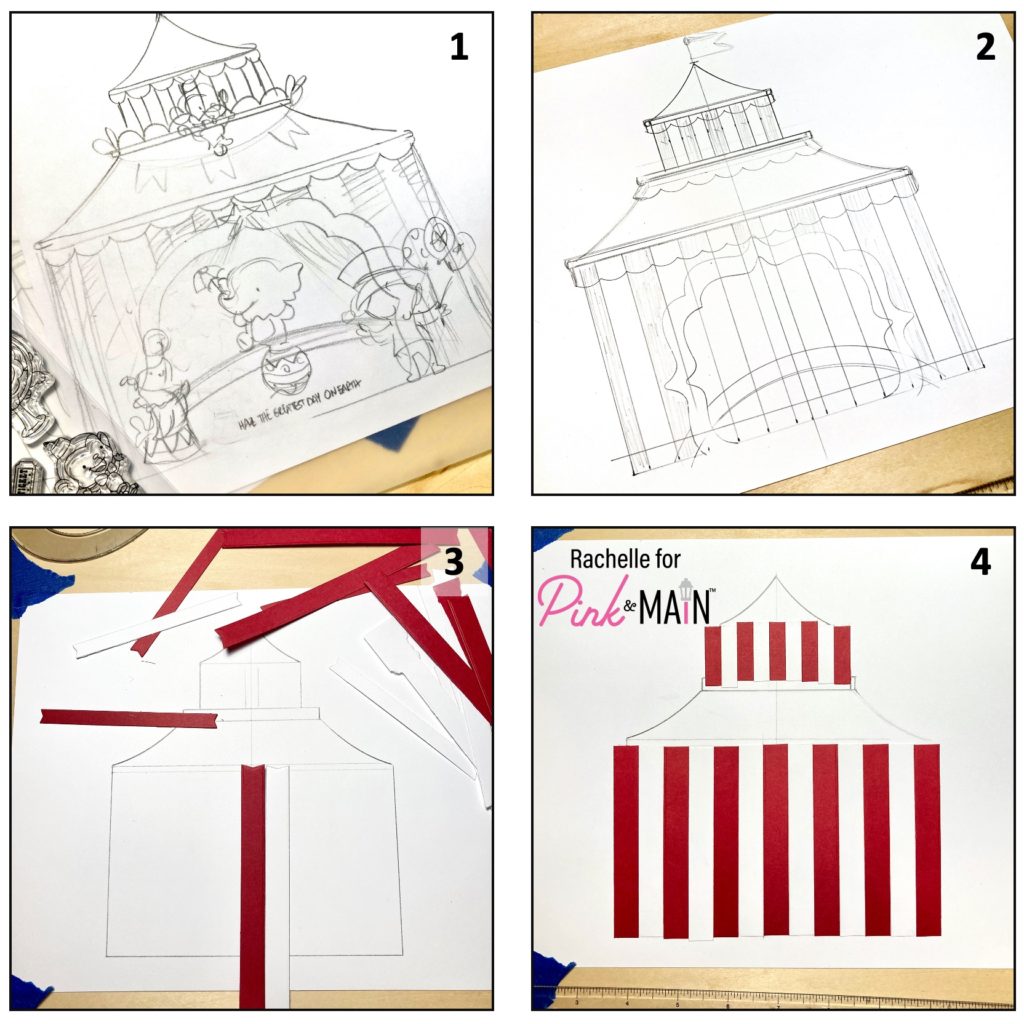
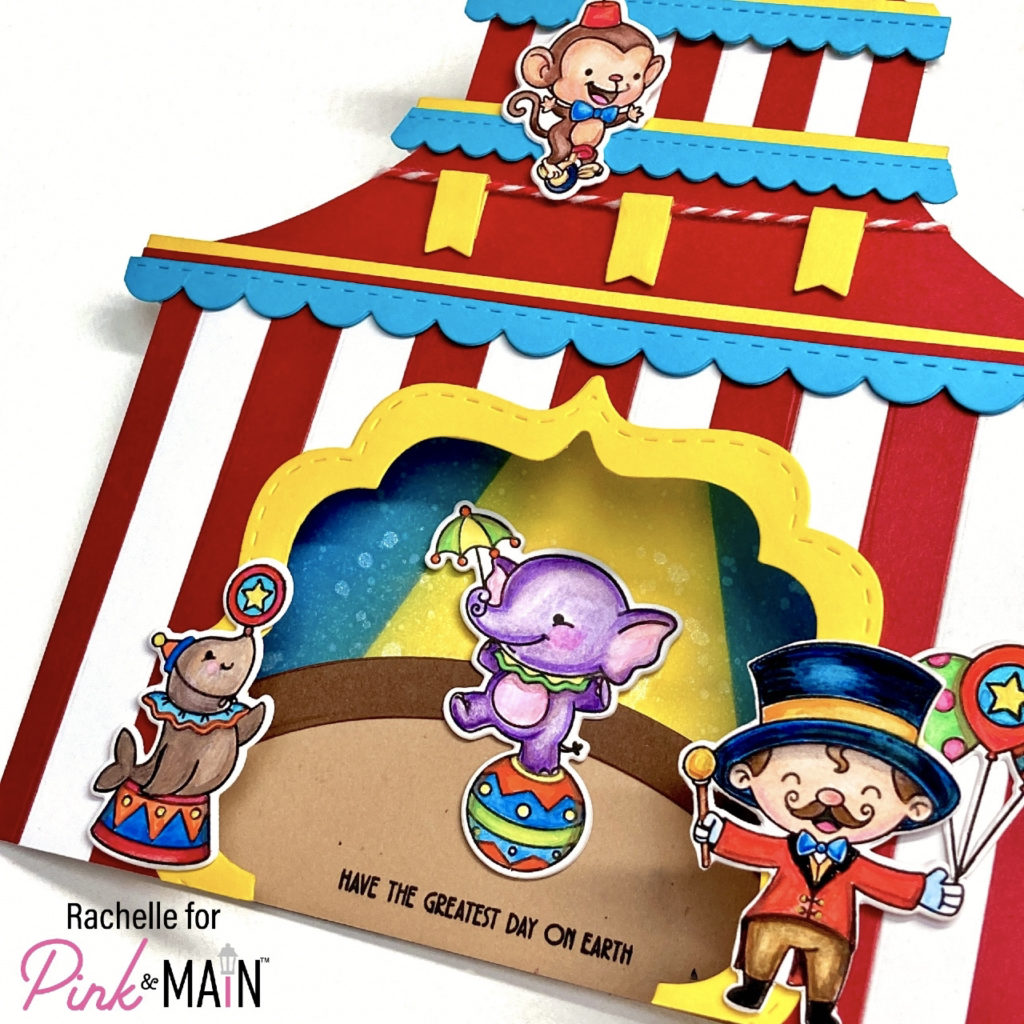
I decided to go “BIG” for this circus scene (7.5” x 7.5”) and began with a rough sketch, which allowed me to get the proportions right by tracing in my actual stamp images where I wanted them (see #1). I tightened up the sketch by using a T-square, right angle and tracing around the actual Pink and Main Dies (#2). I transferred an outline of this template to a piece of 100# card stock, die cut lots of strips of red & white card stock with ½”and ¼” “Sentiment Strip Dies”. I used these strips to create my striped circus tent fabric, the ½” strips were used on the larger main tent and the ¼” strips for the upper level (#3). I glued each strip down butting them right next to each other, starting with my center line (#4).
Once all of the strips were adhered, I cut the solid red layers and glued them down on top. I cut 3/8” yellow card stock strips and added turquoise scallop die cut pieces, cut from the “Blessings Slim Line Die”, on top. This gave me the horizontal accent bunting I needed to cover up all of the missing areas of my tent! I added these pieces on top and carefully trimmed the entire tent image from the cardstock base.
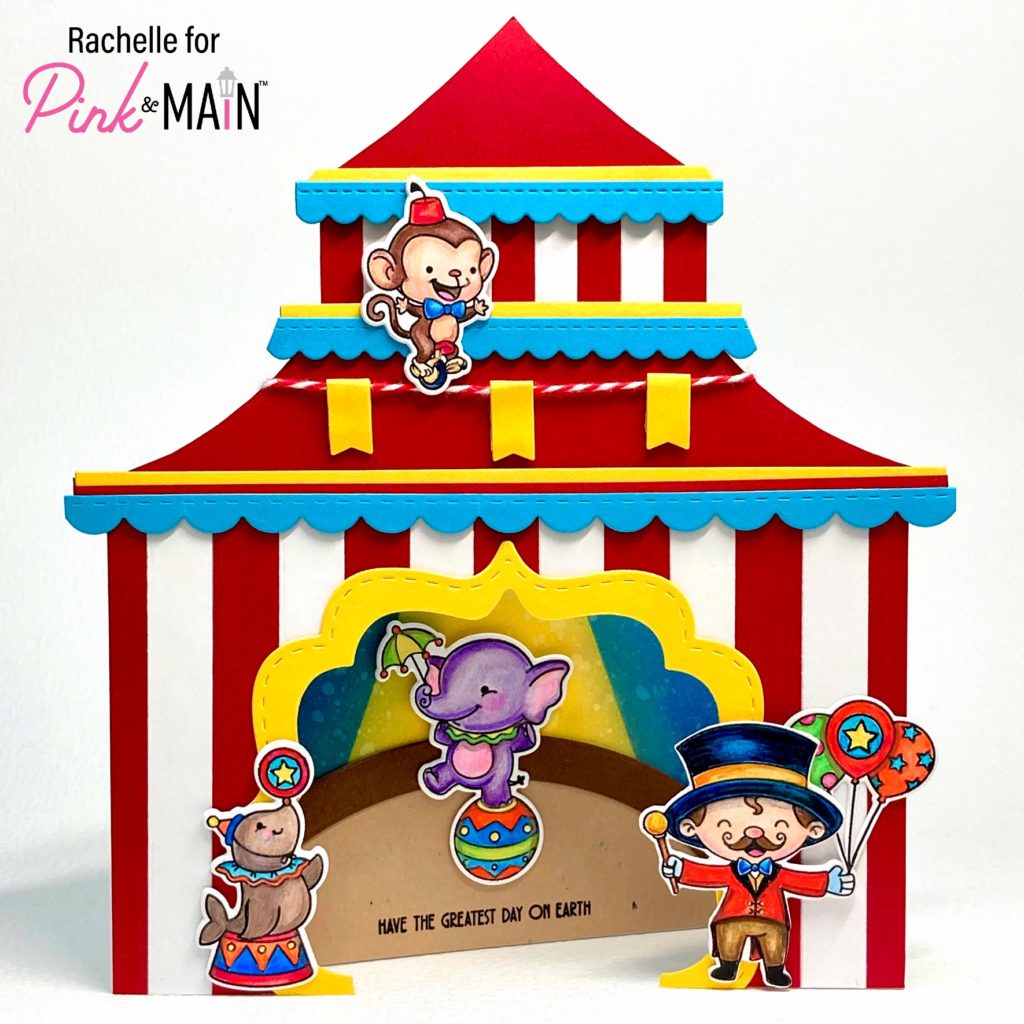
I created the entrance by making a frame with the two largest sizes of the “Stitched Top Note” Dies – this reminded me of the decorative edging of a circus tent! I die cut 3 of these frames from yellow card stock and stacked/glued them together. I placed the smaller of the two dies onto the middle of the card front, traced around the shape and hand cut my opening – the yellow frame was glued on top to cover the cut edge.
I created my circus ring with ovals cut from kraft and dark brown card stock using the “Layered Oval Dies” and stamped the sentiment at the bottom using the MISTI. I stamped, water colored and die cut my images, gluing one extra ‘blank’ die cut behind each one. I created small yellow pennants with a ¼” Sentiment Strip Die, strung them on baker’s twine and placed it horizontally across the tent – this became the tightrope for my bicycle-riding monkey, who was stuck in place with foam tape!
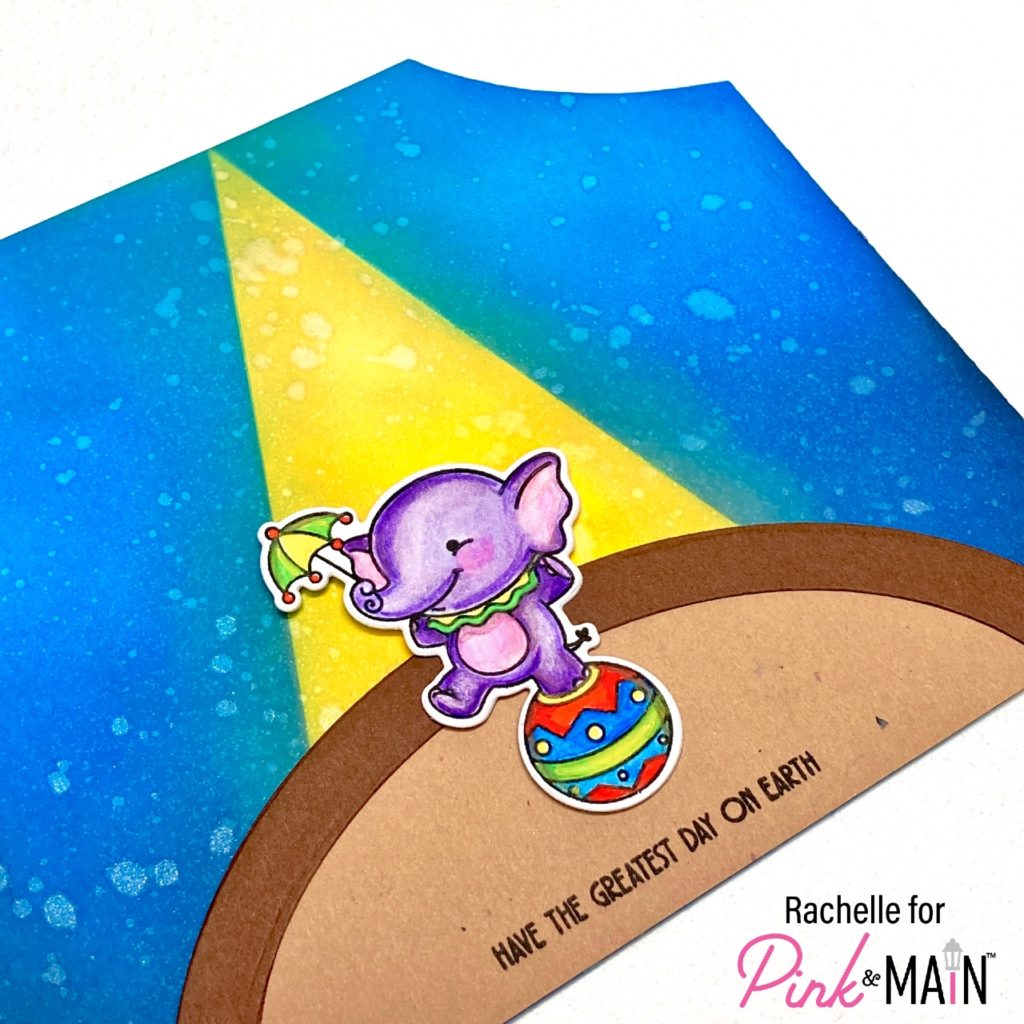
I ink-blended a spotlight panel with DOI’s, sprayed it with Shimmer Mist, trimmed it to match the shape of the card front and glued the circus ring into place at the bottom. I joined the two panels together with a paper hinge and popped the remaining images into place with foam tape and/or glue!
WHEW! Thanks so much for sticking with me for this lengthy post! This project was definitely a labor of love but I was so happy with the way it turned out!
You can always find extra inspiration on the Pink & Main Facebook and Instagram Pages!
Have a wonderful day and take care! Rachelle
