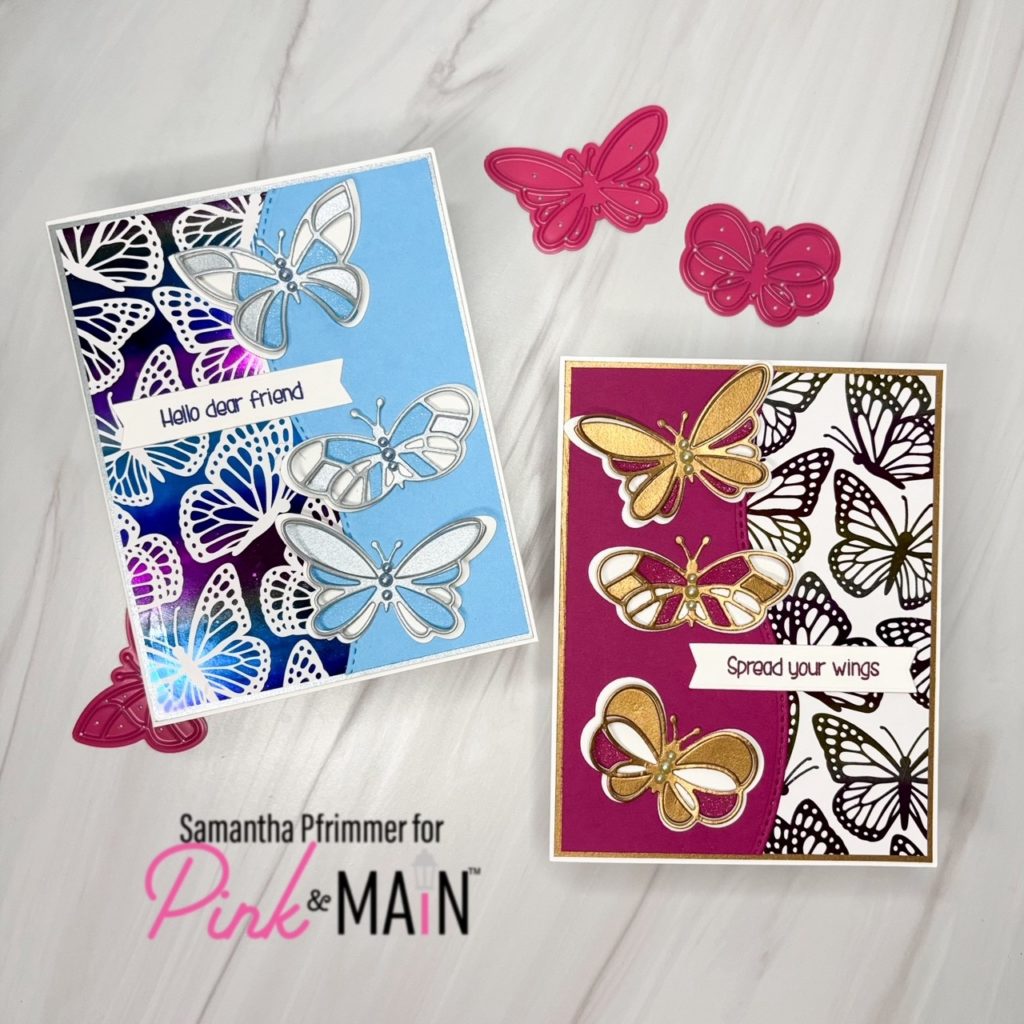
Hi everyone… Samantha here on the Pink and Main blog excited to share a pair of cards made using the new Layered Butterflies Dies.

One of the techniques I really enjoy is doing inlay with die cuts and these Layered Butterfly dies are perfect. I also knew I wanted to use the beautiful Pretty Wings Foilables and the new Ombre Sunrise Cheerfoil to help feature my Layered Butterflies. I decided to make a pair of companion cards (… as two is always better than one…) so I went through my stash and came across the Ombre Pink-Teal Cheerfoil to compliment the Sunrise Cheerfoil, and my plan was set.
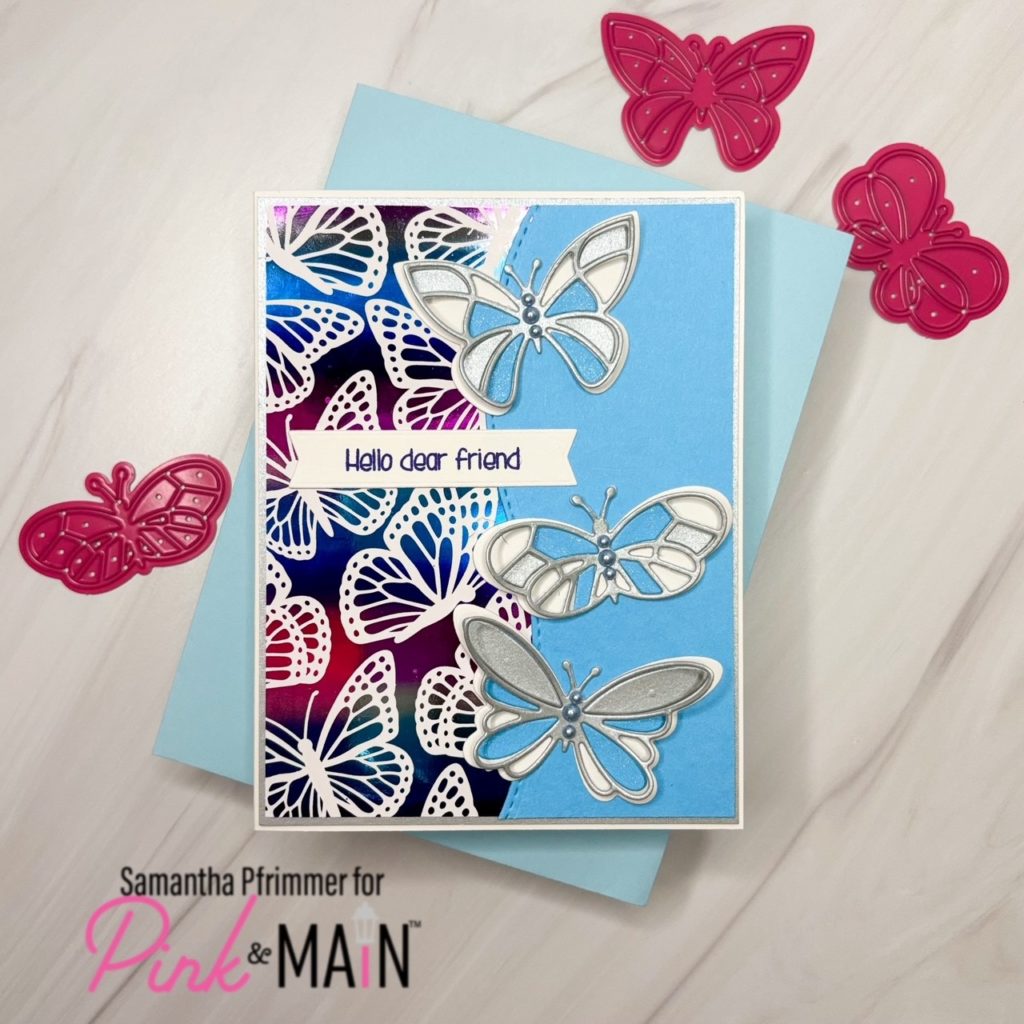
To start, I used my Mini Minc Foiling Machine to foil 2 sheets from the Pretty Wings Foilables collection, one each for my two Ombre Cheerfoil colors. You may notice on the card with the magenta colored card stock the butterfly image is what has been foiled and for the card with the blue, the negative space features the foil and the butterflies are white.
Next, I went through my cardstock stash and grabbed card stock colors to match my foils and I also grabbed my Waves and Scallops Dies. I cut each cardstock sheet to 4″x 5.25″ to match the size of the foilable panel and then cut them in half with a wave die. I glued my die cut cardstock halves to my foilable panels, alternating the sides for each card, before gluing one to a brushed gold mat measuring 4 1/8″ x 5 3/8″ and a brushed silver mat for the other.

Now it was time to die cut my butterflies and work on my inlay. For my first card, I selected three butterfly shapes from the set choosing both the shadow die and the outline die. I die cut all of my shadow dies out of white cardstock and my outline dies out of both the brushed gold cardstock and the magenta cardstock I used for my main panel. I kept all of the negative pieces to use for my inlay work.
The next step was to adhere my gold outline die-cuts to the white shadows pieces. I decided that instead of gluing down the entire butterfly, I would only glue down the centers so I could then pop up the wings to show my butterflies in mid flight. Next I select a few gold and a few magenta negative die cut pieces to do for my inlay, alternating colors and also leaving some of the white shadow layer exposed as shown in the images. To make the magenta pop a bit from the base, I also used a Zig Wink of Stella brush pen to add some sparkle. Once my butterflies were completed, I arranged them along the cardstock side of my panel and glued them down. I then stamped a sentiment from the stamp set in a coordinating magenta ink from my stash and die cut the sentiment with a Large Sentiment Strip Die.

For my second card I followed all of the same steps as noted above, only selecting a different combination of stamps and using the alternative color palette for the second card. Once both cards were complete I decided to finish everything off with some pearls from my stash glued along the bodies of each butterfly.
I am happy with these pretty butterflies and I hope you all like them too. Thanks for reading!
