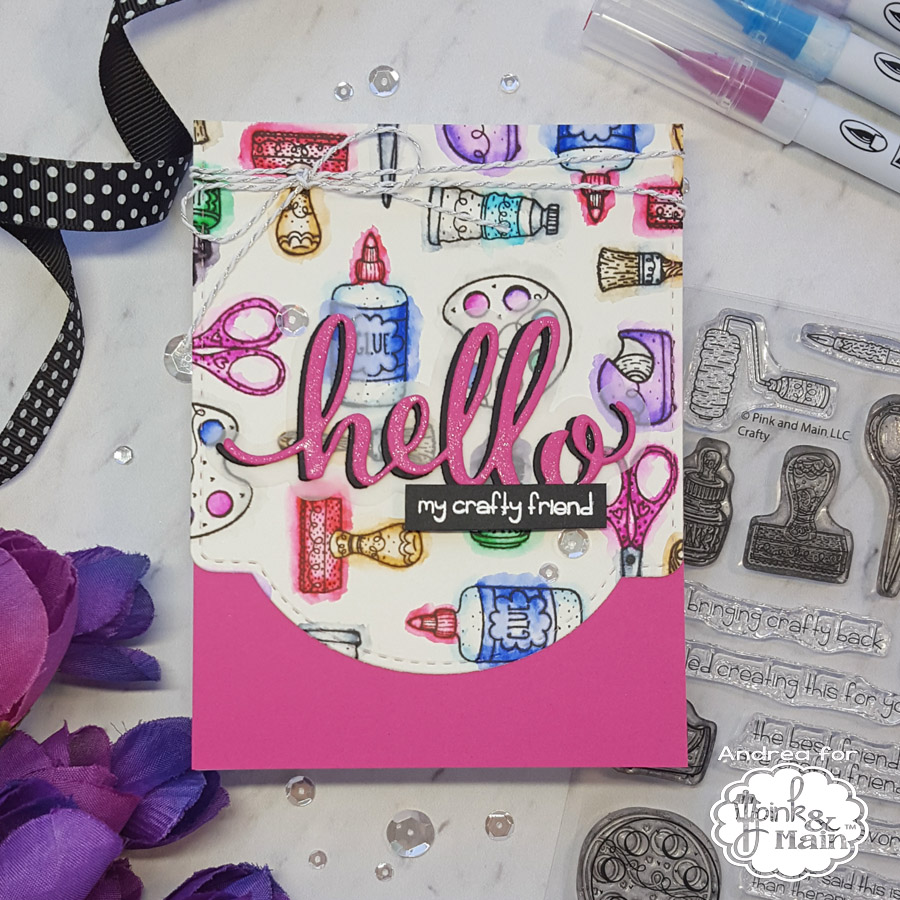
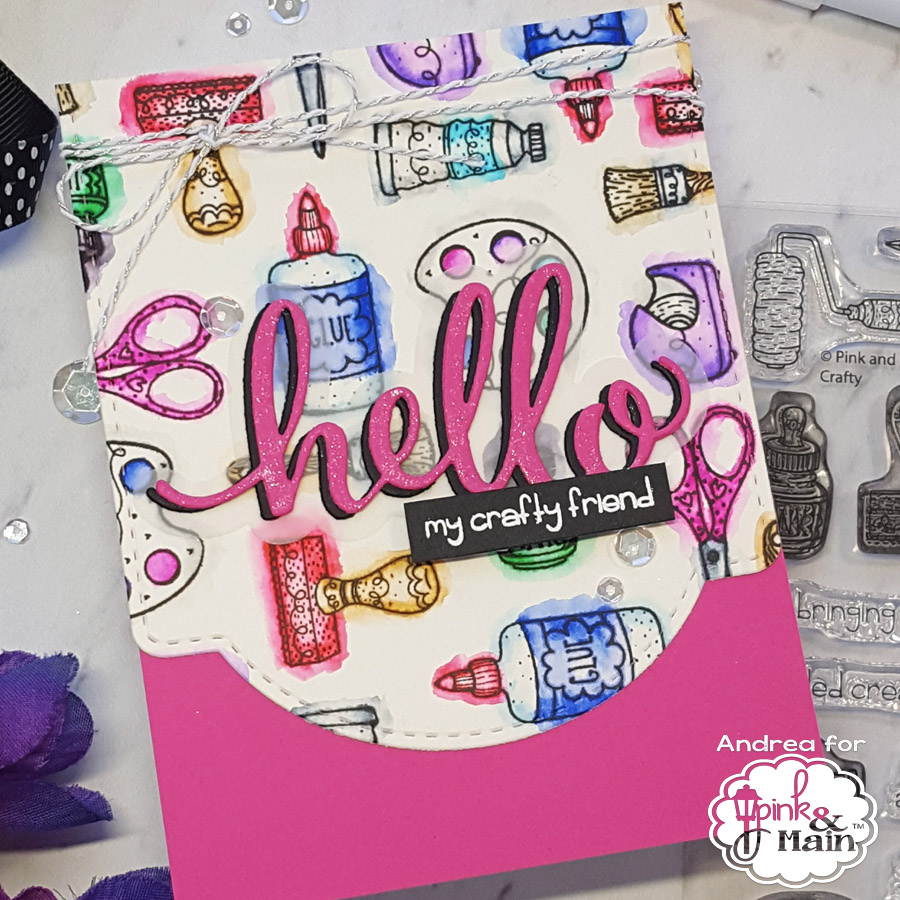
Hello, again! It’s Andrea with you today sharing a colorful card. I love making my own background paper and thought the new Crafty stamp set would make a fun one.

To create my background paper, I placed a piece of watercolor paper (smooth side up) in my MISTI and arranged several images from the Crafty set onto my paper. Once I was happy with the placement, I picked up the stamps with the lid of my MISTI and inked them up with Versafine Onyx Black ink. I cleaned the stamps, re-arranged them, and inked them up until my paper was full.

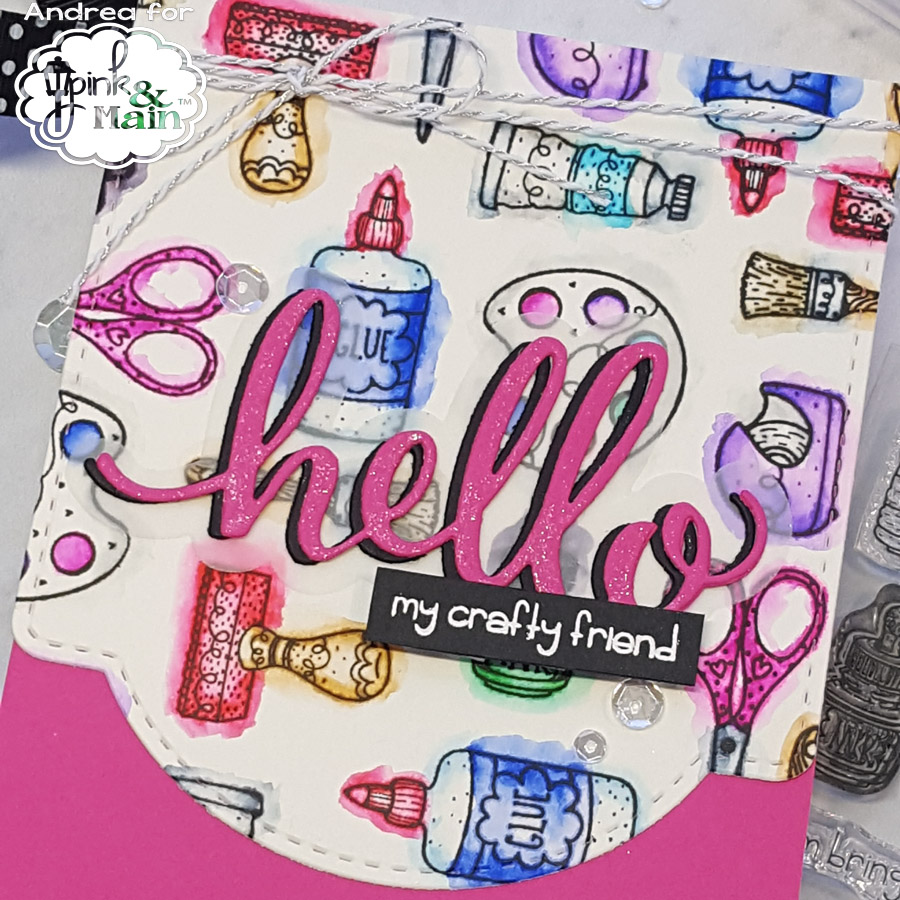
Normally, I don’t do messy watercoloring (I’m a bit OCD when it comes to coloring. ), but I strayed outside the lines a few times coloring. Rather than scrap all of that stamping, I decided to go with the flow (yes, pun intended). I scribbled my Zigs near the edges of my images, allowing them to go outside the lines a bit, and then went over the color with a waterbrush. It’s super easy to do and even a little therapeutic (if you can tamp down any OCD tendencies you may have! 🙂 ).

After coloring my images and allowing the paper to dry, I die-cut it with the largest die from the Arch Tag Dies. I trimmed some off the top of the panel and adhered my background to pink cardstock, which I attached to a top-folding white card. (As the die is narrower than a typical A2-sized card, the dimensions of my card are only 4″ x 5 1/4″.) With the Hello Dies, I die-cut two pink and one black sentiment and the outline from vellum. I layered the die-cuts together and adhered them to my card. For my companion sentiment, I masked part of the phrase, stamped with Versamark, and heat-embossed it in white. After popping up the sentiment strip with foam tape, I brushed some clear sparkle onto the die-cut, added a scattering of clear sequins, and tied on some sparkly string.
Thanks for stopping by!

Pingback: Hello Crafty Friend – Blissfully Scrappy
Cute card!
Have a great day!
Marilyn❤️