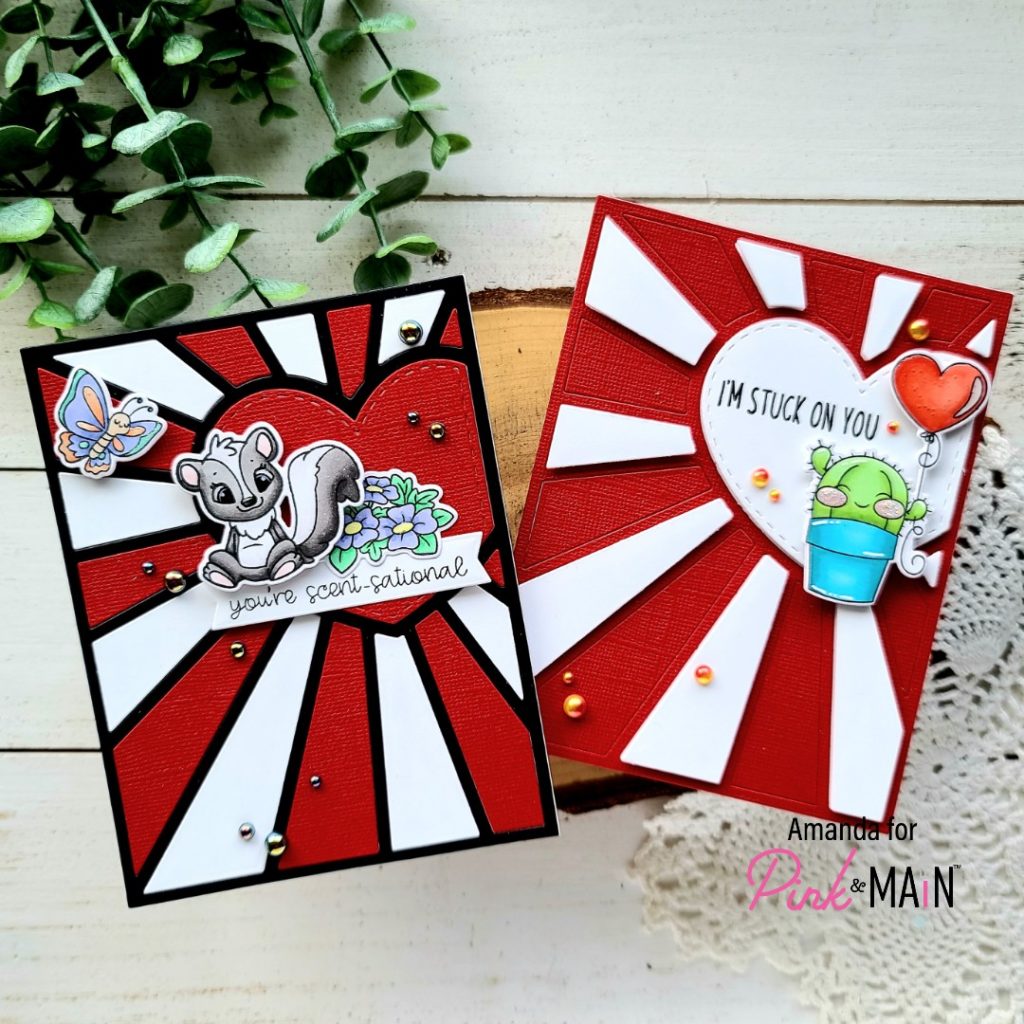
Happy Friday everyone!!! It’s Amanda from Twiddler’s Nook today celebrating release day!!! Today I have a bundle of cards for you featuring the new heart burst cover plate and images from lots of the new stamp sets too!
The night that I got my release package I started cutting this cover plate out of every color of cardstock I could get my hands on. I had so many ideas and it was so much fun! So today I’ve narrowed it down to 4 cards to share with you. Let’s dive in!

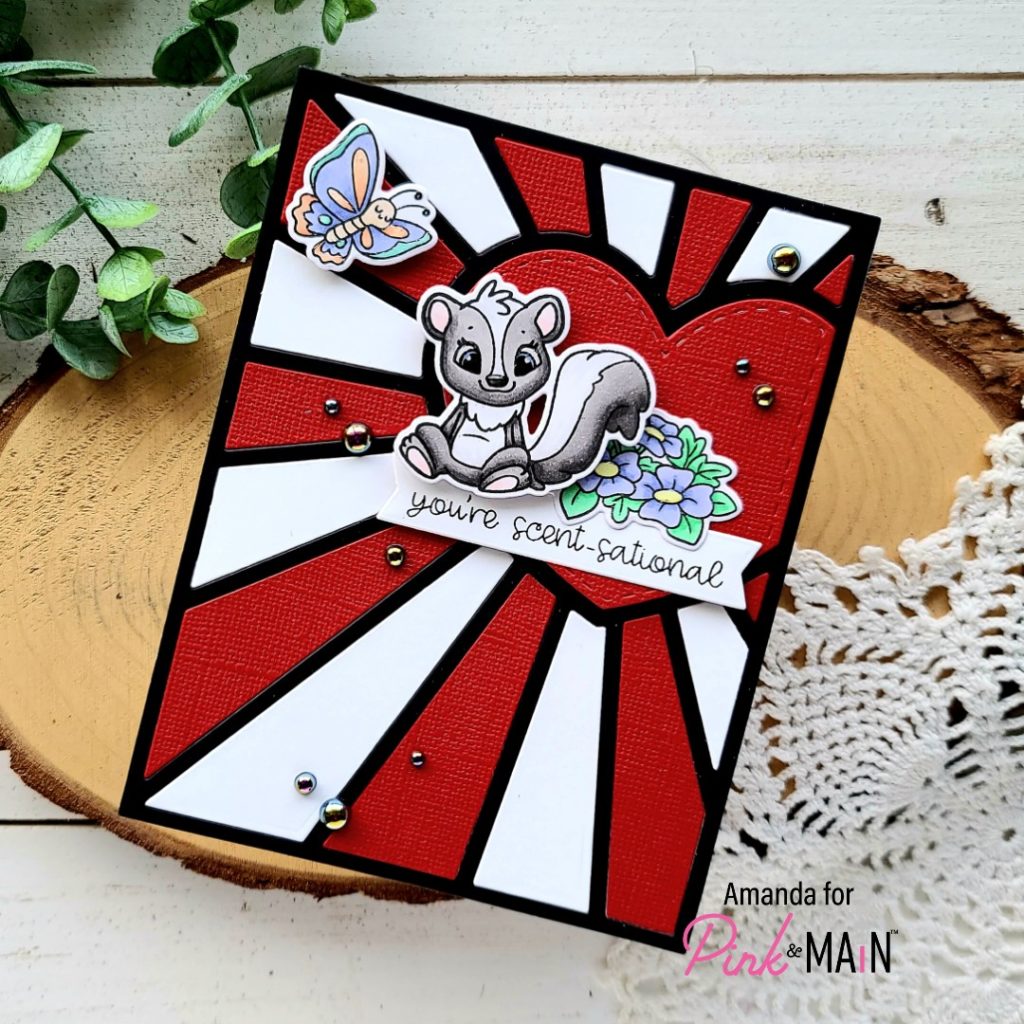
First I cut the background from white, black and red cardstocks. I glued the black frame to a card base and inlayed the white and red bursts with EZ squeeze liquid glue. Then I popped the heart up with foam tape. For the second card, I adhered the red frame to a card base and inlayed the red bursts while popping the white ones up with foam tape, along with the heart as well.

Then for this card, I stamped and colored images from Stinkin’ Sweet with my copic markers. I used the coordinating dies to cut them out and added them with a combination of foam squares and EZ Squeeze liquid glue. I stamped a sentiment from the set and cut it out with a large sentiment strip die and tucked it underneath the images to ground my mini scene.

For finishing touches I added glossy accents to the skunk’s eyes and nose, the flower centers and parts of the butterfly. Then I glued a scattering of pearls from Essential Pearls pack across the whole design.
Isn’t it so bold and still adorable?!? I love it! Now for the second card…

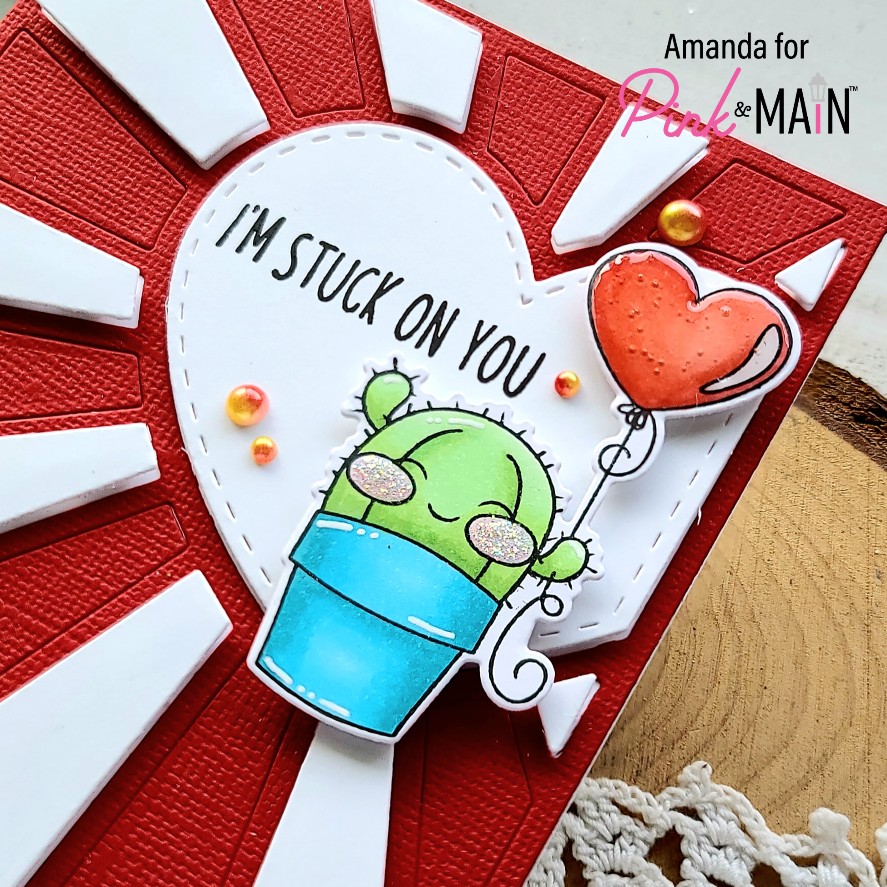
I place my card in my MISTI and stamped a sentiment from Prickly Hugs on the heart. Then I stamped an image from the same set and colored it with my copic markers. I used the coordinating dies to cut it out and added foam adhesive to the back. After removing the release paper, I popped it in place, tucking it right around the sentiment perfectly.

For finishing touches on this fun card, I added some white gel pen highlights and glossy accents to the balloon. Then I just had to add unicorn Stickles to the cacti cheeks. Last I glued a scattering of Unicorn Pearls across the design.
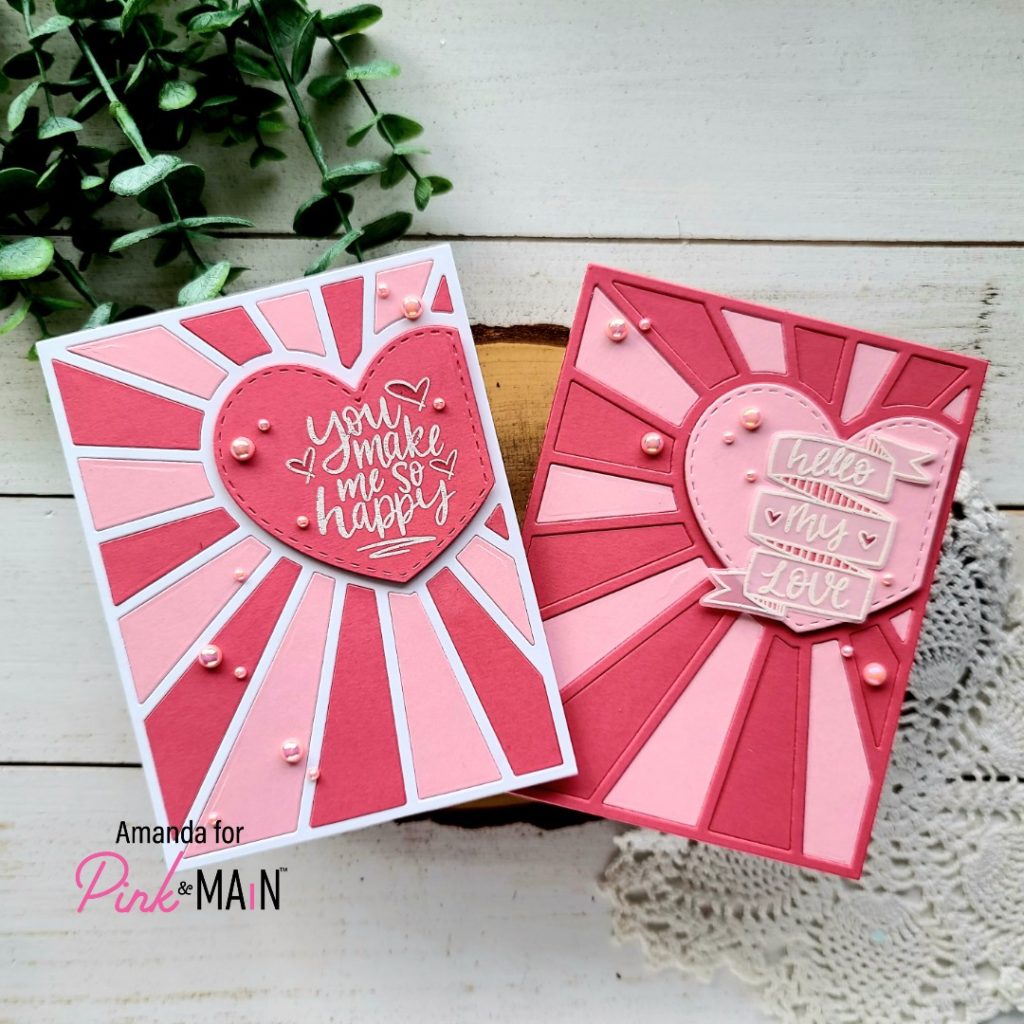
Now, I have a pair of quick and easy but absolutely adorable Valentine cards that you could mass product if you needed.

I cut the heart burst frame from melon and pink cardstocks and still had my white frame from the cards above. For the card on the left I glued the frame and bursts directly to the card base with EZ Squeeze liquid glue. Then, before popping up my heart, I stamped and heat embossed a sentiment from the new My Heart Smile set. Once that was finished I added a little Wink of Stella glitter brush pen to the hearts in the sentiment and glued a scattering of Pastel Pearls across the design.
For the card on the right, I doubled up the frame gluing the light pink one beneath the melon one for a little dimension. Then I inlayed the bursts and popped up the heart with foam squares again. This time for the sentiment, I stamped and heat embossed it on vellum and used the coordinating dies to cut it out. I used R35 and R39 copic markers to color the back size of the vellum for a little interest before using tape runner to adhere it down. I finished this card off with a scattering of the same pearls. Voila!
Aren’t all of these cards just too much fun!!! I can’t wait to play more! I hope you enjoyed today’s projects and have fun shopping the new release!
Products used today:
Heart Burst Cover Plate die
Prickly Hugs stamps and dies
Stinkin’ Sweet stamps and dies
My Heart Smile stamps and dies
Large Sentiment Strip dies
Essentials Pearls
Pastel Pearls
Unicorn Pearls
EZ Squeeze liquid glue
Foam squares
Glossy accents
Stickles – unicorn
I appreciate you sharing your time with me. Have a fabulous day!
