
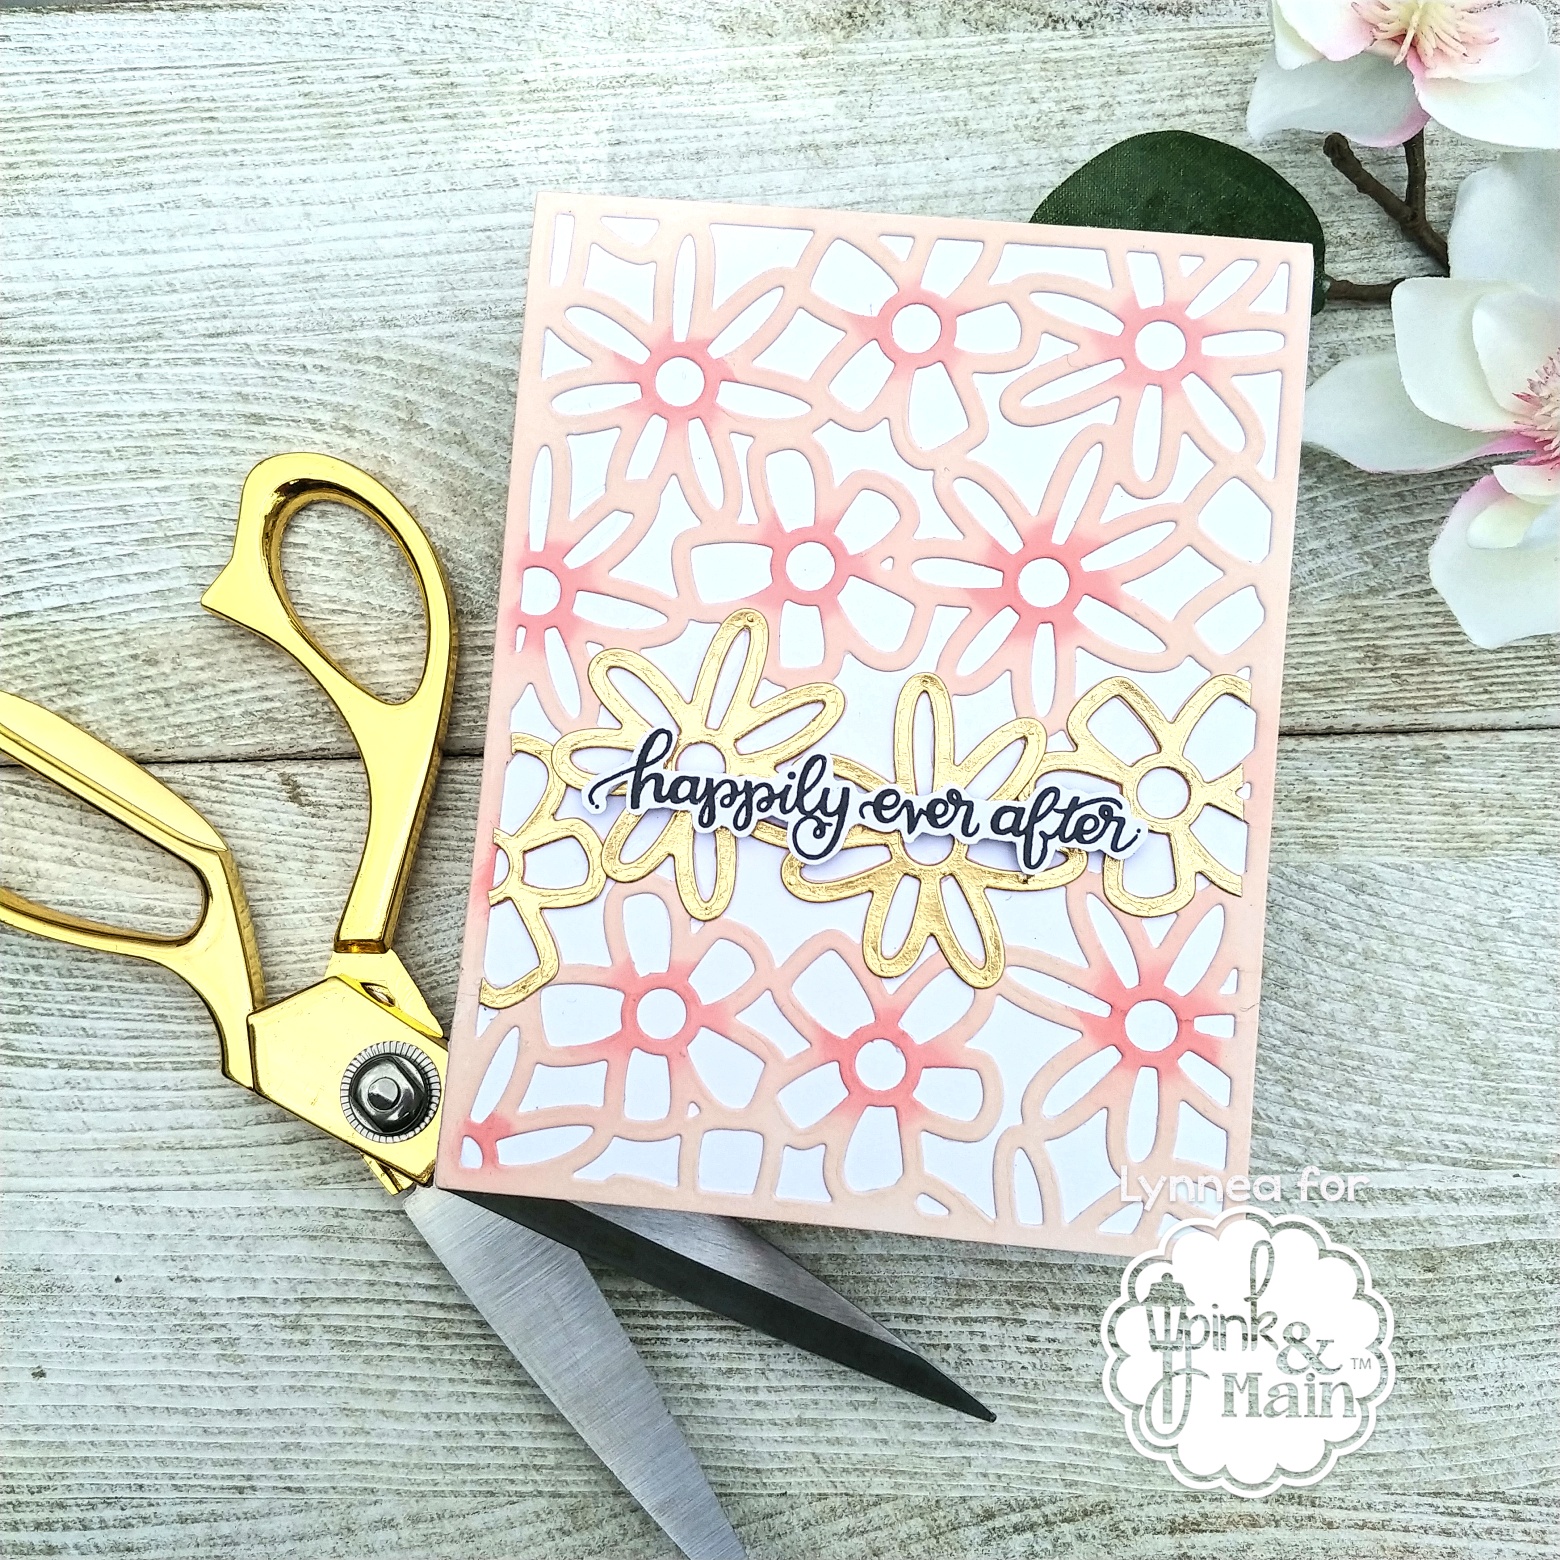
I die cut a piece of white cardstock with the large die from the Flower Cover Dies. You could definitely ink blend first and then die cut, but I wanted to give dimension to the flowers by adding dark pink to the center and light to the outer parts.
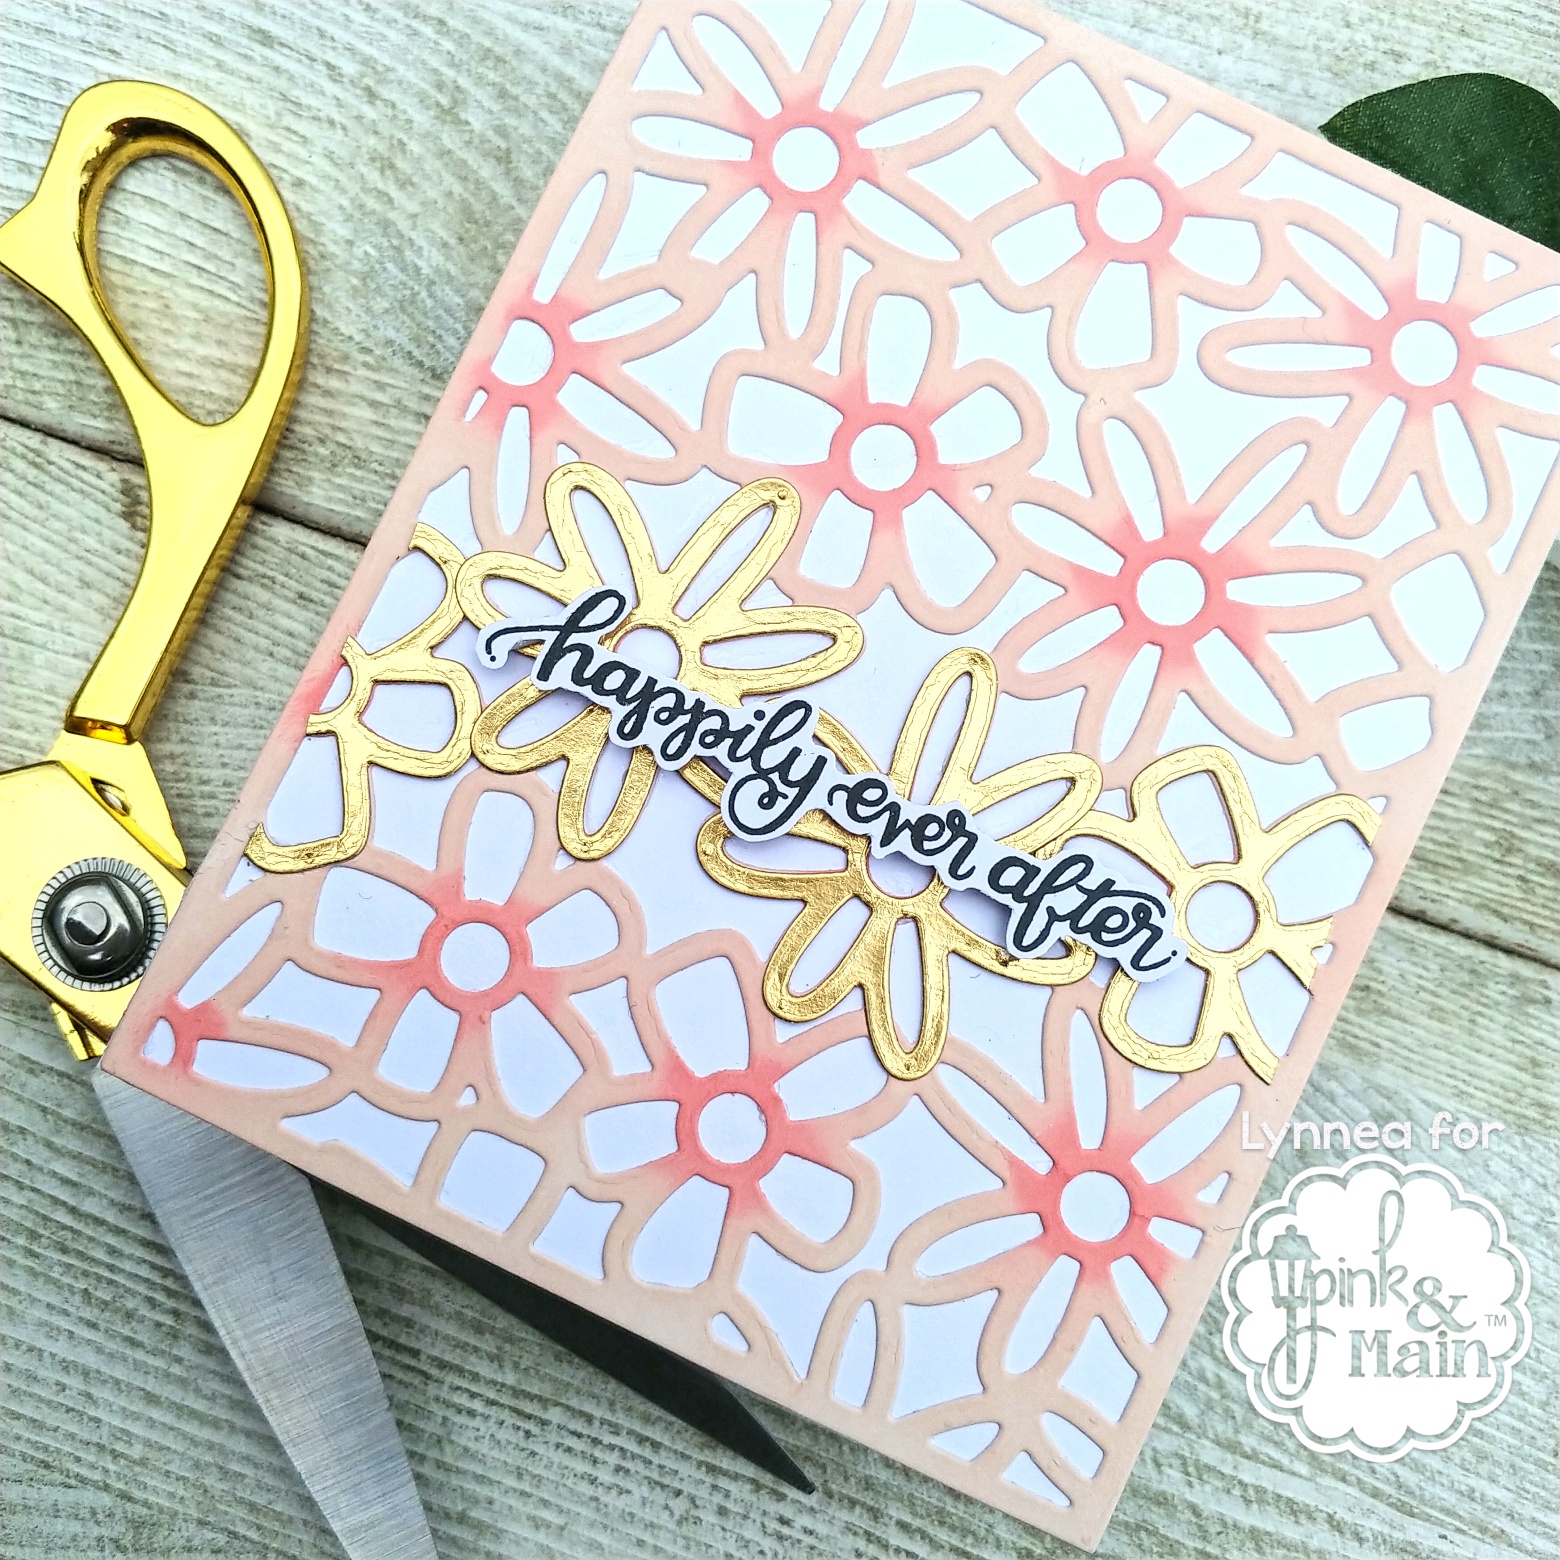
I die cut some gold foil cardstock using the extra flower dies in the Flower Cover Dies set and adhered them in a line across the bottom of my card. I LOVE that they fit PERFECTLY over the flowers in the background. It’s a great addition and a fabulous way to add a special touch! I added the die cut background onto a white card base.
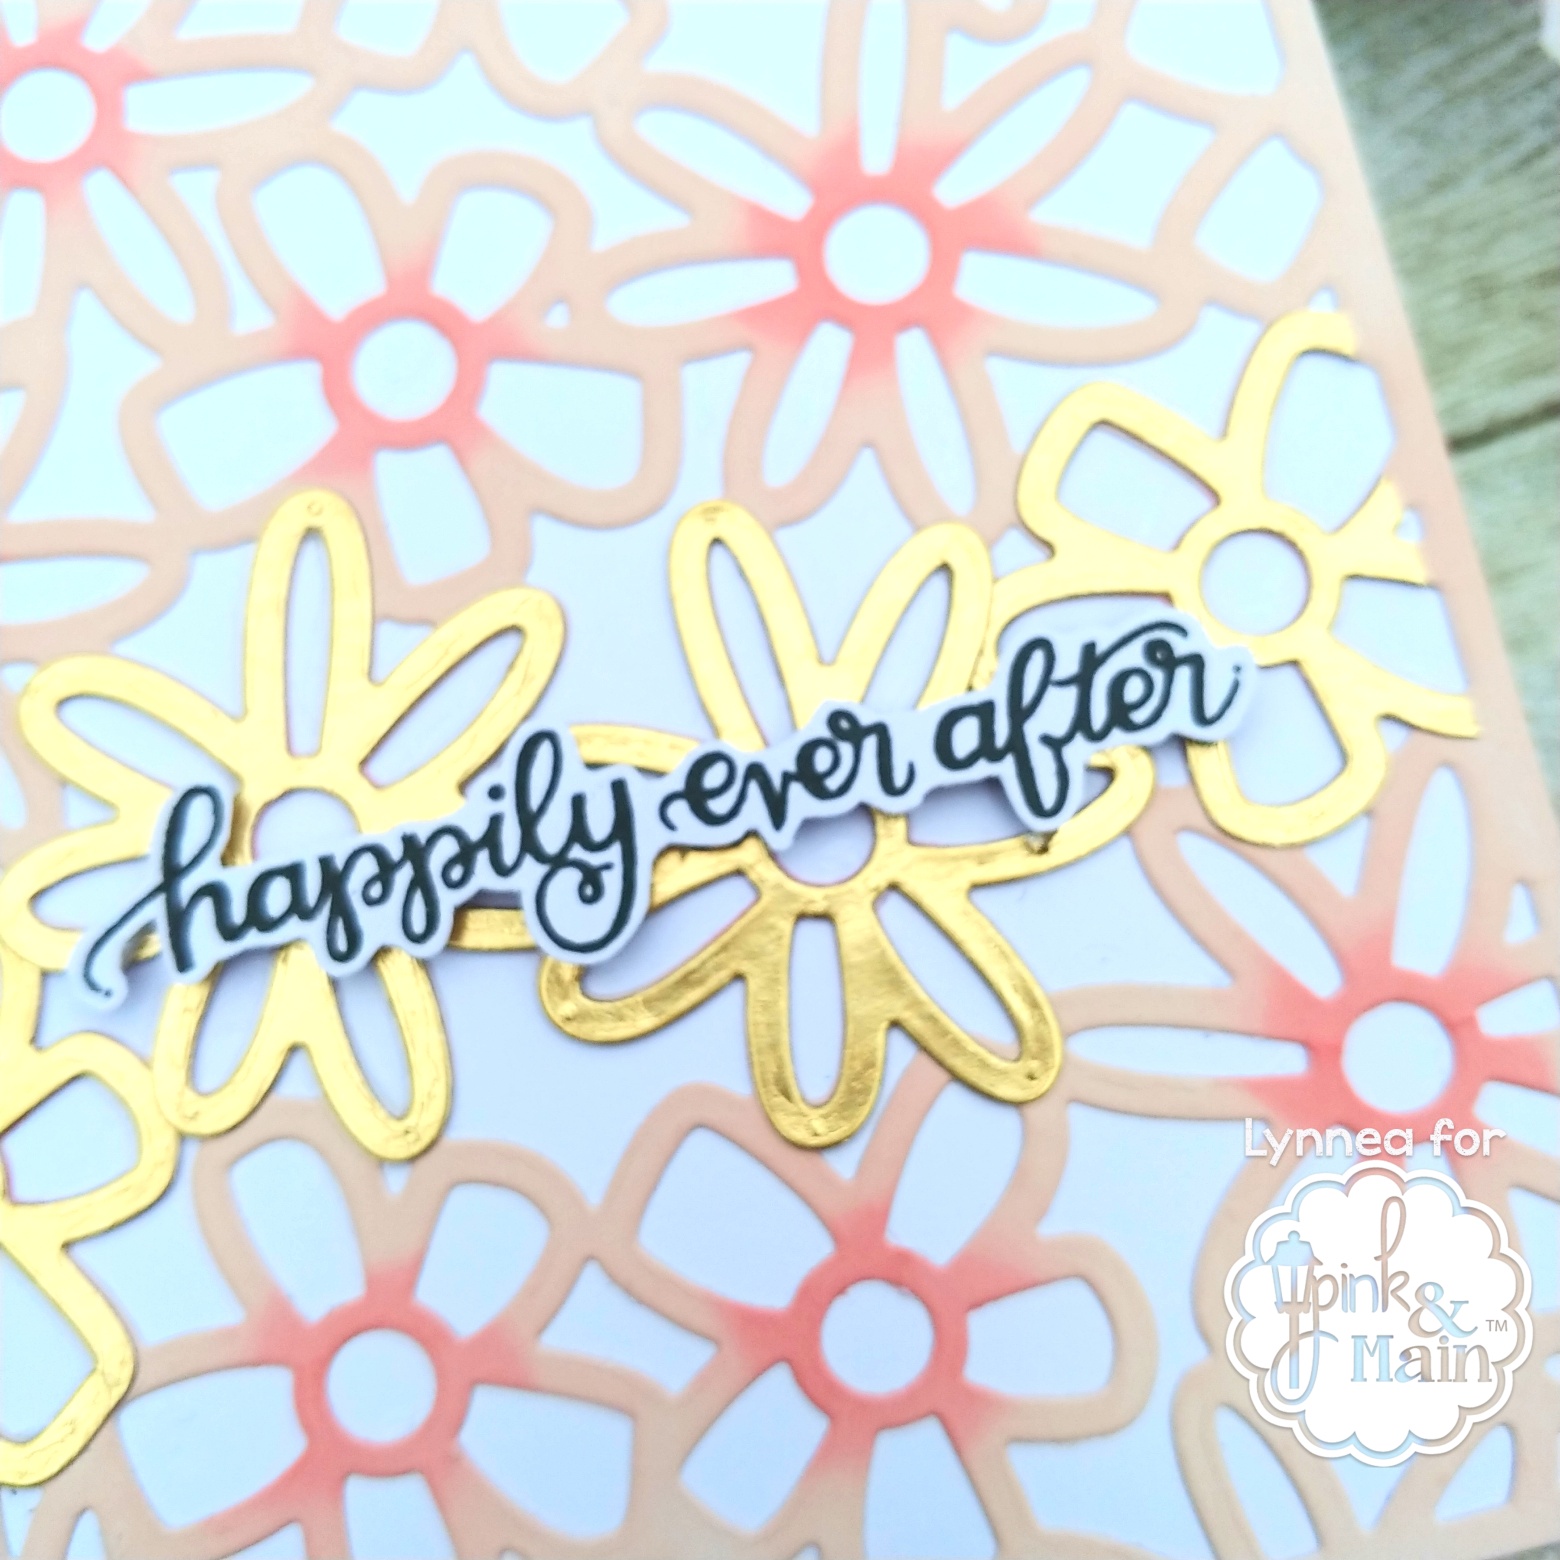
I decided to add a sentiment from the Happily Ever After stamp set. How fitting since yesterday was my 7 year wedding anniversary! I stamped it in black ink and trimmed around the sentiment with my scissors to mimic a die cut sentiment. That’s it! I love how this background die can be stepped up and changed around with the extra dies that are included! See you next time!