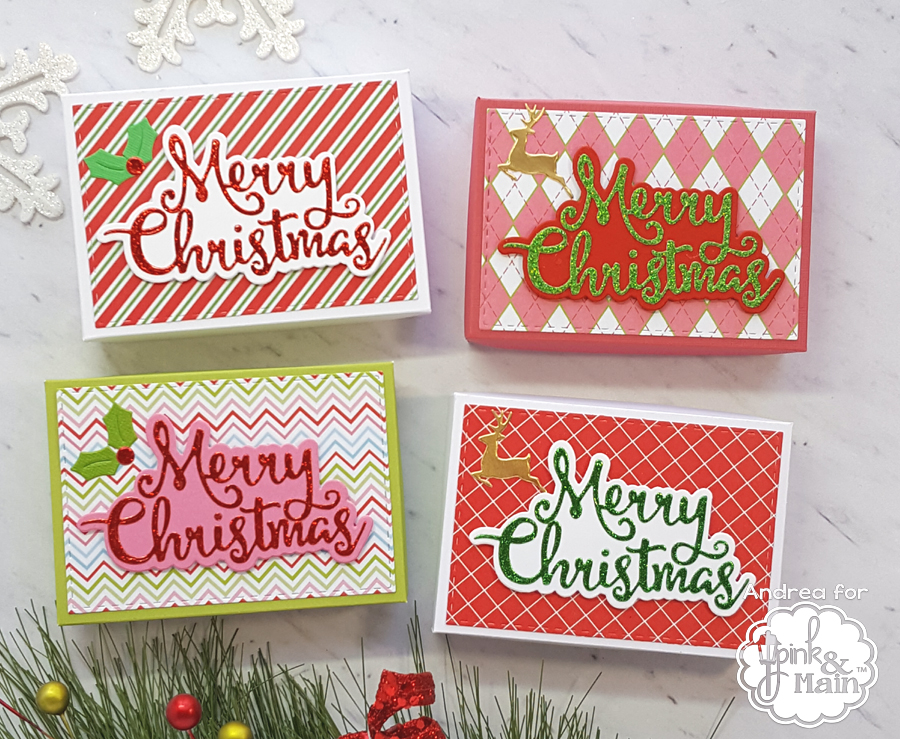
Hi there! It’s Andrea with a tutorial for cute boxes to give gift cards or other small presents. I like to give my daughter’s teachers gift cards and whipped up these boxes in a couple of hours (It would have gone faster, I’m sure, if I had not agonized over what color to make the different embellishments). They’re way more fun than just sticking the gift cards in a card, and I love how easy they are to customize!

I based the size of my boxes on the gift cards and on the Stitched Rectangles Set 1 Dies, as I knew I wanted to use those dies to die-cut the patterned paper decorating the tops of the boxes. The assembled boxes measure 4 1/4″ x 3″ x 1″.

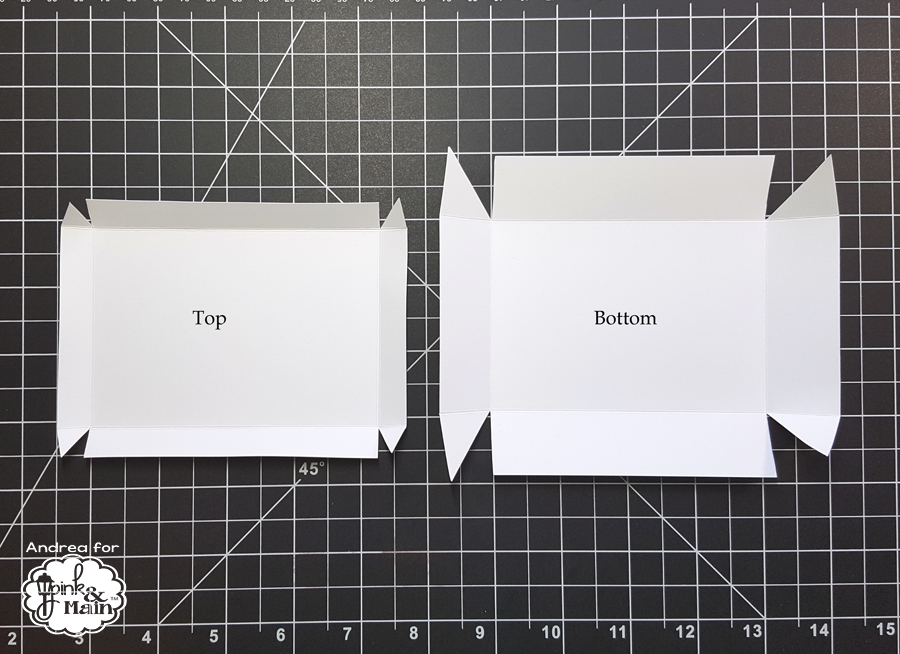
For the box top, cut cardstock 5 1/4″ x 4″. Score each side at 1/2″ and crease the score lines with a bone folder. Trim a triangle from each corner as illustrated in the picture above. Place adhesive on the outside of the remaining triangles and attach to the inside of the long flap. For the bottom of the box, cut cardstock 6 1/8″ x 4 7/8″. Score the rectangle at 1″ on all sides and crease with a bone folder. Trim triangles from the corners and adhere as before.

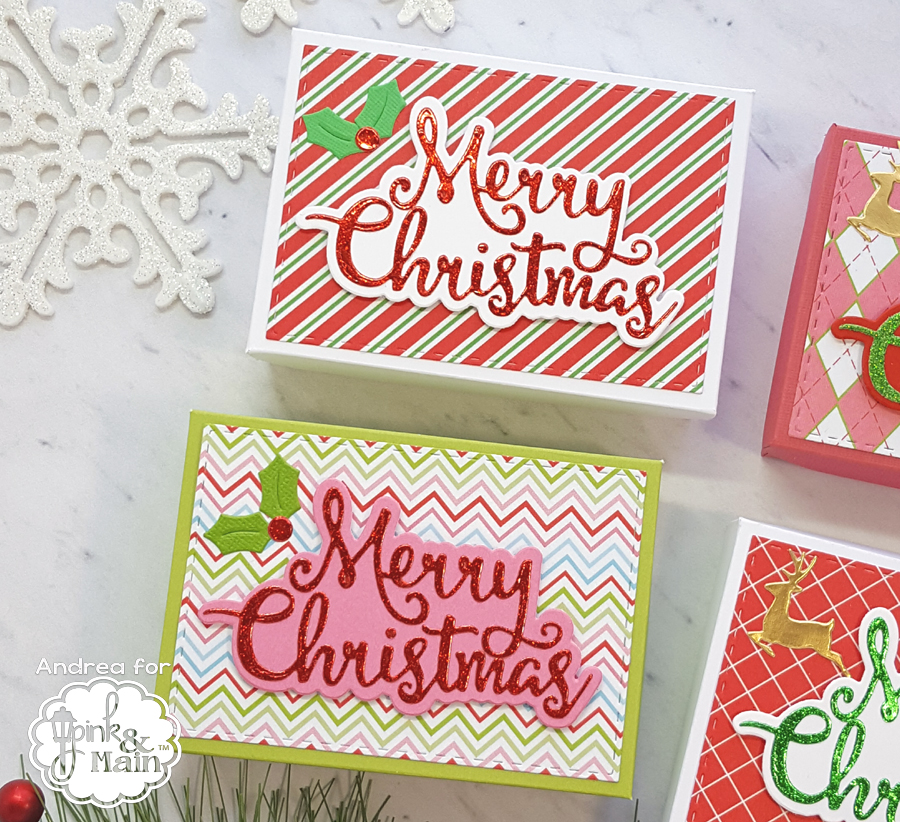
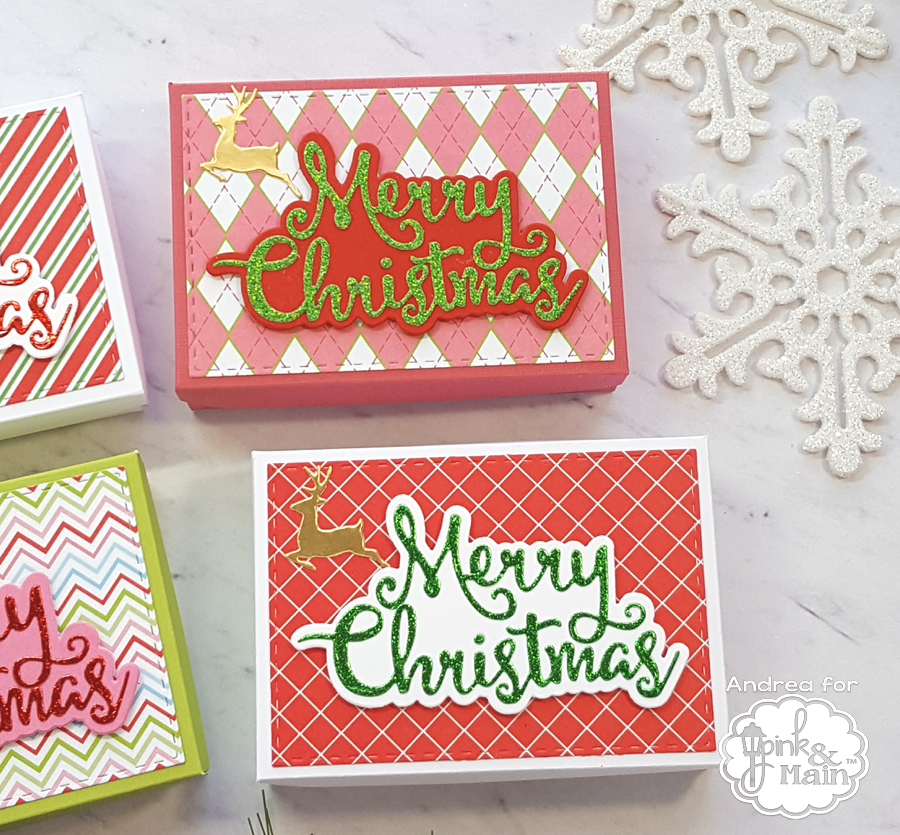
Because I needed to make four boxes, I kept the embellishments to a minimum. All of the patterned paper is from the Jolly Paper pack and was die-cut with the Stitched Rectangles Set 1 Dies.

I used the Merry Christmas Dies to die-cut the sentiment and its outline, adhered the layers together, and attached the die-cuts to the top with foam tape. I cut some holly and reindeer with the Winter Wreath Decor Dies and affixed them to the top with liquid adhesive.
These boxes are really easy to make, and I hope you’ll give them a try. Have a Merry Christmas!

Cute boxes!
Have a great day!
Marilyn❤