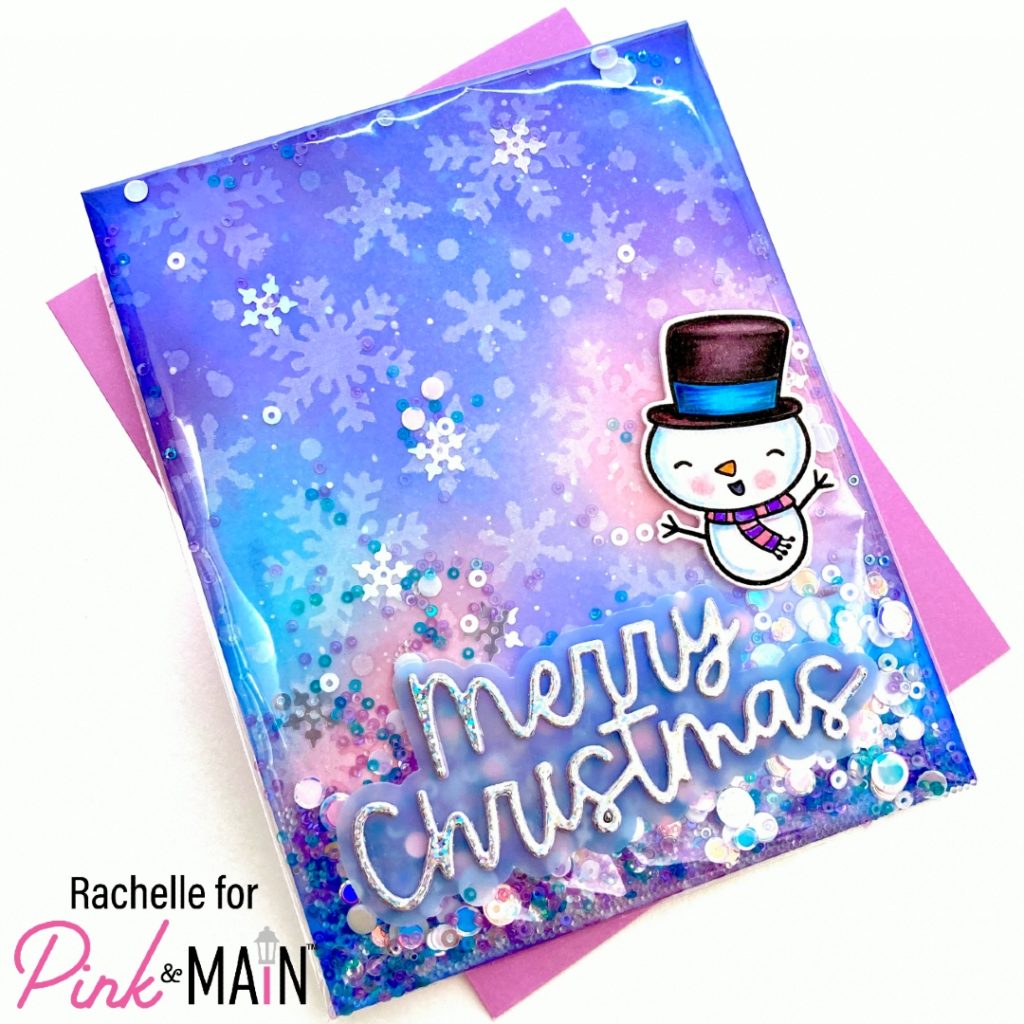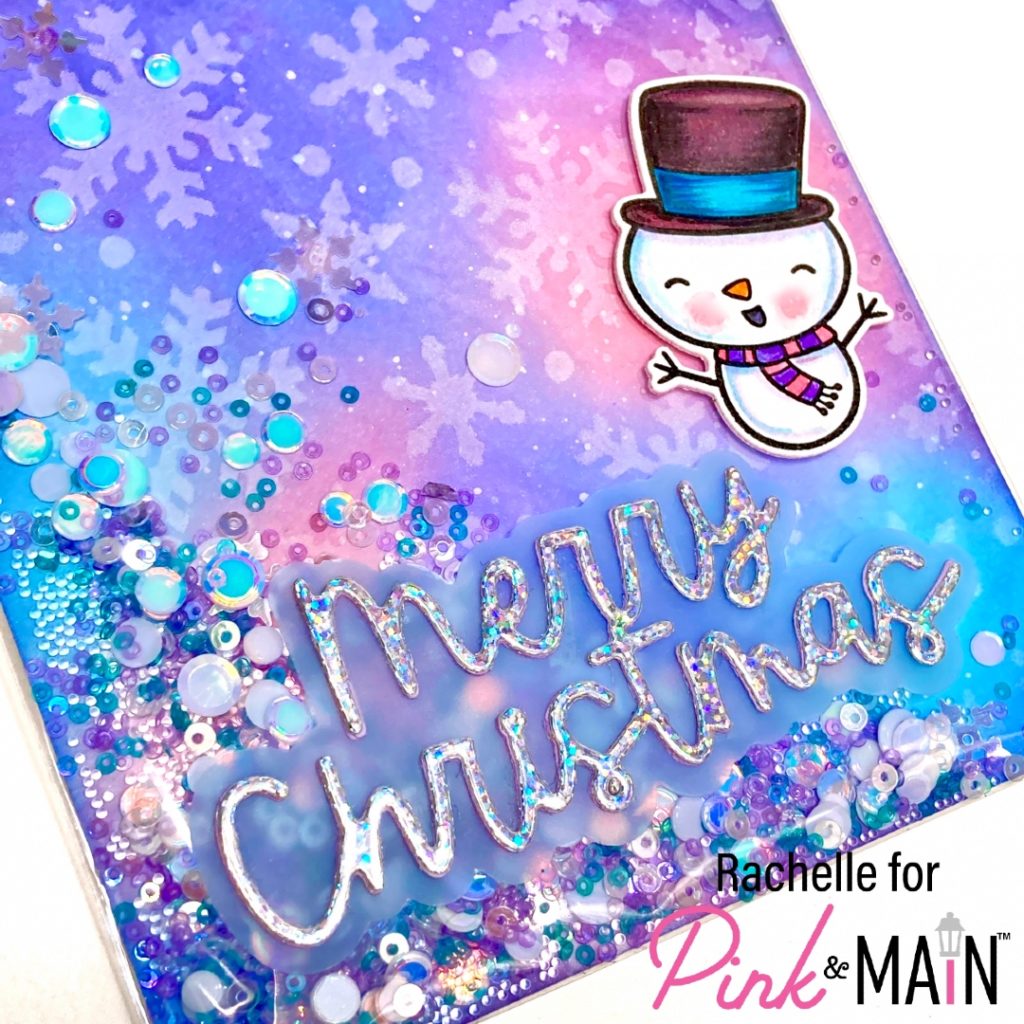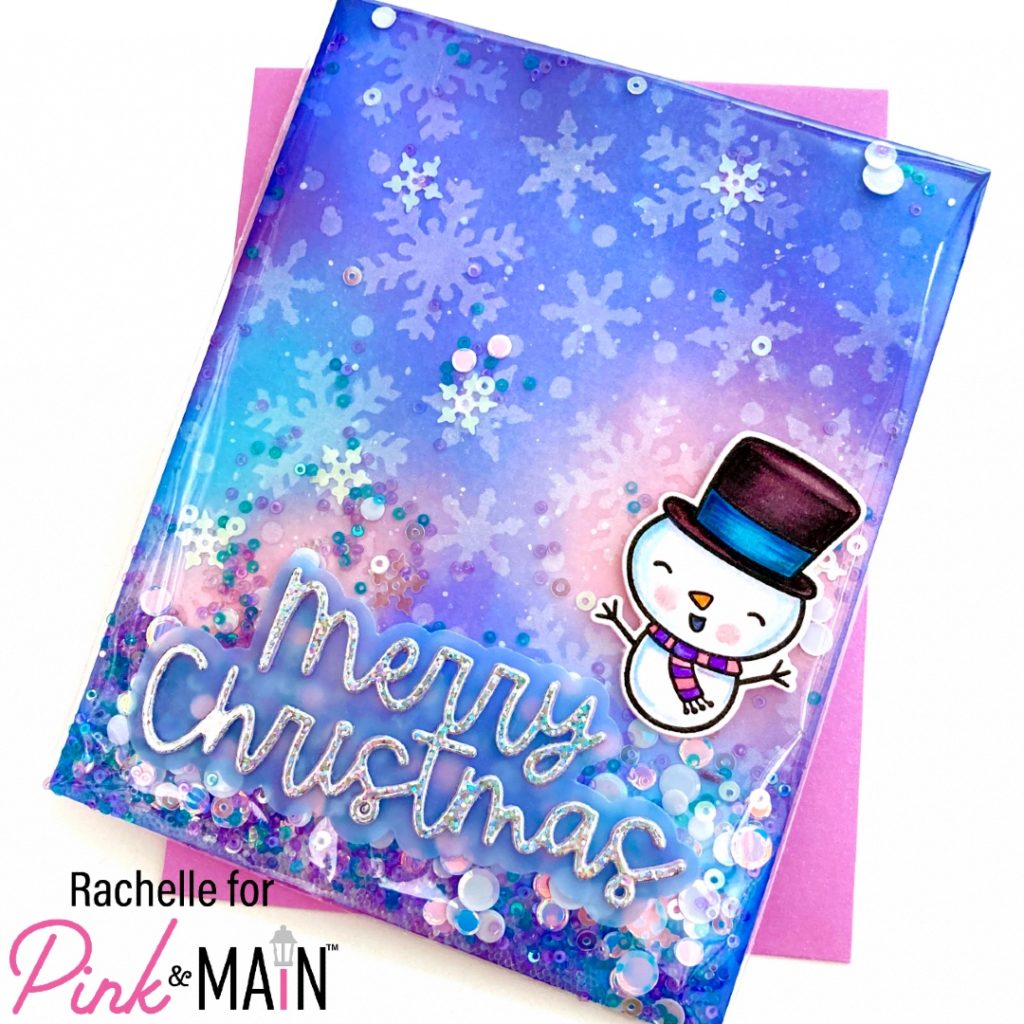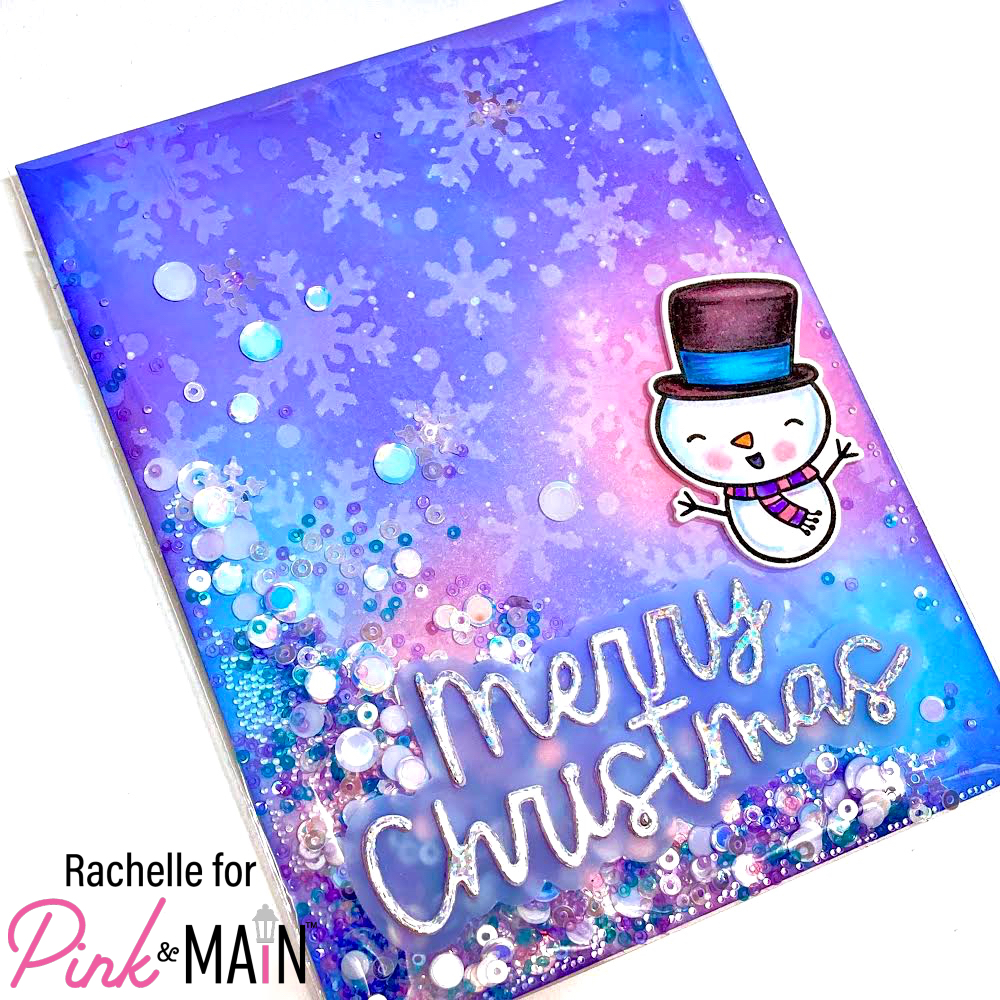
Hello Pink & Main Fans! By now, you probably know that I’m a shaker card fanatic but this is my very first full-front version! It was so easy to do with these wonderful P&M Products that I’m going to be able to mass produce about a dozen of these in one day! I used the “Snow Sweet” Stamp of the Month Set and chose this handsome guy with the top hat! I stamped, colored and die cut the image, adding an extra blank die cut to the back.

I randomly ink blended “Salty Ocean”, “Worn Lipstick”, “Dusty Concord” and “Wilted Violet” Distress Oxides on 130# white card stock. The panel was sprayed with shimmer mist and spattered with diluted inks. When it was dry, I used white pigment ink and blended the snowflakes using the NEW “Blizzard” Stencil.

I used a clear acetate envelope to create my shaker and simply cut a partial slit on the backside, added 1/8″ EZ Tear Tape to the back of the stenciled panel, slipped it into the acetate and carefully removed the EZ Tape with my Pink and Main “Reverse” Tweezers! These tweezers are incredible and can reach tiny nooks and crannies with ease! I added lots of shaker bits, micro beads, sequins and confetti onto the front side, folded the envelope opening over the top and taped it to the backside. 1/2″ EZ Tear Tape was added to the backside of the shaker pocket and it was adhered to a top-folding A2 card base.

Using the NEW “Christmas Greetings Dies”, I die cut the shadow image from light blue vellum and the scripty “Merry Christmas” from a piece of the small checked paper from the “Holographic Paper Pack Set 1”. “This sparkly reflective holographic paper really pops off the front of the shaker and picks up all the colors in this snowy palette! I attached the scripty die cut to the vellum with “EZ Squeeze Craft Glue” and used tiny pieces of the 1/8″ EZ Tear Tape to attach the entire die cut sentiment and the snowman to the acetate to finish up the card! Thanks so much for stopping by today and happy crafting!

Beautiful! Where do you find blue vellum? Thank you.