I have an easy way to achieve quick color on a background with a stencil using products from Pink & Main that release TOMORROW!!

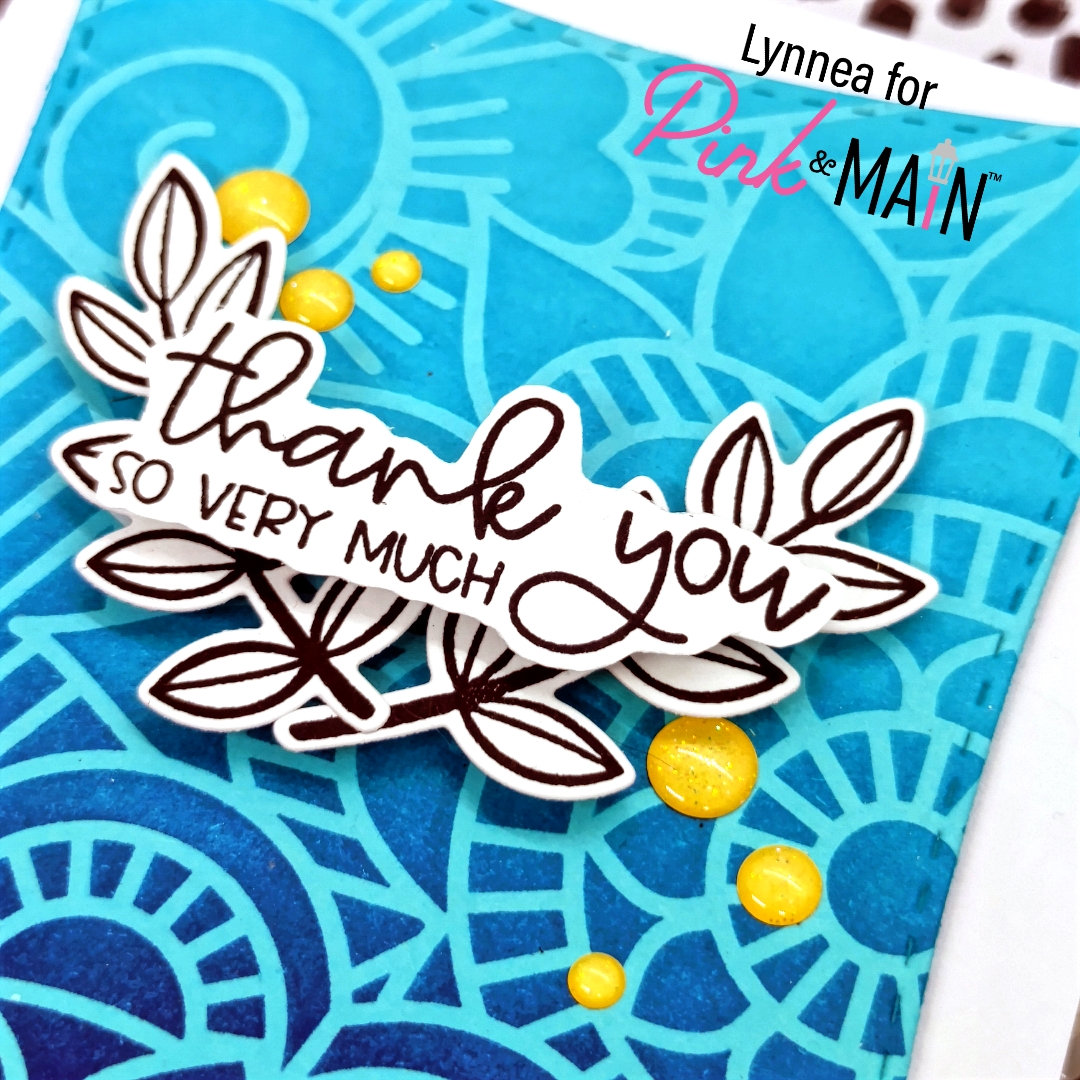
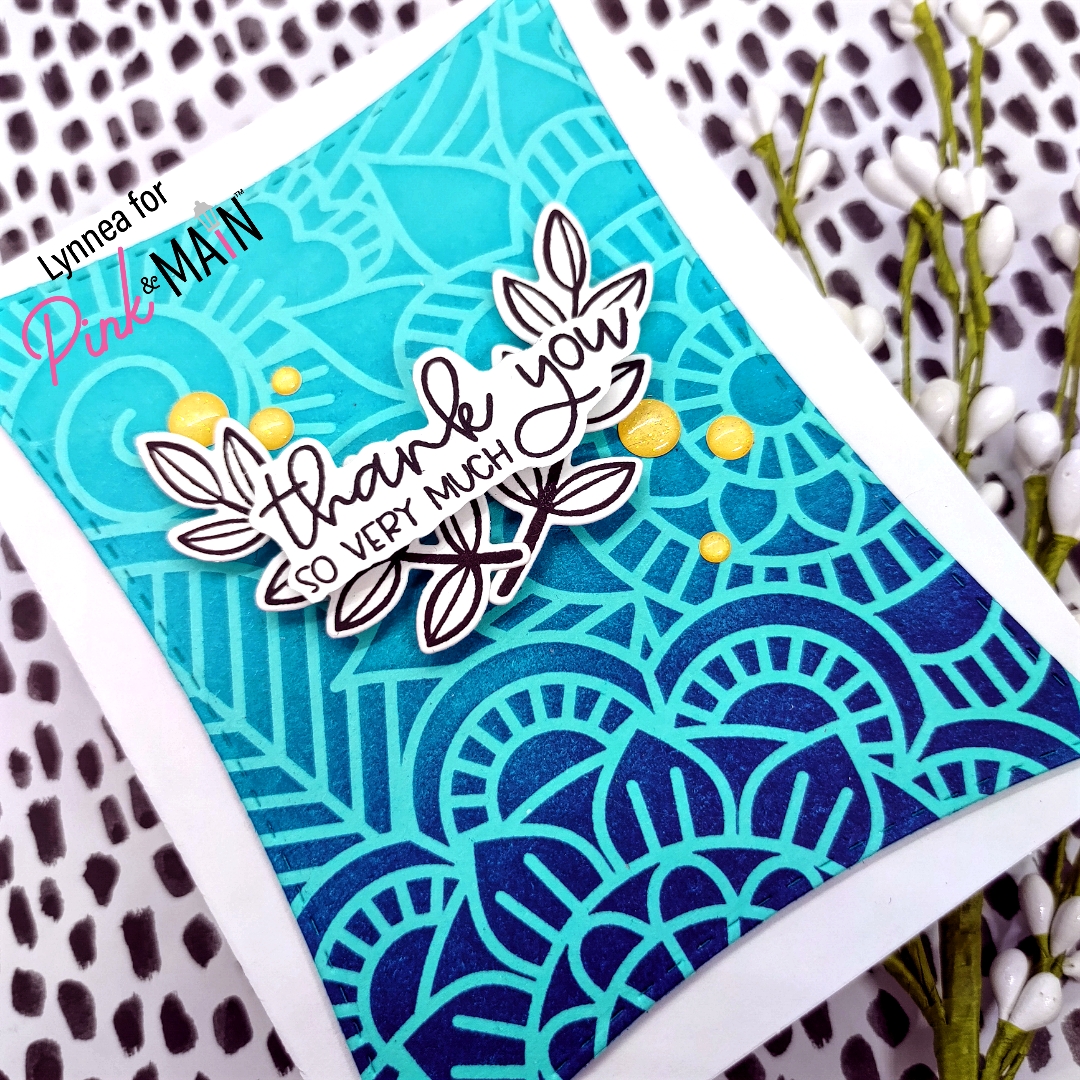
I am such a lover of stencils and the new Flora Stencil is just GORGEOUS! Here’s a trick for creating an easy colored background – start your blending on colored cardstock instead of white. It’s a game changer! I adhered the Flora Stencil to a piece of light blue cardstock and used an Ergonomic Blender Brush to blend two shades of blue ink over the stencil. I started with a dark navy at the bottom and blended into a medium blue ink and allowed the lighter blue ink to fade out towards the top. It looks like I put a LOT of effort into this monochromatic background and it was SO easy!

I used the second largest die in the new Concave Rectangle Die Set and die cut my stenciled background and added it with foam to a white card base. I stamped some leaf clusters from the new Missing You Stamp Set and die cut them with the coordinating dies. That beautiful mixed font sentiment is from the same Missing You Stamp Set. I left them black and white so they would really pop off the card!

I added my die cut leaves and bubble cut sentiment to my card with foam tape and added a scattering of yellow dots from the In the Garden Enamel Dots Pack. I hope you’ve enjoyed this sneak peek! Be sure to visit the Pink & Main store TOMORROW to shop the full release!

Gorgeous!