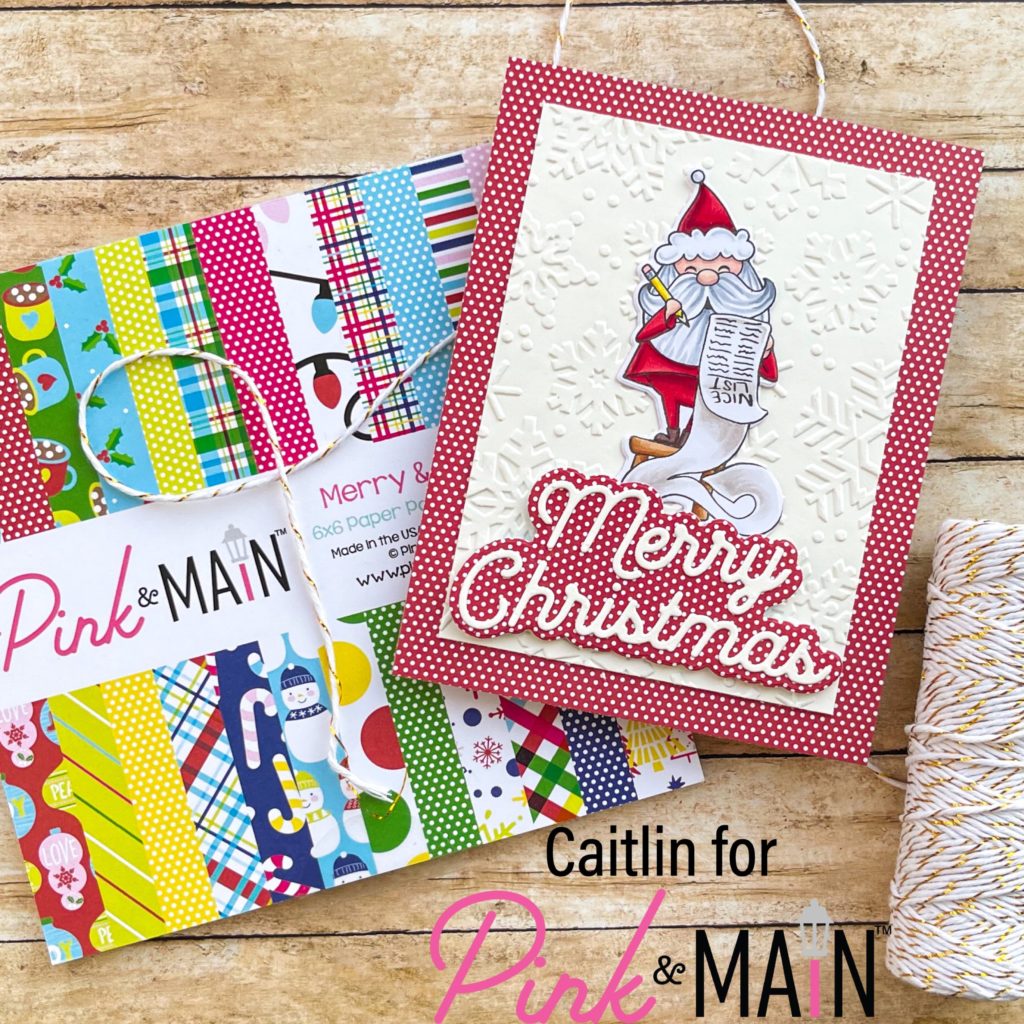
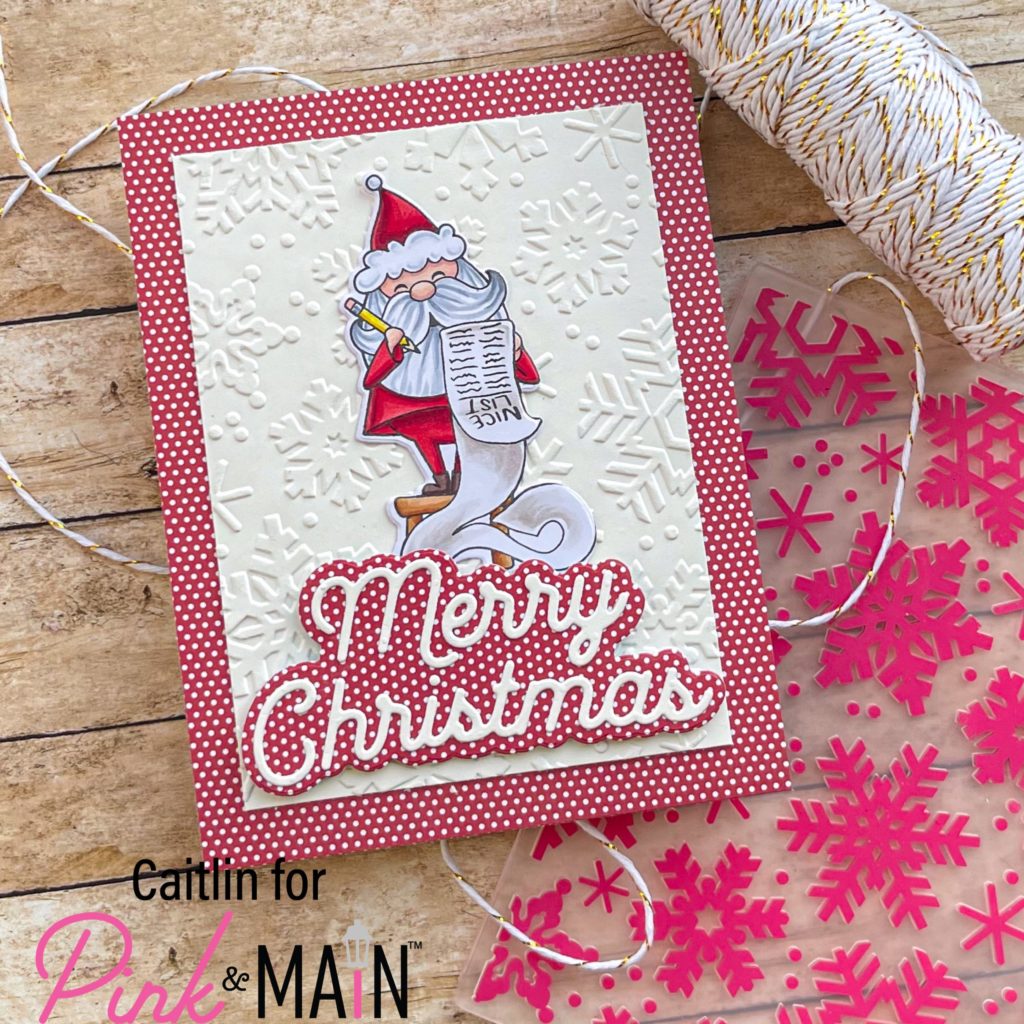
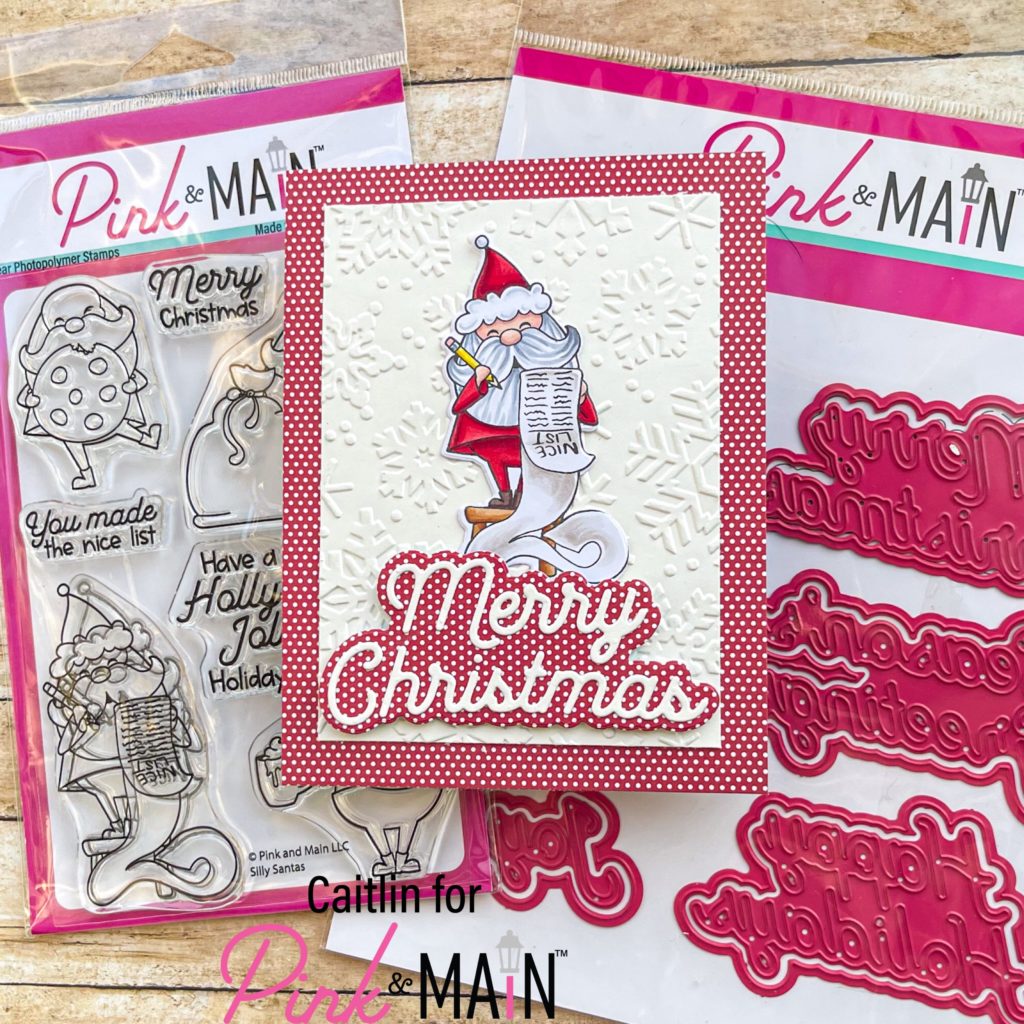
Hi friends, this is Caitlin and this week I am sharing a super simple and fun Christmas card. I have been reluctant to embrace holiday card making but the new Silly Santas Stamp Set is so cute that it made the process a lot easier. I started this whole process with picking the nice list image and stamping it with Asphalt Premium Dye Ink on Copic X Press It paper. I colored my image with Copic Sketch Markers and used the coordinating die to cut it out. I chose a true bright red for Santa’s suit and used cool grays for his beard vs warm grays for the list.

I really wanted to play with the limited color story in that image so I landed on a red main panel to mat a white tone on tone textured layer. It was an easy choice to pick the Snow Day Embossing Folder because its is perfect for any winter occasion so I used that to emboss a 5 in x 3.75 in panel of Ice Rink Card Stock. I love how the texture of this folder pops and adds so much interest without adding any color at all. I used the red with white dot pattern from the Merry & Bright Paper Pad and trimmed that down to be a full A2 sized panel to add to my card base ( 5.5 in x 4.25 in). I added the embossed layer on top with liquid glue and then remembered I needed a sentiment.

I wanted to make the sentiment really bold so I grabbed the Merry Christmas word and shadow die from the Winter Greetings Die Set and cut the shadow layer from the red pattern paper and the word from a scrap of Ice Rink Card Stock. I attached them with liquid glue but then added the whole thing to the card with foam tape for some extra dimension. I added the Santa above the sentiment, tucking his feet under the sentiment a little. I just love how sweet this card is and it came together really easily so I hope it inspires you to get on that holiday crafting!


Love this Santa! What a cute card!