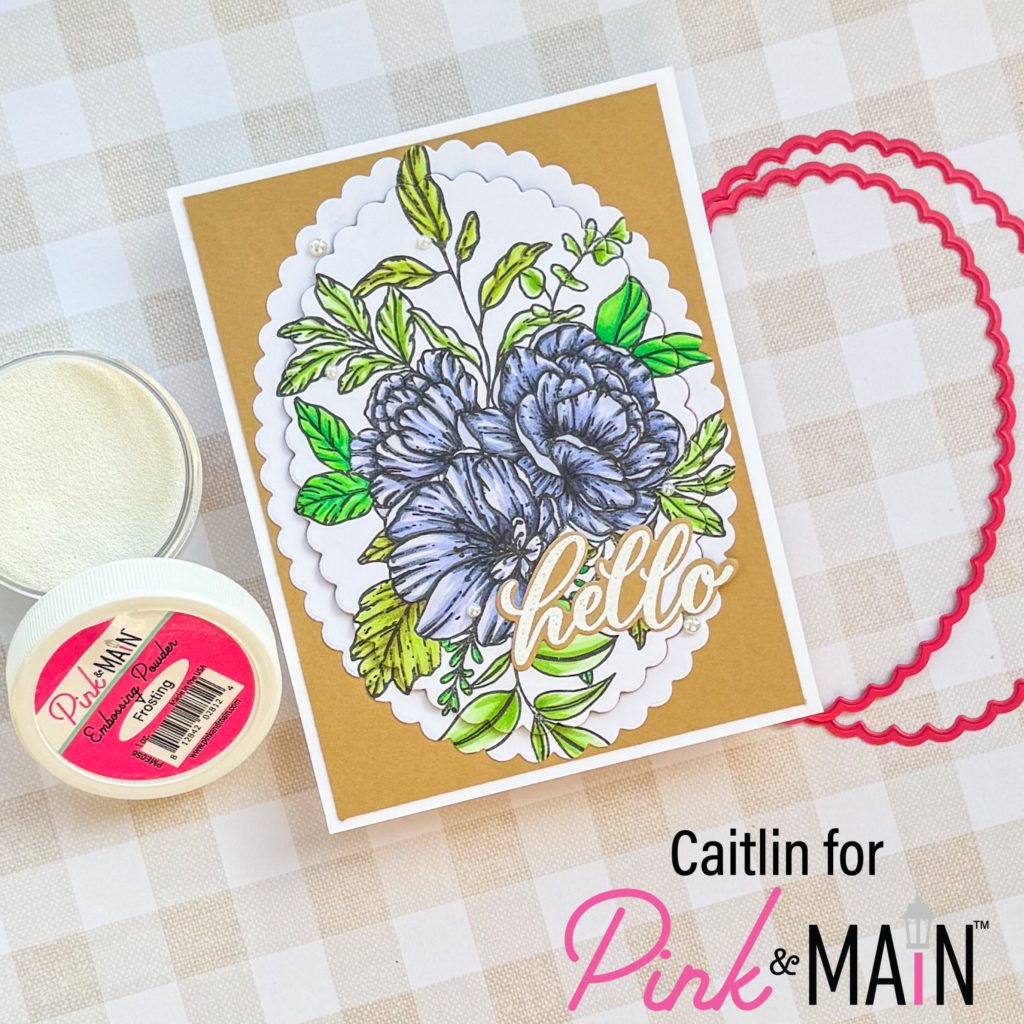
Hi friends, this is Caitlin from Caitlin Annalee Cards and today I am sharing a throw back floral card. I had a request last week while I was live to color a larger floral image this week and share my tips for shading petals. I have loved the older floral stamp sets from Pink and Main since I first started coloring with alcohol markers but I wanted to get in some extra practice. This card was that practice project lol.

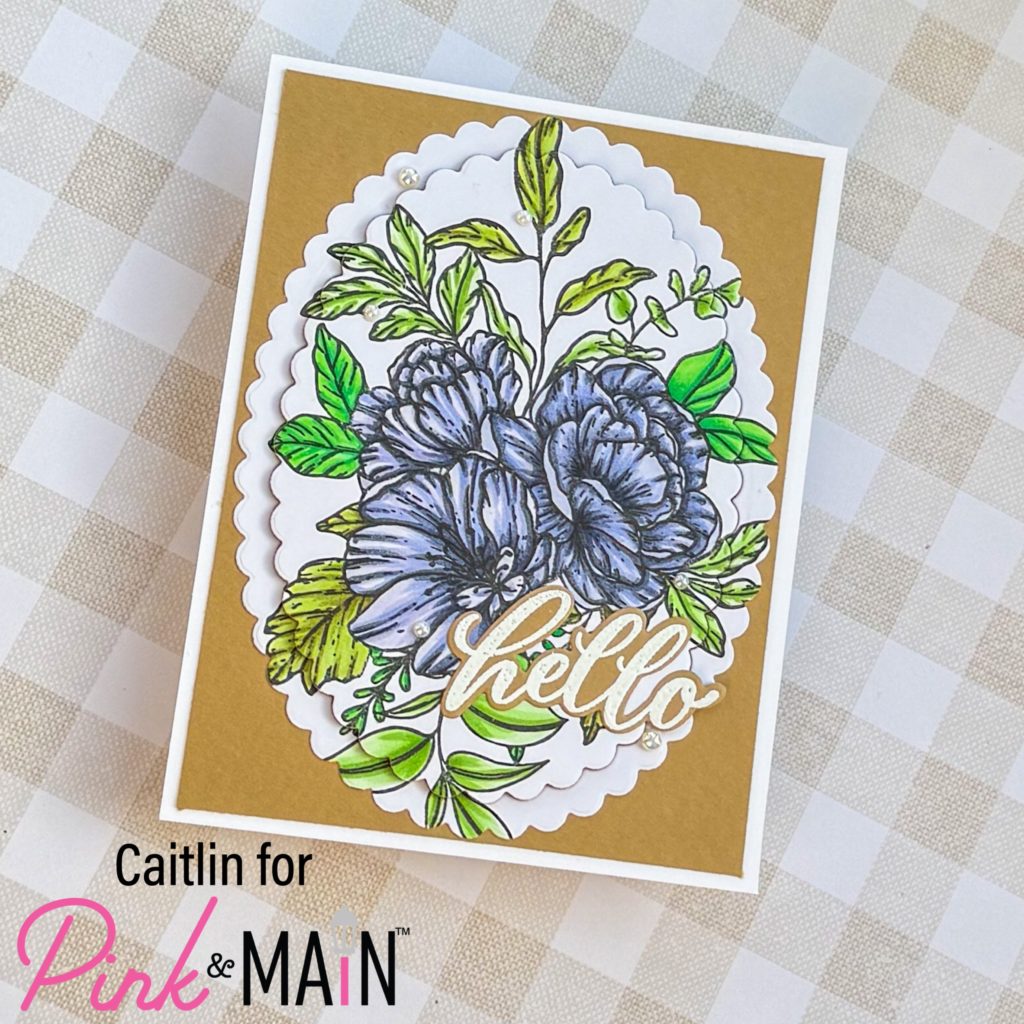
I started out by stamping the large floral bouquet from the Sketched Florals Stamp Set with Asphalt Ink onto Copic X-Press It Paper and letting it dry for a few minutes. Then I colored the leaves with three different green combos, one more yellow, one more neutral and one a little more blue based. I colored the flowers with a combination of BV (blue violet) markers focusing the darker colors on the center of the flowers and any place where one petal overlaps another. If you want to see even more coloring tips, please check out the live/replay here.

Instead of fussy cutting the florals out, I used the largest and second largest Scallop Oval Dies to cut out the flowers. I taped them together and cut them at the same time so I got the main piece and a scalloped frame for it in one pass through my die cutting machine. I heat embossed the Hello sentiment from the Mush Love Stamp Set with Frosting Embossing Powder onto Brown Stone Card Stock. Then I cut it out with the coordinating stamp set.

To assemble the card I started with a side folding A2 card base and adding a panel of Brown Stone Card Stock that was trimmed down to 4″ x 5.25″ with liquid glue. Then I used a tiny piece of washi tape to hold the scallop frame to the main floral image for proper positioning and glued down just the frame with liquid glue. I removed the washi and used foam tape to pop up the main image right in the middle. I added the Hello sentiment and then added some of the cream pearls from the Essential Pearls set. I really love how this one turned out and I hope you feel inspired to color some flowers this spring!
