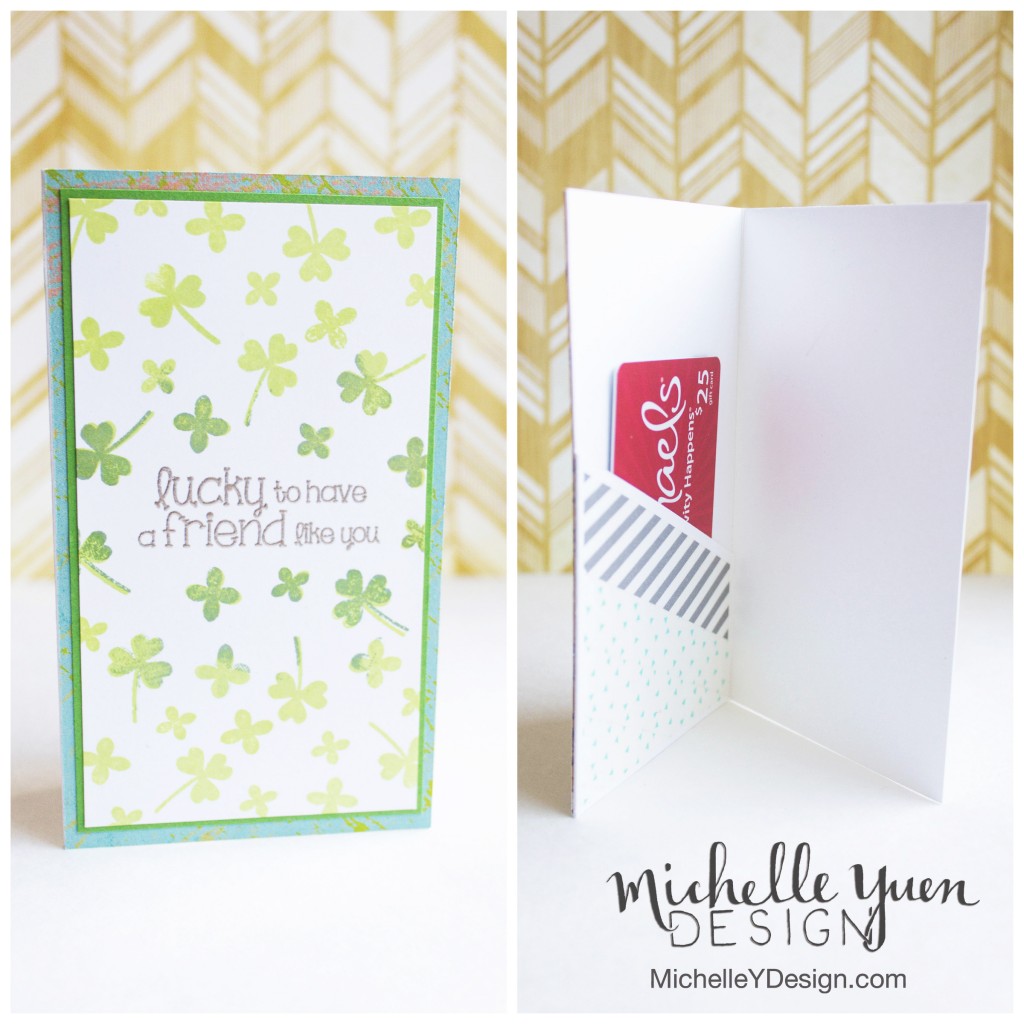
Hey everyone! Happy early St. Patty’s Day from me, Michelle! To celebrate, I have a fun and practical “lucky” themed card design to share – it’s a card that has a little pocket inside to hold a gift card! Useful, right??
Here are the steps to create this:
- Cut a piece of white cardstock (which will be your card base) to 5.5″x10.5″
- Score your base at 3.5″ and 7.5″ to create three sections.
- On the right side, use a craft knife to cut a diagonal line going about halfway up the card on the right side and about a quarter of the way on the left side. It doesn’t have to be exact, just have enough space to have your gift card peek up! You might also want to trim a tiny bit off the edge that will be folded inside, so that you have room to fold the card over itself.
- Use a strong adhesive (I used Scor-tape) to adhere the edges of the inside flap down.
- Decorate the flap, if you want! I used washi tape to accentuate the diagonal cut.
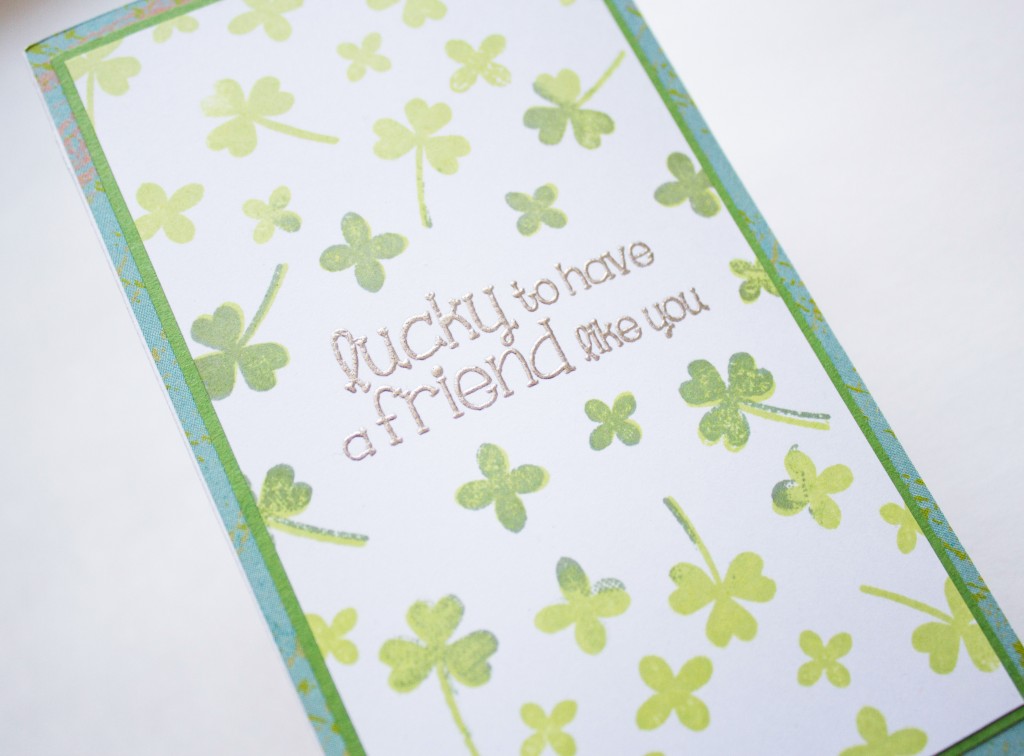
- Create the front of the card however you want!
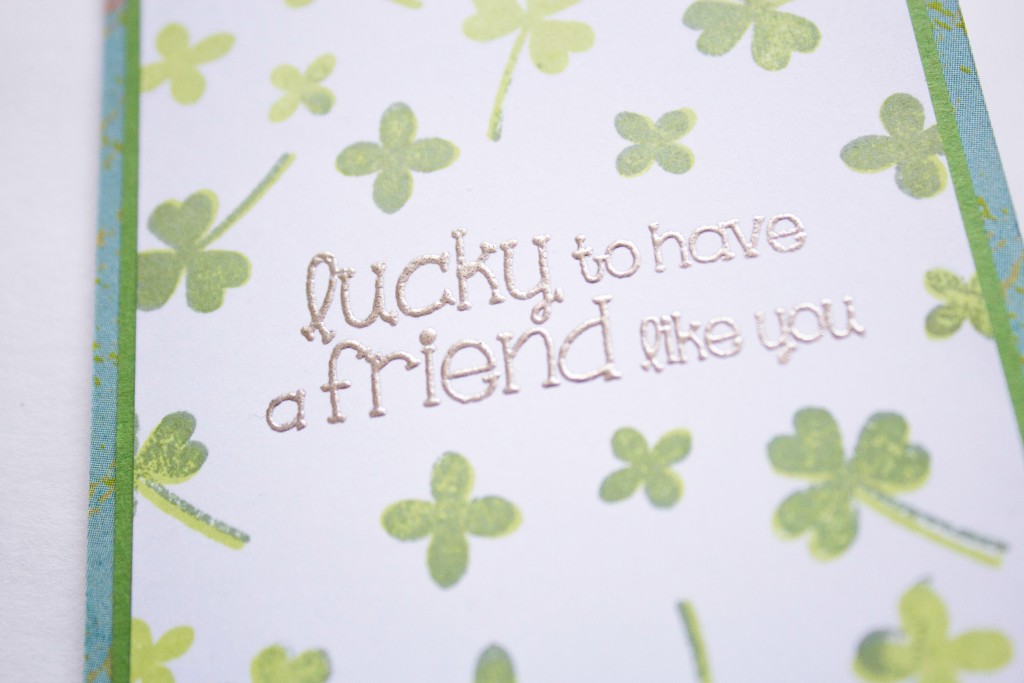
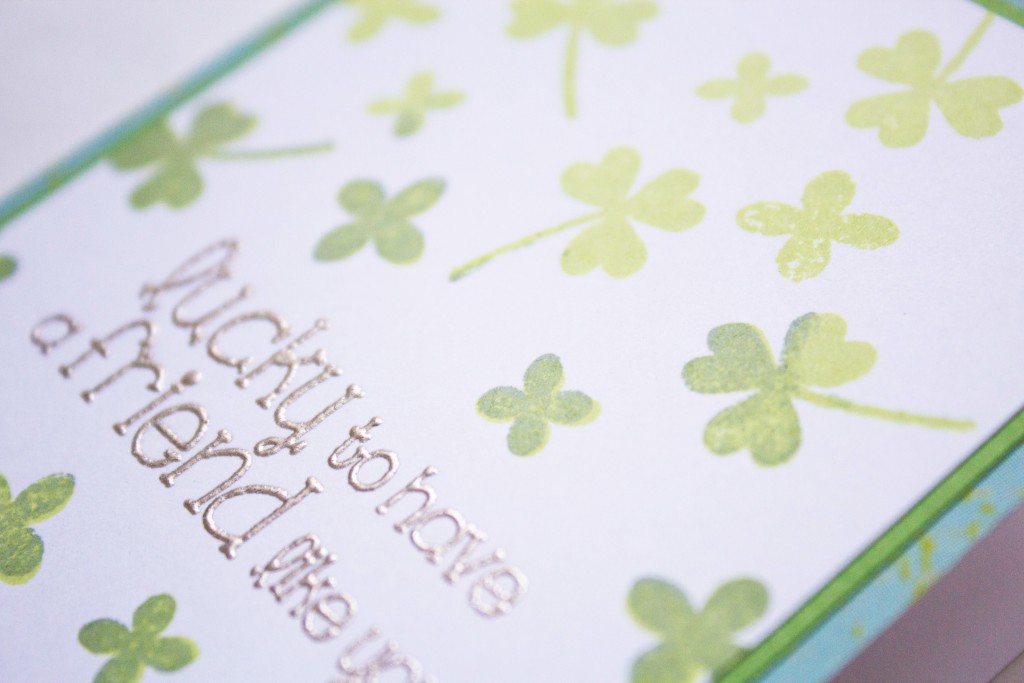
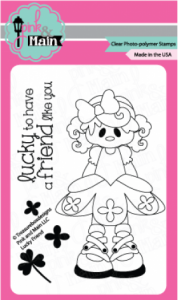
For the front of my card, I took the sentiment from the Lucky Friend stamp set and heat embossed it in silver ink. I seriously love how beautiful and smooth Ranger’s Liquid Platinum turns out!! It amazes me every time 🙂
Then I stamped a repeated background using the little clover leaves – I’ve been loving repeated stamping lately. I stamped them all in a light green ink first (Hero Arts Lime Green Shadow Ink) and then around the sentiment, I stamped over some of them in a darker green (Hero Arts Field Greens Shadow Ink). I love the ombre look it creates that brings more attention to the center, where the sentiment is.
Hope you enjoyed this step-by-step tutorial! Make sure to stop by Pink and Main’s shop to check out all the new releases – including the one I used for this card.

