This post contains affiliate links. At no additional cost to you, I may earn a commission if you utilize these links for purchase. Thank you in advance!
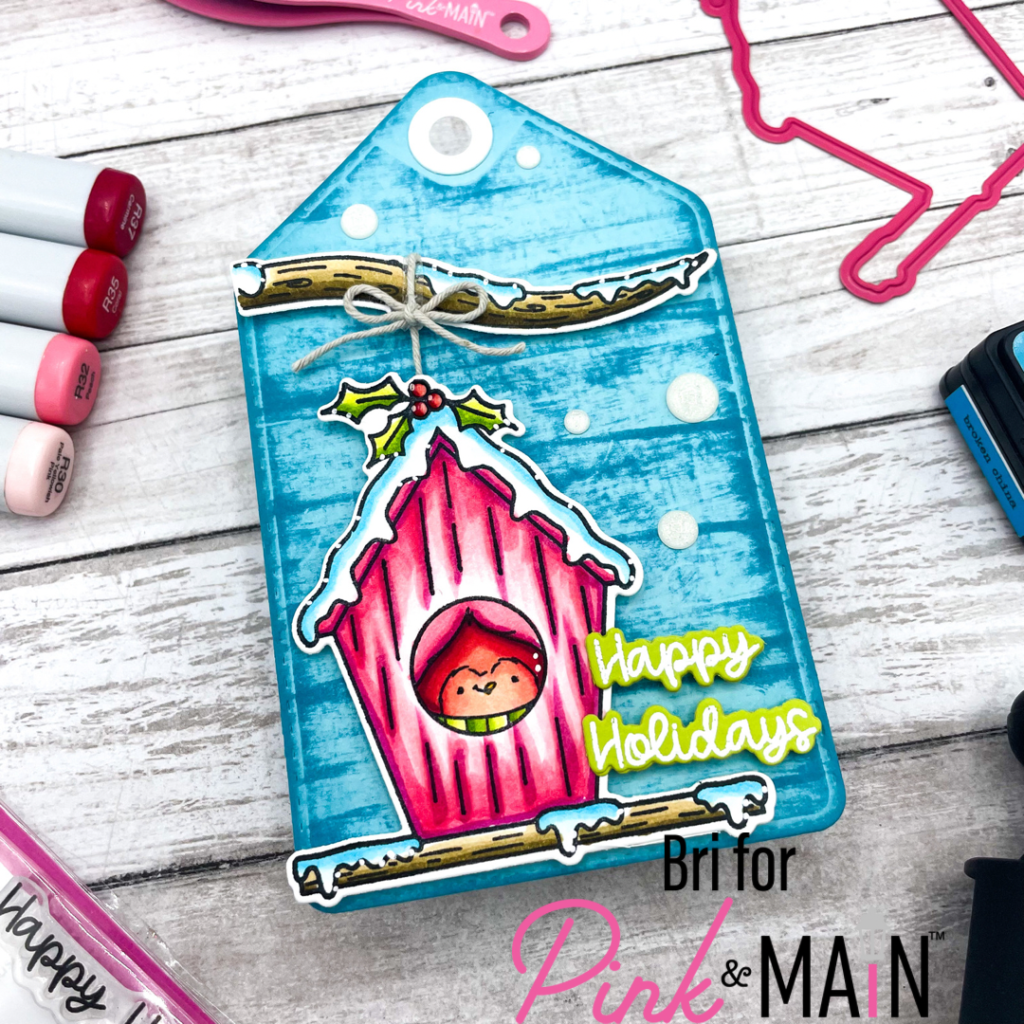
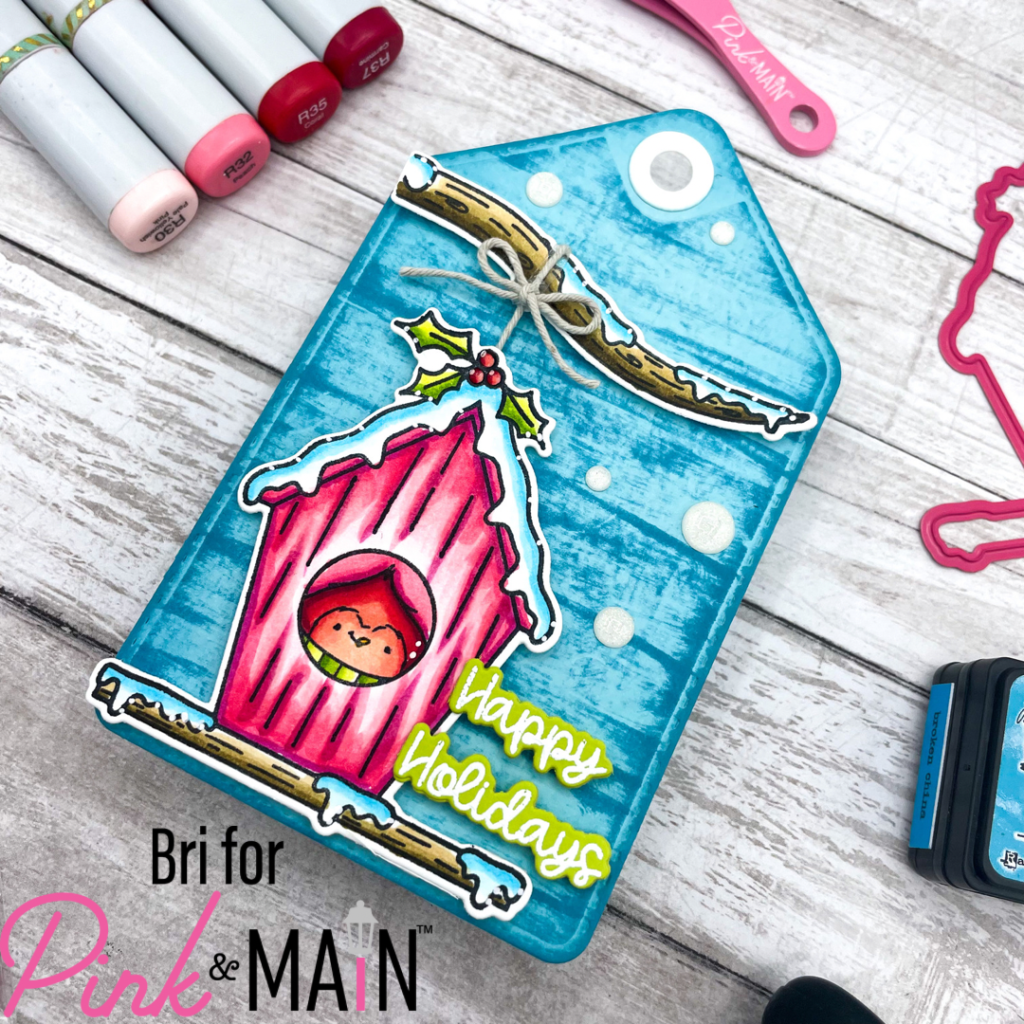
Hello friends – Bri here! I am back today to share a holiday tag design featuring the Winter Birdhouse Set from Pink and Main. Keep reading below for more details on how I made this small project.

First I die cut the gift tag base using a die from my stash. The gift tag measures approximately 3″ x 5″. You could also just manually make a gift tag my cutting a piece of cardstock and then using a corner rounder punch and a hole punch. Next, I used Broken China Distress ink in a swiping motion to create a woodsy, textured background on the gift tag. I used a white circle die cut to reinforce the opening at the top of the gift tag.

I used my Copic markers to color the images from the Winter Birdhouse Set . The colors I used are listed at the end of this post. The images are attached to the gift tag with foam adhesive to add some dimension. I used some twine to attach the birdhouse to the branch to give the tag a more outdoorsy look.
To finish this project I heat embossed the “Happy Holidays” sentiment with white embossing powder onto lime green cardstock to coordinate with the berry leaves. Finally, I added White Glitter Enamel Dots for sparkly embellishments.
Thank you for stopping by the blog. I really hope these projects inspire you today!
Pink & Main Products Used:
Winter Birdhouse Stamp Set
Winter Birdhouse Set Coordinating Dies
EZ Squeeze Craft Glue
Magic Anti-Static Brush
White Glitter Enamel Dots
Other Key Products Used:
Light Blue, Lime Green, and White Cardstock
Gift Tag Die
Copic Markers: R59, R37, R35, R32, R30
RV00, RV11, RV13, RV14, RV17
Y38, YG21, YG23, YG25, YG17
BG02, BG01, BG000
E89, E87, E84, E31
Distress Inks: Broken China
White Gel Pen
White Embossing Powder
Twine
Foam Tape
Glue Dots
