This post uses affiliate links at no additional cost to you! By clicking the links in this post, I earn a small commission should you make a purchase. Thank you in advance!
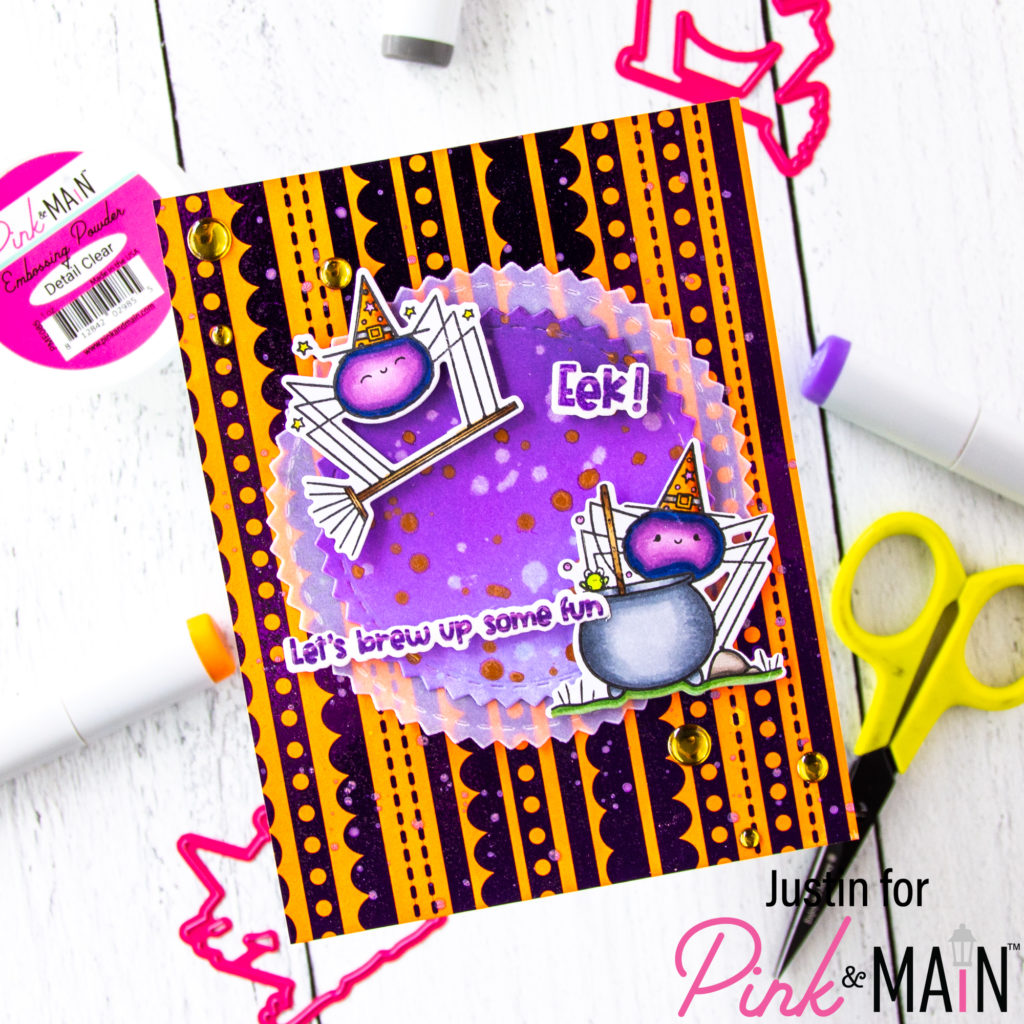
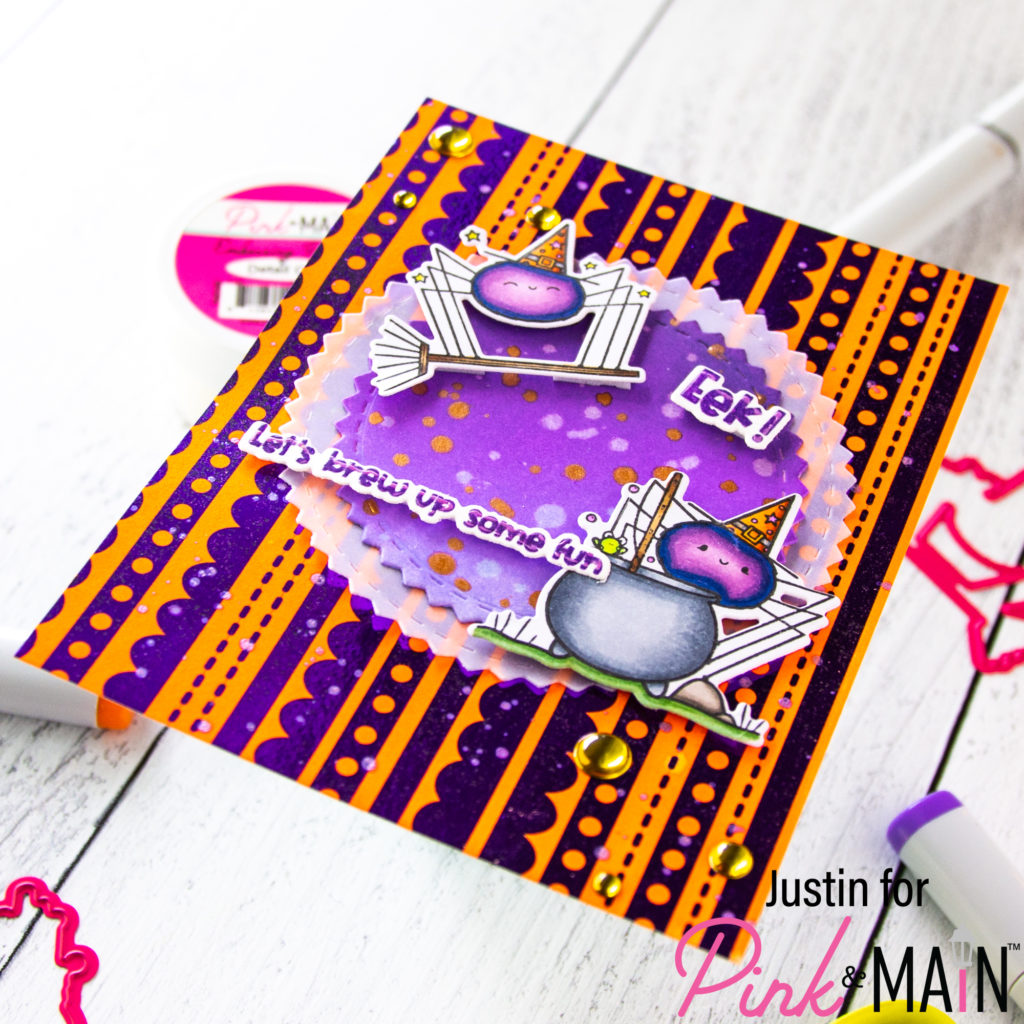
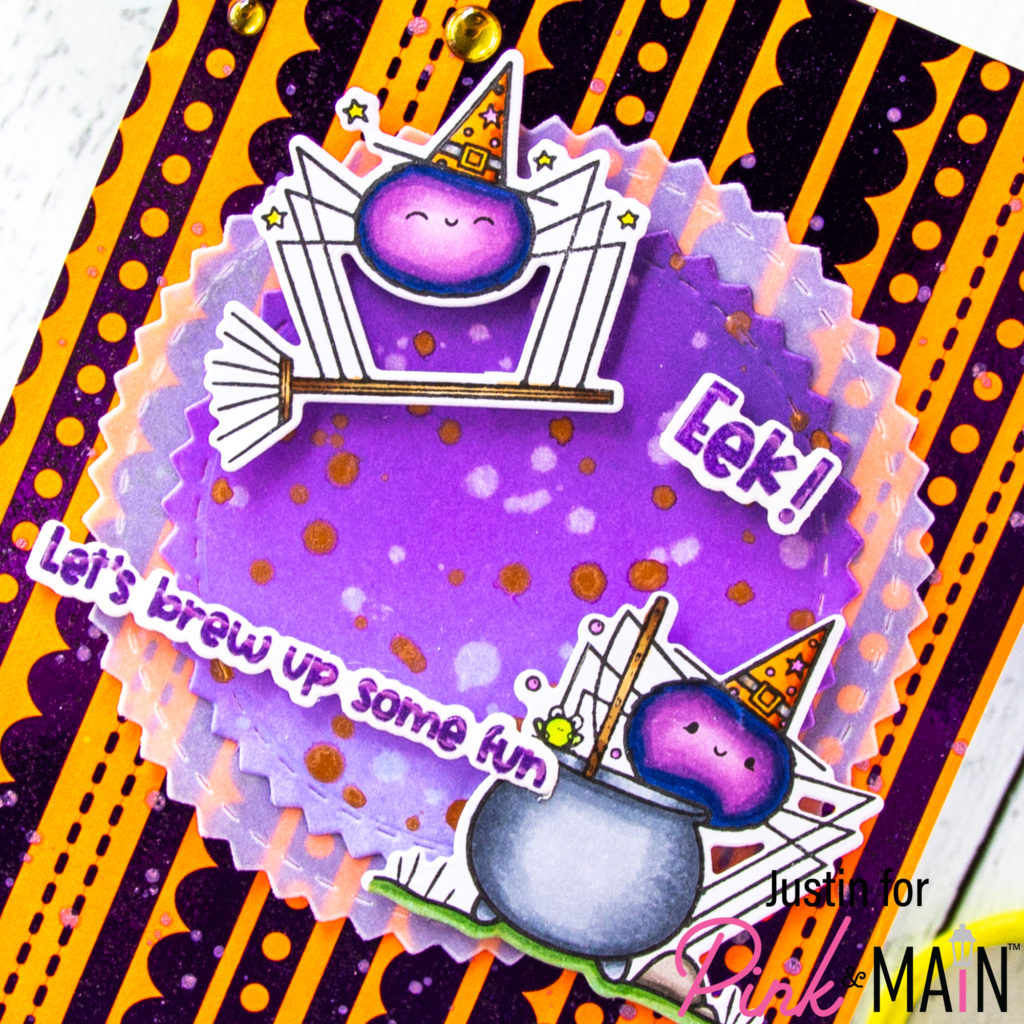
Hello everyone! Justin here, and today I am sharing some Halloween inspiration using the new stamp set Halloween Brew! This spooky fun 3″ x 4″ stamp set contains (2) fuzzy little spiders up to some Halloween shenanigans and i just think they’re the cutest thing! I wanted to create a card that featured both of them with one of my favorite Halloween palette of colors: Orange and Purple!
Below is a list of products used to create this card:
Pink & Main Products Used:
Halloween Brew
Halloween Brew Coordinating Dies
Black & White Paper Pack
Zig Zag Circle Dies
Gold Glossy Dots
Detail Clear Embossing Powder
Other Key Products Used:
Copic Markers
Copic-Safe Ink
Blending Cardstock
Catherine Pooler Inks: Orange Twist & Grape Crush
Distress Oxide Inks: Shaded Lilac, Wilted Violet & Villainous Potion
Vellum
Metallic Watercolor Accents
Purple Deco Foil
Let’s get into the details for how I put this card together!

First and foremost, I turned my laminator on for some foiling later on. I then started off by stamping my images from Halloween Brew in Copic-Safe Ink and coloring them up with Copic Markers. I also stamped out my sentiments in Grape Crush Ink by Catherine Pooler, and then heat embossed them in the Detail Clear Embossing Powder. I used the coordinating dies for Halloween Brew to cut my images and sentiment out, and set them aside.
Next, I took one of the detail striped patterns from the Black & White Paper Pack, trimmed it down to A2-sized, and dragged my Orange Twist Ink Pad over it to entirely cover the white areas. This made my panel look pretty cool as it was, since it was black and orange, but I wanted some foil for extra shine. I went ahead and placed Purple Deco Foil over my panel and processed it through my laminator to transfer to those toner areas. I splattered this panel with metallic purple watercolor.
For my background, I die cut a Zig Zag Circle from Blending Cardstock, and then the next size up from Vellum. I blended the smaller circle with Shaded Lilac, Wilted Violet and Villainous Potion Distress Oxide Inks. I then splattered this purple zig zag circle with gold metallic watercolor. Once dry, I adhered the purple zig zag circle on top of my vellum zig zag circle, and then adhered the entire unit to my card front.
Using foam tape, I adhered my images and sentiments to my card, added some Gold Glossy Dots, and adhered the entire panel to an A2-sized card base! I was finished!

Thank you so much for stopping by the Pink & Main Blog today! This August release is just packed with so much Halloween & Autumn fun, so I hope you’re getting ready to use some of these new goodies for your latest seasonal creations!
For more crafty inspiration, please follow me on Instagram and check out my personal blog as well!
Thank you again for stopping by, and happy crafting!
Justin
