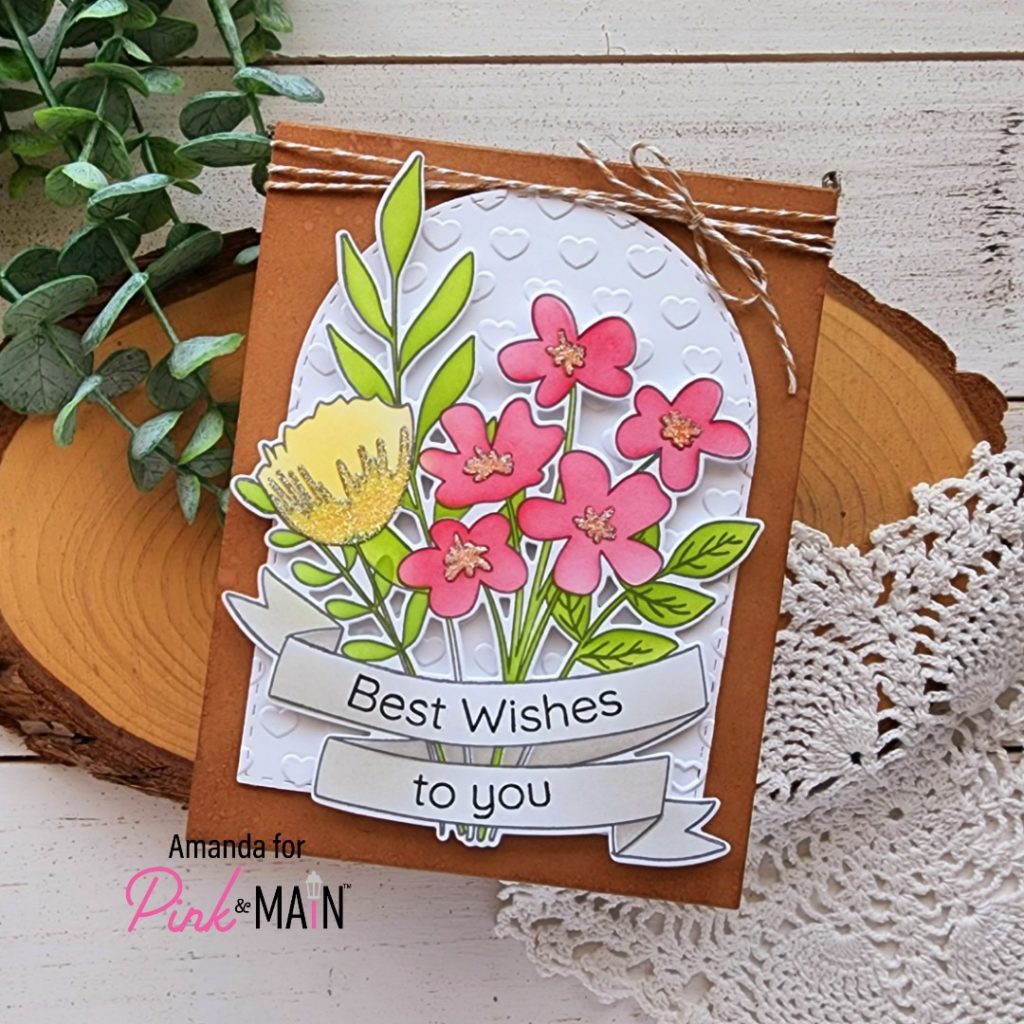
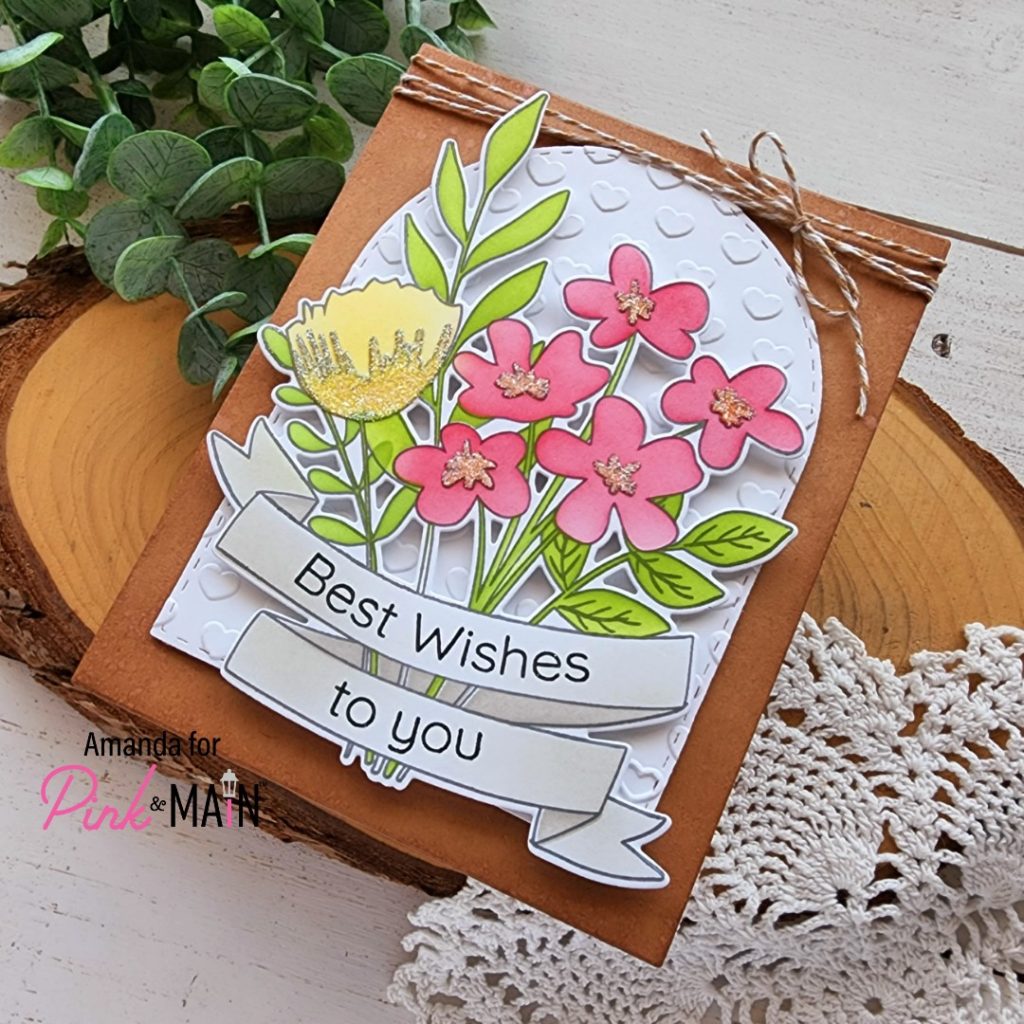
Happy Friday everyone! I’m so glad you stopped by. This is Amanda from Twiddler’s Nook and today I have inspiration featuring a new layering stencil to add color to your image. I don’t know about all of you but I’m really having fun with these types of products. Today I stepped it up a bit at the end and really love the outcome.

I started by stamping the Simple Bouquet image in dark gray ink. Then I used the layering stencils to apply my color. Then I placed the image back in my MISTI and stamped the sentiment in the banner.
There are a ton of options in the set that match the curve of the banners perfectly. It’s so perfect and fun to mix and match them different ways!

Next, I die cut the next-to-largest Stitched Arch die from white cardstock and ran it through my die cut machine with the new Many Hearts embossing folder. I popped this up with foam tape on a kraft card base and then popped my image up with foam tape on that.
This is when I had that genius idea to step things up with the stenciling and use glossy gel with super fine glitter. Definitely not the order I recommend but I was VERY careful and thank goodness it all worked out!
So, I replaced the detail stencil layer over my flowers, spread the glossy gel through it and sprinkled on ice rink glitter. I tapped off the excess and left it all to dry before using a dry paint brush to really brush off the excess.

Once that was done, I decided to tie some baker’s twine around the top of my card and tie it in a bow. Such a cute little addition and I really think it finishes things off well.
Products used today:
Simple Bouquet stamps, dies and stencils
Stitched Arches dies
Many Hearts embossing folder
Ergonomic blending brushes
Glossy gel
Super Fine Glitter – ice rink
Foam tape
I appreciate you sharing your time with me. Have a fabulous day!

Absolutely LOVE this card!